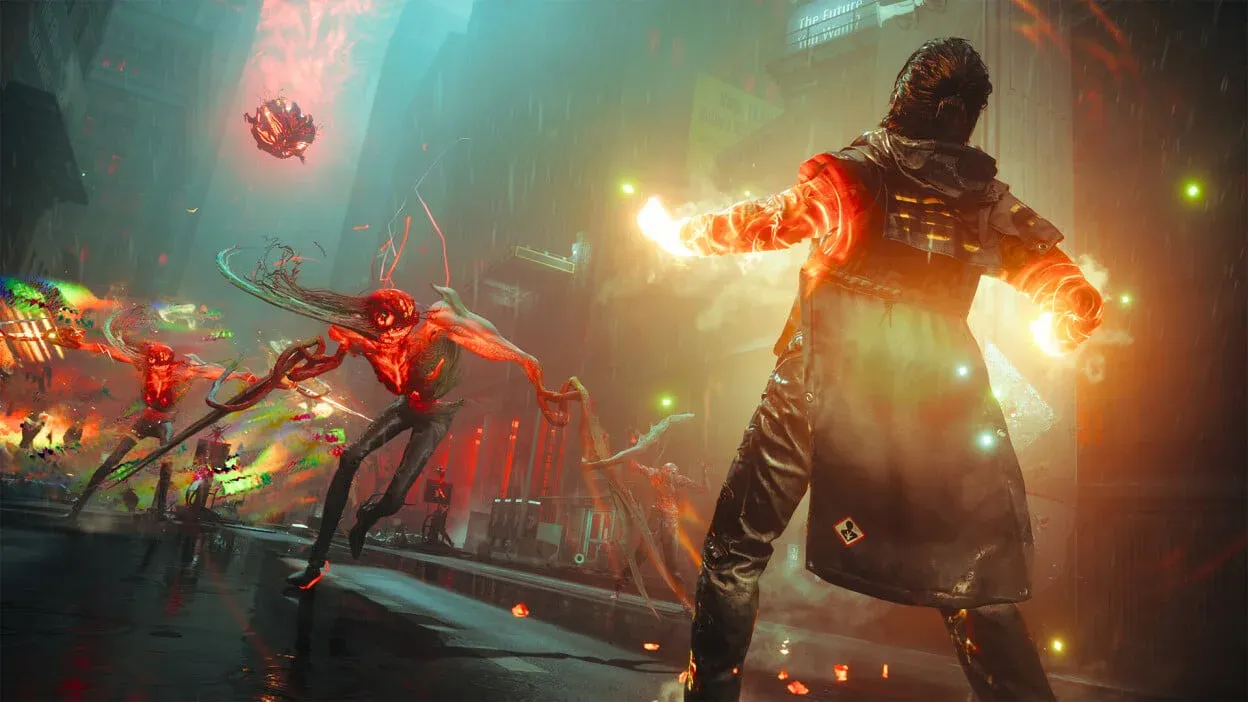


Beating the main story of CONTROL Resonant does not require you to hunt down every Resonant, but skipping them means leaving some of Dylan's most powerful Combat Abilities on the table. There are six named Resonants spread across Manhattan's zones, plus Hedron as the final story boss, and each victory hands you a meaningful build choice. The abilities you pick here feed directly into the Talent Tree and shape how you handle everything that comes after.
All Resonant bosses and rewards
Why fight every Resonant?
Resonant victories are the main way Dylan expands her Combat Ability pool. Those abilities unlock nodes in the Talent Tree, and combining them with different Aberrant Forms and Artifacts is where builds start to get interesting. Several Resonants also sit behind traversal prerequisites, so if you hit a dead end at a boss marker, the fix is usually to push forward on another questline and return once you have Shift or another required ability.
The Resonant questline runs parallel to the main story rather than through it, meaning you can chase these fights in between story beats without derailing your progress.
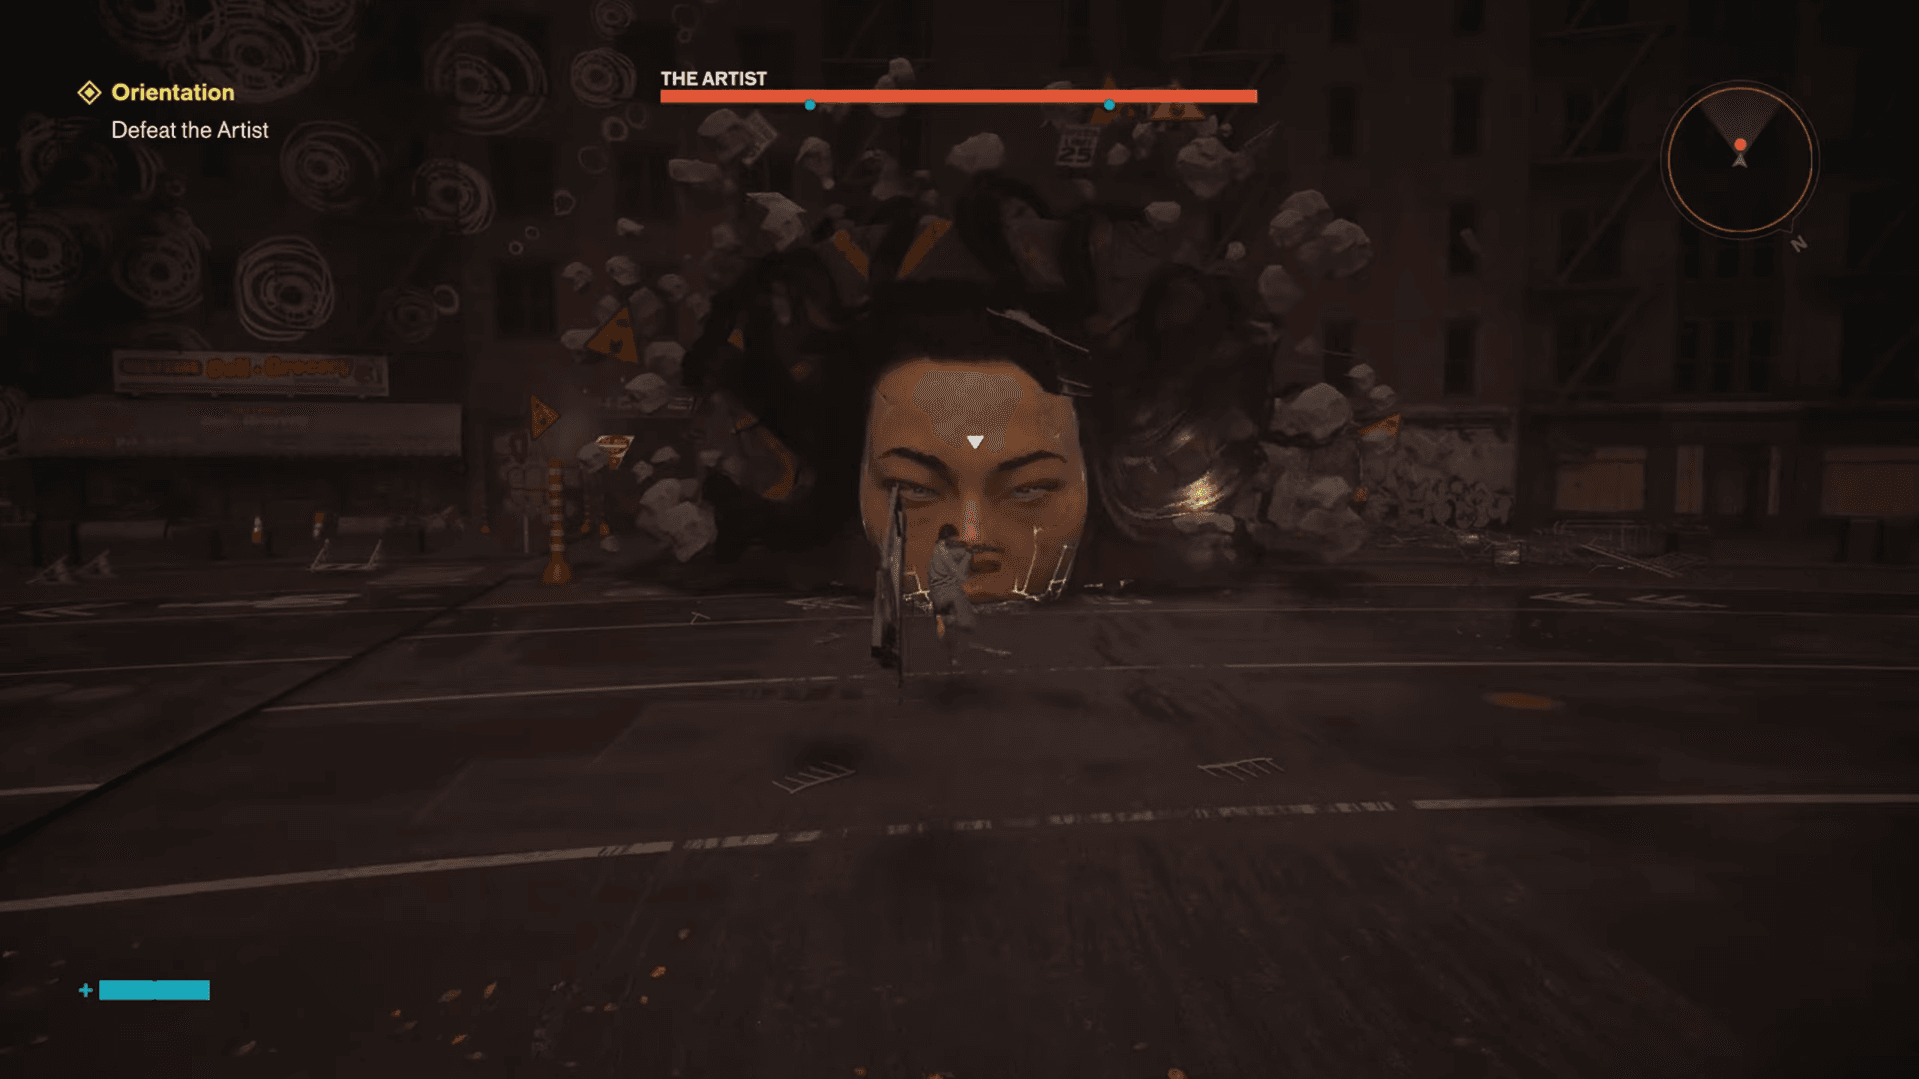
The Artist — Downtown (Prologue)
The Artist is the one Resonant you cannot skip. The encounter happens during the opening section of the game and must be cleared to advance the story, which makes it Dylan's introduction to how Resonant fights actually work.
Do not stand still. The Artist uses projectiles and explosive attacks that punish players who stay in one spot while still figuring out the controls. After winning, you choose one of three Combat Abilities: Barrage, Volatile Anomaly, or Shield. This is your first real build decision, so consider which playstyle you want to develop before picking.
Control Resonant Guide: All Bosses Locations & Combat Ability Rewards
The Deserter — Central
Once you reach the Field Office in Central, head north toward the Factory marked on your map. Dylan will notice the patterned pipes in the area, which triggers the Resonant objective and adds it to your log. Continue into the Patterned Factory and push through to reach the Deserter.
Victory gives you a choice between Ignite and Inferno. Ignite adds direct fire damage to Dylan's offensive options, while Inferno builds around stacking burning damage over time. Both options change how you handle Mold-heavy encounters later in the game, so think about your preferred combat pace before committing.
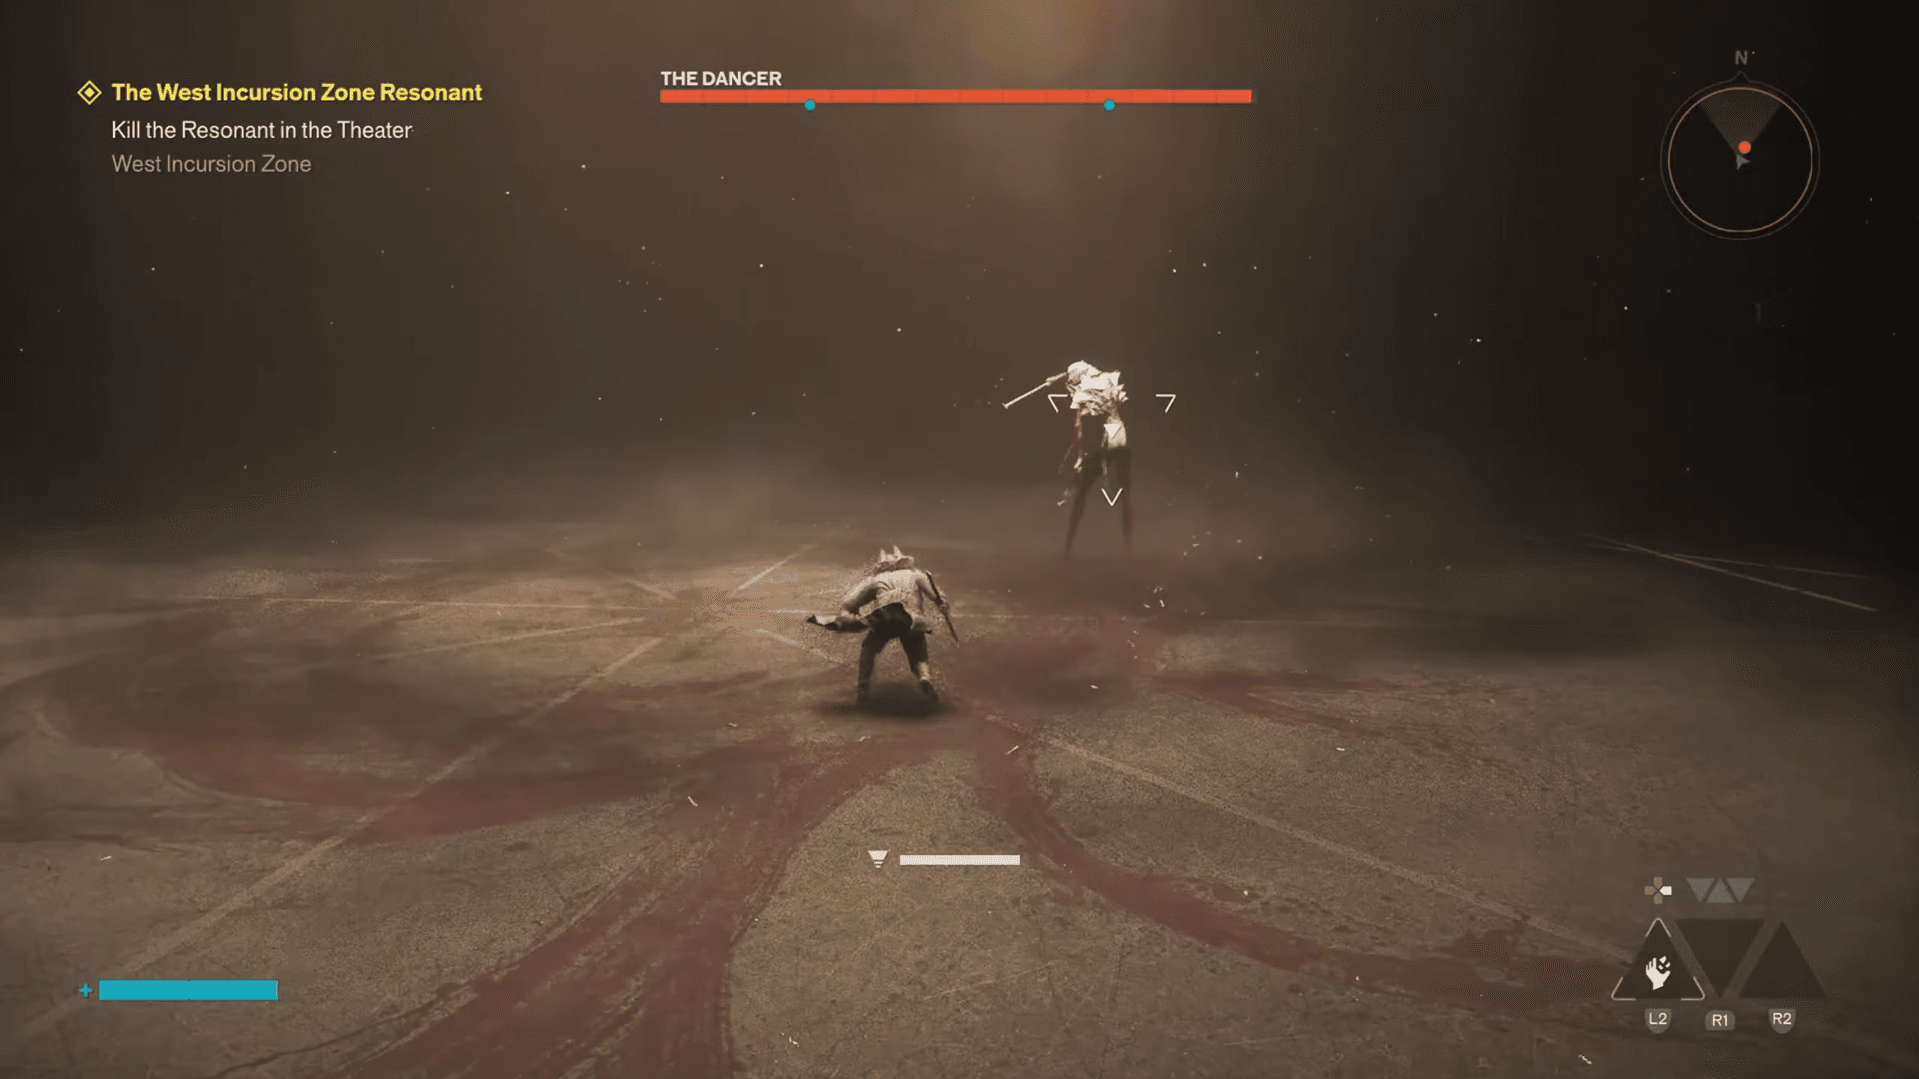
The Dancer — West Incursion Zone
The Dancer's marker appears on the map early, but the route is blocked until you unlock Shift by completing The Incursion Fault quest. Once Shift is available, return to the West Incursion Zone and use it to navigate the distorted surfaces leading to the Patterned Theater. The boss encounter is at the end of that route.
Defeating the Dancer gives you Push or Ground Slam, both of which add crowd-control options useful for managing groups and creating openings in close-range fights.
Control Resonant Guide: All Bosses Locations & Combat Ability Rewards
The Collective — The Park
The Collective sits around the central section of The Park, but the path to it stays closed until you consume the required Mold strains scattered through the zone. Once those regional objectives are done, the previously blocked route opens. Shift is also required here, so this boss is not accessible the moment you arrive in The Park.
The reward choice is Spore Burst or Growth. Spore Burst fires rapid Mold projectiles, while Growth creates a Mold-based ally that attacks enemies and builds up the Infected status on them. Growth in particular can change the feel of encounters significantly if you enjoy having a companion handling pressure.
For players chasing completion, our Control Resonant trophy list guide covers every achievement tied to boss encounters and zone exploration.
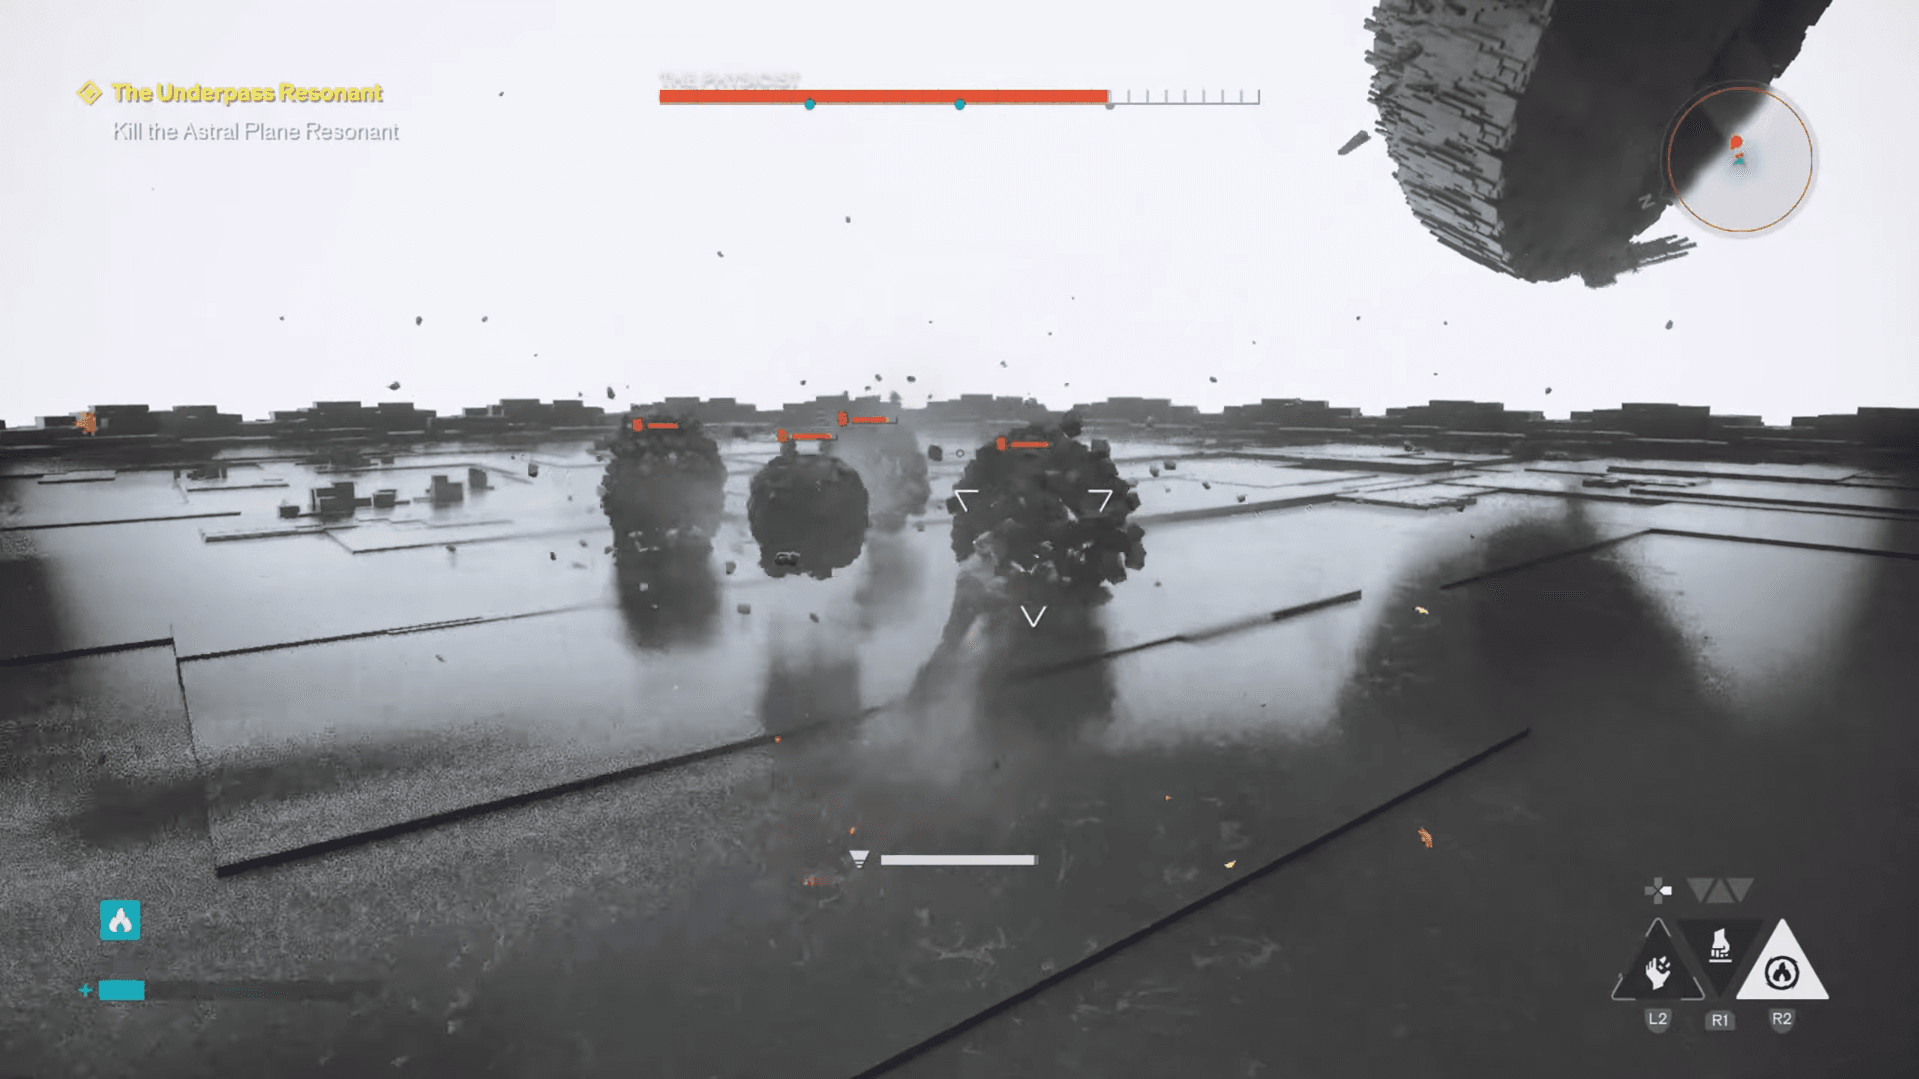
The Physicist — Underpass
The Physicist is found near The Spire in the Underpass zone. Reaching the arena means entering the Astral Plane and working through a sequence of locked doors. Each door requires an Astral Key, and those keys are hidden on the side paths branching off the main route. Do not rush straight to each locked door without checking the optional sections.
After opening the third locked door, continue forward to reach the Physicist. The reward is Spike or Astral Rebuke, both of which expand Dylan's ranged damage options.
Control Resonant Guide: All Bosses Locations & Combat Ability Rewards
The Co-Director — Unknown
The Co-Director is a late-game encounter. While exploring the shifting environment of Unknown, Zoe contacts Dylan about a distress signal from Rangers near the Field Office, pointing toward another Resonant. Use the Gravity Wells to navigate toward the objective.
The route includes environmental puzzles: disrupting the Pattern and carrying a charge to a Power Core. Once you reach the Field Office, take the elevator to trigger the boss fight. Unlike most other Resonants, the Co-Director does not offer a two-way ability choice. Winning unlocks Command outright.
Hedron — Final Boss (Unknown)
Hedron is the final boss of the game, also located in Unknown. The path to the arena only opens after you have severed all Hedron Links and completed the major story sequence tied to them. Head to the western section of the zone and begin the descent. Avoid colliding with the surrounding surfaces while dropping, and continue downward until you reach the arena.
Unlike the Resonants, Hedron does not reward a Combat Ability choice in the same way. This is the story's conclusion.
How do ability choices affect your build?
Every Combat Ability you earn from a Resonant can be developed through the Talent Tree, and abilities stack with your chosen Aberrant Forms and Artifacts. The early choices from The Artist and The Deserter tend to have the longest time to pay off since you will use them for most of the game. Later picks from The Physicist and The Co-Director slot into a build that is already taking shape.
There is no wrong pick, but players who favor aggressive, high-mobility play tend to get more out of Barrage, Push, and Spike, while those who prefer sustained pressure find Inferno and Growth more consistent over longer fights.
For everything else the game throws at you, the full CONTROL Resonant strategy guides collection covers puzzles, side quests, and collectibles across every zone.