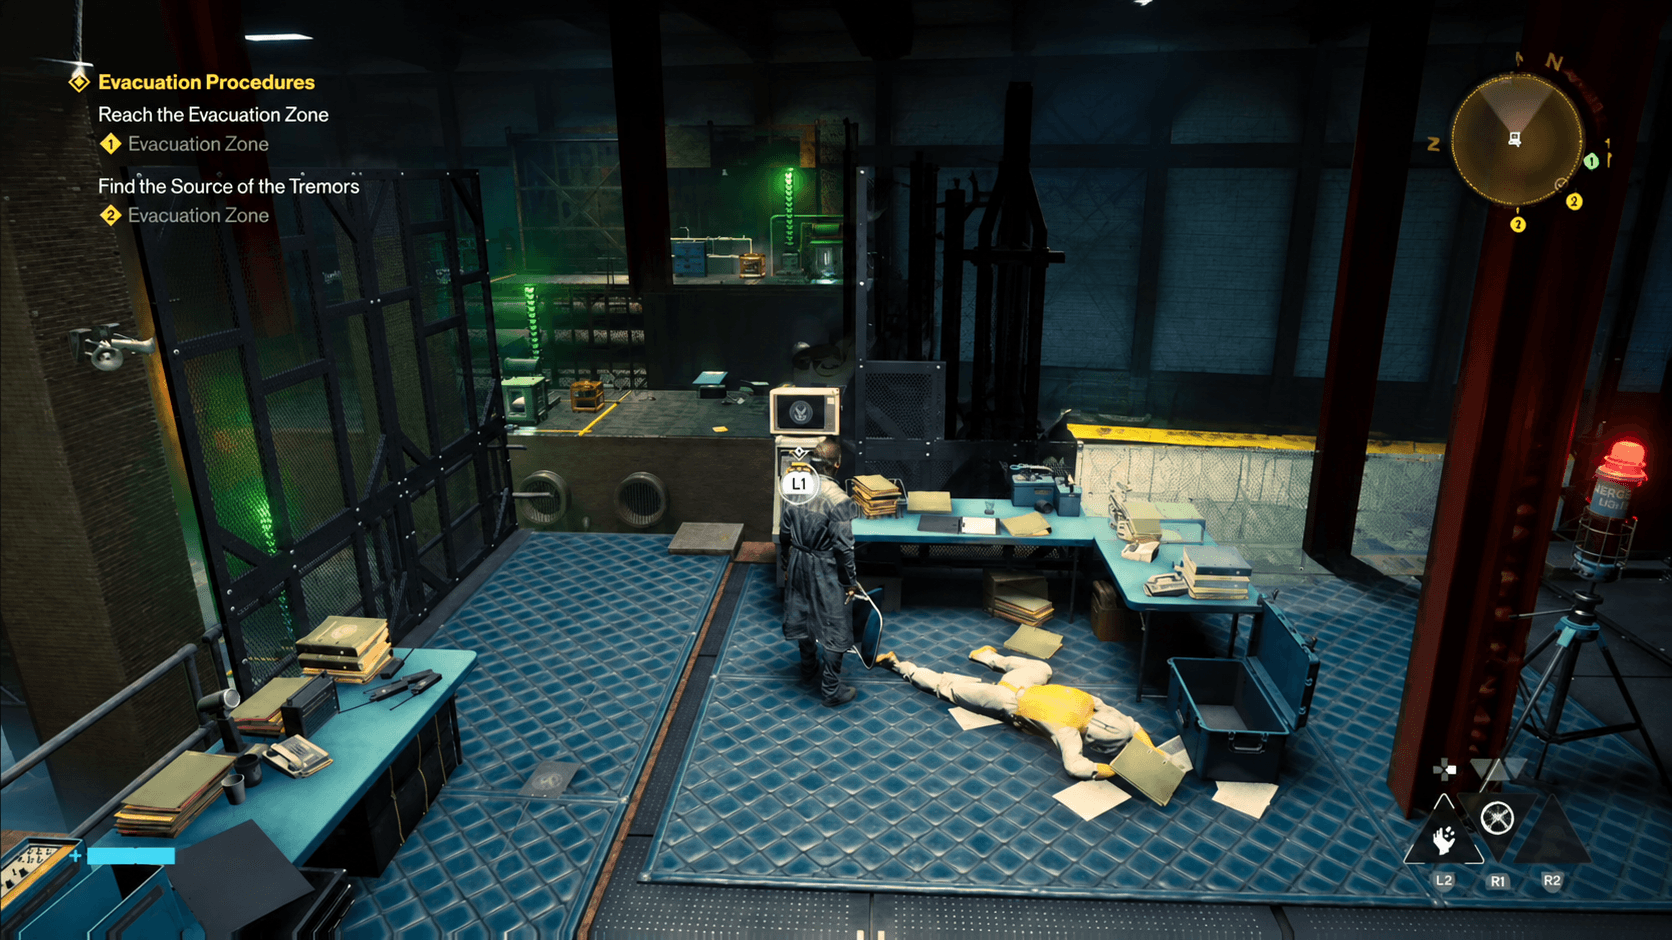


The Unsupervised Science side quest in CONTROL Resonant sends you hunting for six underground Testing Facilities scattered across Manhattan. The catch: the map marks the facility coordinates but not the actual entrances, which are all underground. You can walk right over one and never know it's there. This guide covers every entrance location and every puzzle solution so you can knock them all out without the frustration.
How does the Unsupervised Science quest start?
One of the Testing Facilities contains a note on its terminal that hands you the coordinates for all six locations. Once you pick it up, the sites get marked on your map. The problem is those markers point to the underground facility itself, not the street-level entrance. Every entrance requires you to find a specific building or landmark nearby and look for the way down.
There are two puzzle types spread across the six facilities. Three of them use a Soda Dispenser state-change mechanic, and the other three use a Power Core charge-transfer mechanic. Knowing which type you're walking into helps you mentally prepare before you even step inside.
All 6 Testing Facility locations and solutions
Downtown
The Downtown facility entrance sits inside the Testing Facility Reade building on the east side of the zone. The building is mid-construction, so expect Hiss enemies to be waiting for you when you walk in. Clear them out, then look around the interior for the underground entrance.
Inside, you'll find the Soda Dispenser puzzle. A terminal note explains the default state is set to Soda Dispenser. The room has multiple interactable items, and your job is to carry each one to the center box. The trick is the yellow lines: passing an item through one changes its state to something else. Pass it through again and it changes again.
The whiteboard above the terminal diagrams exactly how state changes work if you get confused mid-run. Two other facilities share this same puzzle type, so the time spent learning it here pays off twice more later.
Rewards: Power Upgrade, A Note From Dr. Milbeck's Cardiologist (File)
Central
Head east of the Patterned Factory (the area where you fight the Deserter Resonant boss) and look for a construction site. The underground entrance is nearby. This facility runs a completely different puzzle from Downtown.
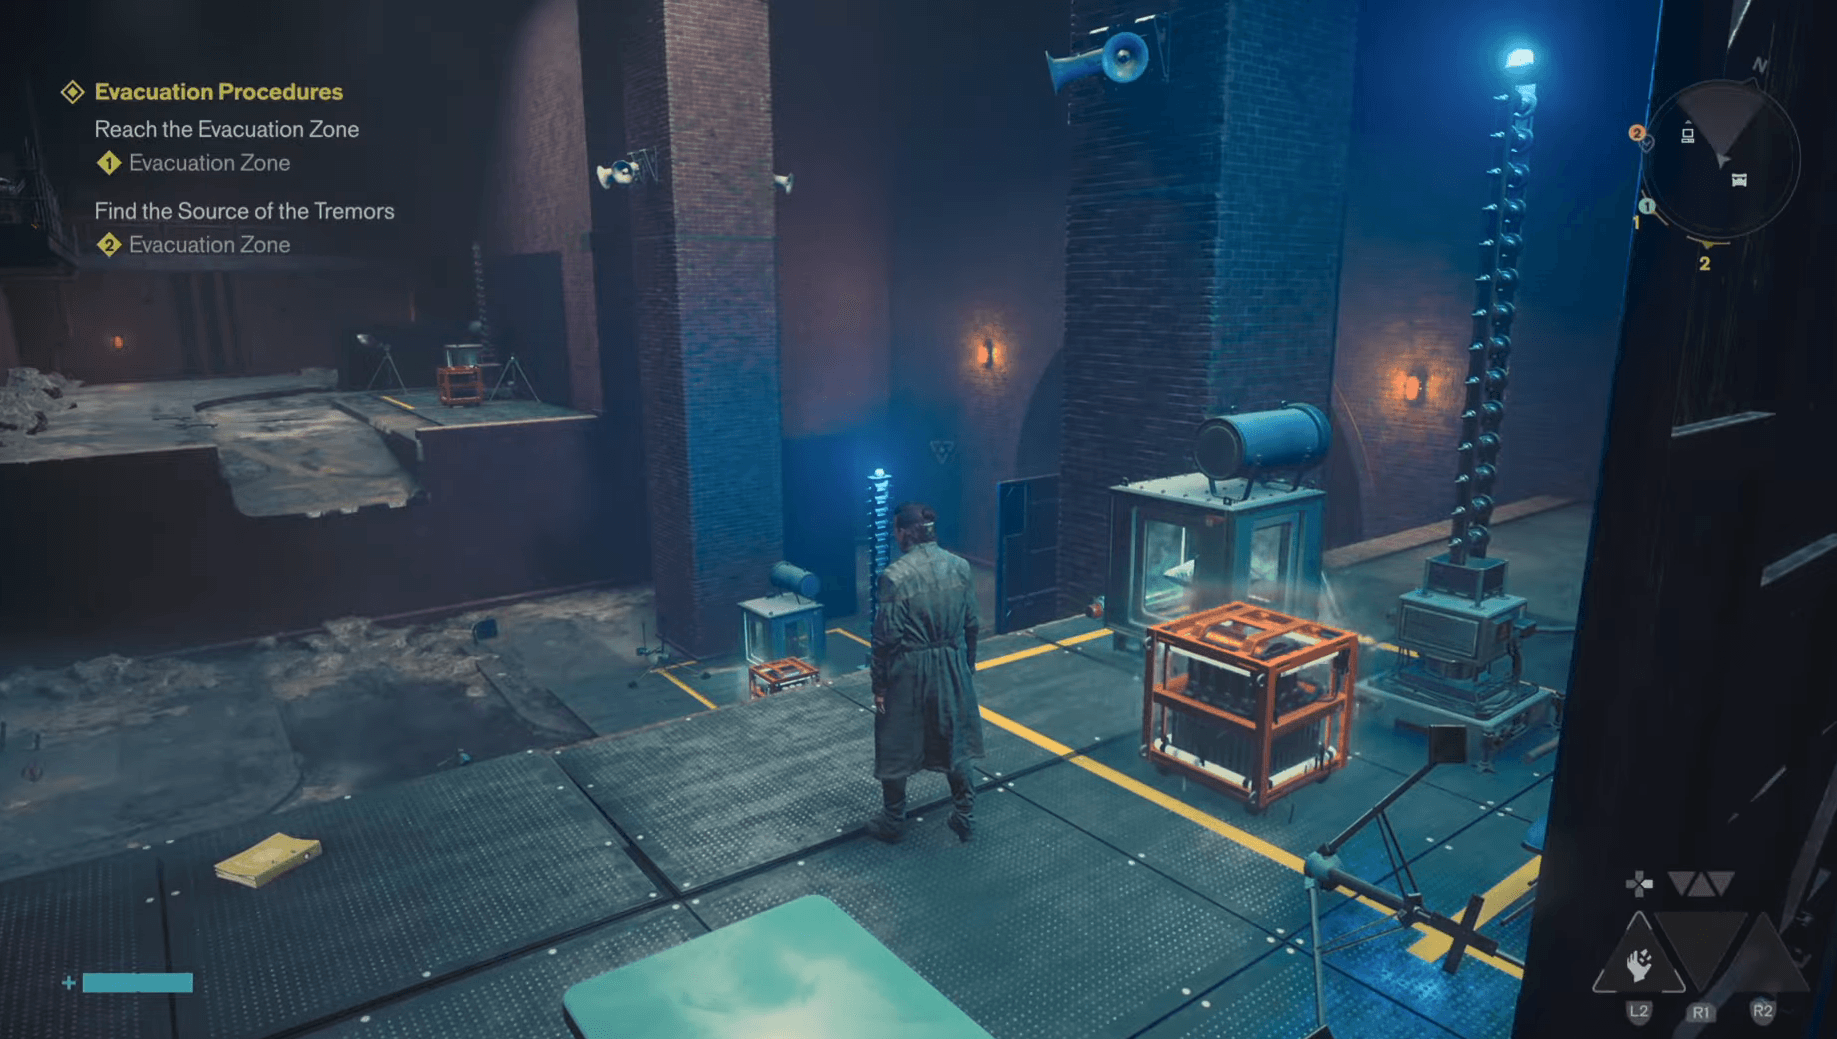
The Power Core charge-transfer mechanic works on a 60-second timer. There are four Power Cores in the room, two of which start charged. When the shutdown sequence begins, watch the dead Power Cores for a blinking red light. That blink is your signal to grab the charge from a live core and transfer it to the one flashing red. Keep rotating the charge between cores for the full 60 seconds to open the gate.
Rewards: Power Upgrade, Notes From Dr. Puchalski (File)
Control Resonant Unsupervised Science Quest Guide: All Experiment Locations
Evacuation Zone
The entrance here is right next to the Survivalist's Bunker Fast Travel point on the south side of the zone. It's one of the easier ones to locate because the fast travel landmark is hard to miss.
This facility brings back the Soda Dispenser puzzle. Same rules apply: use the yellow lines to cycle item states, and once an item becomes a Soda Dispenser, try to find a box within the same set of lines before it changes again.
Rewards: Power Upgrade, Testing Facility Coordinates (File)
West Incursion Zone
This facility is south of the House of Mirrors, on the second lane from the bottom of the map. Once you find the entrance and head underground, you're back to the Soda Dispenser puzzle for the third and final time.
By this point the mechanic should feel routine. Cycle items through the yellow lines, place each Soda Dispenser in the box, and trigger the shutdown.
Rewards: Power Upgrade, Notes From Dr. Janson (File)
The Park
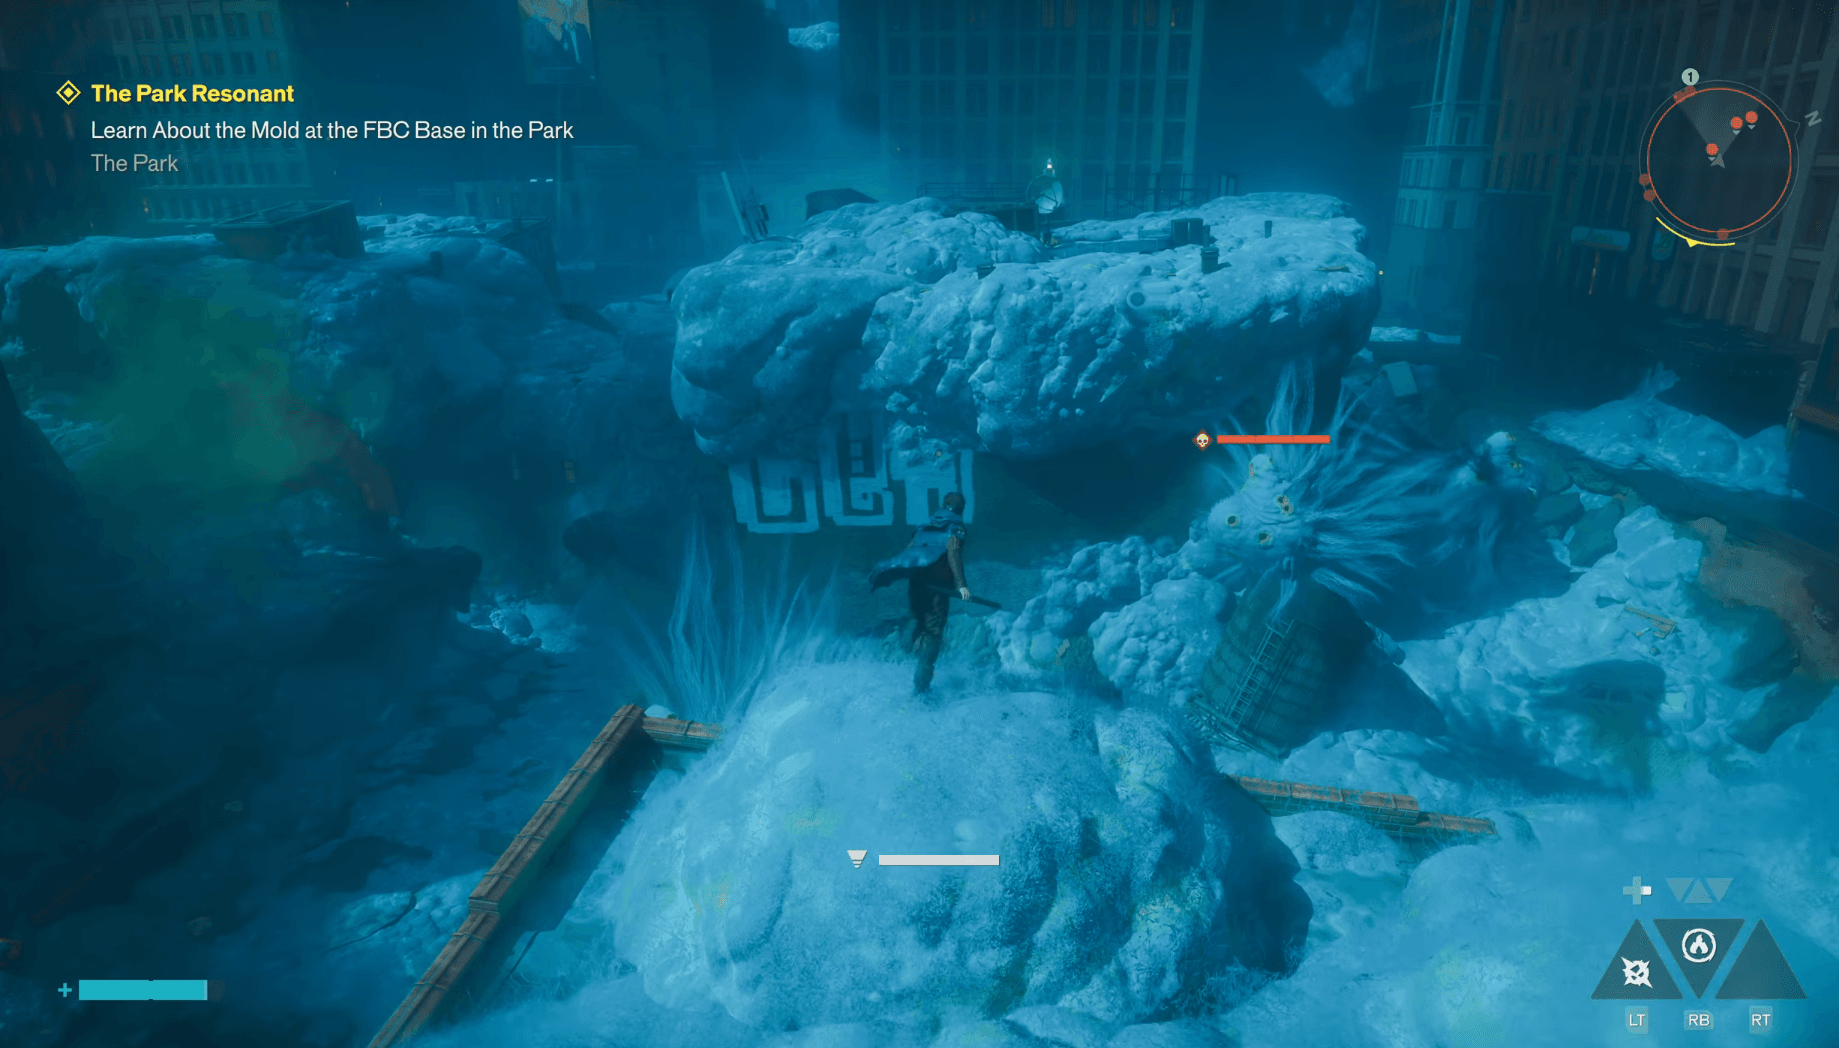
The Park facility is in the northeast section of the zone and has two sewer entrances you can use to reach it. If you've progressed far enough to unlock the New Growth quest, you'll actually visit this facility as part of that quest anyway, so you may already have it partially on your radar.
The puzzle here mirrors the Central facility: Power Core charge transfers on a 60-second countdown. Same approach applies. Watch for the blinking red lights on the dead cores and keep the charge moving.
Rewards: Emergency Hood (Accessory), Notes From Dr. Roth (File)
Control Resonant Unsupervised Science Quest Guide: All Experiment Locations
Unknown
The final facility is in the Unknown region, near the middle-west of the Fast Travel point on that area's map. This one has five Power Cores instead of four, which adds a bit more to track during the shutdown sequence.
Rewards: Firebreaker Goggles (Accessory), Notes From Dr. Grant (File)
Puzzle types at a glance
What happens after you shut down all six experiments?
Once all six facilities are cleared, the Threshold opens inside the Unknown facility, right next to the room where you picked up the Firebreaker Goggles. From the entrance, you'll see Janson written on the floor to the left and Puchalski written straight ahead.
- Going left transforms you into a chair.
- Going straight transforms you into a telephone booth.
Neither of those paths is where you want to go. Head right instead, hit the board at the end, then take the left path to retrieve the electric charge from the Power Core. From there, go straight, and at the split take left to use that charge on the dead Power Core. Collect the materials inside the room, return to the split, and go straight to find a corpse you can interact with.
That interaction completes the quest.
Final rewards: Dr. Grant's Final Report (File), Untapped Scrunchie (Artifact Recipe), Threshold Researcher Achievement/Trophy
Is Unsupervised Science worth doing?
The Power Upgrades alone make it worth clearing at least the first few facilities early. The Accessories from The Park and Unknown are a bonus, and the Threshold Researcher trophy is required if you're going for full completion. Check the Control Resonant trophy list and achievement guide to see exactly how this fits into the platinum roadmap.
For everything else the game has to offer, the full Control Resonant strategy guides collection has walkthroughs for side quests, collectibles, and more.