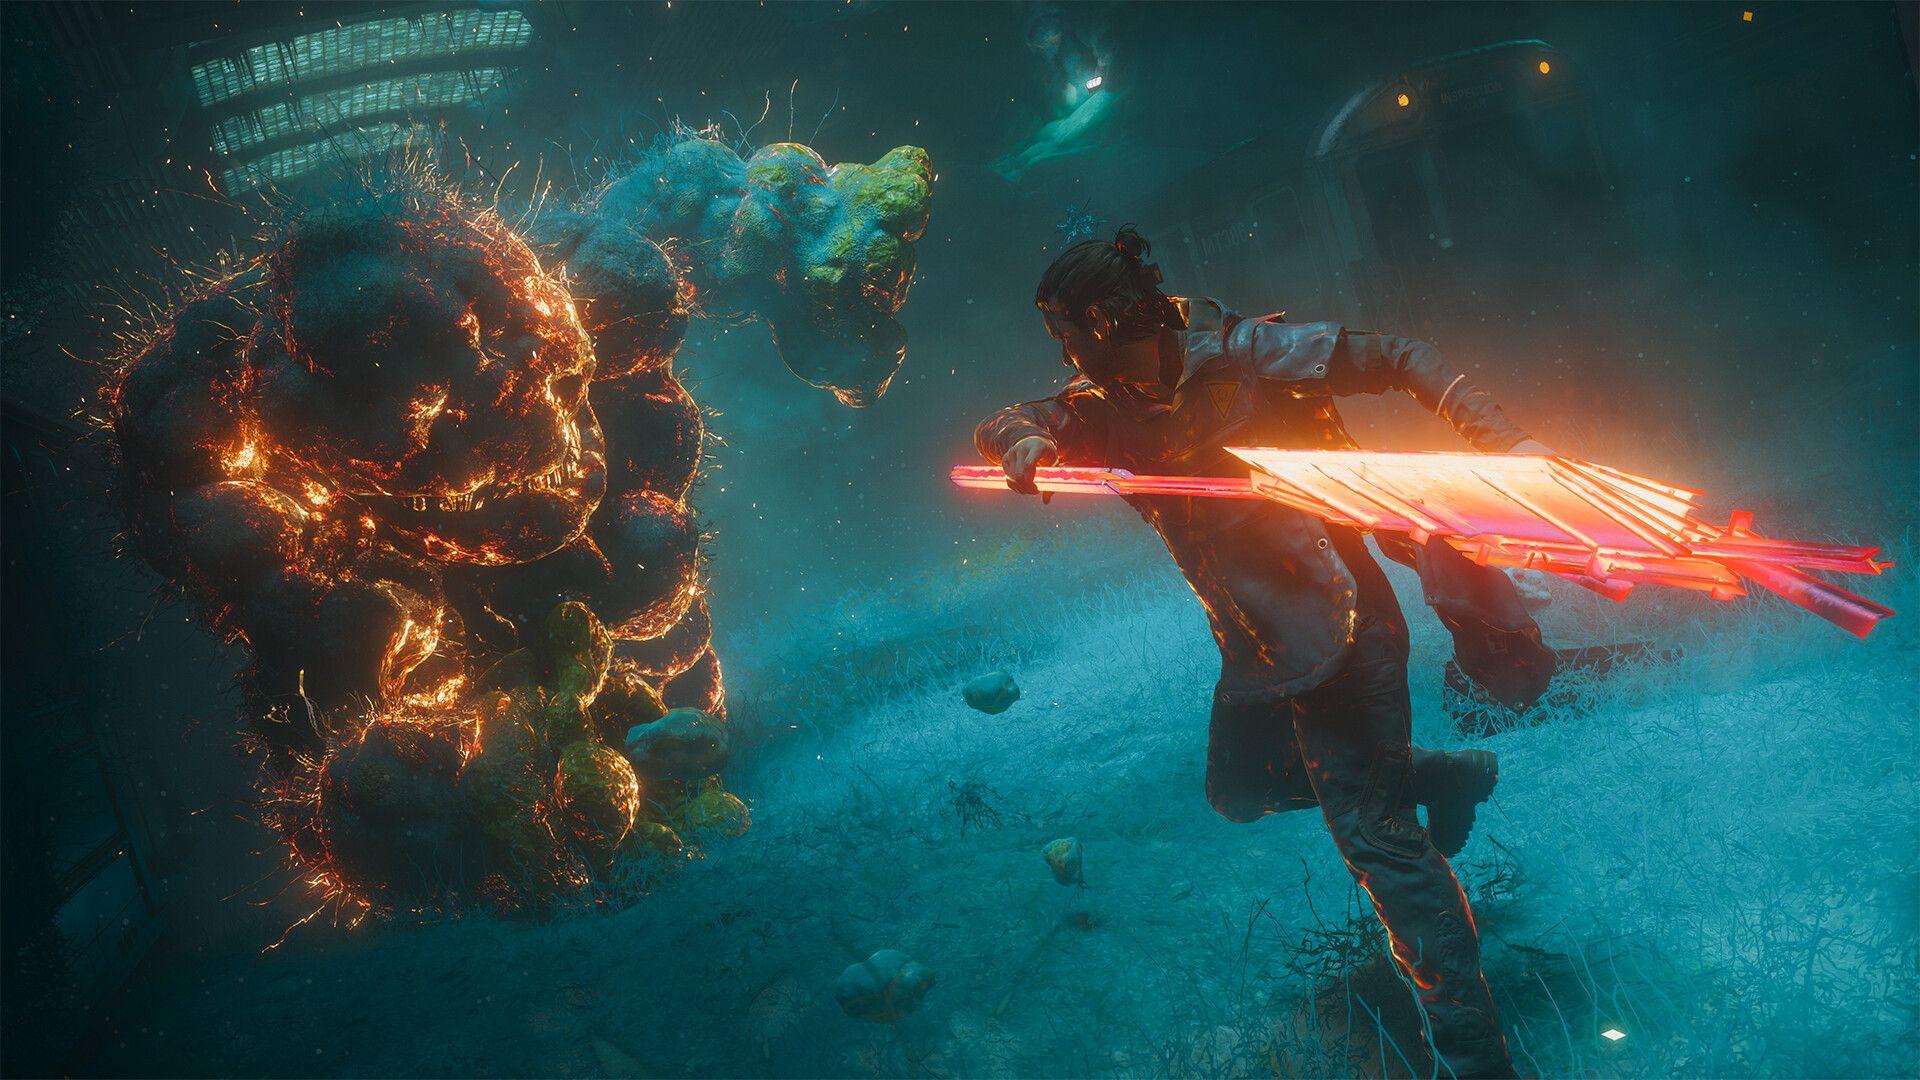


What are artifacts in Control Resonant?
Artifacts are passive items you equip through Dylan's Loadout menu to shape how combat and survival feel. Each one locks in a specific bonus, from raw damage spikes to status-effect resistance, and the right combination can make a noticeable difference in how fights play out. CONTROL Resonant ships with 11 artifacts at launch, and none of them drop ready to use. Every single one requires a crafting step before it goes into your build.
How do you craft artifacts in Control Resonant?
Before you can equip anything, you need two things: the Untapped Artifact version of the item found somewhere in the world, and the required materials plus Source (the game's crafting currency). The Untapped Artifact is consumed during crafting, so there's no going back once you commit.
Crafting happens at the Artifact Formation station inside The Gap. Walk up to the station and press F on PC or L1 on controller when the interaction prompt appears. That opens the Artifact Formation menu, where you can select any artifact you have the materials for and see its effect before you confirm.
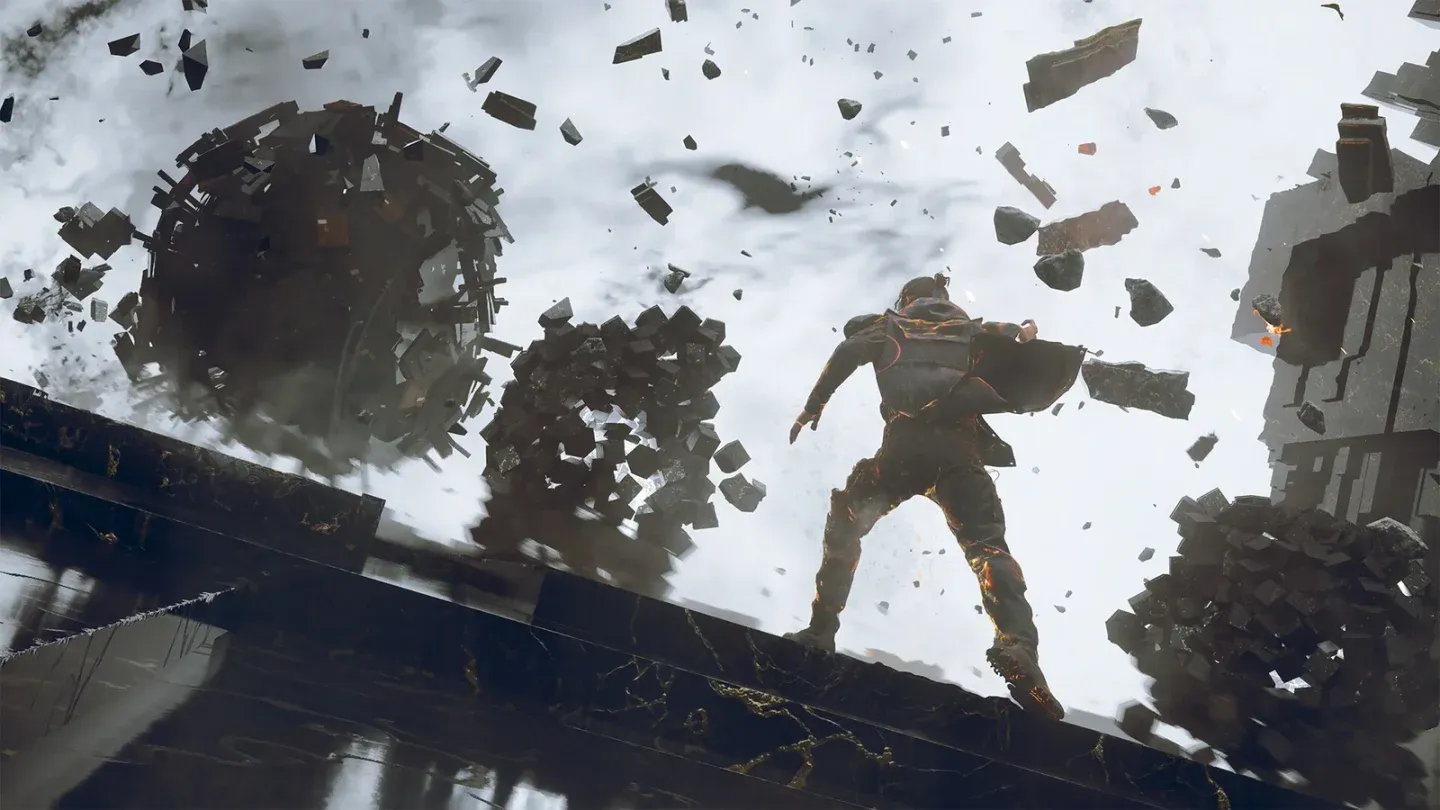
Artifact Formation station location
The family restriction: what you need to know before building
Artifacts are grouped into families, and you cannot equip two artifacts from the same family at the same time. The game doesn't spell this out loudly, so players often discover the restriction mid-loadout when they're trying to stack two effects that seem complementary.
If you end up with an artifact you no longer want, you can recycle it to recover materials. That makes experimenting less punishing, though you'll still need to track down another Untapped Artifact if you want to switch back later.
All Control Resonant artifact recipes and effects
Here's every artifact in the game, what you need to craft it, and exactly what it does.
Which artifacts are worth prioritizing?
After testing these across different combat situations, a few stand out as high-impact picks depending on your playstyle.
Brass Dusters is the obvious choice for aggressive players who lean on Combat Abilities. A 50% Raw Damage increase is massive, but losing all Filter means you're committing hard to an offense-first approach. Pair this with a build that keeps enemies staggered and it pays off.
Heart Monitor functions as a one-time safety net. It breaks on use, so treat it like a consumable that happens to sit in your artifact slot. In difficult sections where a single mistake can end a run, having it equipped buys you a second chance at 20% Health.
Pickpocket's Tool rewards players who nail Perfect Dodges consistently. A free Combat Ability after a dodge creates a tight offense-defense loop that feels great once you have the timing down.
The Wallet is a high-risk option worth understanding before you equip it. When your Power runs out, your Health starts paying for Combat Abilities instead. The 5% Health floor prevents an instant kill, but you can spend a lot of time dangerously low if you're not managing Power carefully.
How to plan your artifact loadout
Because of the family restriction, you're always choosing between effects that might seem to belong together. A few practical guidelines help here:
- Prioritize artifacts that cover a weakness in your current build rather than doubling down on a strength.
- The 1996 Commemorative Coin is worth crafting early if you find Health Elements scarce. Making each one restore more Health reduces how often you need to find them.
- Status-effect resistance artifacts like Face Mask and Lighter are situationally useful. They're not exciting in general play, but specific encounters or zones that spam Infected or Burn make them genuinely strong picks.
- Badge 11-60 is easy to overlook, but Environmental Hazards in The Gap can hit surprisingly hard. If you're exploring thoroughly, it's worth keeping in your rotation.
For more on what to expect from the full game, check out the Control Resonant trophy list and achievement guide if you're aiming for completion, or browse the full Control Resonant strategy guide collection for walkthroughs covering quests, editions, and system requirements.