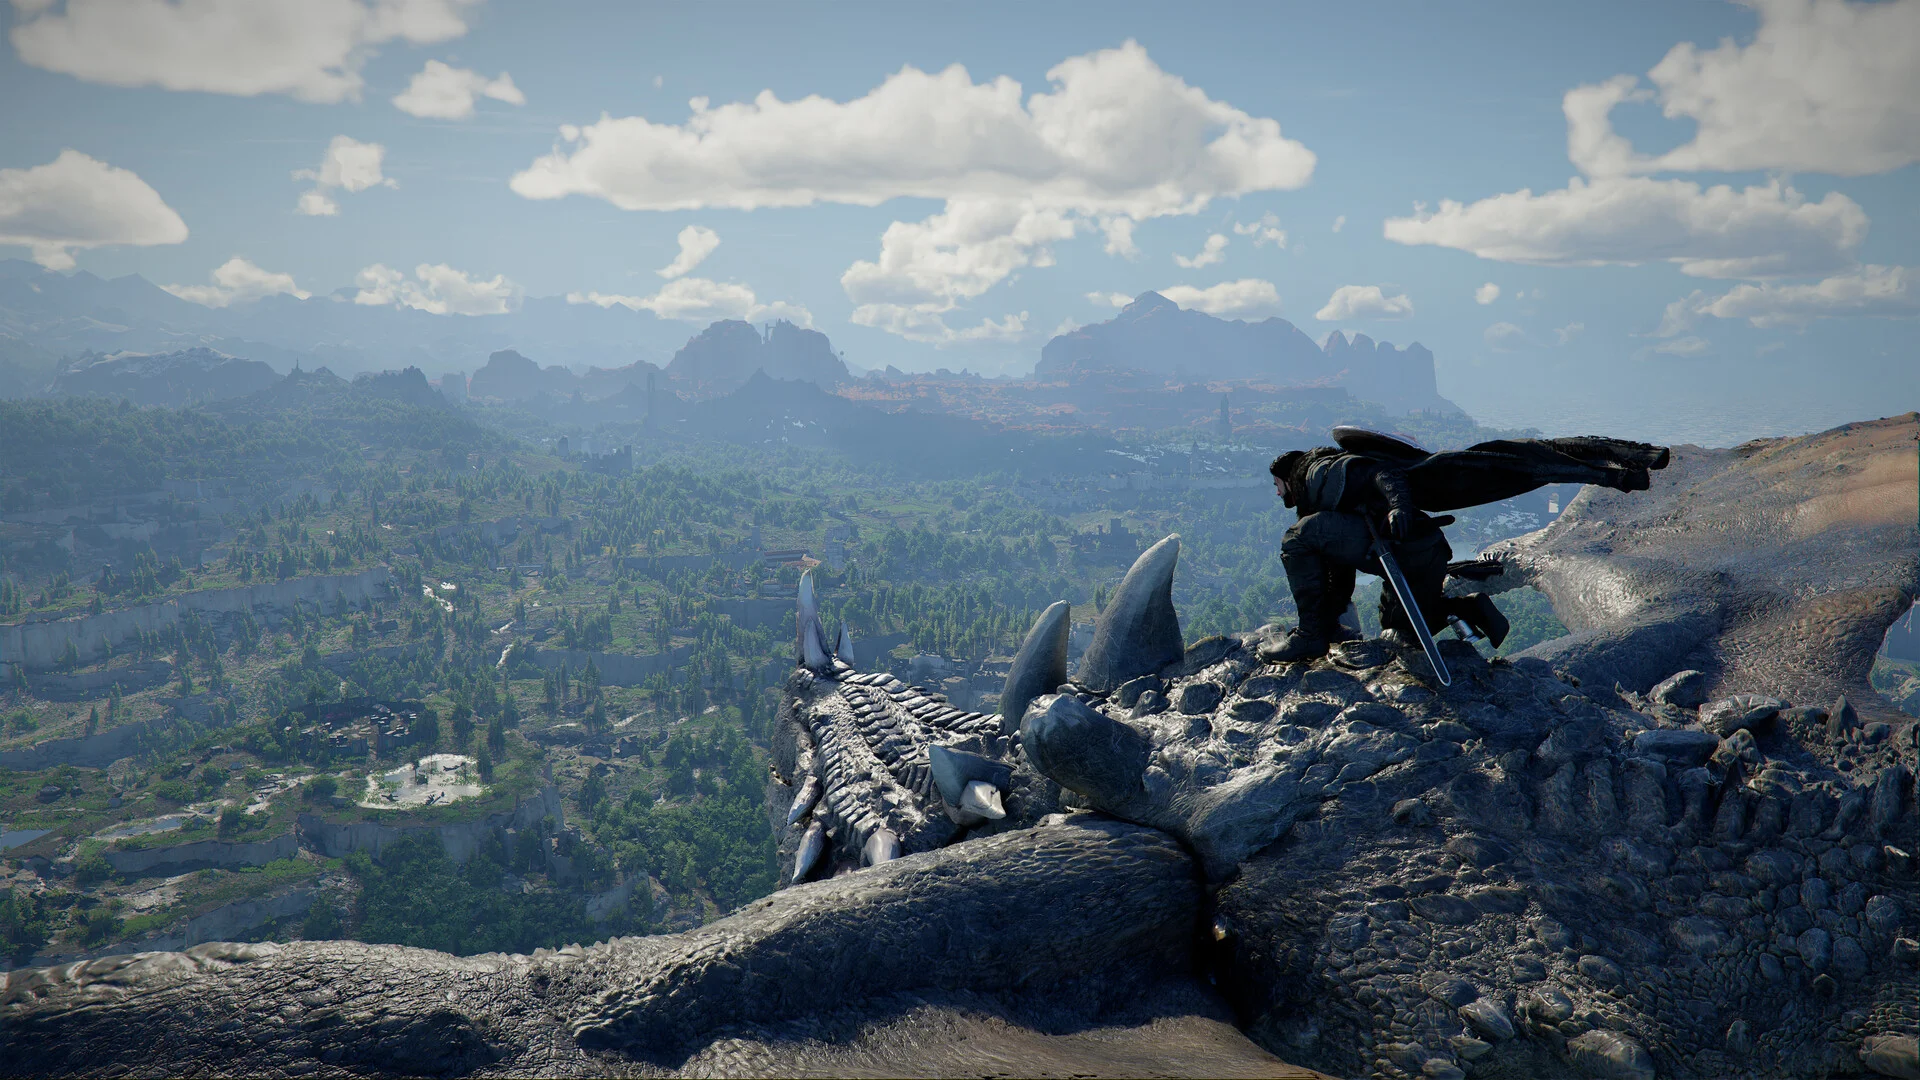

The Garden of Trials in Crimson Desert contains 10 trials and 30 bosses, with a skill upgrade per trial and the Lumen Longsword for clearing every group.
This post-story activity is part of the Charting the Unknown DLC. You can choose your challenges, so target an upgrade that improves an attack you already use. The checklist below covers every three-boss lineup, followed by reward effects and tactics for each group.
All Garden of Trials bosses and rewards
| Trial | All three bosses | Skill reward |
|---|---|---|
| Battlefield Piercers | Gwen Kraber, Half Moon Reaper, Antumbra's Spear | Ascend Stab |
| The Deathbringers | Walter Lanford, The Crimson Warden, Samara the Sandwatcher | Ascended Evasive Slash |
| Marni's Relics | Marni's Clockwork Mantis, Mechanicus, Dreadnought | Ascended Elements |
| Earth-Trampling Giants | The Raging Tempest, Bradie Gu, Mazzul the Dark Justiciar | Ascended Lariat |
| Harbingers of Death | Reed Devil, Crowcaller, Hexe Marie | Ascended Flight |
| The Ironbound Warriors | Saigord the Staglord, White Bearclaw, Cassius Morten | Ascended Turning Slash |
| Anomalous Beings | Kailok the Hornsplitter, Sizlek the Insatiable, Master Du | Ascended Evasive Roll |
| Earth-Shattering Beasts | Kearush the Slayer, White Horn Shepherd of Souls, Ogre | Regeneration |
| The Soul-Consumed | Awakened Ludvig, Awakened Lucian Bastier, Lava Myurdin | Ascended Blinding Flash Finisher |
| The Apparition Bearers | Giath, Fortain the Cursed Knight, Antumbra's Sword | Ascended Forward Slash |
Each row requires a complete group clear to earn its reward. The boss encounters are repeatable.

Check the cube's boss lineup

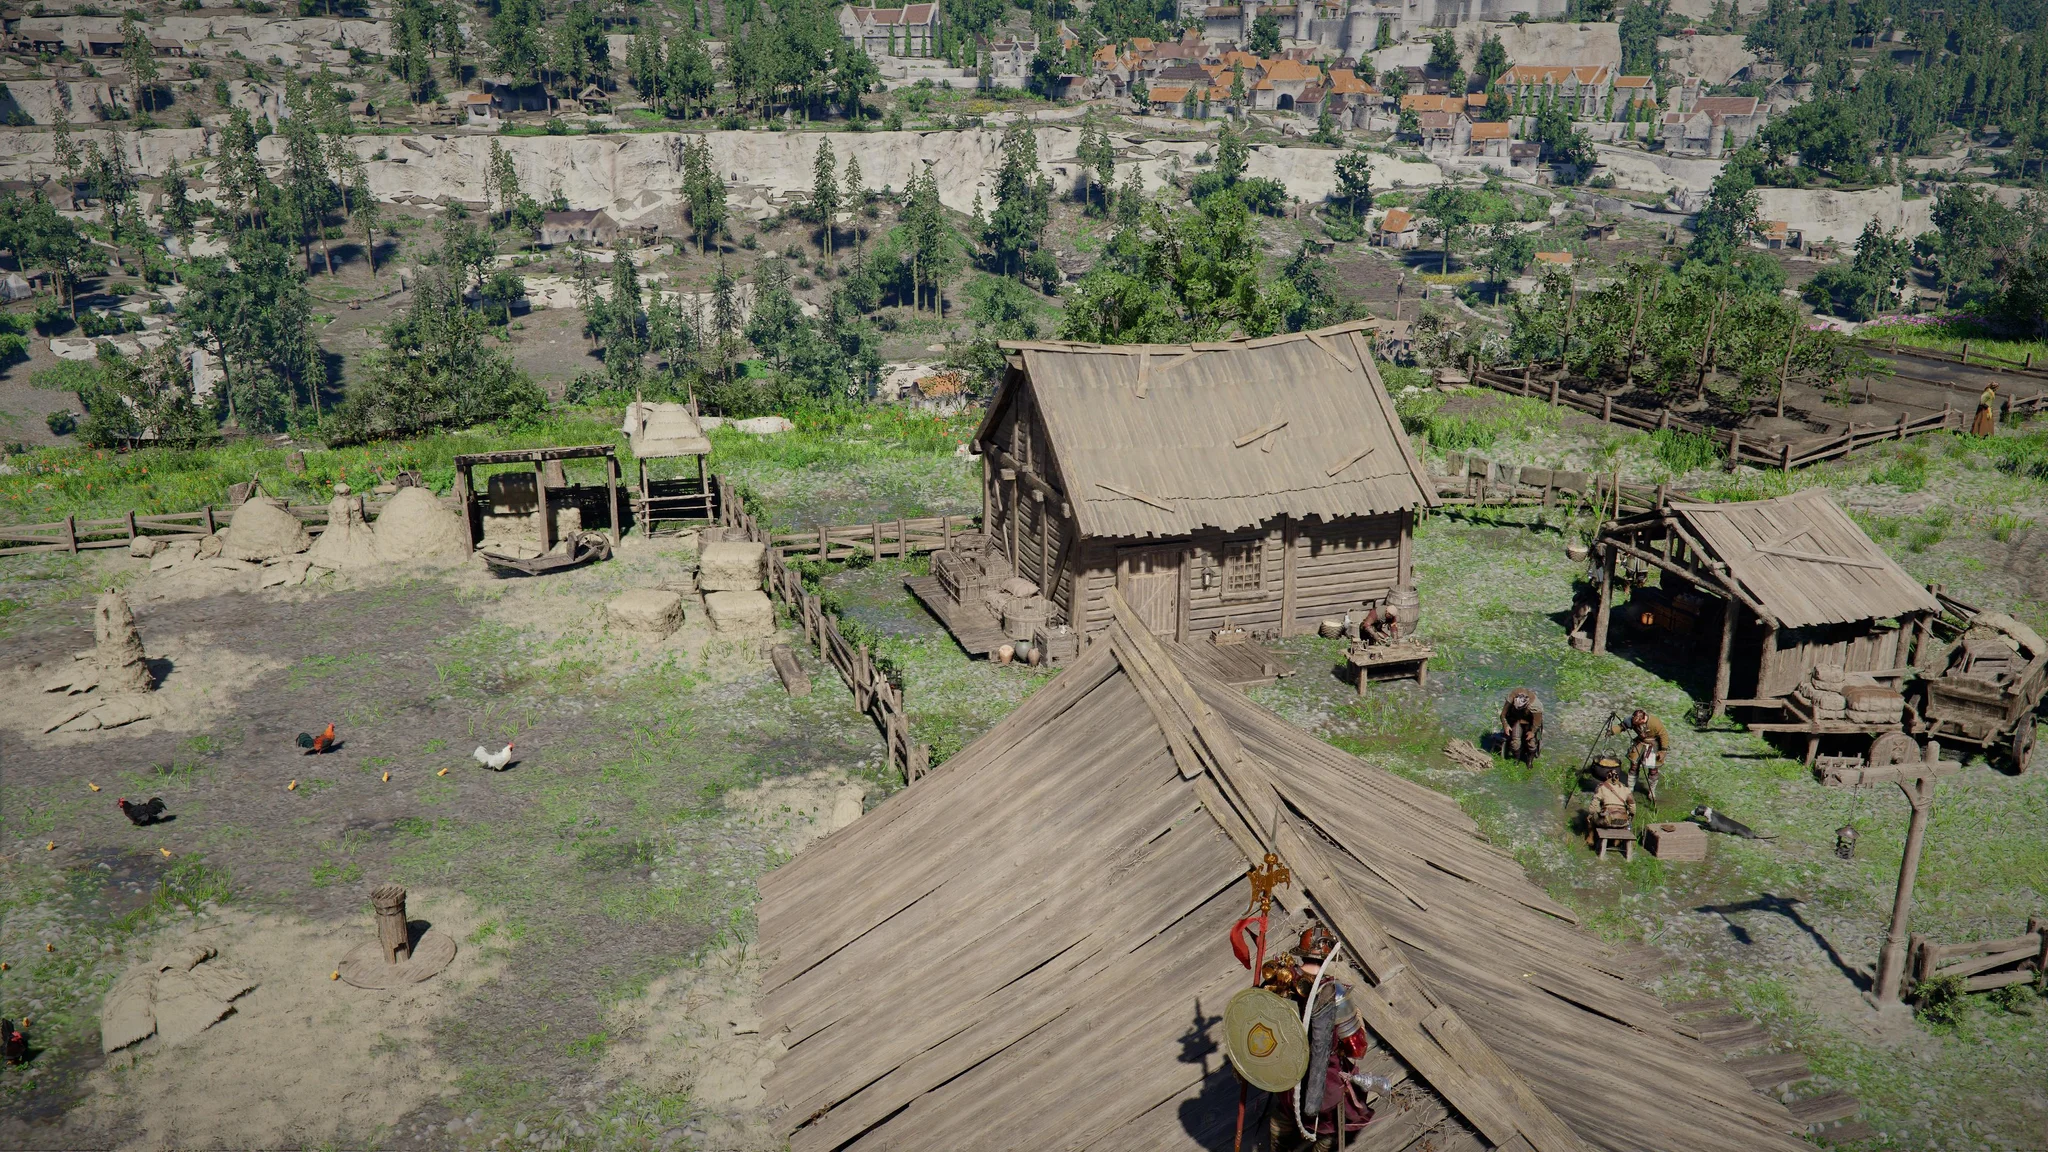
How to unlock and start the trials
You need Charting the Unknown installed and Crimson Desert updated to version 2.04.00 or later. Follow this route to reach the trial selection area:
- Finish the main storyline through Journey's End.
- Travel to the Abyss and fast travel to Axiom Archive, in the Path of Providence above Hernand.
- Approach the archive and meet the White Crow, who introduces the Garden of Trials.
- Take the corridor on the main building's right toward the annex.
- Inspect a cube's challenge name and boss holograms, then interact with it to enter the arena.
- Go through the door and activate the cube inside to begin the first encounter.
After defeating a boss, you must interact with another cube to start the next encounter. You can prepare during this pause without immediately triggering another fight.
The Crimson Desert Garden of Trials unlock guide covers access and companion battle order in more detail.
Prepare your fighters before entering
Bring Kliff, Damiane, and Oongka, then arrange their battle order. If your active fighter falls, control passes to an available companion. You can continue until the group is cleared or every character is defeated, so upgrade your backup characters' weapons and armor too.
Build your Abyss Gear setup around attacks you regularly land. Health-regenerating effects provide recovery during encounters, while effects that strengthen your main skills keep your damage setup focused.
Use Focus during the pauses between rounds to recover Spirit. For help with individual enemies before attempting their trial groups, use the Crimson Desert boss guide.
Trials that reduce Spirit costs
Marni's Relics
Ascended Elements reduces the Spirit cost of applying elemental effects to skills. Choose this group early if elemental attacks are central to your setup.
Ice helps control Marni's Clockwork Mantis, Mechanicus, and Dreadnought by freezing or slowing them. Use those openings to land your main damage combination instead of attacking through their active moves.
The Ironbound Warriors
Ascended Turning Slash reduces Turning Slash's Spirit cost. The corresponding upgrades also unlock for Damiane's Smiting Strike and Oongka's Quaking Fury, making this group relevant to all three fighters.
Use Focus to help time parries, then punish openings with your main weapon combinations. If the first encounter is your obstacle, the Crimson Desert Saigord the Staglord boss guide covers that fight specifically.
Earth-Trampling Giants
Ascended Lariat reduces Lariat's Spirit cost. Prioritize this reward if Lariat is already part of your regular unarmed or grappling combinations; its benefit depends on using that skill.
Anomalous Beings
Ascended Evasive Roll reduces Evasive Roll's Spirit cost. This is the Spirit-saving option for a setup that frequently uses the skill to reposition.
Focus-assisted parries help against Kailok the Hornsplitter and Sizlek the Insatiable. Master Du's mobility makes sustained pressure harder, so build his Stun gauge and save your strongest attacks for the resulting opening.
Trials that reduce Stamina costs
Harbingers of Death
Ascended Flight reduces the Stamina cost of maintaining Flight. The benefit also applies to Damiane's glider and Oongka's jetpack, so this reward has a use outside boss encounters.
Parry Reed Devil and Crowcaller when openings allow. Against Hexe Marie, use Nature's Snare to catch and return incoming projectiles. Returned attacks help build Stun; close in with your strongest skills once she becomes vulnerable.
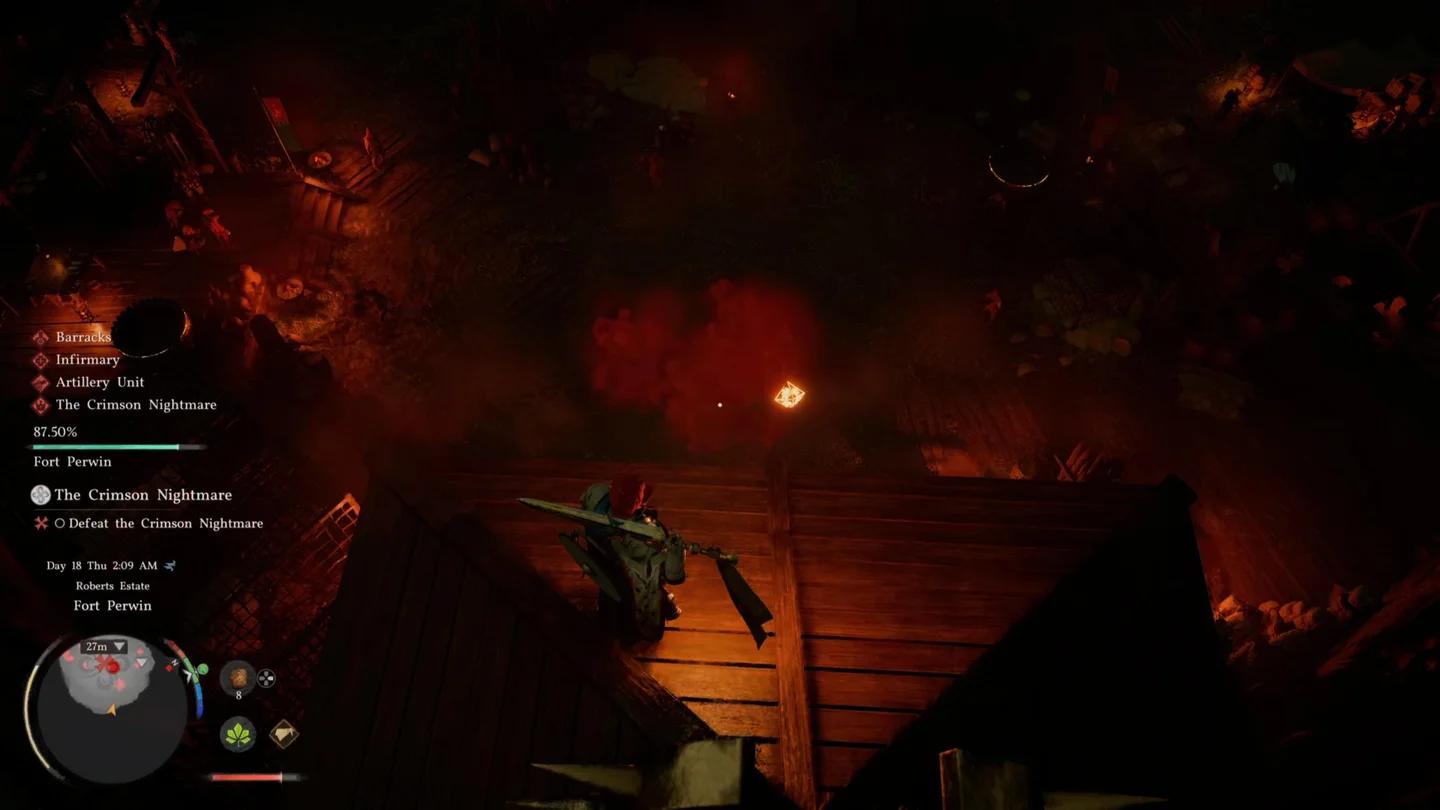
Return Hexe Marie's projectiles
The Apparition Bearers
Ascended Forward Slash reduces Forward Slash's Stamina cost. Target this group if that attack is a regular part of your heavy-attack pressure and Stun buildup.
Focus-assisted parries are effective across the group, particularly against Antumbra's Sword. During Fortain the Cursed Knight's encounter, move around or jump past the illusions to reach Fortain behind them instead of remaining occupied with the apparitions.
Trials for recovery and attack upgrades
Earth-Shattering Beasts
Regeneration restores Health and Spirit whenever you land successful unarmed attacks. This is the recovery reward to prioritize if your setup regularly uses unarmed combat.
Fire can create openings throughout the group, while Force Palm can interrupt attacks when an opportunity appears. Against Ogre, use perfect evades around its slams, reposition behind it, and punish its recovery. Applying fire and then switching to ice can help slow it and control the encounter.
Battlefield Piercers
Ascend Stab shortens the charging time required for Slash. Choose this upgrade if you want to fit that charged attack into shorter openings.
Use Focus to help time parries against the group's weapon attacks. Follow successful defensive actions with heavy combinations, and use Force Palm interruptions to create additional openings. Keep enough control over your attacks to defend when the boss recovers.
The Deathbringers
Ascended Evasive Slash lets you chain into Evasive Slash while using another skill. Its backward-dodging strike becomes an option within your existing combinations.
Use Nature's Snare against The Crimson Warden's and Samara the Sandwatcher's projectile attacks. Force Palm interruptions and Stun create opportunities to close the distance and use your main damage skills.
The Soul-Consumed
Ascended Blinding Flash Finisher allows certain Abyss Gear effects to apply when using Blinding Flash Finisher. Corresponding improvements affect Damiane's Reckoning and Oongka's Devastation.
This trial starts with the bosses' final forms, without replaying their earlier phases. Adjust your approach for each encounter:
- Awakened Ludvig: Use Focus and Flurry Shot to build Stun while he teleports or channels ranged attacks.
- Awakened Lucian Bastier: Use Focus to help parry the attacks that follow his teleportation.
- Lava Myurdin: Use ice attacks to exploit his vulnerability.
Save your strongest combinations for Stun windows when movement or teleportation prevents sustained attacks.
How to claim the Lumen Longsword
The Lumen Longsword is a glowing, two-handed weapon. It is separate from the one-handed Lumen Sword found in underwater ruins.
Once every group in the checklist is complete, return to the arena and approach the pillar at the back of the area. Interact with the pillar to collect the Lumen Longsword.