Search games, articles, guides...CtrlK
Sign InGet Started
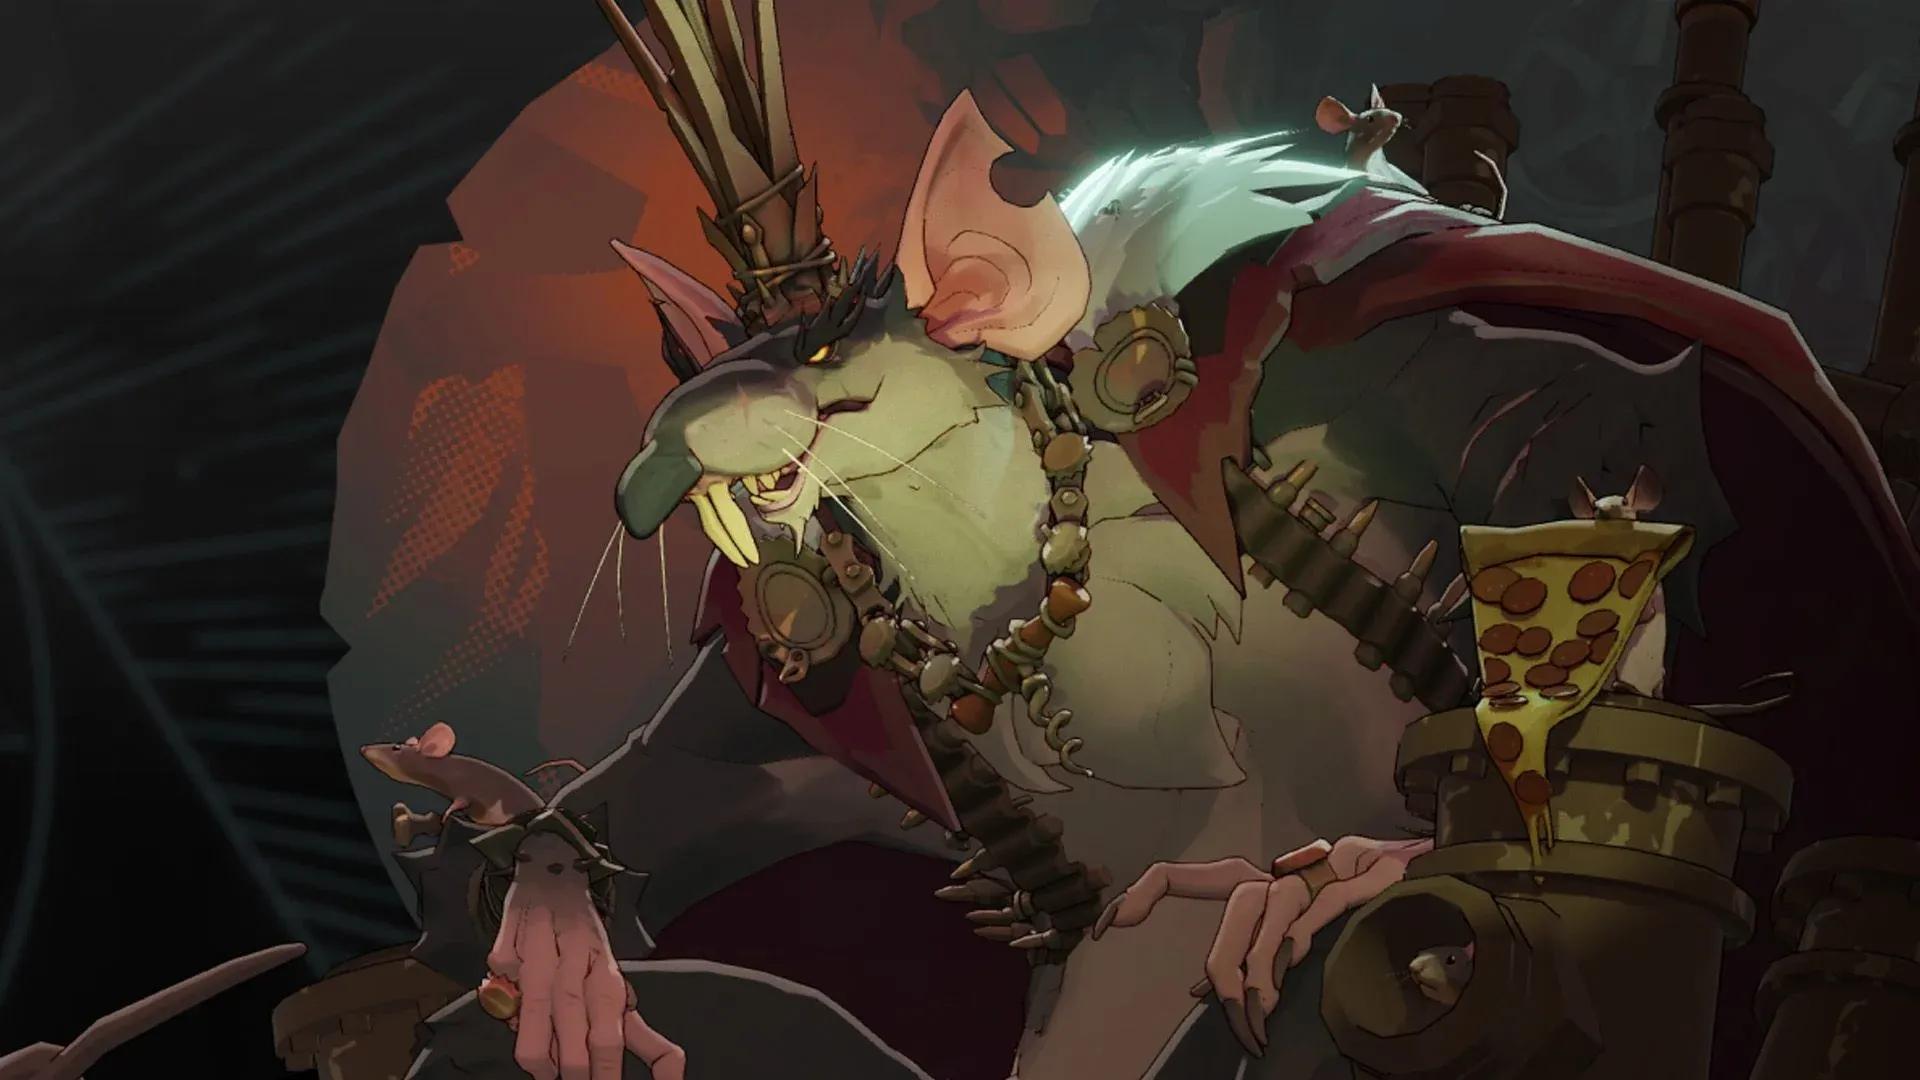
Master Rat King in Deadlock with full ability breakdowns, the best Weapon and Vitality build, and tips to dominate teamfights.

Written by Abdalla
Content Writer
See more GAMES.GG guides on Google
Add us as a preferred source and our guides show up first in your results.
Deadlock Venator Build Guide: Dominate with the Crossbow Hunter
Master Venator in Deadlock with the best item builds, ability order, and counter strategies to win more matches.

Deadlock Graves Guide: Best Build, Abilities & Tips
Master Graves in Deadlock with full ability breakdowns, the best Spirit build, and tips to dominate every phase of the game.

Deadlock Silver Guide: Best Build, Abilities & Counters
Master Silver in Deadlock with the best Frenzy build, full ability breakdowns, and counters to dominate every fight.
Rat King dropped into Deadlock on October 2, 2026 as the first of six new heroes arriving with the City Never Sleeps update. He plays as a frontline gun bruiser who wins teamfights by layering control on top of sustained weapon pressure. His kit rewards players who understand spacing and timing over those who just want to hold a damage button.
Rat King sits at the intersection of tank and brawler. His base stats are 800 max health, 0% Bullet Resist, 0% Spirit Resist, and a move speed of 6.8 m/s. His weapon deals 60 DPS with 6 bullet damage per shot, fires at 3.33 bullets per second, and carries 24 rounds in the magazine. Light melee hits for 50 and heavy melee for 116.
He is big, visible, and expected to stand in dangerous places. The upside is that his kit gives him tools to survive there: a temporary barrier, bullet deflection, a swarm that strips Bullet Resist from enemies, and a teamfight ultimate that buffs every ally nearby.
Scrap Grenade throws a scrap grenade that detonates 3 times, dealing 65 bullet damage per detonation in an 8-meter radius and applying a 20% move speed slow for 4 seconds. The cooldown sits at 26 seconds. One useful mechanical detail: the grenade can be meleed to knock it away, which means both you and your enemies can redirect it mid-flight.
| Upgrade | Cost | Effect |
|---|---|---|
| Tier 1 | 1 AP | -8s cooldown |
| Tier 2 | 2 AP | +65 detonation damage |
| Tier 3 | 5 AP | Adds a larger final detonation |
The 1 AP cooldown reduction is strong early because it lets you throw grenades more frequently during lane pressure. The 5 AP upgrade adds a bigger final blast that can punish enemies who try to walk through the slow zone.
Rat Swarm sends rats leaping onto enemies within 50 meters, dealing 8 spirit damage per bite at a 1-second bite interval. Each rat attached reduces the target's Bullet Resist by 1% per bite, and up to 5 rats can attach to a single enemy. The swarm lasts 8 seconds, the debuff lasts 4 seconds per bite, and the cooldown is 28 seconds with 1 charge by default.
The key counterplay is dashing. Enemies can shake off an attached rat by performing a ground or air dash. This means Rat Swarm is at its strongest when the enemy has already spent their dashes.
| Upgrade | Cost | Effect |
|---|---|---|
| Tier 1 | 1 AP | +1 charge |
| Tier 2 | 2 AP | Increased swarm size, +4s debuff duration |
| Tier 3 | 5 AP | +8 damage per bite, -1% additional Bullet Resist per bite |
The 5 AP upgrade is the payoff for your whole gun pattern. More rats biting faster means Bullet Resist drops faster, which makes every weapon shot during that window hit harder.
Royal Pestments gives Rat King scrappy armor, creating a barrier equal to 15% of his max health for 6 seconds. While the barrier holds, incoming bullets have a 15% chance to deflect back at the attacker. Cooldown is 22 seconds.
The uptime here is actually decent. With a 6-second duration and a 22-second cooldown, you spend roughly 27% of the time inside the barrier window at base. That rises significantly with upgrades.
| Upgrade | Cost | Effect |
|---|---|---|
| Tier 1 | 1 AP | +4s duration |
| Tier 2 | 2 AP | -8s cooldown, +15% Bullet Return Chance |
| Tier 3 | 5 AP | Reduces all incoming damage to a max of 250 + 10% max health as barrier |
The 5 AP upgrade is one of the strongest defensive tools in the game when timed correctly. Capping individual hits at 250 during the effect can completely absorb burst windows from carry heroes.
Rule, Ratannia! is a two-phase ultimate with a 130-second cooldown. First, Rat King charges up and summons the Banner of Ratannia, granting all nearby allies within 24 meters a +3 m/s move speed bonus, immunity to slows, and 20 damage reduction for up to 12 seconds. Second, he can slam the banner into the ground to trigger a sewer eruption that deals 200 bullet damage, applies knockup and a 40% move speed slow, and releases rats that apply Rat Swarm to any enemies hit. The flag itself lasts 12 seconds after the slam.
| Upgrade | Cost | Effect |
|---|---|---|
| Tier 1 | 1 AP | -20s cooldown, +1 m/s move speed |
| Tier 2 | 2 AP | +8s charge duration, +8s flag duration, +8m radius |
| Tier 3 | 5 AP | +150 damage, +15% damage reduction |
The move speed aura activates the moment you summon the banner, before you slam it. That means you can start a teamfight engage from a long distance by running at the enemy with your whole team buffed. Coordinate with lower-mobility teammates to get the most out of the window before committing the slam.
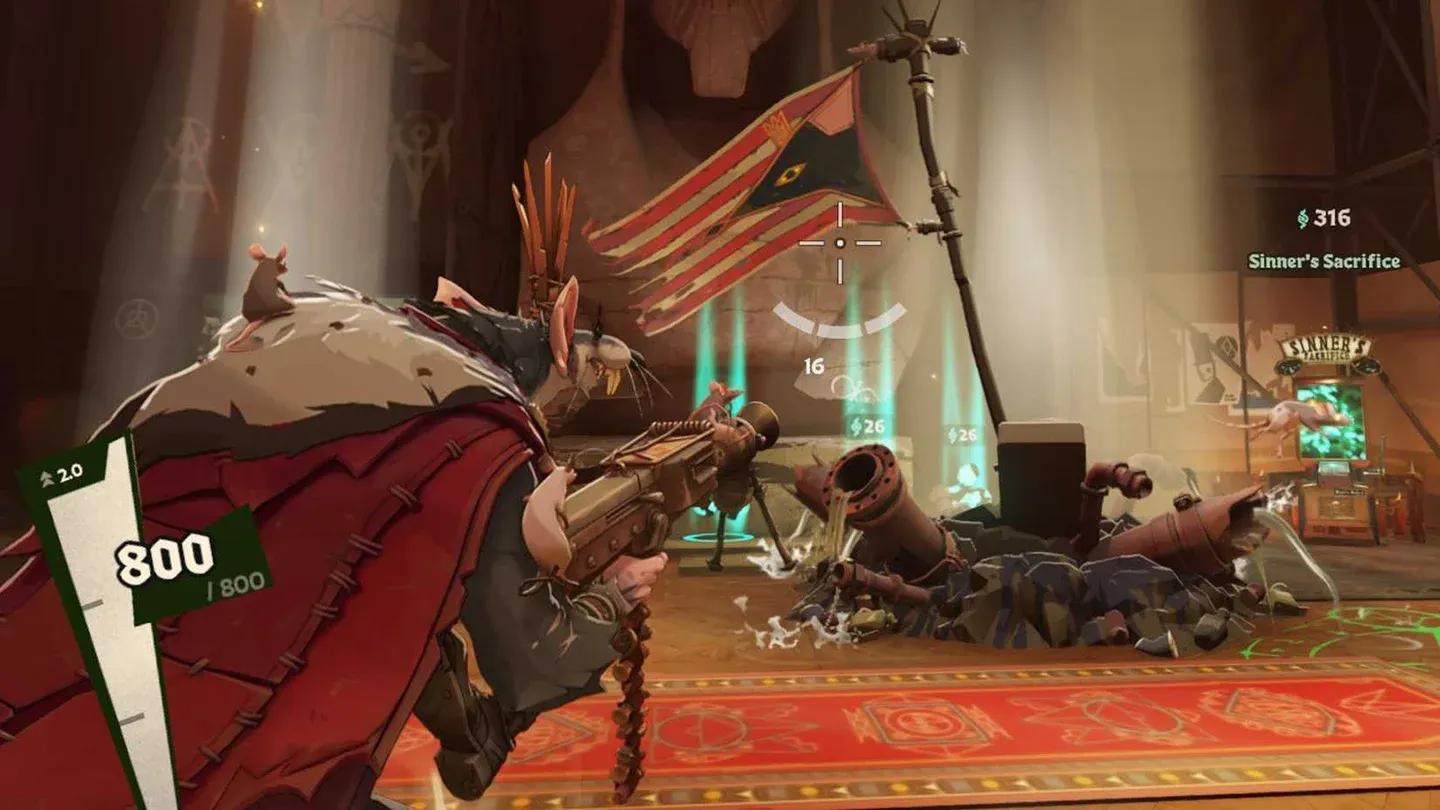
Banner slam controls whole fights
Rat King's build leans heavily on Weapon and Vitality items. His gun pressure is real, his abilities create windows for that gun to shine, and Royal Pestments scales directly from max health. Stacking Spirit items to amplify Rat Swarm alone gives up too much of what makes him effective as a frontliner.
Start with High-Velocity Rounds to compensate for low base bullet velocity. Rat King's shots need to connect while enemies are slowed or carrying rats, and projectile consistency is the cheapest way to make that happen. Upgrade it into Opening Rounds during the lane phase.
Monster Rounds helps with objective pressure and can be upgraded into Cultist Sacrifice almost immediately. On the survival side, Extra Health has direct synergy with Royal Pestments and transitions into Fortitude heading into mid game. Grit and Extra Regen are both worth buying earlier if the lane is actively chipping you down.
| Item | Role |
|---|---|
| Fleetfoot | Prevents kiting, keeps you attached to targets |
| Slowing Bullets (into Weighted Shots) | More control to complement Rat Swarm |
| Berserker | Core damage scaling |
| Debuff Remover (Dispel Magic) | Necessary in most games |
| Fortitude | Max health for Royal Pestments synergy |
Fleetfoot and Slowing Bullets solve the problem of Rat King getting kited. He is a large hero who needs to stay close to deal damage, and movement items do more work than raw damage when you cannot reach your target. Upgrade Slowing Bullets into Weighted Shots and finish the core with Berserker.
Dispel Magic is described as a necessity in 90% of games. There will be removable debuffs deciding fights, and Rat King cannot afford to be locked down while his barrier is down.
Colossus is the safe default when you are unsure what to buy. Siphon Bullets works well against frontline-heavy enemy teams. Plated Armor is the answer when you are facing multiple gun-heavy heroes. Reactive Barrier into Indomitable handles single-target lockdown, while Debuff Reducer into Unstoppable is the correct path when you need sustained CC immunity.
For flex picks: Silencer and Inhibitor are worth buying if nobody else on your team can. Counterspell is strong when you can consistently trigger it. Heroic Aura fills a gap if your team lacks it.
On the situational Spirit side, Mystic Reach extends the radius of Rule, Ratannia! for larger objective fights. Duration Extender and Superior Duration can extend the banner's active window in super-late-game scenarios. Greater Expansion or Ballistic Enchantment can add range to Scrap Grenade if your build is already committed to gun pressure.
All four abilities get their 1 AP upgrade relatively early. After that, Scrap Grenade and Rat Swarm are the two skills that make your weapon purchases feel relevant, so they take priority for 2 AP upgrades. Royal Pestments should not sit at 1 AP for long once enemy burst becomes a threat. Its 2 AP upgrade cuts the cooldown by 8 seconds and increases Bullet Return Chance to 30%, which is a significant defensive step. The 5 AP upgrade on Royal Pestments, capping incoming damage at 250 during the effect, can be a fight-deciding investment against burst-heavy lineups.
Rule, Ratannia! upgrades are worth pursuing whenever teamfights become the primary activity. The 2 AP upgrade adds 8 seconds to both the charge and flag duration and expands the radius by 8 meters, which makes the banner aura cover a much larger fight.
The mistake most players make with Rat King is treating him as a Spirit caster because Rat Swarm deals Spirit damage. His gun pattern and Bullet Resist reduction on upgraded rat bites both point toward a Weapon-primary build. Full Spirit stacks waste the frontline tools that make him dangerous.
The opposite mistake is buying only damage and ignoring survivability. Rat King has 800 base health but no innate resists. He is supposed to stand in dangerous space near his team. If he dies before the banner slam lands, the ultimate does nothing. Build the health and movement first, then layer damage on top.
Timing Royal Pestments reactively instead of proactively is the third common error. The barrier is temporary and does not stack with resists. Pop it before you walk into the burst window, not after the first shot already connected.
For a broader look at how Rat King fits into the current roster, check the Deadlock character tier list to see where he stacks up against the full hero pool.
Start the engage by activating Rule, Ratannia! from a distance and walking toward the fight with your team inside the aura. The move speed bonus and slow immunity are active before the slam, so low-mobility teammates can keep pace. Once the enemy is grouped or has committed to a position, slam the banner to deal 200 damage, knock enemies up, slow them by 40%, and apply Rat Swarm through the sewer rats.
Then throw Scrap Grenade to cut off retreating enemies and keep the slow on top of them. Fire your weapon at the highest-priority target while rats are biting, because that is when Bullet Resist is dropping and each shot hits harder. Activate Royal Pestments before the enemy's return fire lands.
Rat Swarm is most effective when the enemy has no dashes left. Track how many dashes each hero in the enemy team has before committing the swarm in a 1v1 situation.
For more context on how to handle objectives and rotations while playing a frontline hero, the Deadlock mid game mastery guide covers rotation timing and objective priority in detail.
| Stat | Value |
|---|---|
| Max Health | 800 |
| Health Regen | 2 |
| Bullet Resist | 0% |
| Spirit Resist | 0% |
| Move Speed | 6.8 m/s |
| Sprint Speed | 1.6 m/s |
| Stamina | 3 |
| DPS | 60 |
| Bullet Damage | 6 |
| Ammo | 24 |
| Bullets per Second | 3.33 |
| Light Melee | 50 |
| Heavy Melee | 116 |
Rat King is a brand-new hero and individual values can shift quickly with balance patches. Check back after any City Never Sleeps updates to see if the build priorities have moved. For a full rundown of which items are performing best across the roster right now, the Deadlock item tier list breaks down win rate and pick rate data with detailed explanations. New to the game entirely? The Deadlock guides hub has everything from beginner fundamentals to advanced mechanics in one place.