

For a fast Diablo IV Spiritborn build, use Counterswarm with Ring of Writhing Moon, Counterattack of the Swarm, and Rushing Claw. Your Poison swarms orbit you while Rushing Claw carries their damage through enemy packs.
This setup suits endgame players who want mobile farming without constantly stopping to attack. Start with a Level 70 Spiritborn and Torment 1 unlocked, then solve your movement cooldowns before chasing specialized equipment. The recommendations below cover Season 15: Hell's Legacy, including starter requirements, the combat loop, and upgrades for farming or pushing. Skill and item interactions can change with balance updates.
Which Spiritborn build should you choose?
Counterswarm is a strong choice if you enjoy RPG games where movement is part of dealing damage. Pestilent Swarms stay around you, so moving into another pack brings your damage with you. Its main frustration is movement downtime: Rushing Claw can run out of charges, and walls can interrupt your route.
Pick your equipment route around the content you actually want to run.
| Counterswarm variant | Best for | Main requirement or trade-off |
|---|---|---|
| Starter | Getting the swarm loop working | Ring of Writhing Moon, starter aspects, and Prodigy's Tempo |
| Endgame | General farming, seasonal objectives, and Paragon progression | Better cooldown management and an upgraded Talisman setup |
| Push | Prioritizing difficult clears | Evolving Claws uses enemy targets for its Ferocity refill loop |
| Speedfarm | Dedicated fast farming | Advanced setups add Enigma movement and require supporting Vigor generation |
The Endgame variant is the sensible default. Choose Push when clearing harder content matters more than traveling through empty space, or Speedfarm when you want equipment dedicated to shorter runs.


What do you need before switching to Counterswarm?
Secure the ring and starter aspects
Ring of Writhing Moon is the first target because it keeps your swarms circling around you. Farm Lord Zir for it. You do not need a Mythic version to make the build work.
Collect these aspects for the starter setup:
- Aspect of Alacrity: Adds Cooldown Effectiveness, helping your skills recover faster.
- Aspect of Kinetic Suppression: Supplies Resolve and increased damage.
- Aspect of Pestilence: Part of the starter swarm equipment package.
- Aspect of Infestation: Another core starter aspect to secure before progressing.
Unlock the Prodigy's Tempo board and its Legendary node for this starter route. Its activation depends on casting Rushing Claw 3 times consecutively, so the movement sequence matters as much as owning the equipment.
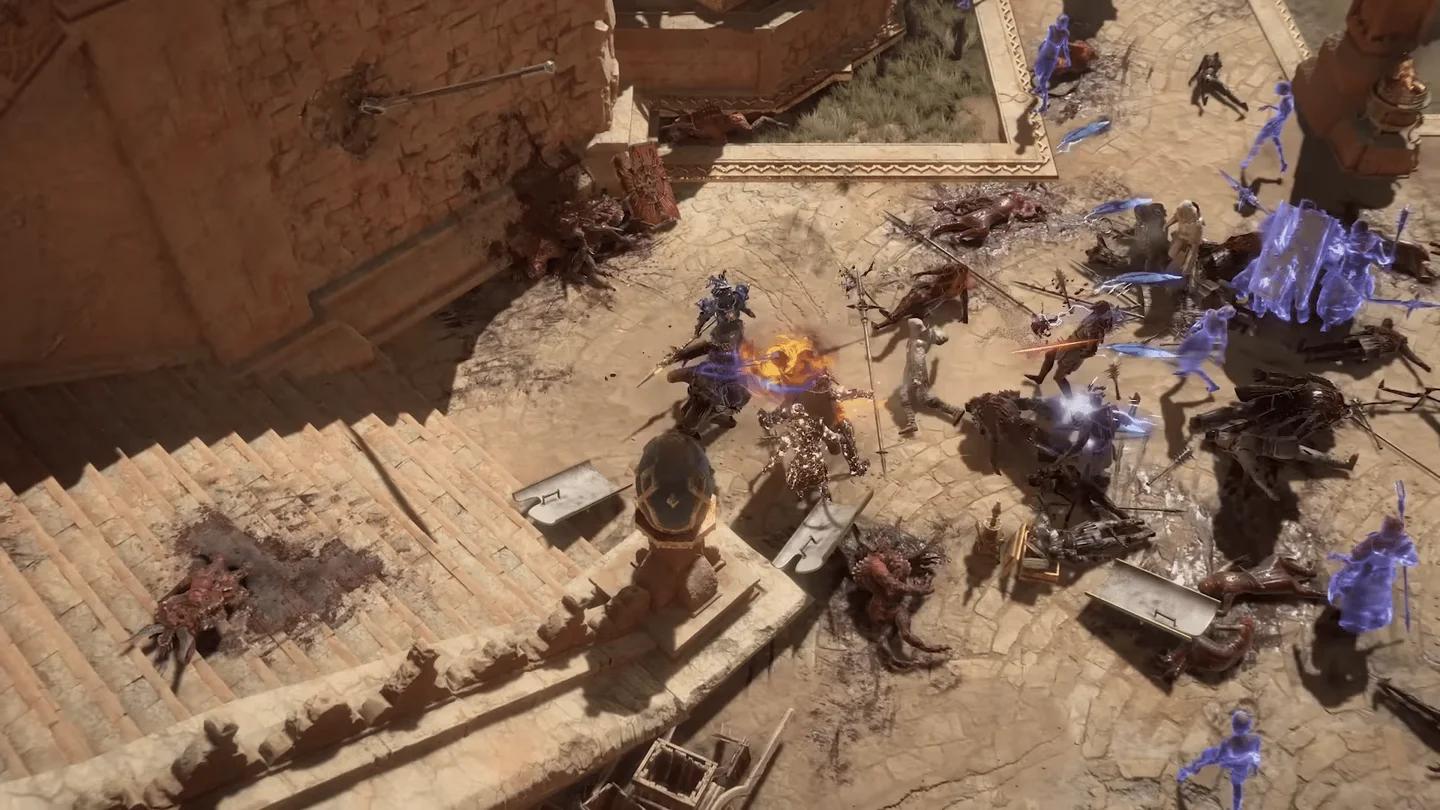
Keep your swarms orbiting
Prioritize cooldowns before luxury upgrades
Look for cooldown affixes on your rings, gloves, helmet, and amulet. Add mobility cooldown tempers to your boots and amulet. These upgrades address the build's most noticeable interruption: waiting for Rushing Claw charges.
After the ring, target Harmony of Ebewaka for damage scaling through skill tags. Bartuc drops both Harmony of Ebewaka and Loyalty's Mantle, which becomes useful for a later cooldown-focused setup.
For a Legendary weapon, favor a Polearm. Counterswarm values its higher base damage rather than the faster attacks offered by Glaives and Quarterstaves.
Which skills should you use, and how does the rotation work?
Counterswarm uses six active skills. Counterattack of the Swarm creates the damage engine, while the remaining skills support movement, damage, and survival.
| Skill | Job in the build | How to use it |
|---|---|---|
| Counterattack of the Swarm | Creates Pestilent Swarms and applies Weaken | Spend both charges to establish your swarms |
| Rushing Claw | Movement and Resolve generation | Move through packs while charges are available |
| Ravager | Supports cooldown recovery through Flurry of Claws | Activate before starting your movement loop |
| Toxic Skin | Provides healing | Refresh as it becomes available |
| Scourge | Applies Vulnerable | Use to support swarm damage |
| The Devourer | Healing and support for Supremacy stacking | Cast whenever its cooldown finishes |
Use this opening sequence:
- Activate Ravager, Toxic Skin, Scourge, and The Devourer.
- Cast both charges of Counterattack.
- Use Rushing Claw through enemies.
- For the Prodigy's Tempo starter route, cast Rushing Claw 3 times consecutively to trigger the node.
- Refresh your support skills as their cooldowns finish.
When Rushing Claw is unavailable, run or use your normal Evade until its charges recover. Spare skill points earned through the Season Journey can go into Scourge for more damage.
How do you fix Rushing Claw downtime?
Understand cooldown recovery
Cooldown Reduction and Cooldown Effectiveness solve different parts of the problem. Cooldown Reduction shortens the cooldown, while Cooldown Effectiveness increases how quickly the remaining cooldown is consumed.
At 100% Cooldown Effectiveness, 1 second of real time removes 2 seconds of cooldown. Aspect of Alacrity and Ravager: Flurry of Claws provide this recovery mechanic, which works alongside Cooldown Reduction.
Choose the correct movement upgrade
Evasive Swipe can move without an enemy target. It is best for players who want movement between packs, provided their cooldown setup can support it.
Evolving Claws offers the Ferocity-based refill route. With at least 30 ranks in Ravager, you can maintain the required minimum Ferocity for repeated targeted Rushing Claw casts. This is especially useful in boss arenas where targets remain nearby.
If your minimum Ferocity unexpectedly drops despite having 30 Ravager ranks, check ranks granted through Harmony of Ebewaka and your charms. Align charm skill ranks with your primary Spirit Hall to avoid the interaction that can disrupt Ravager's minimum Ferocity.
How should you upgrade your Talisman and Spirit Halls?
Start with the five-piece Berú of Balazan's Bite setup. Casting Scourge can activate its five-piece bonus, so it remains useful against a single boss rather than depending entirely on packs.
A six-slot Seal becomes a major upgrade because it opens room for set combinations and a Unique charm. Prioritize that capacity over a five-slot Seal with a more attractive affix.
Use the midgame cooldown route when charges are the problem
The cooldown-focused midgame route combines Loyalty's Mantle with Jaguar primary and secondary Spirit Halls. This is best for players whose movement recovery is still limiting their clears.
The starter setup can obtain Barrier through Gorilla Primary Spirit Hall and Que, which triggers Earthen Bulwark. Later variants change these sources, so adjust your defenses along with your Spirit Hall choices.
Build toward the Endgame set combination
With Seal of the Diamond Mind, the Endgame setup combines four-piece Berú of Balazan's Bite and two-piece Berú of Kwatli's Grace. It also places a transfigured Aspect of Kinetic Suppression on the amulet.
While farming that Seal, the interim route uses five-piece Balazan's Bite, Arioc's Needle, and Rushing Claw: Evolving Claws. Keep the midgame Talisman and Spirit Hall route if you prefer Evasive Swipe.
Which damage stats and Soul Splinters matter?
Poison damage over time cannot critically strike, so Critical Strike Chance is not required for your swarm damage. Avoid spending upgrades on a stat that does not support the damage source you are building around.
Splinter of Hellfire fits the Counterswarm setup, but its restriction changes your item choices. Use the Soul Splinters and upgrade guide when planning its effects and drawbacks alongside your other seasonal options.
Deadly Strike is a separate mechanic. When it triggers, it supplies a 2x multiplier, so the Lo rune can still contribute to an advanced Counterswarm setup despite the lack of Critical Strikes.
Dedicated Speedfarm variants also use Splinter of Damnation and Splinter of Lies to support XP gains. Save that optimization for a setup that already moves and survives reliably.
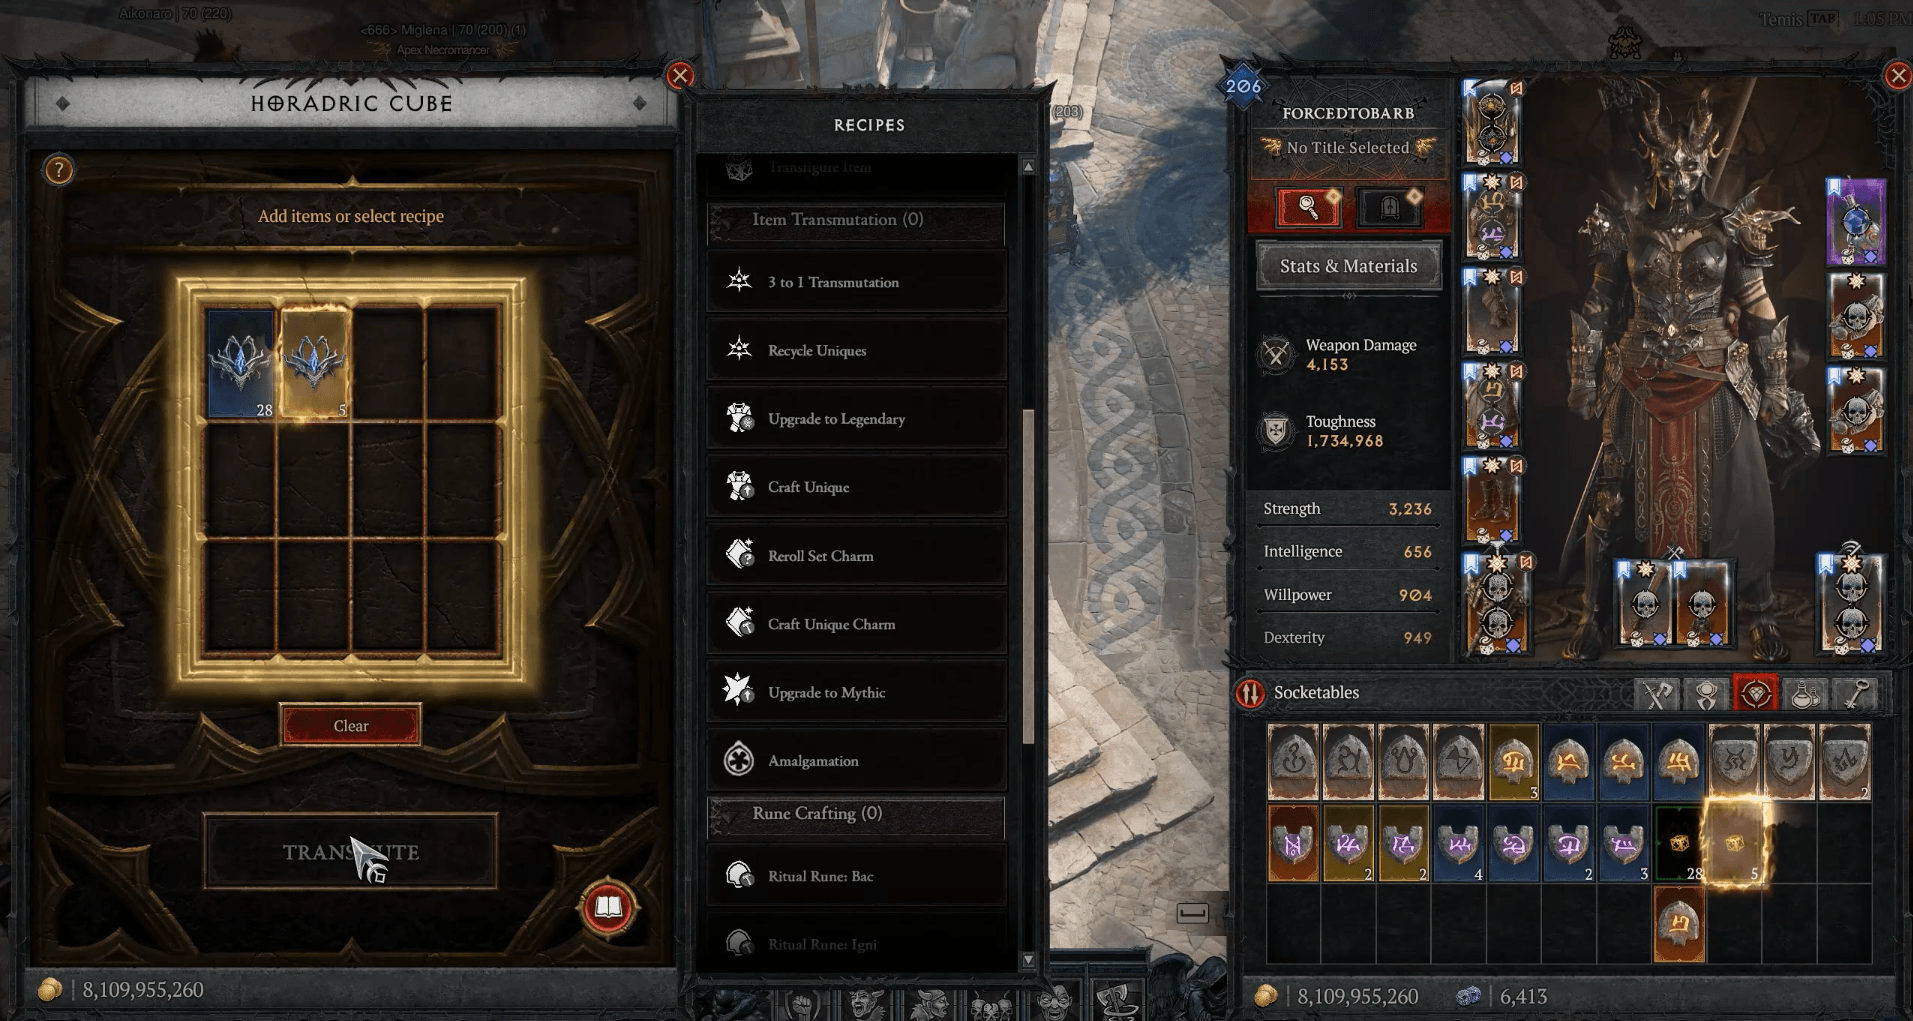
Match Splinters to poison damage
How should you progress Paragon and mercenaries?
Rush Legendary nodes first
Prioritize reaching your Legendary Paragon nodes before investing heavily in every Glyph socket. Their immediate bonuses give the starter build an earlier power increase.
For the starter Glyph progression, prioritize Consumption, Canny, Fester, Bane, and Menagerist. Upgrade Glyphs through The Pit, and keep the Prodigy's Tempo activation sequence in mind while using that starter board route.
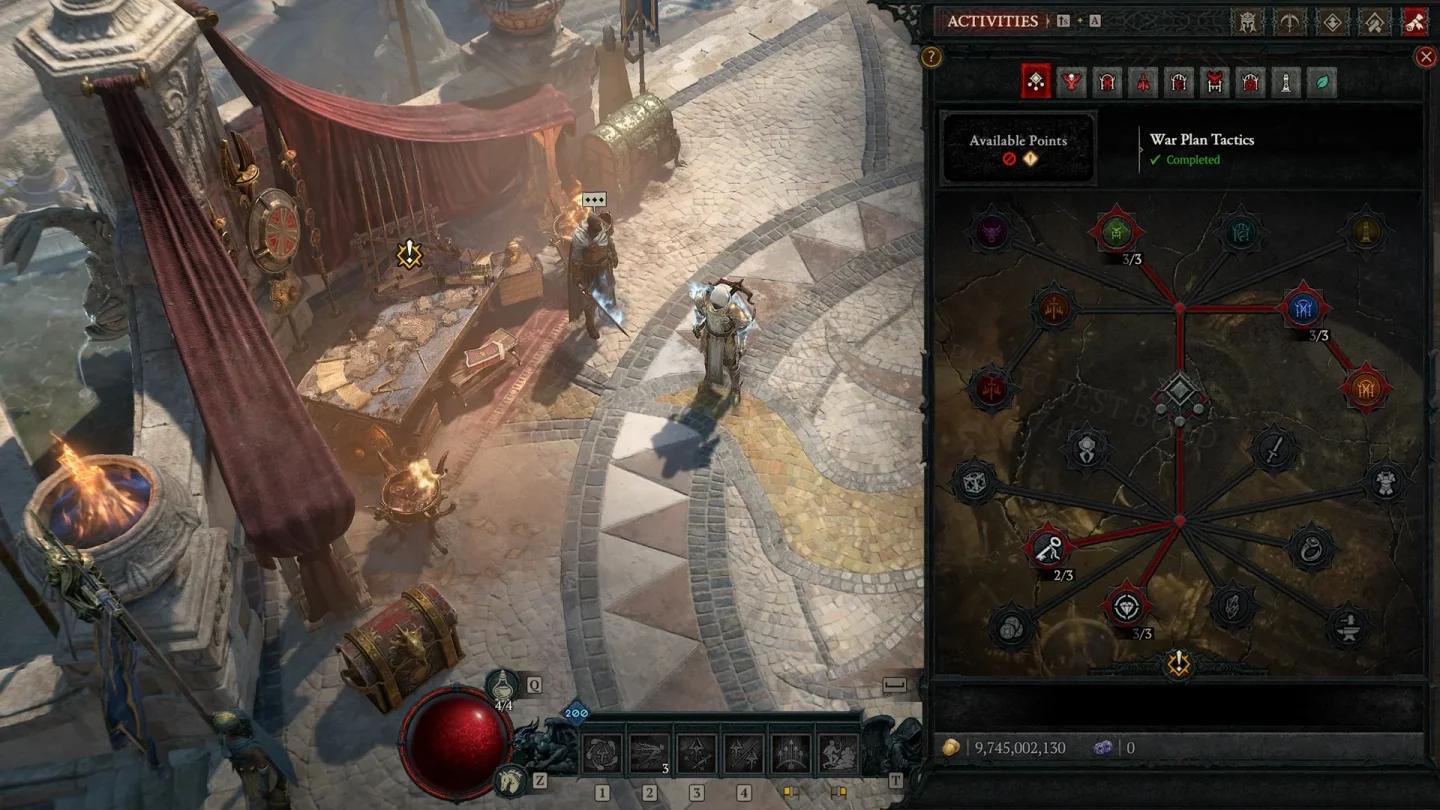
Rush the key Legendary nodes
Use Subo for solo farming support
Hire Subo for enemy visibility and damage support through Scorched Earth and Incendiary Bolt. This pairing suits solo farming because it helps you locate enemies while supporting your damage.
Use Raheir's Bastion as reinforcement for additional damage reduction and Unstoppable. Mercenaries unlock during the Vessel of Hatred campaign, and your permanently hired mercenary accompanies you during solo play.
What common mistakes break this build?
- Treating Rushing Claw as a normal Evade: It does not count as Evade, so it cannot activate Cem.
- Missing Kinetic Suppression: If Resolve is absent, imprint the aspect on your boots at the Occultist until you can transfigure it onto your amulet.
- Entering fights without Resolve: Boss encounters and Tower runs begin with zero Resolve. Build stacks before engaging enemies.
- Ignoring resistance gaps: Balance resistances across equipment and charms, and keep Maximum Life on your defensive checklist.
- Expecting Evolving Claws to work without targets: Its refill route depends on attacking enemies, not simply pressing the button.
What pro tips make Counterswarm smoother?
Fix mouse-and-keyboard movement
With Evasive Swipe assigned to a combined move-and-action mouse button, Rushing Claw may not move unless Hold Position is active. Open Settings → Gameplay → Hold Position Mode, and select Toggle.
Keep The Devourer working
Aspect of Supremacy can reach 15 stacks. Kills build its first 10 stacks, while the remaining stacks increase when the Ultimate ends. Keep casting The Devourer as it becomes available so that progression continues.
For a simpler farming swap from Push equipment, use Shattered Vow and move Aspect of Supremacy onto Legendary gloves. This lets you adapt without replacing the entire setup.
Frequently asked questions
Do you need a Mythic Ring of Writhing Moon?
No. A normal Unique Ring of Writhing Moon supplies the swarm behavior Counterswarm needs. Prioritize useful stats over upgrading the ring solely for its Mythic status.
Can you start a swarm build without the ring?
The separate Stinger Swarm starter requires no Uniques. It uses Aspect of Infestation and Aspect of Pestilence, but begins with heavier resource demands. Choose it if you want a swarm route while still hunting Counterswarm's ring.
Is Rod of Kepeleke another option?
Yes, but Kepeleke Stinger is a different setup built around Rod of Kepeleke and Ring of the Midnight Sun. Its resource-generation requirements are part of the build's damage loop, so it is not a direct weapon swap for Counterswarm. Explore the Diablo IV strategy guide collection to plan your next setup.