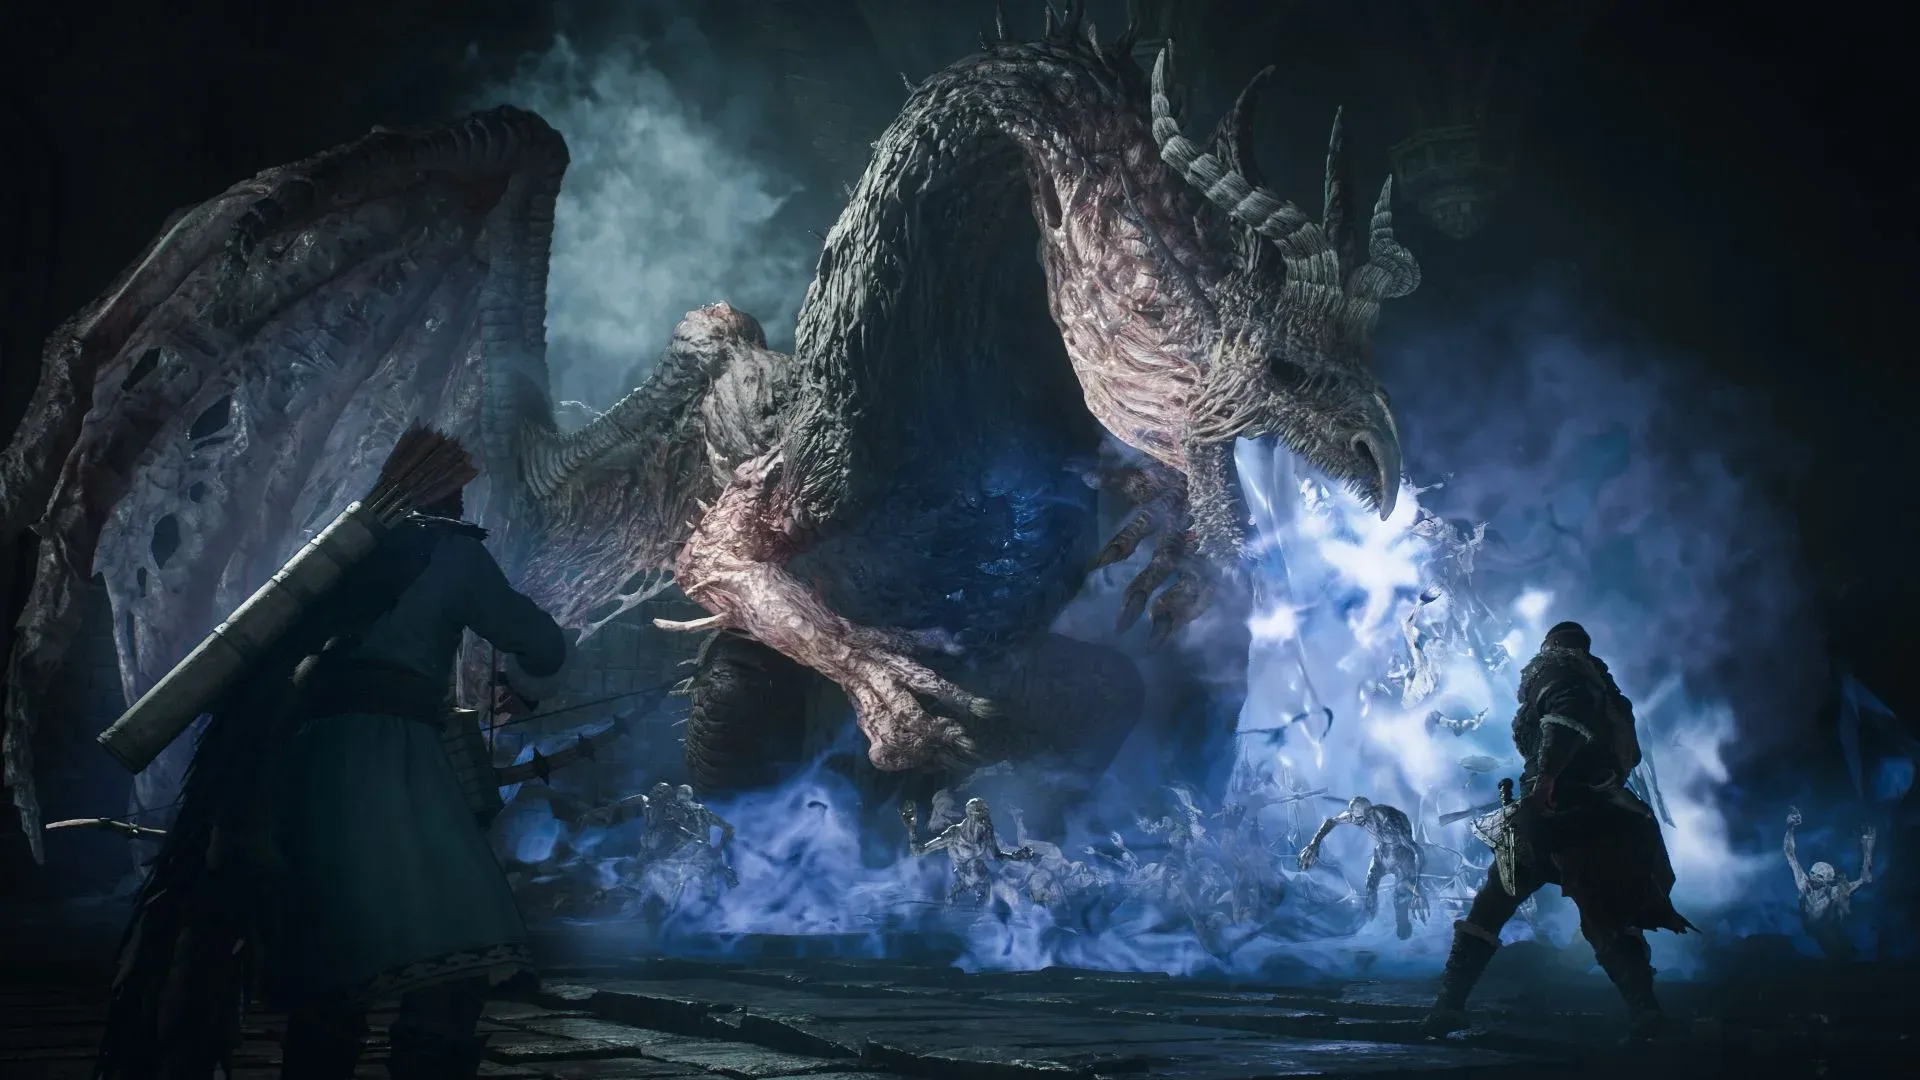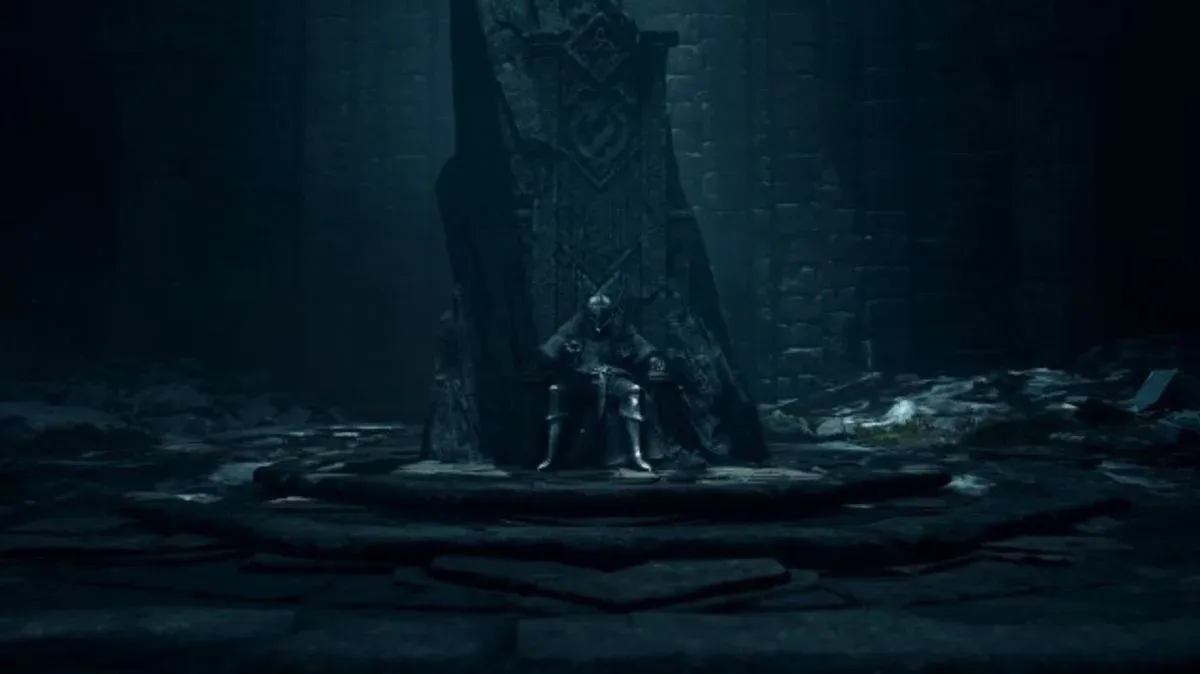
The Lost Rites quest in Dragon's Dogma 2 Dark Arisen is the DLC's introduction to a whole network of challenge dungeons spread across Vermund and Battahl. It starts with a single conversation with Captain Brant at the Stardrop Inn, and before long you're knee-deep in corrupted monsters and glowing purple doors. This guide walks you through every step, from finding the first dungeon to building the party that clears them fastest.
How do you start the Lost Rites quest?
Speak to Captain Brant at the Stardrop Inn and select the dialogue option about uncovered ruins. That single exchange kicks off the quest and points you toward the western reaches of the Malachite Forest region.

Darkhorde Cave sinkhole area
The path there runs along the western road through Malachite Forest. Look for a small tunnel cut into the rock face. Follow it through and you'll drop into a large sinkhole with a run-down shack and a pack of Saurians patrolling the area. Clear them out, loot the shack, then search the far wall for a crevice that opens into Darkhorde Cave.
Once inside, the path splits almost immediately. Take the right fork and you reach Devilkin Hollow, which is your actual objective. The left fork leads down a tunnel with more Saurians, a Slime, and a chest containing Fighter armor, so it's worth a detour if you need the gear.

What happens inside Devilkin Hollow?
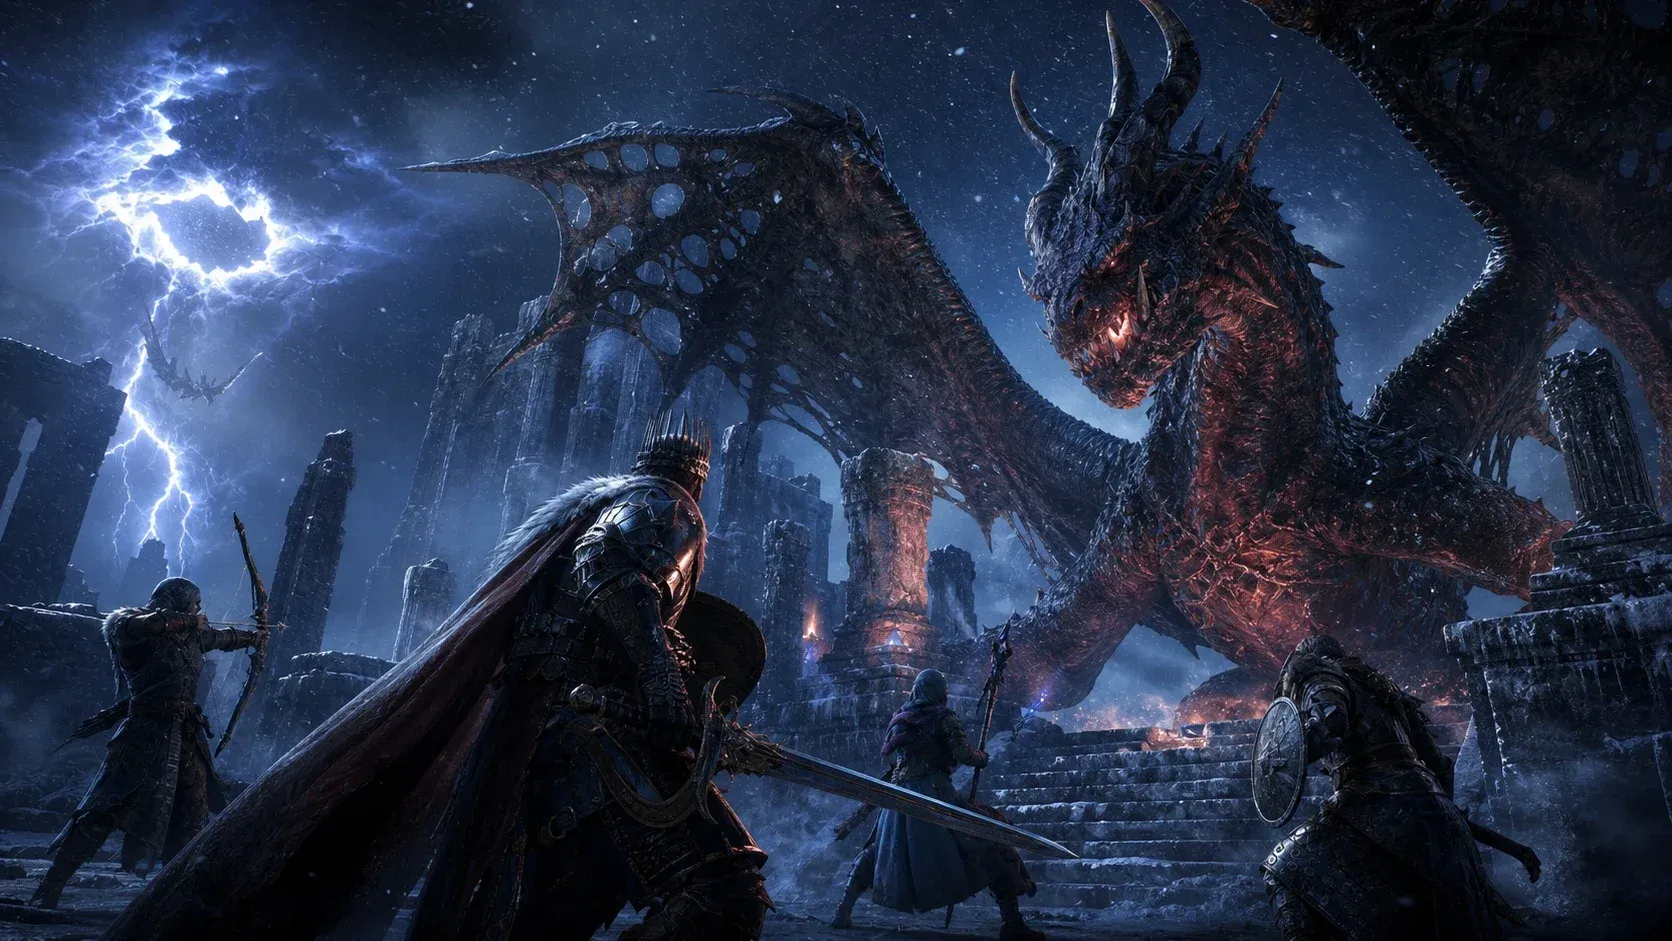
Devilkin Hollow is straightforward by design. It functions as a tutorial for the Lost Rites system, so the layout is minimal: a hallway connects to a compact combat arena.
Step inside and a projection of the Pathfinder greets you. Cross into the room with the glowing purple door and the fight begins. A group of corrupted monsters spawns immediately, and they hit harder than the regular enemies you passed on the way in.
Once every enemy is down, the seal on the purple door lifts. Behind it sits a small treasure room containing high-tier equipment and, more importantly, the Proving Grounds Compass. Use that item from your inventory and two additional Lost Rites dungeons appear on your map: Sunken Spire north of the Checkpoint Rest Town, and Daemon's Corral east of Vernworth.
The quest itself ends here, but Devilkin Hollow is really just the on-ramp. The rest of the Lost Rites system is what you're actually working toward.

Proving Grounds Compass item
How do you open the Spellseal Doors in Lost Rites dungeons?
Some Lost Rites dungeons go deeper than the initial arena, and those deeper sections are sealed behind Spellseal Doors, marked by a blue swirl symbol. Interacting with one early in the game brings up an item prompt with nothing eligible to use. There's no hidden key in the dungeon itself.
The item you need is the Empowered Godsbane Blade, earned through the main story. Here's how to get it:
- Progress through the main questline until you reach the Convergence quest, which takes place in a temple that rises from the sea near Harve Village. Completing it rewards you with the Dulled Godsbane Blade.
- Take the Dulled Godsbane Blade to the Forbidden Magick Research Lab in Bakbattahl.
- The scholar there will tell you the blade needs 15 Wyrmslife Crystals to be awakened. These drop exclusively from drakes and dragons.
- Drakes reliably spawn at Dragonsbreath Tower (if you haven't already killed the one that attacked Melve) and at the Ancient Battleground. Each drake drops 10 Wyrmslife Crystals on death, with a few more if you target their weak spots during the fight. Two kills should be enough.
- Return the crystals to the research lab. A cutscene plays and you receive the Empowered Godsbane Blade.
With the blade in hand, go back to every Spellseal Door you previously couldn't open. The gear behind them consistently outperforms anything found in the standard regions of Vermund and Battahl, and it can even rival loot from Norgan.

Spellseal Door in Lost Rites dungeon
What are all the Lost Rites dungeons?
| Region | Dungeon |
|---|---|
| Vermund | Devilkin Hollow |
| Vermund | Daemon's Corral |
| Vermund | Sunken Spire |
| Vermund | Interminable Corridor |
| Battahl | Mired Conduit |
| Battahl | Embersand Mine |
| Battahl | Shrouded Warren |
| Battahl | Precipitous Catacombs |
| Battahl | Wyrmsblood Arena |
| Unmoored World | Molten Gauntlet |
| Unmoored World | Seafloor Sepulcher |
| Unmoored World | Final Proving Ground |
Note that Precipitous Catacombs requires you to enter as a Magick Archer or Archer. Plan your vocation before heading in. Shrouded Warren also restricts you to your Main Pawn only, so your hired pawns won't be available for that run.
What's the best build for Lost Rites dungeons?
Magick Archer is the strongest vocation for clearing the Lost Rites system. All of the dungeons are indoors, which means Ricochet Hunter bounces projectiles off the walls and hits multiple corrupted enemies before you even see them clearly. The sheer volume of damage it generates in enclosed spaces is hard to match.
For weapons, Grianmhar is the top-tier Magickal Bow but only becomes available after completing the Unmoored World. Before that, Dragon's Breath from the Volcanic Island Armory is a solid alternative. Enhance your armor with Dwarven smithing to raise knockdown resistance, and equip two Rings of Percipience to push your Magick stat higher.
The core skill setup that works best in testing:
- Ricochet Hunter (primary damage, exploits enclosed dungeon geometry)
- Sagittate Avalanche (burst damage on grouped targets)
- Frostseeker Bolt (elemental pressure)
- Recovery Arrow (pawn healing mid-fight)
- Soporific Bolt (puts dangerous targets to sleep)
- Martyr's Bolt (situational high damage)
Magick Archer burns stamina fast. Pair augments Endurance and Exaltation to extend your stamina pool and recovery, Zeal to reduce consumption per action, and Voracity to recover stamina on kills.
Mystic Spearhand is the other strong option. Even after nerfs to Mirour Shelde, the ability to shield the entire party at once matters in the tougher dungeons where corrupted enemies hit in bursts.
Best party composition for Lost Rites
| Slot | Vocation | Role |
|---|---|---|
| Arisen | Magick Archer or Mystic Spearhand | Damage / Utility |
| Main Pawn | Mage | Full support |
| Hired Pawn | Thief | Burst damage |
| Hired Pawn | Sorcerer | Crowd control |
Your Main Pawn should run a full support Mage build centered on High Palladium, High Celerity, High Halidom, and Argent Tonic. Equip Legion's Might so they auto-revive if knocked out, and two Rings of Recitation to speed up their cast times. Since Shrouded Warren locks you to your Main Pawn only, a support build is more reliable than a DPS-focused one across the entire dungeon set.
The Thief hired pawn handles single-target burst damage on Corrupted Beasts better than most other vocations. The Sorcerer brings High Hagol and High Thundermine for crowd control. If you can find a Sorcerer pawn with the Maelstrom maister skill, prioritize hiring them. Maelstrom is a near-guaranteed one-hit kill on smaller corrupted enemies, which makes tight arena fights significantly faster.

Ricochet Hunter in enclosed dungeon
For more help with the DLC and the base game, check out the full Dragon's Dogma 2 strategy guides collection, which covers vocations, weapons, and quest walkthroughs. Dragon's Dogma 2 is one of the best RPG games released in recent years, and the Dark Arisen expansion gives it the endgame depth it was missing at launch.