
Precipitous Catacombs is the sixth Lost Rites trial in Dragon's Dogma 2 Dark Arisen, and it earns its reputation fast. The dungeon locks you into a bow vocation before you even step inside, then throws bottomless pits, spellcasting bosses, and a Corrupted Drake at you in quick succession. Survive it and you walk away with a Portcrystal, the Catamount Jacket, a Ring of Dragonsbane, and an Offering Flame worth holding onto for Norgan's Obelisks.
Where is Precipitous Catacombs and how do you get in?
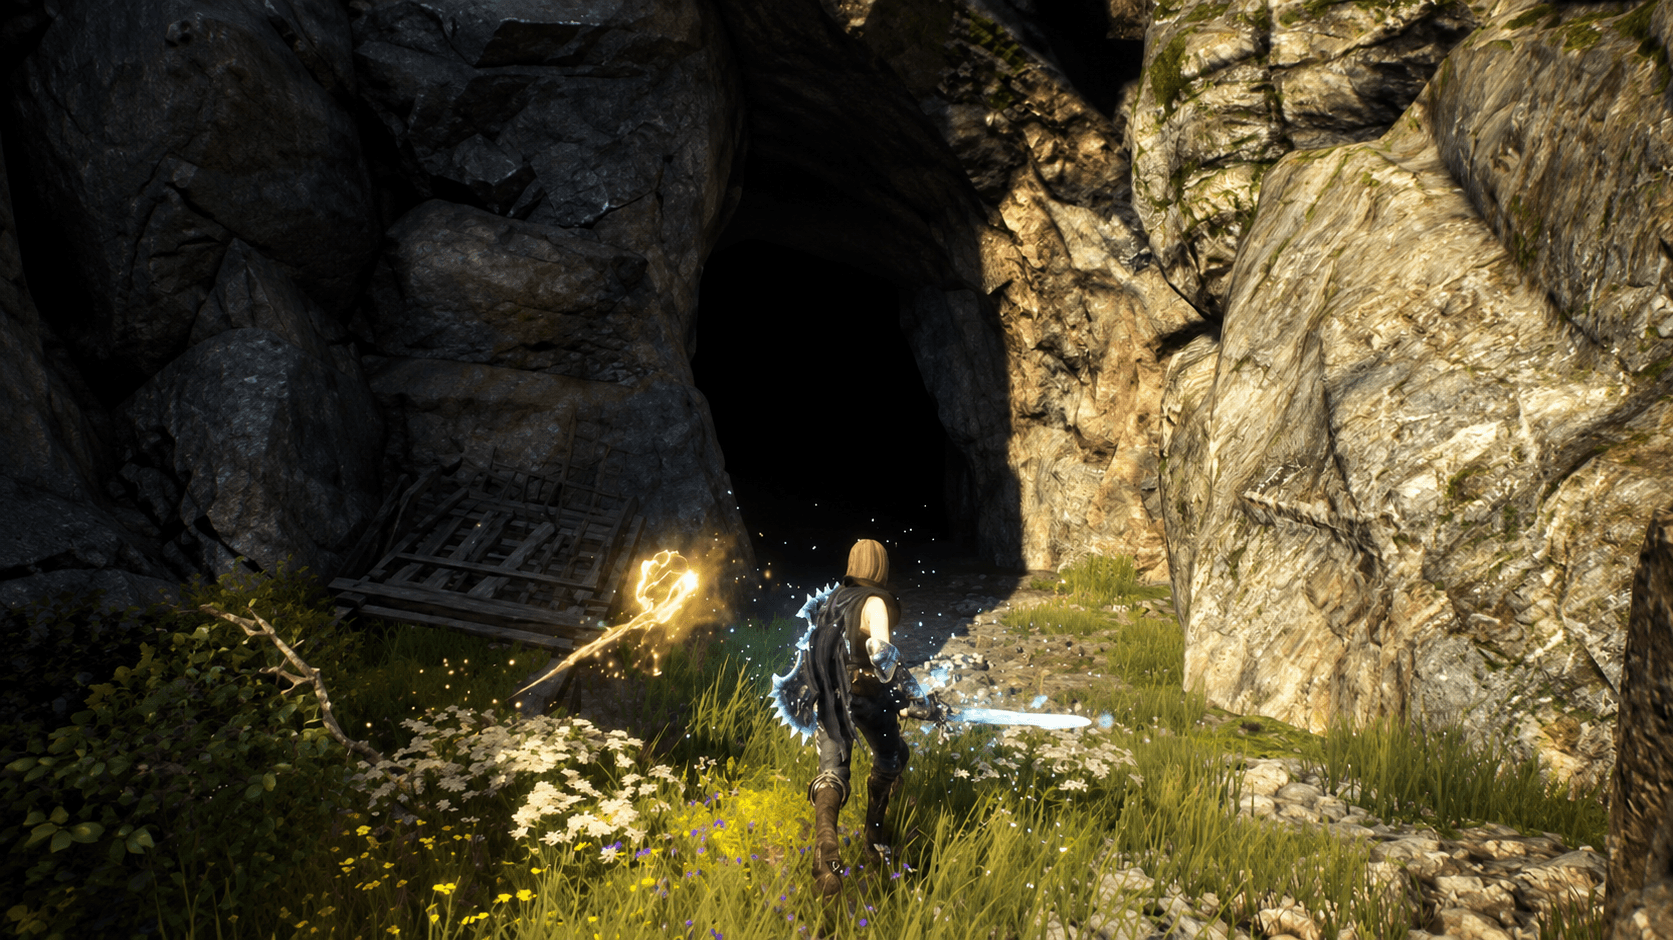
Precipitous Catacombs sits on a mountainside southwest of Battahl Ropeway Station. Follow the river southwest from the station and climb the cliffs to find a round stone seal with a glowing blue emblem set into the rock face. The entrance is outdoors, not tucked inside a cave, so it is easier to spot than most Lost Rites locations.
To open the seal you need the Empowered Godsbane Blade, which you receive at the end of the main quest A New Godsway. If you do not have it yet, push through the main story until that quest completes.
The trial condition is strict: your Arisen must be playing as an Archer or Magick Archer. Pawn vocations are not checked, so your support lineup can be anything you want. Confirm your vocation in the Status menu before making the trip.

Dragon's Dogma 2: Dark Arisen Precipitous Catacombs Walkthrough

What is the best party for Precipitous Catacombs?
The dungeon punishes melee-heavy parties hard. Narrow platforms, bottomless drops, and enemies with wide area attacks mean aggressive Fighters and Thieves spend as much time falling as fighting. A ranged-focused setup keeps everyone alive and maintains consistent damage output throughout.
| Slot | Vocation | Priority Skills |
|---|---|---|
| Arisen | Archer or Magick Archer | Erupting Shot, Nocuous Shot |
| Main Pawn | Mage | High Palladium, High Celerity, Argent Tonic, High Solemnity |
| Hired Pawn 1 | Sorcerer | High Hagol, High Thundermine, Maelstrom |
| Hired Pawn 2 | Archer (Calm inclination) | Weakpoint focus |
The Mage pawn is your most valuable asset here. High Palladium and High Celerity reduce damage and keep the party mobile, while Argent Tonic handles healing. High Solemnity silences spellcasting enemies, which matters a lot against the first boss. A silenced Corrupted Wight cannot throw its hardest spells, and the difficulty of that fight drops noticeably.
The Sorcerer handles crowd control. High Hagol freezes groups of smaller Corrupted enemies, and Maelstrom can one-shot weaker enemies while dealing serious damage to bosses. High Thundermine adds area denial that keeps enemies from swarming your position.
For the fourth slot, a Calm Archer pawn is the right call. Calm inclination keeps the pawn at range, prioritizes weak points, and avoids the reckless pursuit behavior that sends melee pawns straight into pits.
Precipitous Catacombs full walkthrough
Step 1: Shoot the barred doors open
The dungeon opens with a design statement. The first iron double doors are held shut by wooden beams. Aim your bow through the grating and shoot the beam. The doors swing open without requiring you to touch them.
Head down the stairs and shoot the rubble blocking the archway ahead. This sets the tone for the whole dungeon: your bow is not just a weapon, it is the key to every locked path.
Step 2: Clear the first hall
The first large chamber holds a mixed group of Corrupted Hobgoblins and Corrupted Succubi. The Hobgoblins throw spears and explosives from range, while the Succubi deal ice damage with their claws and are fast enough to close distance quickly.
Several pillars in the room can be destroyed. Collapsing them onto enemies saves time and saves your health. Prioritize the Succubi first since their mobility makes them the bigger threat while you are trying to manage the pit edges. Once they are down, clean up the Hobgoblins and check the cave area for Corrupted Asps before moving toward the large door.
Step 3: First boss - how do you beat the Corrupted Wight?
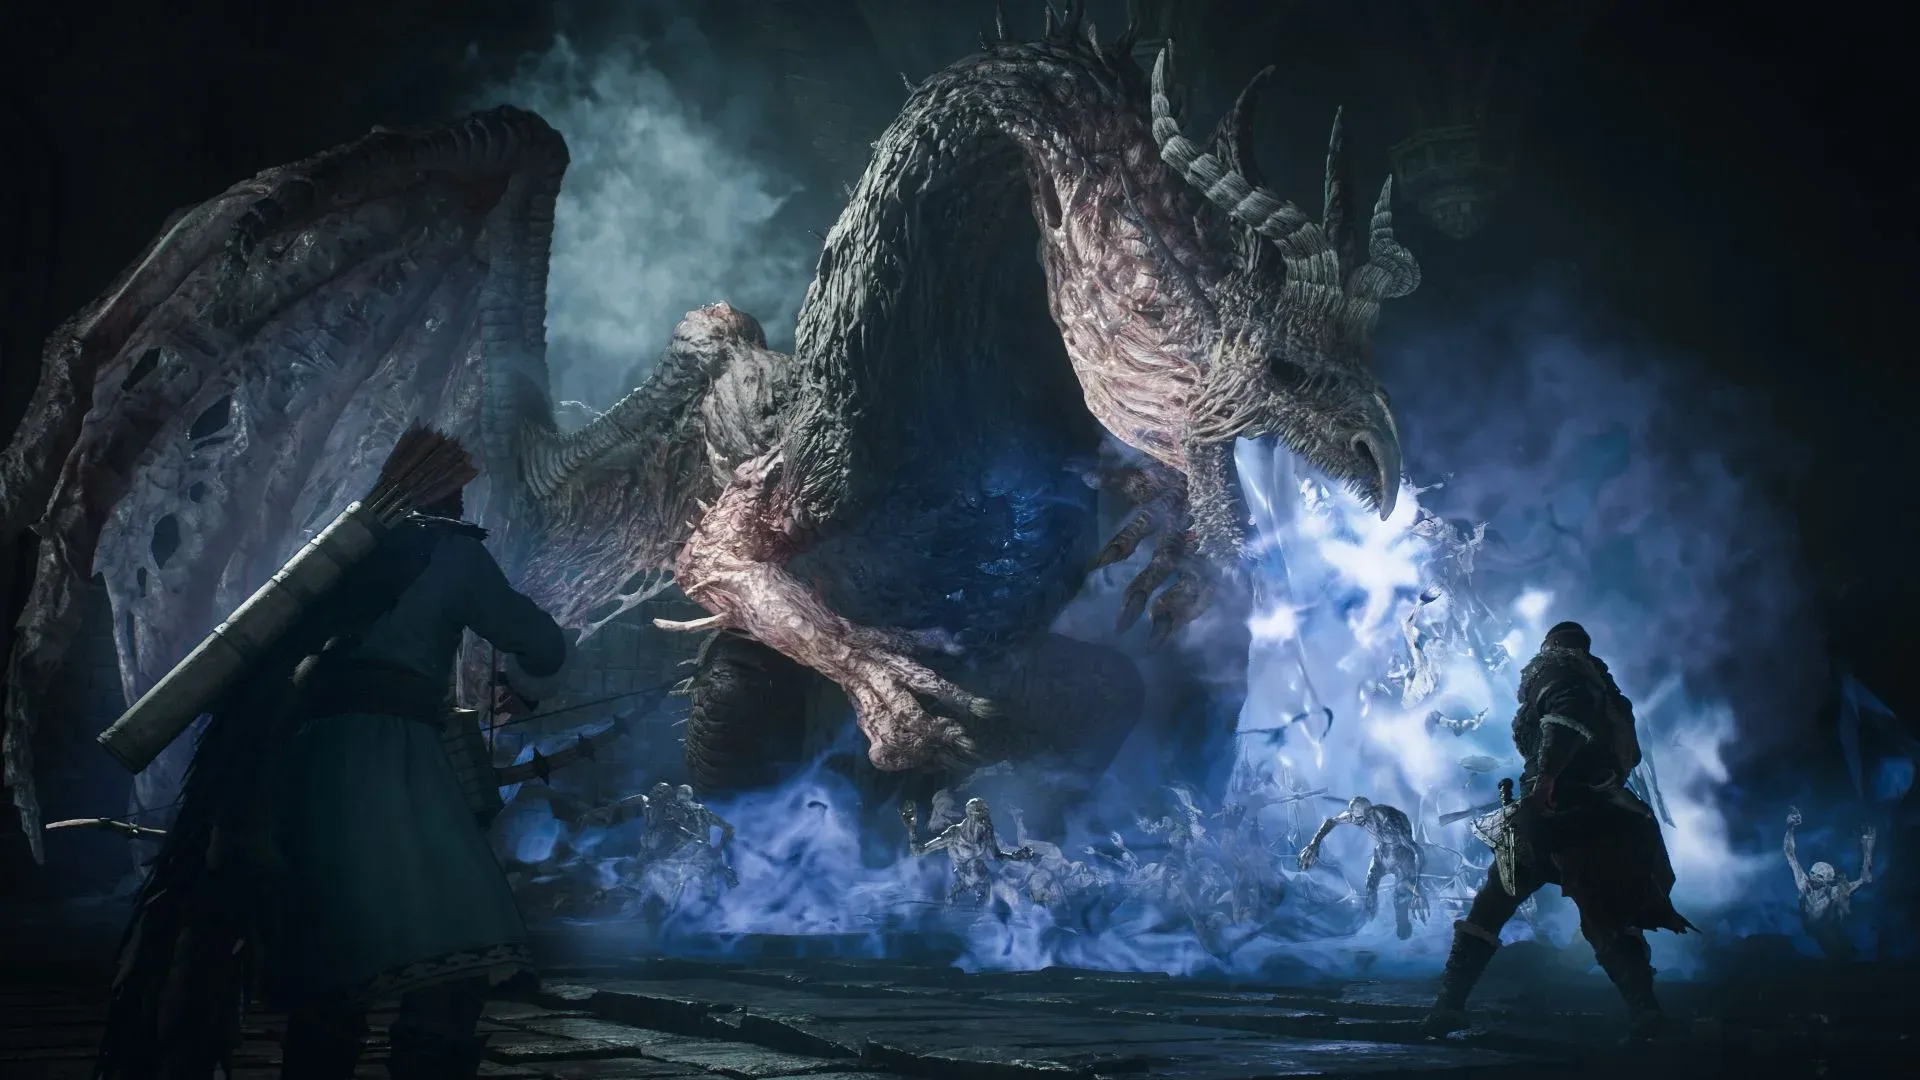
Approaching the burial hall door triggers the first boss: a Corrupted Wight, a red-robed floating caster with a full boss bar. It hovers near the doorway, launches purple lightning and dark blasts that knock your party flat, and raises skeleton reinforcements.
The Wight is weak to ranged physical attacks and Holy damage, and it resists Slash, Fire, Ice, and Lightning. Its base health sits at 76,500, so sustained ranged pressure is the correct approach.

Dragon's Dogma 2: Dark Arisen Precipitous Catacombs Walkthrough
If your Mage pawn has High Solemnity, lure the Wight toward the pawn and let the silence land. A silenced Wight cannot use its strongest spells, and the fight becomes significantly more manageable. Keep shooting from range and step back into the corridor to break line of sight when lightning charges up.
After the Wight falls, a carved archway opens. Check the side alcove for a broken Forgotten Riftstone. Restoring it costs 90 RC and gives you access to a Riftstone of Remembrance, letting you resummon pawns you have met before. Use it if anyone fell during the hall clear.
Step 4: The chasm and the Glasrew Galea
The next section opens onto a large chasm with separated platforms. Before jumping, use ranged attacks to eliminate the Corrupted Hobgoblins on the far side. Leaving them alive while platforming is a reliable way to lose a pawn to a thrown explosive mid-jump.
Once the far side is clear, hop across the broken pillars and advance through the corridor. A side passage here leads to a small stone chamber guarded by a bloated undead. The chest inside holds the Glasrew Galea, an elven head piece from the Lost Rites set. It is easy to walk past this room, so check every branching path.
A balcony overlooks a lower hall from this section. Thin the enemies from the high ground before climbing down the wooden ladder and crossing the floor.
Step 5: How do you beat the two Corrupted Golems?
The two Corrupted Golems are the dungeon's trickiest mid-fight. They guard the next door on a narrow platform, and their wide sweeping attacks and explosive abilities are difficult to dodge in the confined space. Standing between both enemies at once is a fast way to die.
Golems have extremely high resistance to magick, which means Magick Archer players need to work harder here. Targeting the Magick Seals (the glowing purple medals studded across their bodies) is the only reliable way to deal meaningful damage.
- Archer: Use Erupting Shot with Explosive Arrows. The wide blast radius hits multiple Magick Seals at once, making this the fastest method for destroying vulnerable components.
- Magick Archer: Use Sagittate Avalanche to target the seals, but expect to fire several volleys before results show. The Golems' magick resistance makes this slower than the physical approach.
Focus one Golem at a time. Dropping one enemy quickly gives your party room to breathe and makes the second fight far less chaotic. Late in the fight, a Golem may collapse into loose boulders with its medals exposed on the ground.
Step 6: Restore the second Riftstone and prepare for the finale
After both Golems fall, head through the unlocked door and descend the stairs. A second Forgotten Riftstone waits on the lower level. Restore any fallen pawns before continuing, and check your healing supplies and Blighting Arrow count. You want at least five Blighting Arrows for the final fight.
Follow the corridor into the last arena. The portcullis drops behind you when you enter, locking the party in.
Step 7: How do you beat the Corrupted Drake?
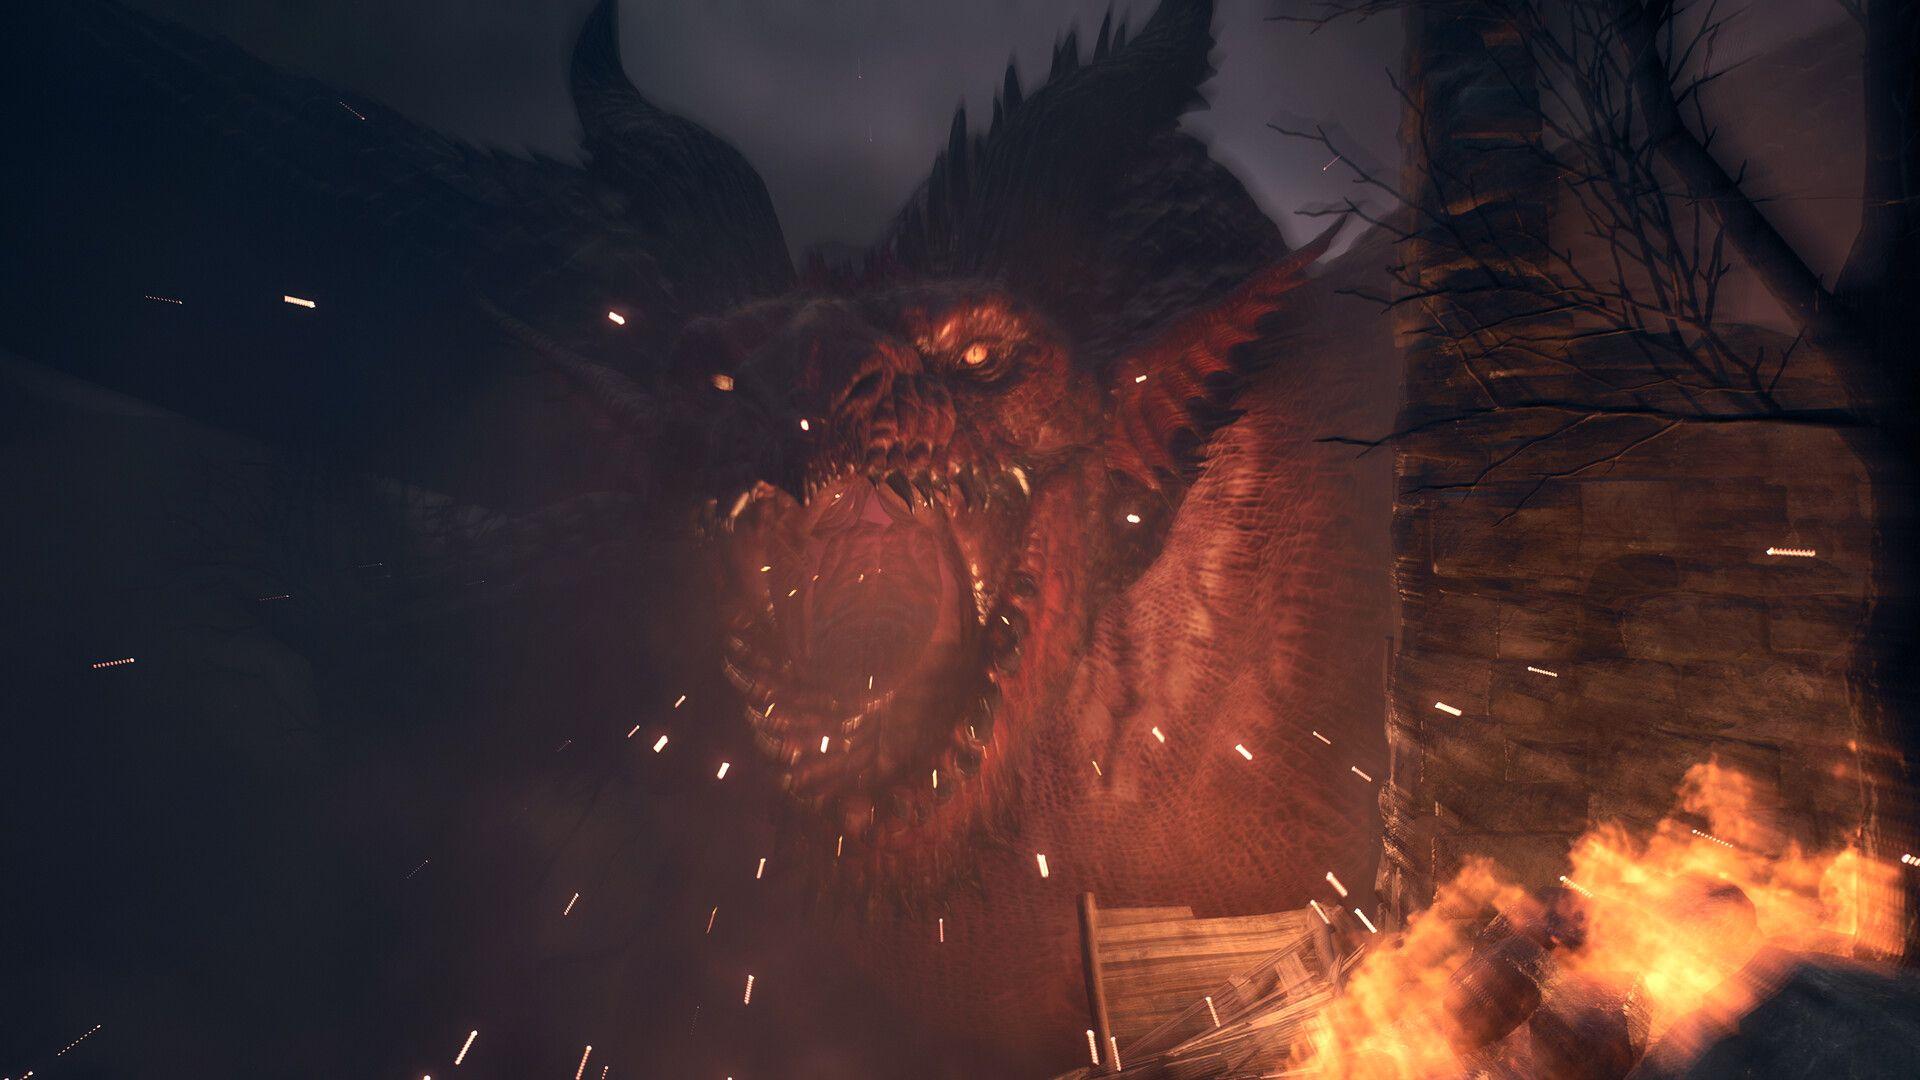
The final arena is a ruined hall with its roof open to the sky, ringed by pillars and stone warrior statues. A Corrupted Drake drops in through the opening, accompanied by two Corrupted Succubi.
Kill the Succubi first. They interfere constantly and can distract your pawns at the worst moments. Once they are gone, the fight becomes a focused duel.
The Drake is faster and hits harder than a standard Drake, with very high knockdown resistance and a base health of 100,000. Its chest is the weak point. The glowing heart on its chest is where you want every arrow to land, and your pawns will call out when the wound opens for a damage window.
The Drake is weak to Ice and resists Fire entirely. An ice-bolt skill set pairs well with sustained shots at the heart.
For the knockdown, use Nocuous Shot with Blighting Arrows. Landing 2 to 3 successful shots causes the Drake to flinch or drop from the air, creating extended openings for heavy damage. Magick Archers should avoid relying on Ricochet Hunter here. The arena is large enough that bouncing projectiles lose most of their effectiveness compared to tighter corridors.
The Drake's floor-sweeping fire stream can kill an Arisen with around 2,200 Health outright. Keep pillars between you and the flames. It also calls down purple lightning on your position and hovers near the roof to rain magick from above.
Defeating the Drake drops a Ring of Dragonsbane, several Brinebeast Ore, and a Ferrystone. The Ring of Dragonsbane boosts damage against all dragonkin.
What are all the rewards from Precipitous Catacombs?
The dungeon has 11 placed chests, and several sit off the main path. Do not teleport out after killing the Drake. Explore the lower sections of the arena and check every side room before leaving.
Total loot across all 11 chests:
- Portcrystal x1
- Catamount Jacket x1 (body armor)
- Glasrew Galea x1 (head armor)
- Geirolul's Helm x1
- Archaic Boots x1
- Offering Flame x1
- Explosive Arrow x20
- Blighting Arrow x5
- Allheal Elixir x1
- 58,000 Gold
Boss drops:
- Ring of Dragonsbane x1
- Brinebeast Ore x7
- Ferrystone x1
- Brinebeast Fragments x2
| Key Item | Location |
|---|---|
| Glasrew Galea | Small side room after the chasm, behind the bloated undead |
| Offering Flame | Outer corridor of the Drake's hall, between clay jars and a brazier |
| Catamount Jacket | Wall niche of the Drake's hall, at the feet of a stone warrior statue |
| Portcrystal | Side rooms and ledges off the main path in the Drake's hall |
Smaller Corrupted enemies throughout the dungeon also drop Brinebeast Fragments as random loot. Check their remains when possible, as the material is used for equipment enhancement.
Making the most of your Precipitous Catacombs rewards
The Portcrystal is the most immediately useful drop, giving you a fast travel anchor anywhere on the map. Place it near Norgan or a dungeon cluster you plan to farm.
The Offering Flame feeds directly into Norgan's progression system. If you want to understand how Obelisks and permanent stat boosts work, the Dragon's Dogma 2 Dark Arisen Obelisk locations guide covers every location and what each one unlocks.
For players looking to push further into the DLC's systems, the Dark Arisen relic system guide explains how to farm Spoils and appraise gear efficiently, which pairs well with the Brinebeast Ore you collect here.
The Ring of Dragonsbane is worth equipping immediately if you are running more Lost Rites dungeons. Several other trials also end with dragonkin bosses, and the ring's damage bonus stacks up across repeated clears. For a broader look at getting powerful fast in Norgan, check the Dark Arisen overpowered fast guide covering Offering Flames, relic gear, and the best Thief and Archer builds.
For everything else the DLC has to offer, the full Dragon's Dogma 2 guide collection covers all quests, dungeons, and systems in one place.