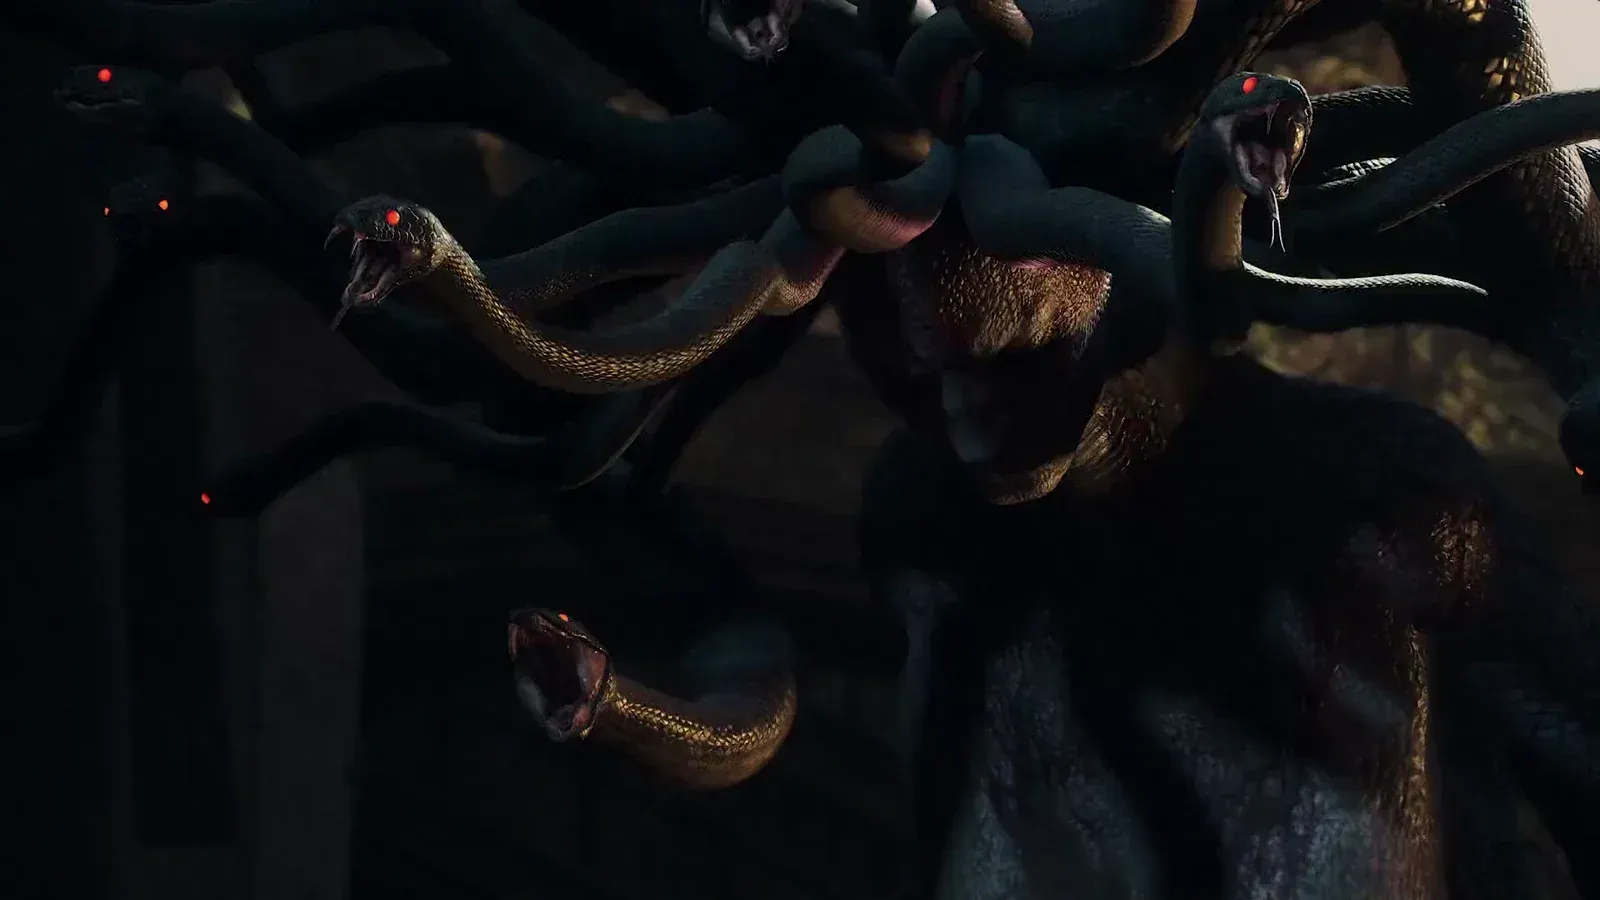
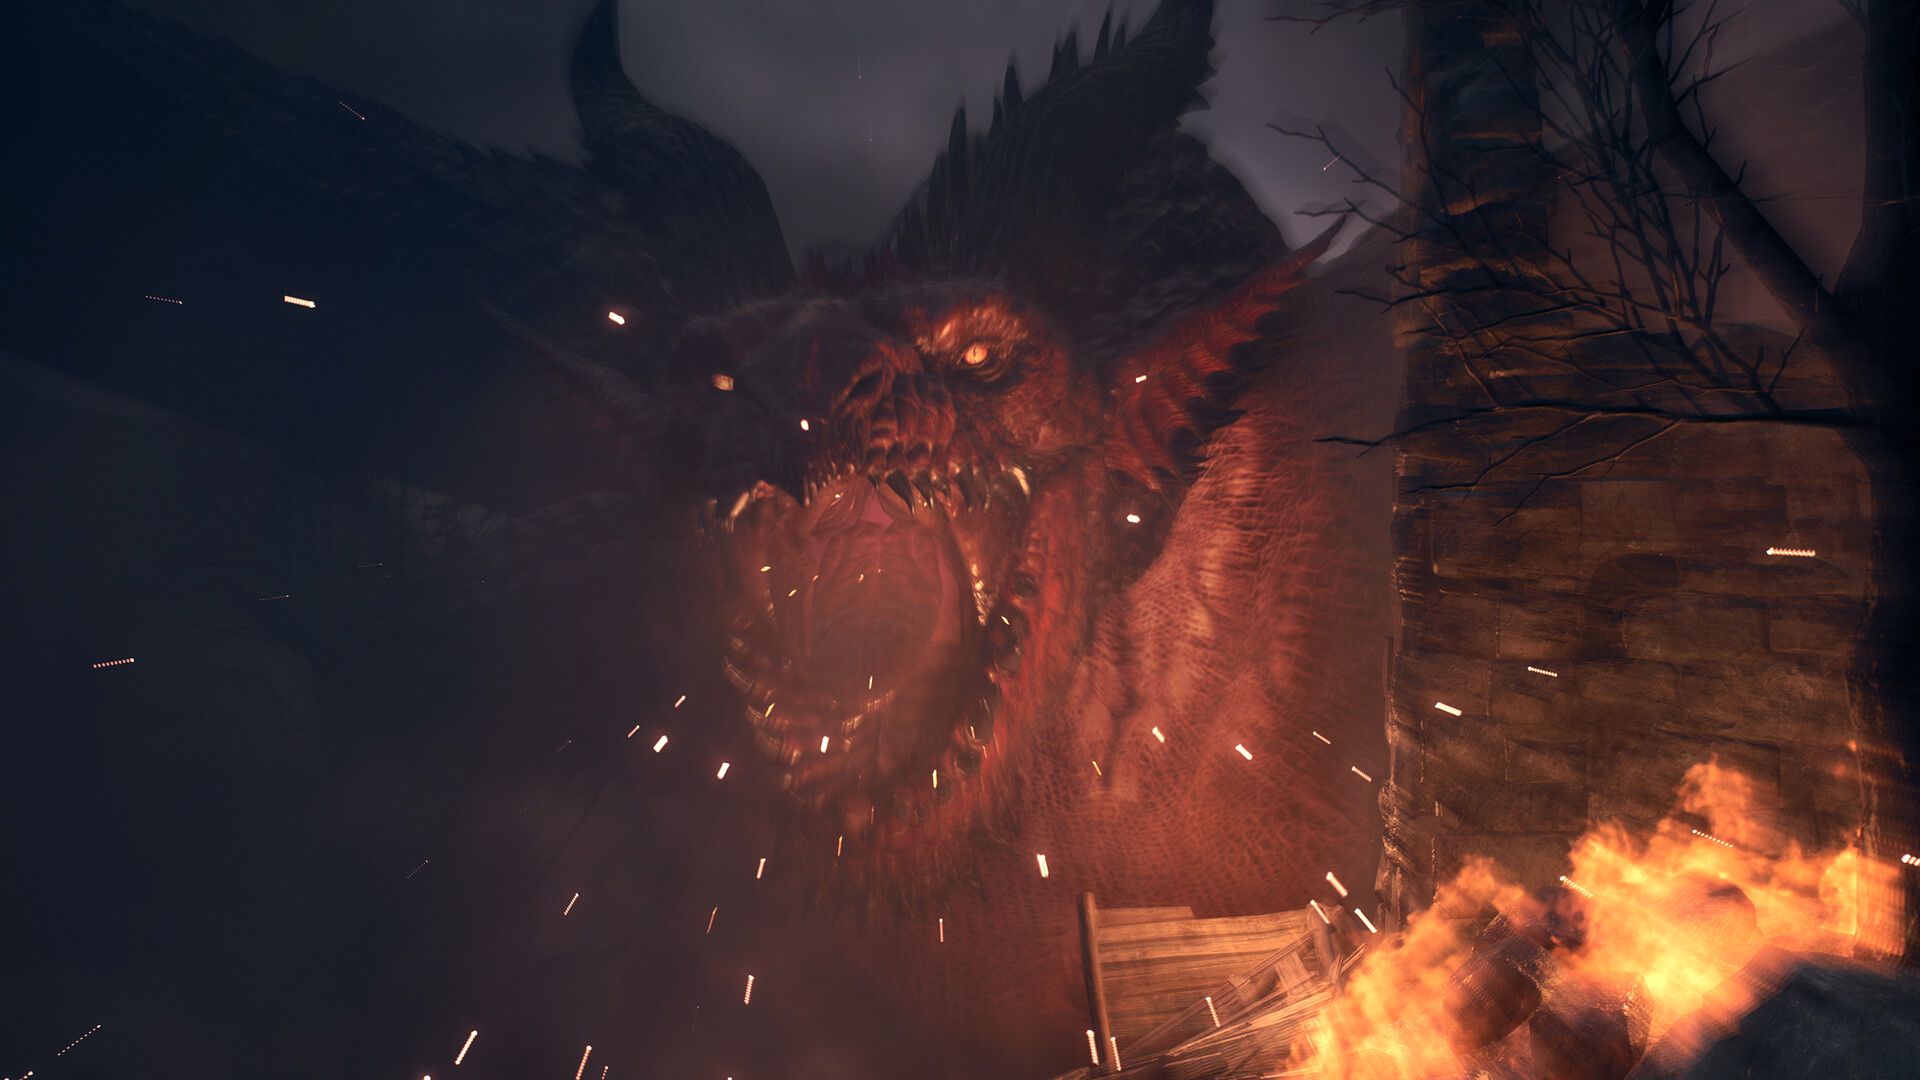
Daemon's Corral is one of the more approachable Lost Rites trials in Dragon's Dogma 2 Dark Arisen, but "approachable" doesn't mean straightforward. The dungeon locks you into a series of sealed monster pens with no escape route, escalating from a pair of lightning-wreathed Serpents all the way to a chained Corrupted Cyclops. No entry conditions, no vocation restrictions, no prerequisites. Just walk in and survive.
Where is Daemon's Corral?
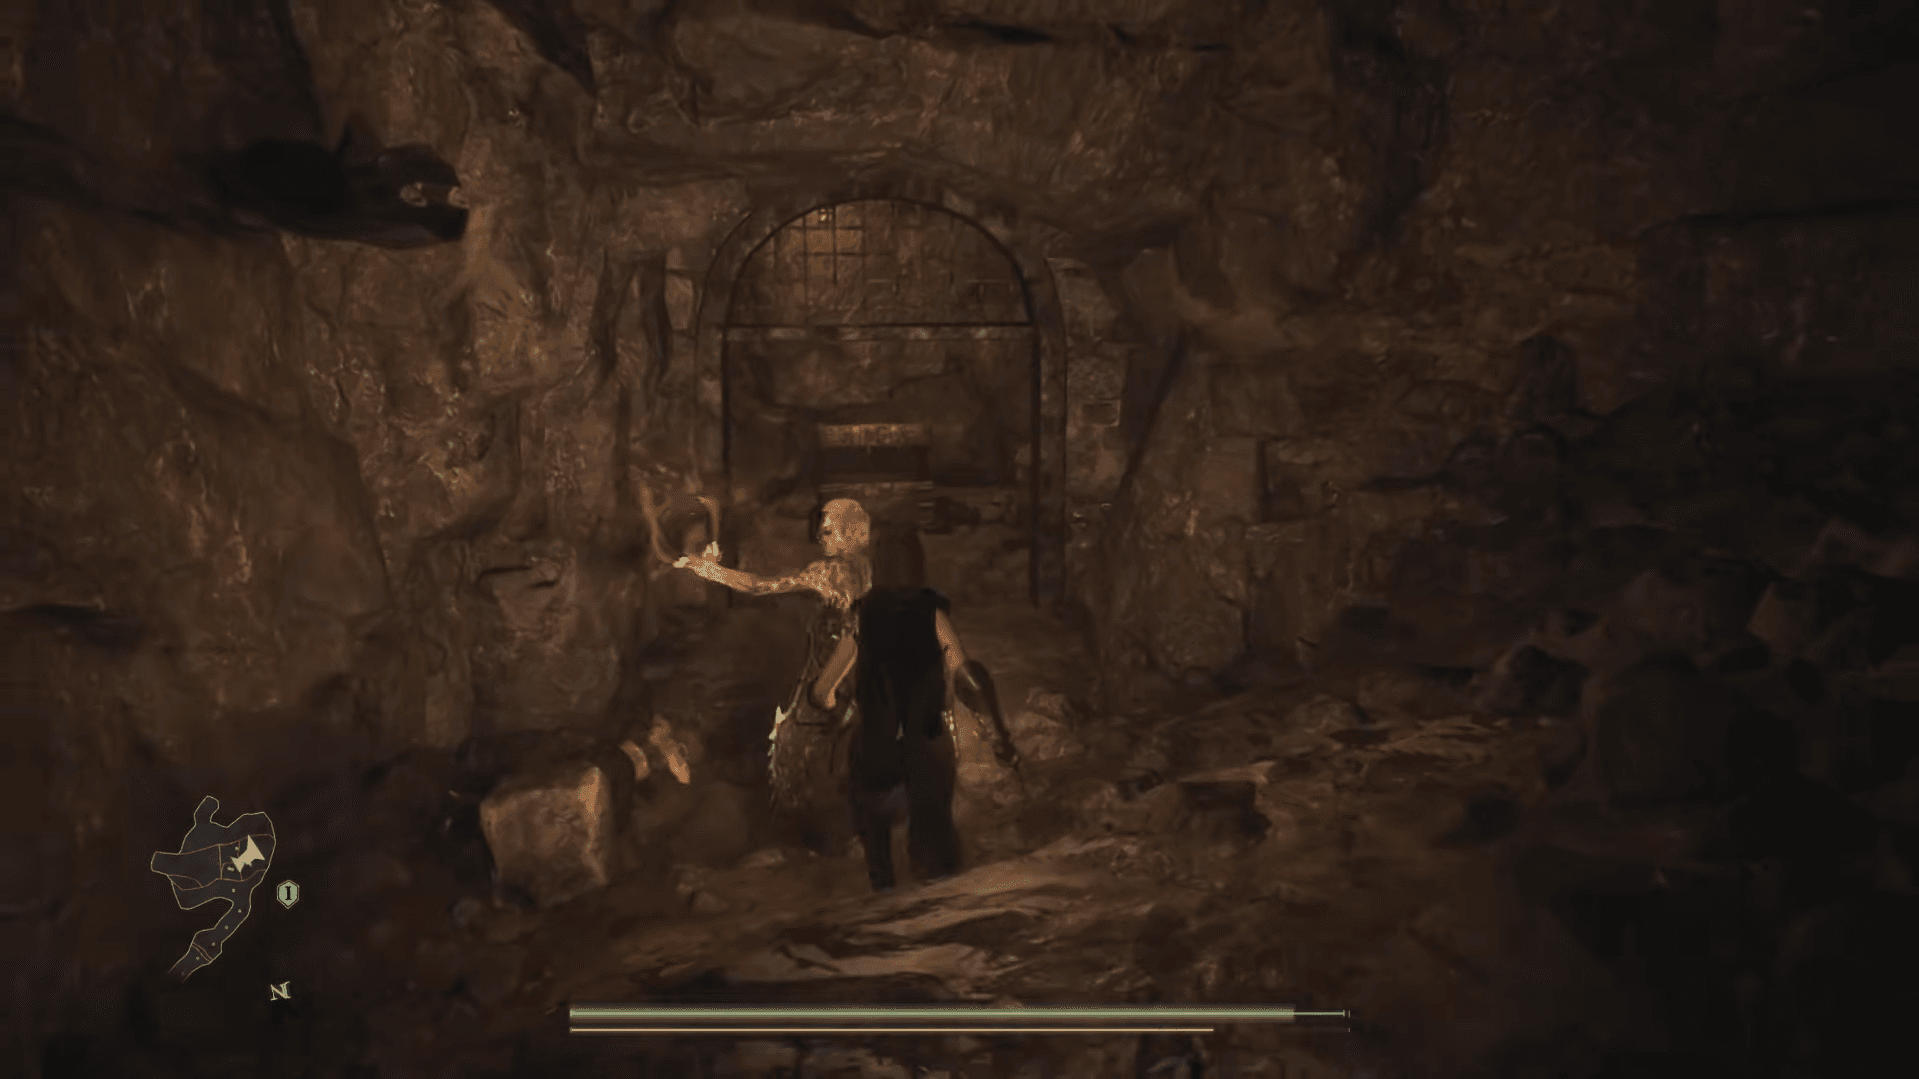
Daemon's Corral sits inside Timeworn Shaft, a cave in eastern Vermund, east of Vernworth. Head into the cave and you'll immediately run into a large group of bandits occupying the main cavern. Fight through them or slip past along the edges, then cross to the far side and follow the tunnel draped with hanging roots. The area label shifts from Timeworn Shaft to Daemon's Corral as you pass through. You'll know the entrance by the distinctive spiral-shaped stone structure on the left side of the passage.
There's no door prompt and nothing to pay. Walk in and an iron portcullis drops behind your party, sealing the only exit.

What's the best party for Daemon's Corral?
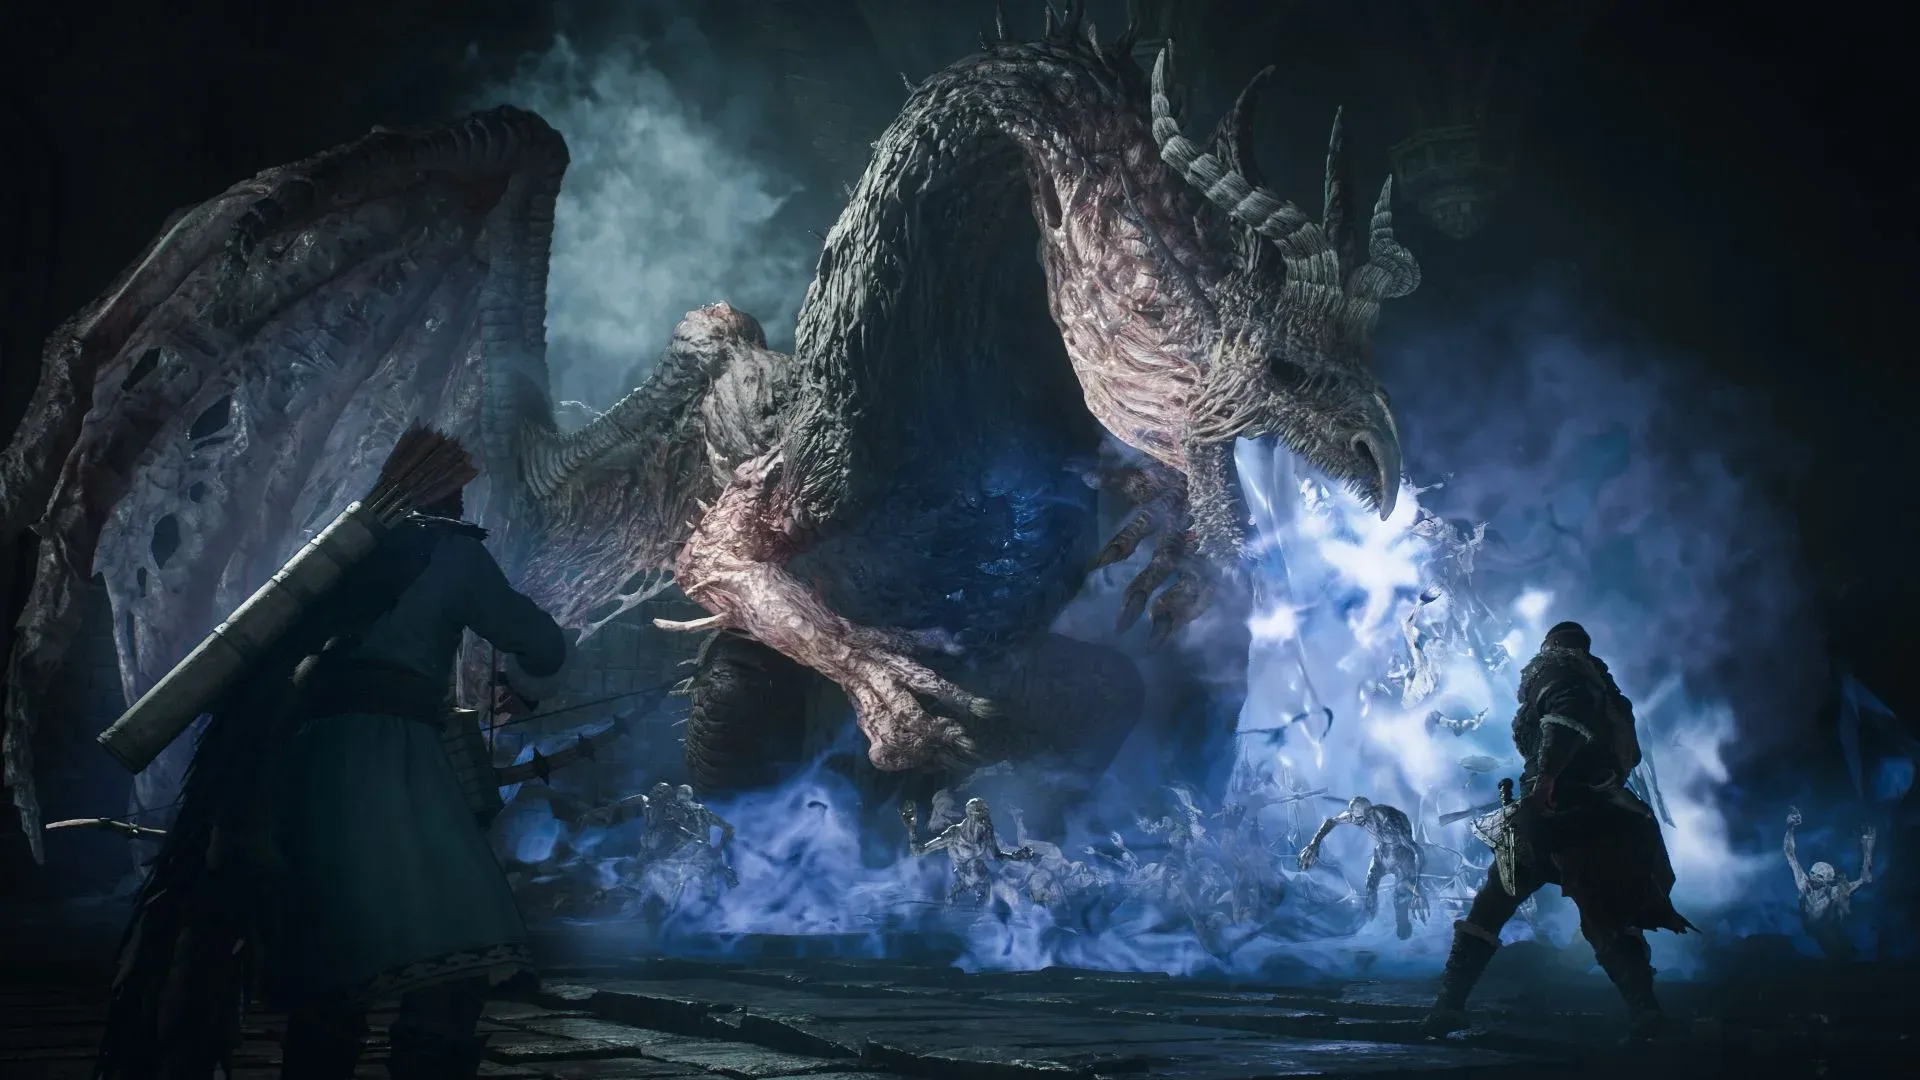
The dungeon runs you through confined corridors with multiple enemies per room, so party composition matters more than raw damage output.
| Slot | Vocation | Priority Skills |
|---|---|---|
| Arisen | Mystic Spearhand, Sorcerer, or Thief | Mirour Shelde (Mystic Spearhand) |
| Main Pawn | Mage | High Palladium, High Celerity, High Halidom |
| Hired Pawn 1 | Fighter | Shield Drum |
| Hired Pawn 2 | Sorcerer or Thief | High Flagration, High Salamander, or Meteoron |
Mystic Spearhand is the strongest Arisen pick here. Mirour Shelde can cover your entire party, which matters when two Garms are pouncing from opposite sides of a tight room. The skill received adjustments in Dark Arisen, but its party-wide defensive value still holds up in enclosed spaces.
Sorcerer works well if you want to burst down individual targets quickly, while Thief lets you reposition freely when large enemies close the gap.
Dragon's Dogma 2 Daemon's Corral Walkthrough
For your Mage Pawn, High Palladium adds a second layer of shielding on top of Mirour Shelde, High Celerity speeds up the whole party, and High Halidom clears debilitations that the Serpents in the first pen can inflict. A Fighter Pawn running Shield Drum pulls enemy attention off your casters, and a Sorcerer Pawn with Meteoron can delete entire groups of weaker enemies before they become a problem.
Full Daemon's Corral walkthrough
Pen 1: two Serpents
The first chamber introduces the dungeon's core loop. A heavy wooden beam braces a gate from the outside. Attack and destroy the beam, the gate swings open, and the pen's monsters spill into the corridor. Once the room is clear, the seal on the next archway breaks.
The first pen holds two Serpents with roughly 21,000 health each on the base difficulty. They carry lightning, so Chilled or Shocked debilitations are possible. A Thief can steal a Boltscale from them before the kill if you want the material.
After clearing both Serpents, check the rock wall on the right side of the hall. A chest there contains Fine Roe Roborant x3.
Pen 2: the Minotaur
The second pen holds a single Minotaur with a boss health bar and around 55,000 health. The corridor is narrow enough that its charging attacks become genuinely dangerous. Keep your Fighter Pawn between you and the Minotaur, position your casters behind it, and climb onto its back when you get the opening. Attacking the head from above deals better damage and keeps you out of the charge path.
After the Minotaur drops, two chests appear in the cleared pen. An ornate chest among the crates holds 12,000 gold, and a second chest further inside against the rock wall contains a Panacea.
Hidden chest: Ring of Projection
Before heading to the third pen, look for a long side corridor branching off the chamber. Follow it to the far end, where a pile of rocks blocks a treasure chest. Destroy the obstruction with attacks or spells, then open the chest to collect the Ring of Projection, which boosts projectile damage and is usable by every vocation.
This is one of the most missable rewards in the dungeon. Players who move straight to the next gate will walk right past it.
Pen 3: two Garms
The third pen contains two Garms, large dark hounds with roughly 50,000 health each and a weakness to Fire. They're fast, they pounce, and they'll split your party's attention if you let them. Focus one target at a time and use your Mage Pawn's defensive spells to absorb pressure while you burn the first one down.
Before opening the gate, look for a raised platform in the corridor. A chest up there holds Exquisite Roborant x3.
Once both Garms are dead, enter the area where they were waiting. A hidden chest sits behind their starting position, containing a Wakestone. Don't leave without it.
A chest in a rocky niche further along the corridor holds Aged Scrag of Beast x2.
The masonry wall and the spiral door
Past the Garm chamber, a dressed stone wall blocks the corridor. Climb and jump over it. A few small enemies on the other side are easy to handle.
Follow the root-lined passage to a round stone door bearing a glowing blue spiral. Two chests sit to its right. The wooden chest contains 20,000 gold, and the ornate chest holds the Mystic Eye, a head piece usable by every vocation at 0.6 kg. Grab both before interacting with the door.
Select Examine at the spiral door. The blue rings illuminate and the door opens, revealing the passage to the Cyclops cavern.
How to beat the Corrupted Cyclops
The passage opens onto a stone ledge above a broad cavern scattered with boulders. Drop down to start the fight. The Corrupted Cyclops has a helmeted head, chains, a four-segment health bar, and roughly 40,000 health on the base difficulty. Lightning is its weakness.
Here's the most reliable approach:
- Use the scattered boulders as cover against stomps and sweeping arm attacks while your pawns engage.
- Target the Cyclops's ankles and lower legs until it topples to the ground.
- While it's down, climb onto the head and strike the eye directly. Most of the health bar comes off during these windows.
- Keep your Mage or Sorcerer Pawn casting Lightning spells throughout. Repeated Levin bolts stagger the Cyclops and can finish the fight while it's still grounded.
Defeating the Corrupted Cyclops awards significant experience and drops Brinebeast Ore and Brinebeast Fragments.
The final reward chamber
Through the unsealed archway, a short torch-lit passage leads to a small chamber with a stone chest positioned between two kneeling warrior statues. Opening it gives four items:
- Scarbrand (greatsword for Warrior)
- Prickled Pomander (censer for Trickster)
- Nerodia (archistaff for Sorcerer)
- Offering Flame
The Offering Flame can't be sold and connects to the Obelisk system in Norgan.
All Daemon's Corral rewards
Daemon's Corral holds 7 chests in total. Here's the complete haul if you collect everything:
| Item | Quantity | Location |
|---|---|---|
| Fine Roe Roborant | x3 | First hall, right wall |
| Gold | 12,000 | Minotaur pen (ornate chest) |
| Panacea | x1 | Minotaur pen (inner chest) |
| Ring of Projection | x1 | Side corridor (hidden behind rocks) |
| Exquisite Roborant | x3 | Platform before Garm pen |
| Aged Scrag of Beast | x2 | Rocky niche after Garms |
| Wakestone | x1 | Behind Garms' starting position |
| Gold | 20,000 | Beside spiral door (wooden chest) |
| Mystic Eye | x1 | Beside spiral door (ornate chest) |
| Brinebeast Ore | x3 | Cyclops drop |
| Brinebeast Fragments | x3 | Cyclops drop |
| Scarbrand | x1 | Final chest |
| Prickled Pomander | x1 | Final chest |
| Nerodia | x1 | Final chest |
| Offering Flame | x1 | Final chest |
The total gold across both chests comes to 32,000. The Ring of Projection and Mystic Eye are the standout pickups before the boss, and both are easy to miss if you rush the pen sequence.
For everything else the Dark Arisen expansion throws at you, check the full Dragon's Dogma 2 guides collection for walkthroughs covering Obelisk locations, the relic and Spoils system, and tips for getting overpowered fast in Norgan. If you're still working through the dungeon series, the Lost Rites quest guide covering Devilkin Hollow and every Dark Arisen dungeon has the full picture on how the trial system fits together.