Search games, articles, guides...CtrlK
Sign InGet Started
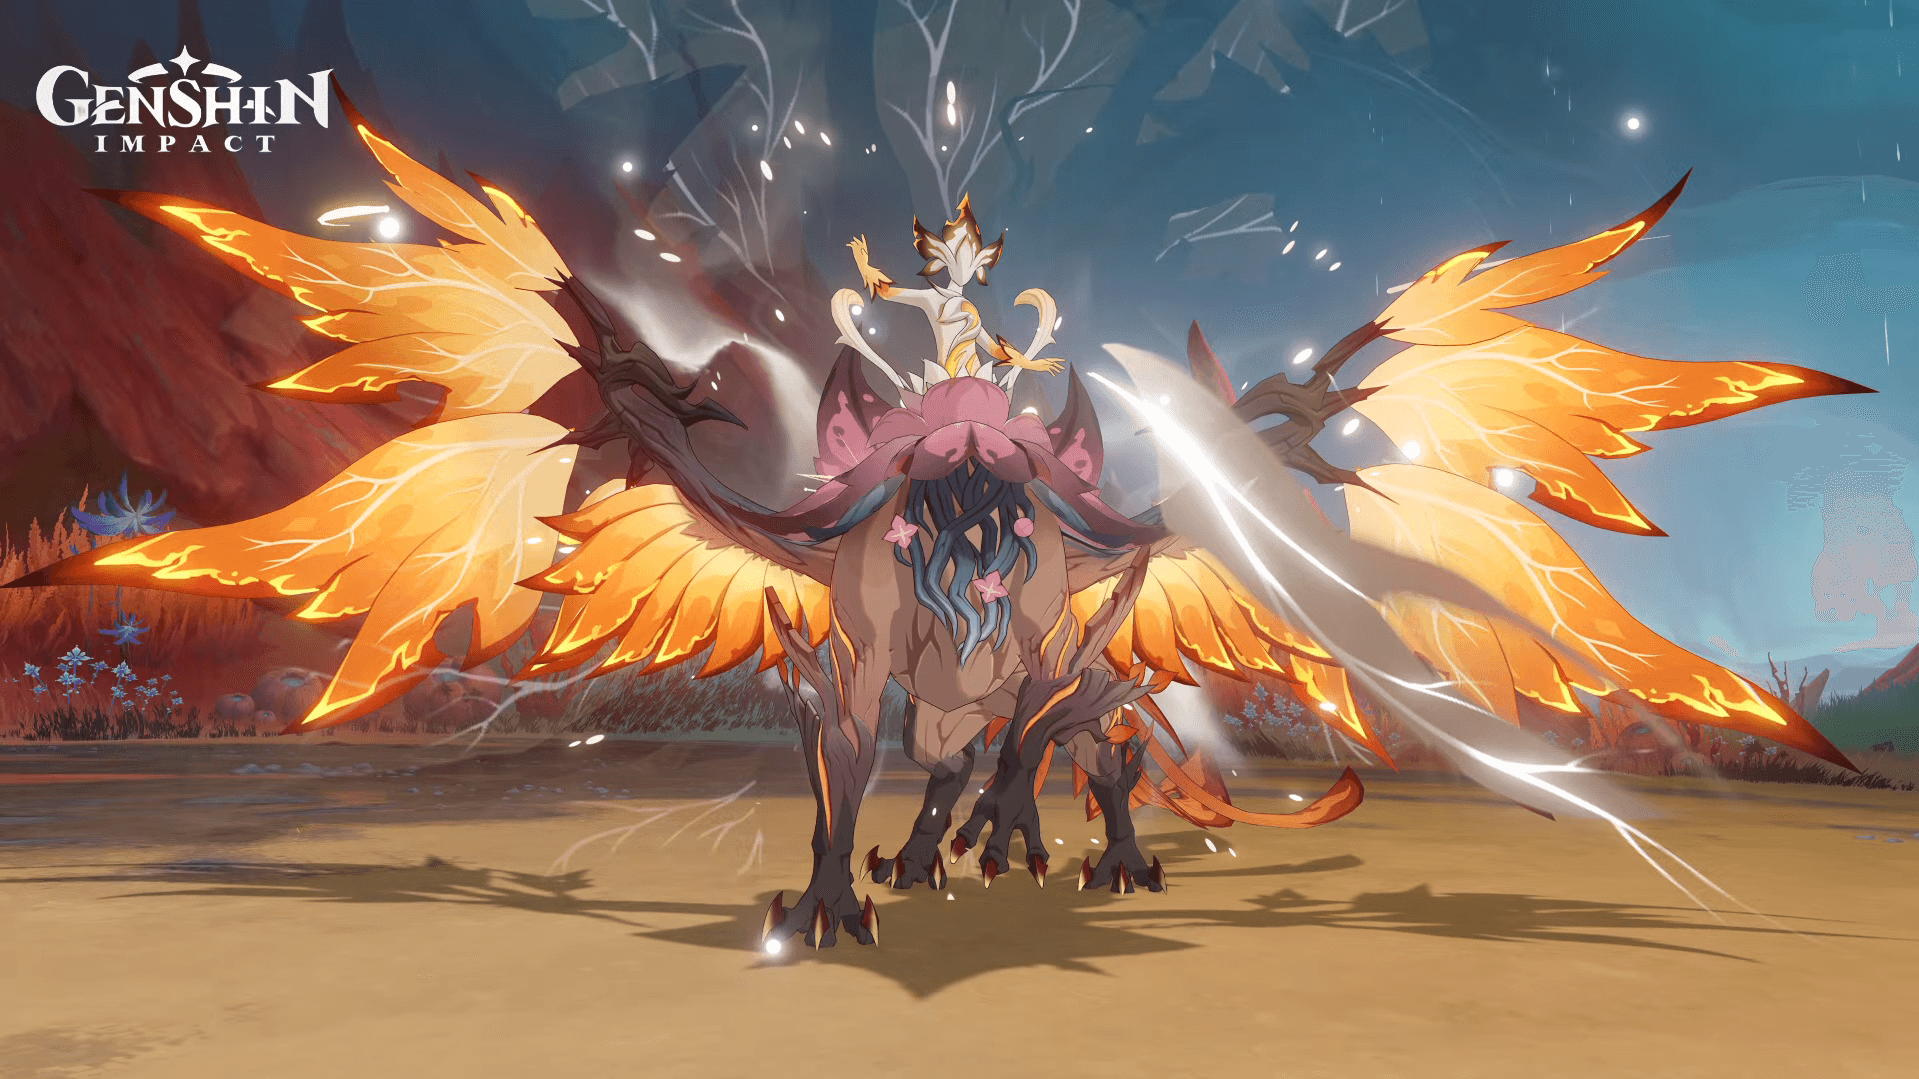
Find the Immortal Construct in Snezhnaya, break its shield fast, dodge the one-shot AoE, and farm Unscorched Blossom Branch drops.

Written by Larc
Content Writer
See more GAMES.GG guides on Google
Add us as a preferred source and our guides show up first in your results.

Best Skirk Build in Genshin Impact: Weapons, Artifacts & Teams
Build Skirk in Genshin Impact with her best artifacts, weapons, stats, teams, and talent priority.

Genshin Impact Best Ineffa Build in 7.0 Update
Discover the best Ineffa build in Genshin Impact, including top artifacts, weapons, stats, talents, and team compositions.
Best Flins Build in Genshin Impact: Weapons, Artifacts & Teams
Find the best Flins build in Genshin Impact, including weapons, artifacts, stats, talents, constellations, and teams.
The Immortal Construct is one of the field bosses introduced in Genshin Impact 7.0, set in the new Snezhnaya region. This bird-shaped machine hits hard, gains shields mid-fight, and carries a single AoE attack that can wipe your entire team if you stand in the wrong spot. Defeating it is non-negotiable if you want ascension materials for the new Snezhnaya characters, so knowing exactly what to expect before you walk in saves a lot of resin.
The Immortal Construct sits in the Everfrozen Earth area of Snezhnograd, right next to the Central Station. To reach it, drop into the cavern near Central Station and head north. Follow the sloping path downward and you will hit the boss room. A teleport waypoint sits just outside the entrance, so after your first clear, returning for farming runs takes seconds.
The Immortal Construct deals primarily Pyro and physical damage, and it is aggressive from the moment the fight starts. There are two things that will determine whether your run goes smoothly or falls apart: breaking its shield before it recovers, and dodging the one attack that ignores most character HP pools.
Genshin Impact Boss Guide: How to Beat Immortal Construct
At set intervals during the fight, the Immortal Construct throws up a shield. While that shield is active, your damage output drops dramatically. The fastest way through it is Stellar Glimmer reactions. Out of the two Stellar Glimmer reaction types, Stellar Conduct is the most effective option against this boss.
Breaking the shield quickly triggers a stun window, which is your best opportunity to dump burst damage. Don't waste that window on setup; have your DPS rotation ready to fire the moment the shield cracks.
The boss runs four main attack patterns:
The AoE explosion is the one that demands your full attention. It can one-shot most characters regardless of HP or defense. The tell is readable and the attack has a delay, so the moment you see it wind up, sprint out of range and wait for the animation to finish before re-engaging.
Because this boss is weak to Stellar Glimmer reactions and specifically punishes teams that can't break its shield quickly, reaction-focused compositions outperform raw DPS teams here. Two team archetypes stand out.
This is the strongest option for the Immortal Construct. Sandrone handles main DPS duties, Yae Miko provides consistent Electro application, Odette covers the Stellar Glimmer support role, and Alyosha rounds out the team as both Stellar Conduct support and healer.
| Role | Character |
|---|---|
| Main DPS | Sandrone |
| Sub DPS | Yae Miko |
| Sub DPS | Odette |
| Support / Healer | Alyosha |
If you don't have Sandrone, Cyno or Wriothesley slot in as viable main DPS alternatives. Nicole can replace Alyosha in the support slot if needed.
For players running Anemo-focused rosters, Yumemizuki Mizuki leads this composition as the Swirl trigger. Pair her with Odette to activate Stellar Swirl, Faruzan to amplify Anemo damage output, and Qiqi as a reliable healer and support.
| Role | Character |
|---|---|
| Main DPS | Yumemizuki Mizuki |
| Sub DPS | Odette |
| Support | Faruzan |
| Support / Healer | Qiqi |
This team deals slightly less shield-break pressure than the Stellar Conduct build, but Faruzan's Anemo buffs keep damage competitive and Qiqi's healing gives you a safety net for the AoE explosion if your dodge timing slips.
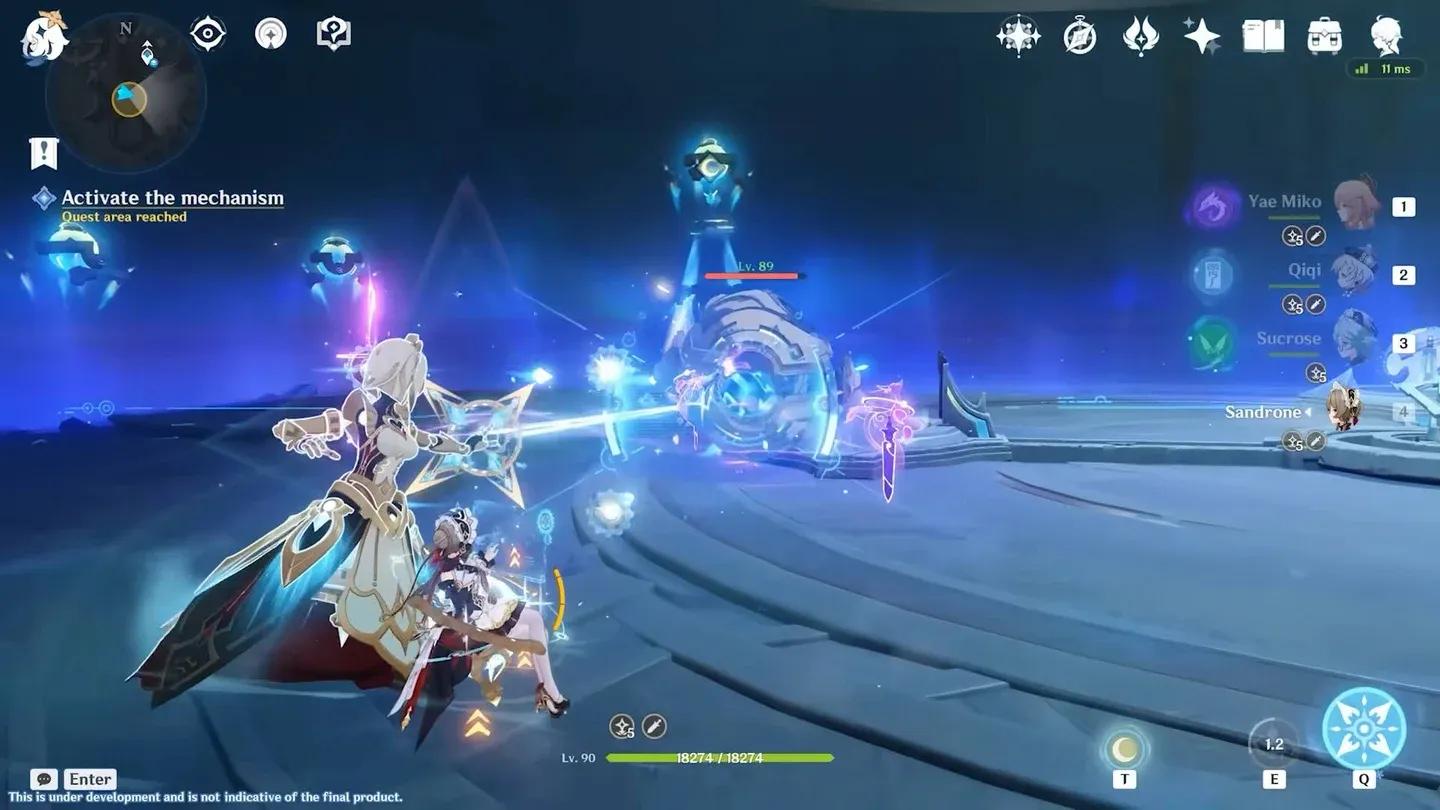
Stellar Conduct team setup
The main reason to farm this boss is the Unscorched Blossom Branch, the ascension material tied to Snezhnaya characters. Every other drop is a bonus. Here is the full reward list:
The artifact drops skew toward sets that suit a range of team types, so early farming runs can double as artifact grinding while you collect Blossom Branches.
Getting the most out of the Stellar Conduct and Stellar Swirl compositions means having your characters properly geared. Check out the Genshin Impact best Chasca build and Lohen build guide for artifact and weapon setups that carry over well into this boss fight. If you're working through the full 7.0 boss roster, the guide on how to beat Dottore's Binding Field of Universal Nirvana is the next stop. For everything else in the region, the full Genshin Impact guides collection has you covered.