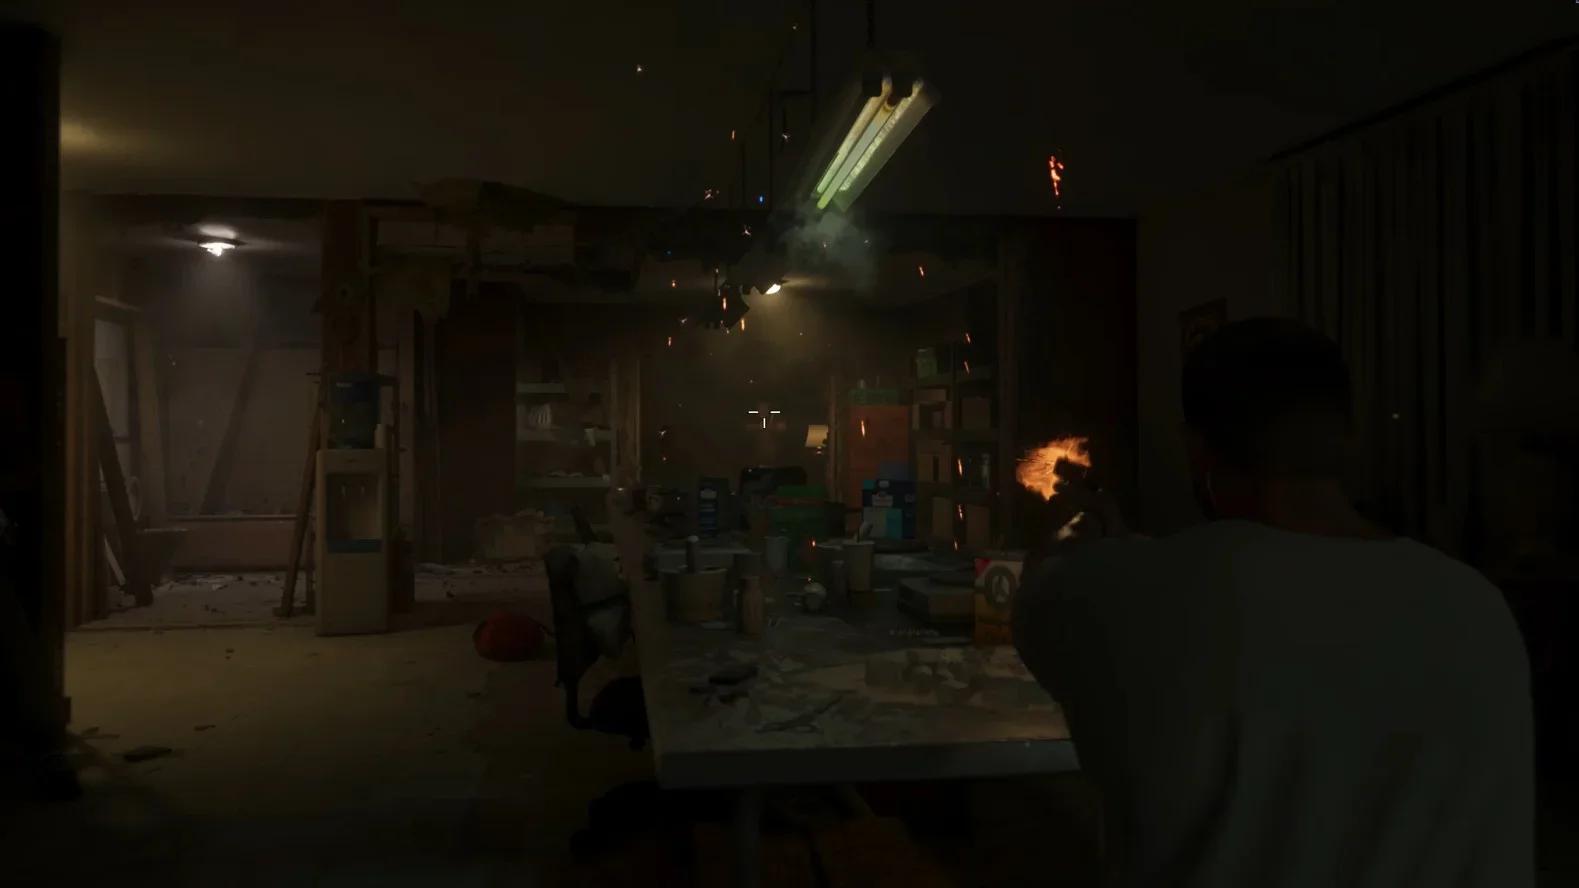

Open Settings, go to the UI tab and scroll to the Reticle section to change the shape, size, hit markers and visibility of your aiming marker.
How to Change the Crosshair in Grand Theft Auto 6
You change the crosshair in Grand Theft Auto 6 from the pause menu. The game calls the crosshair a reticle, so look for that word in the settings.
- Pause the game. Open the pause menu and choose Settings.
- Open the UI tab. The UI tab holds every on-screen interface option.
- Scroll to Reticle. The Reticle section sits near the bottom of the list.
- Change the options you want. Start with Reticle Shape, then adjust size and visibility.


Reticle Settings Explained
Reticle Shape Options
Reticle Shape has four choices:
| Shape | What You See |
|---|---|
| Complex | The three-dash marker most players see first |
| Simple | A circle with a center dot |
| Dot | A single dot, like older GTA games |
| None | No marker at all |
Simple suits accurate weapons and shotguns, and None is for players who want no aiming help on screen.
Other Reticle Settings
| Setting | Options and Effects |
|---|---|
| Persistent Center Dot | Off or on; keeps a dot on screen even with no weapon equipped |
| Reticle Hit Markers | On or off; controls the dashes that flash when a bullet hits |
| Reticle Size | Default or Large |
| Equipped Reticle Visibility | 1 to 10; controls how visible the marker is when a weapon is out |
| Aiming Reticle Visibility | 1 to 10; controls how visible the marker is when you aim |
| Reticle Messages | On or off |
| Projectile Arc | Off (Toggle On), On (Toggle Off), Always On or Always Off |
Projectile Arc
Projectile Arc controls the path line for thrown items and explosives. In a toggle mode, press the right stick while aiming to show or hide the arc.
If Aiming Still Feels Off
A different crosshair does not change how the game helps you aim. For sensitivity, aim assist and lock-on, see the console settings guide and the controller settings guide.
The weapon guide explains how aiming, cover and Focus work, and the accessibility settings guide covers more display options.