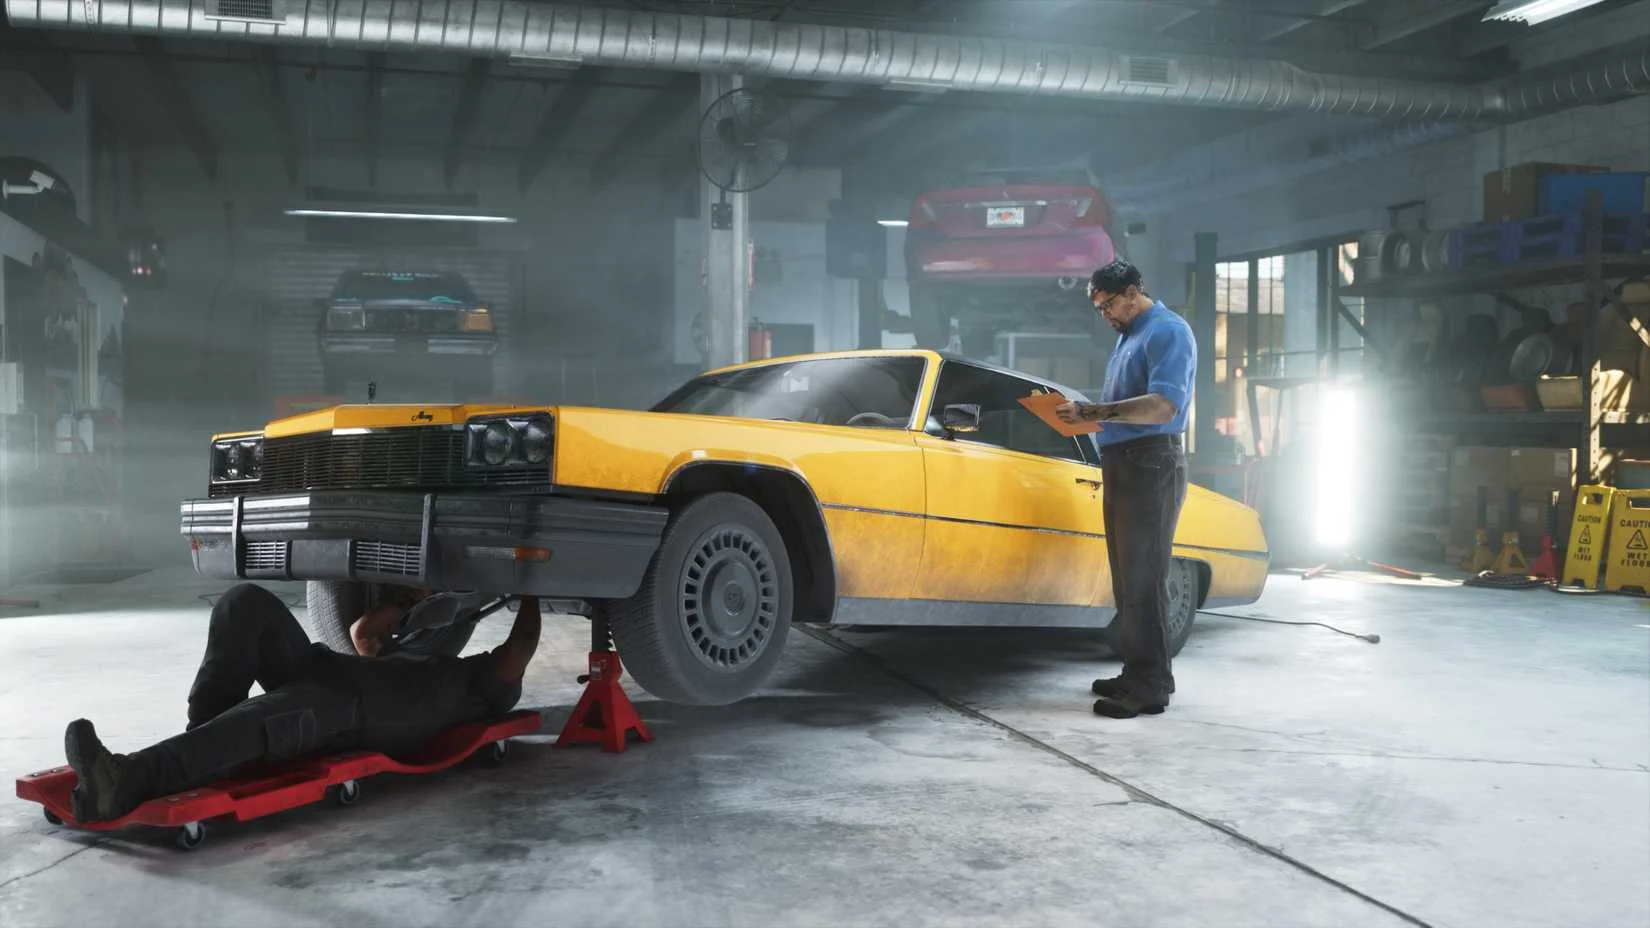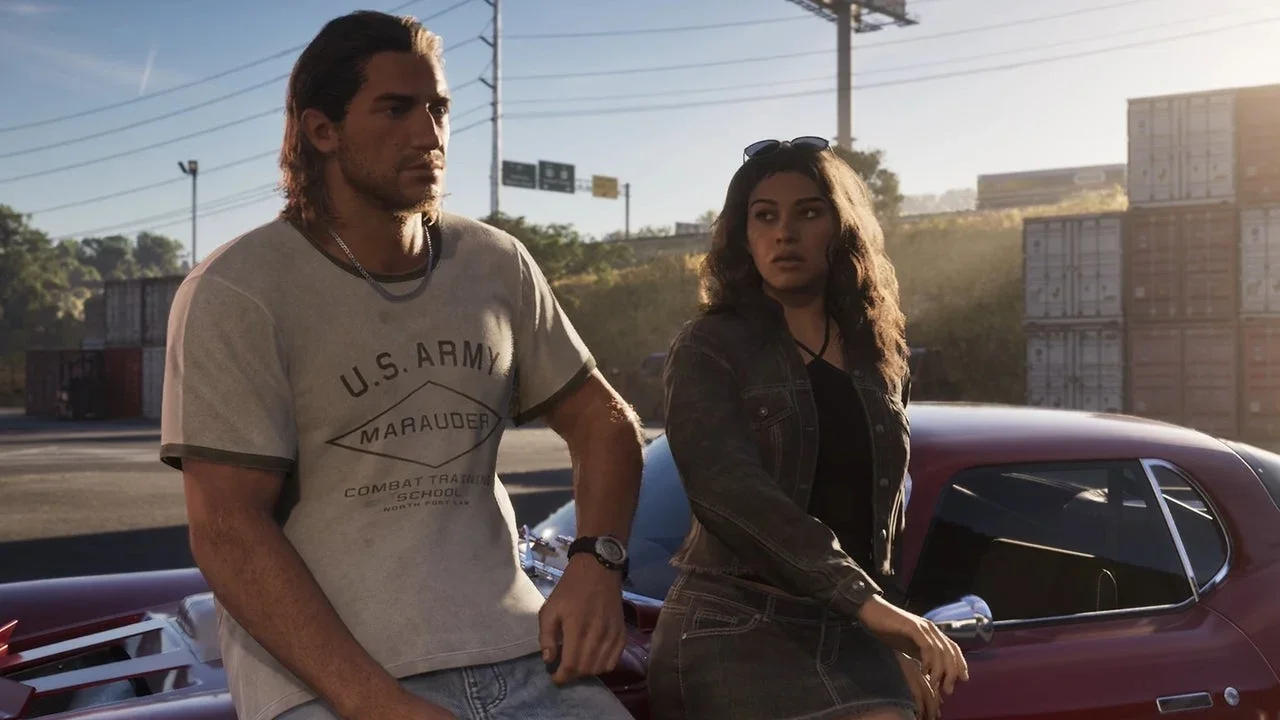

To finish Mission 2's police escape, recover the Phoenix, lose the pursuit, respray the car, and deliver it to Brian's garage.
This Grand Theft Auto 6 walkthrough follows Jason's impound pickup in Hamlet through the vehicle handover and outfit cleanup. The objective is a controlled recovery, not a prolonged shootout. Getting beyond the pursuing officers is only the first part: you also need to handle the car's recognizable paint job before taking it to its destination.
Mission 2 starting objectives


Meet Cal and drive to Hamlet
Follow Go see Cal, get into his truck, and drive to Hamlet. During the journey, Cal directs you toward Penny Bun Street and explains the job: Brian's payment was left in a car that has since been impounded.
The target is a red Imponte '77 Phoenix. Its trunk contains the payment, so focus on recovering that vehicle instead of stealing whichever car is easiest to reach.

Cal in Grand Theft Auto 6
Before you enter the impound, Cal adds police-radio access to your phone. You can then listen to police frequencies and receive notifications about dispatch areas. Watch those notifications as you approach the lot so an incoming patrol does not catch you unaware.
Your next objective is Search the impound for the Phoenix. From this point, prioritize finding the target and preparing an exit.
Preparing for the escape
Identify the Phoenix before breaking in
Move quietly and stay out of sight while searching the impound. Open WAINK on your phone to inspect vehicle information and confirm that you have found the Imponte '77 Phoenix.
Its scan lists Access: Locked, Security: Alarmed, and Tracker: None. The alarm is the immediate concern when you break in. Do not treat the absence of a tracker as protection from nearby officers identifying you or the car.
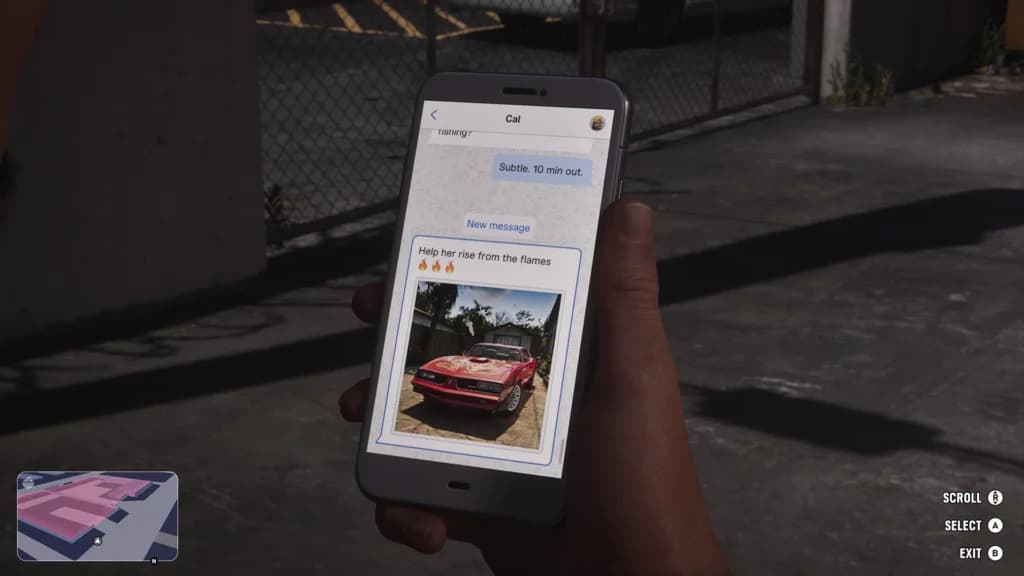
The Phoenix vehicle scan
Check where you will drive out before committing to the theft. If the gate blocks your departure, shooting its button controls opens it quickly. Use the control panel as an exit solution, not a reason to remain in the lot exchanging fire.
Put away weapons you do not need
The longarm obtained during the earlier equipment errand does not need to stay in your hands throughout the recovery. Keep your attention on the target vehicle and the route out of the impound.
Evading the police
Break visual contact and stay outside the search
Once officers identify Jason, get the Phoenix moving and work on breaking their line of sight. The escape tutorial gives you two ways to lose the cops: hide or escape their search area.
Use this sequence during the pursuit:
- Leave the impound in the Phoenix. Avoid turning the pickup into a stationary fight.
- Break visual contact. Drive away from pursuing units and use streets and corners to get out of their view.
- Check the minimap. Keep outside officers' vision cones when choosing somewhere to hide.
- Stay unspotted while the search continues. Losing visual contact does not immediately remove the wanted level. Another sighting can restart the chase.
Choose between driving farther and hiding based on the police positions you can see. A hiding place is useful only while it remains outside their view; continuing to drive makes more sense if a patrol is approaching it.
Separate the active chase from remaining heat
Wanted stars show the intensity of the current police response. Recognition describes what officers know about you, including your vehicle, appearance, clothing, and visible weapons. Clearing the immediate pursuit does not make every part of that description disappear.
The map shows areas where you still have heat. Check it before choosing your next route, especially if you are considering returning through the streets where officers last saw you.
Keep the Phoenix for the delivery. Switching to another car can address vehicle recognition in free roam, but it does not complete an objective that specifically asks you to hand over the Phoenix.
Reaching the mission destination
Respray the Phoenix in Hamlet
Brian refuses to take the Phoenix while police are looking for it, making the vehicle cleanup part of the Grand Theft Auto 6 Unwanted Attention objectives. Follow his directions to the Pay 'n' Spray in Hamlet, at the scrapyard.
The garage offers separate repair and respray services. Choose the service that matches your current problem:
| Service | What it does | When to use it |
|---|---|---|
| Repair | Repairs engine and collision damage | The escape has damaged the Phoenix |
| Respray | Changes the vehicle's paint so police cannot recognize it | The objective asks you to clean up the Phoenix |
For Respray the Phoenix, choose a different paint color. Gray and black appear among the available options. Repairing damage alone is not the paint change the objective requests.
Deliver the car to Brian's garage
Follow Deliver the Phoenix to Brian's garage. Brian describes the garage as being behind the air-conditioning business on Palmetto. Use the delivery destination instead of returning to his marina or lockup.
After the handover, Brian points you toward cash in the back. Collect the payment he offers, then deal with Jason's clothing before spending more time around police in a heated area.
Remove outfit heat at Big Shots
Big Shots sells outfits explicitly labeled as removing outfit heat. Big Shots Workwear costs $59, while Big Shots Tactical Gear costs $96. Choose Workwear if your immediate goal is to clear outfit heat for less cash; both descriptions list that function.
Appearance recognition and outfit recognition are separate. Accessories or a hairstyle change address your appearance, while buying different clothes addresses the outfit officers identified. Changing only a cap does not replace the clothing cleanup.
Failure risks and objective checks
Avoid escalating the recovery into a shootout
Getting a wanted level does not itself affect your criminal profile. How you deal with the police does. Indiscriminate violence contributes toward a violent profile, while a skilled, controlled approach contributes toward a professional one.
If you are pursuing a professional profile, minimize casualties and spend your effort escaping. Fighting every responding unit adds violence without completing the recovery, respray, or delivery objectives.
Check the current task before taking a detour
Read the active objective when progress seems stalled. A search for the Phoenix calls for vehicle identification inside the impound; a respray request calls for the garage's paint service; a delivery request calls for Brian's garage on Palmetto. Treat these as separate tasks, not interchangeable ways to end the police encounter.
Avoid returning immediately to the impound or circling the same patrols after the handover. Heat eventually dies down. Check the map for remaining heated areas, and keep Jason's changed clothing and concealed weapons in mind before passing officers again.