

Relics are what separate a clean Difficulty 8 clear from a mid-run wipe in Guildrun. Unlike items that buff individual heroes, relics apply party-wide passives that define your entire run identity from the first shop to Endless Mode. The demo catalog alone contains 281 relics spanning Common through Legendary rarity, and knowing which ones to prioritize, which tags to stack, and when to pivot is the difference between compounding power and a collection of dead bonuses.
How does the Guildrun relic system actually work?
Every relic you acquire sits in a passive layer that affects your whole party. That is the first thing to internalize: a Warrior attack bonus relic still counts as a relic, not an item, meaning it fires for every matching hero on the board rather than just one. Items, by contrast, are per-hero gear you can reassign freely. Relics are usually permanent for the run once purchased.
The shop splits into rarity bands: Common (10 Shards), Rare (20 Shards), Epic (30 Shards), and Legendary (40 Shards). Higher rarity is not automatically correct. An off-theme Epic that none of your heroes can trigger is worse than a Common that completes your tag stack.
Relics appear from multiple sources beyond the shop: path and event nodes, boss and trial rewards, and starter kits. Each source has different timing pressure, so the habit of evaluating every offer against your current board state matters more than memorizing a fixed ranking.
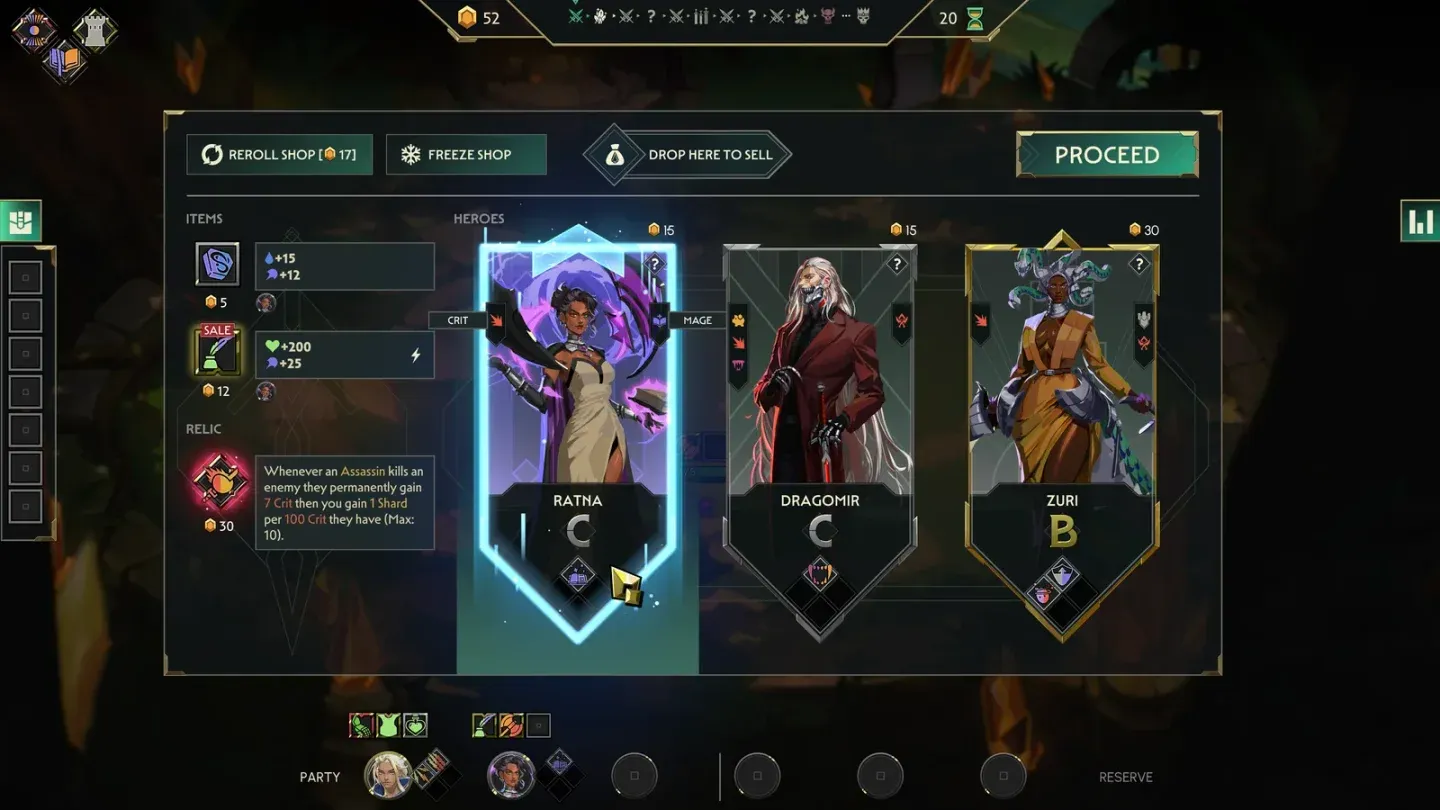
Custom uploaded: Guildrun shop.webp
What are the S-tier relic categories in Guildrun?
Rather than a static name list that patches can invalidate, the strongest relics share four functional traits: they apply globally, they scale multiplicatively with your specialization ranks, they compound over time, and they remain relevant from Rift 1 through Endless Mode.
Economy relics
Economy relics are the highest-priority pickup in the opening shops. Shard Maximizer generates interest on saved Shards at the end of each combat, up to 20 bonus Shards per fight. Shard Extractor (Rare) adds 6 Shards on every combat victory. Basic Differentiator and Advanced Differentiator reduce reroll costs by 1 and 2 Shards respectively, compounding across every shop visit.
The math is straightforward: an economy relic acquired before Rift 3 can translate into 30% more total resources by the run's end, giving you the Shard headroom to find specific heroes, hit S-rank specializations, and still afford a Legendary when it appears.
Attack Speed relics
Global Attack Speed relics sit at the top of the damage tier because they do not just increase DPS. They increase the frequency of every on-hit trigger your team has: Burn applications, Crit procs, Shield generation, and Stun effects from specializations. Duelist's Momentum Engine (Legendary) grants 40 Attack Speed globally and stacks bonus damage on every Duelist auto attack. In Endless Mode specifically, faster attack cycles mean more frequent Stun and Freeze procs, which is one of the few reliable ways to keep scaling enemies from overwhelming your frontline.
Class-scaling relics
Legendary class engines are the most explosive power spikes in the catalog when your roster matches them. Warrior's Bloodshield Engine gives 50 Attack globally and converts 15% of all Warrior damage dealt into lasting Shields. Mage's Cataclysm Engine adds 50 Magic and applies Burn and Frost to all enemies in range on every Mage cast. Assassin's Ambush Engine grants 30 Crit globally, gives Assassins Stealth for 5 seconds at combat start, and converts Stealth auto attacks into Poison equal to 75% of Crit.
These relics only reach their ceiling when you have multiple heroes of the matching class. Picking Assassin's Ambush Engine with zero Assassins on the board is a wasted 40 Shards.
Universal survival relics
For Difficulty 7-8 and Endless Mode, flat Health bonuses stop scaling with incoming damage. Percentage-based mitigation and revive mechanics become mandatory. Defensive Energy Crystal (Legendary) grants Tanks and Vanguards Shields equal to 100% of their Max HP at combat start, then adds more on Stall triggers. Vanguard's Titanic Engine stacks Max HP on every auto attack and converts each 200 Max HP gained into 25 Attack plus a size increase. These relics prevent the one-shot mechanics that end runs at high difficulty.
A-tier and B-tier: when situational beats universal
A-tier relics are consistent within a committed build. Arcane Amplifier (Rare) gives Mages and Mystics 50 Magic and 4 Mana Regen, which is excellent value if you are running a cast-heavy composition. Martial Amplifier (Rare) covers three classes at once: Assassins, Duelists, and Warriors all gain 15 Crit, 20 Attack Speed, and 25 Attack. The Deceleration Apotheosis (Epic) grants +20% to all basic stats after Stall 25, 50, and 75 triggers, making it a strong mid-run pickup for Stall-focused builds.
B-tier relics are conditional. Acceleration Immunizer (Epic) makes heroes immune to damage during Rush windows, which sounds powerful until you realize Rush windows are short and the relic does nothing outside them. Perfect Divergence Prism (Epic) grants +33% to all basic stats at combat start if no heroes share a class, a massive bonus that requires you to draft around a constraint most builds do not naturally hit.
What relic tags should you build around?
Tags are the practical language for navigating 281 relics without memorizing every name. Strong runs lock two overlapping tag families and add a third only when it arrives for free or as a deliberate pivot.
- Crit / on-crit: Pairs with Attack Speed items and Assassin or Duelist specializations. Critical Singularity (Legendary) sets every hero below 150 Crit to exactly 150, then converts that Crit into Attack Speed, Attack, and Magic for heroes already above the threshold.
- Status (Burn / Frost / Poison): Requires applicators on your board or the tags are dead. Burning Spiral Engine (Legendary) detonates enemies with 100+ Burn stacks for 50% of their Max HP in an area. Venom Amplification Engine (Legendary) adds 4% Max HP damage whenever an enemy takes 50+ Poison damage. Neither does anything without heroes that actually apply those debuffs.
- Shield / Stall: Shield Fragmentation Engine (Legendary) reflects 200% of damage back to attackers when they hit your shields. Deceleration Aegis (Epic) adds 800 lasting Shields after Stall 15, 30, and 45 triggers.
- Economy (Shards): Reroll-cost reducers, Shard-on-victory relics, and interest mechanics. Shard Precision Prism (Epic) converts Shards in your bank directly into Crit up to 1000, creating a bridge between economy and damage.
- Class packages: Warrior, Tank, Vanguard, Assassin, Duelist, Mage, Mystic. Count matching heroes before spending. Omnity Enforcer (Legendary) grants all 7 Crests simultaneously, making every hero count as every class, which is the most flexible class-package relic in the catalog.
How to evaluate every three-relic shop offer
When the shop shows three choices, run four questions before spending:
- Does this advance my current win condition?
- Does it stack with relics I already own?
- Does it still matter two fights from now?
- Does it open a shop path I can actually afford?
If the answer to the first two is no, skip it unless your Shard bank is overflowing. The biggest mistake players make is collecting three unrelated themes because each individual offer looked strong in isolation.
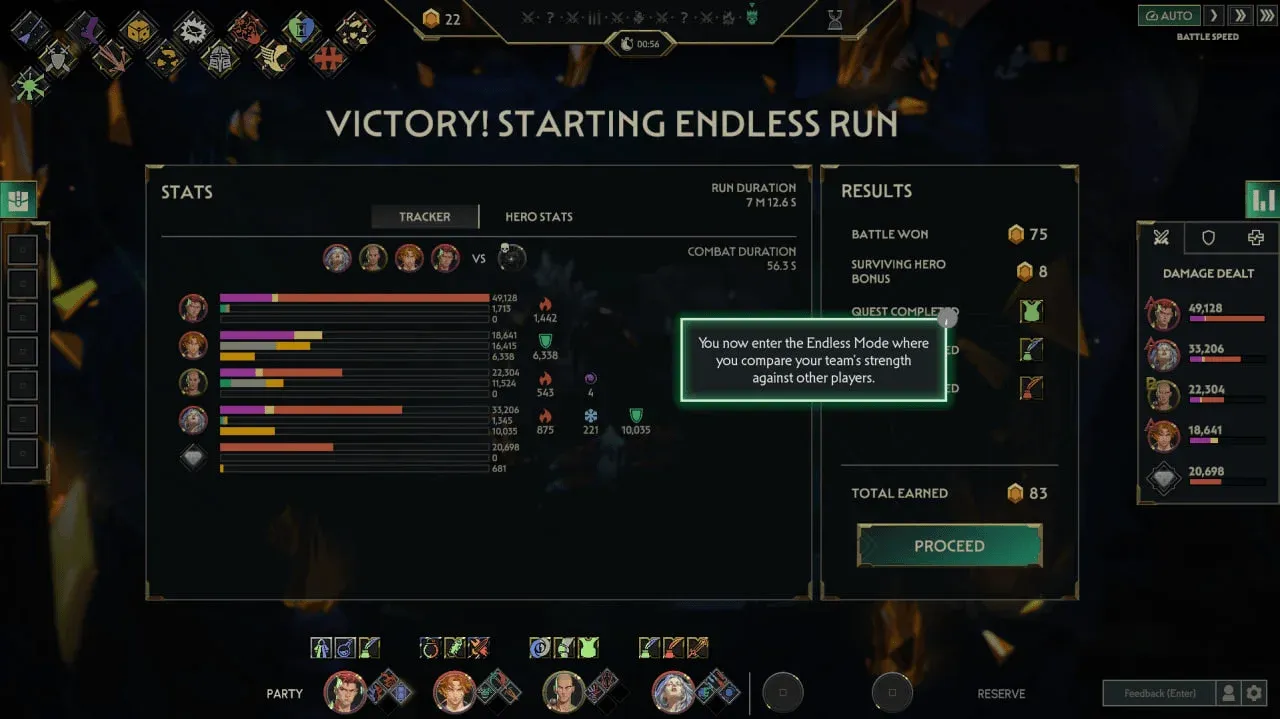
Guildrun Victory Endless Run
Freeze and reroll timing
Freezing a shop keeps the current offers until your next visit. This is correct when you are one or two Shards short of a defining relic and confident the next combat will generate enough. Rerolling refreshes all offers and, with Momentous Differentiator (Epic) or Stalwart Differentiator (Epic) active, also generates 2 Attack Speed or 3 Defense per reroll respectively, turning shop cycling into a passive stat engine.
How to pair relics with hero specializations
Specializations are the per-hero kit layer that determines whether your relic tags actually fire in combat. A Tank hero on the Damage Reduction path extracts significantly more value from Defensive Energy Crystal than a Healer would. A Mage on a cast-loop specialization path makes Arcane Energy Crystal (Legendary) pay out on nearly every combat tick, dealing damage equal to 100% of Magic to all enemies and applying Shields equal to 1000% of Mana Regen.
The Respec mechanic exists for exactly the scenario where you find a Legendary that does not match your current roster. If the power spike justifies the resource cost, switching specialization paths to match the relic is often the correct call rather than passing on a run-defining passive.
Difficulty scaling and Endless Mode priorities
Difficulty 1 through 3 is where you learn which relic interactions exist. Difficulty 4 through 6 is where you optimize class-wide synergies. Difficulty 7 and 8 demands efficient Shard spending and at least one global survival relic on your frontline anchor before the boss phase.
Endless Mode changes the calculus entirely. Enemy damage scales faster than flat Health, so Avoidance and percentage-based Damage Reduction relics outperform anything that adds a fixed number to your HP pool. Attack Speed becomes doubly valuable here because it enables more frequent Stun and Freeze procs from specializations, which is one of the only ways to interrupt the scaling enemy pressure.
The run success checklist for Difficulty 7+:
- Acquire at least one Economy relic before Rift 3
- Secure a Class-Scaling relic that matches your primary damage type
- Equip a global survival relic on your frontline anchor
- Synchronize relic tag effects with active specialization keywords
- Hold Shard reserves for a Legendary offer in the final shops
Common relic mistakes to avoid
Most failed runs trace back to decision errors rather than bad RNG. After testing compositions across all eight difficulties, these are the patterns that kill runs most consistently:
- Taking an Epic relic that no hero on the board can trigger
- Collecting three unrelated tag families because each offer looked strong individually
- Skipping Economy relics on early difficulties when the shop is the actual power spike
- Spending every Shard on items and missing the relic that would have defined the run
- Refusing to pivot after two consecutive shops that do not support your original tag
- Treating a flat Health bonus as a survival solution at Difficulty 8 or above
The two-tag rule is the simplest correction: lock two overlapping tag families early, stack them through the mid-run, and only add a third when it arrives for free or when the first two are fully saturated.
For more build compositions that pair relics with specific hero rosters, the full Guildrun guides collection covers comp-specific strategies in detail. Guildrun sits firmly in the strategy games genre where this kind of layered decision-making is the entire point, and the relic system is its most expressive tool.