
How to Fish runs on three income engines: selling catches, collecting boss and quest payouts, and multiplying rewards through stylish kills. The gap between players who grind for an hour and walk away with $50 versus players who walk away with $500 comes down to knowing which fish to target, which lures to buy first, and when to cook before you sell. Here's the short answer: follow the lure tier ladder, press F to inspect every catch before selling, and never pre-sell quest items.
What's the fastest money route at each progression stage?
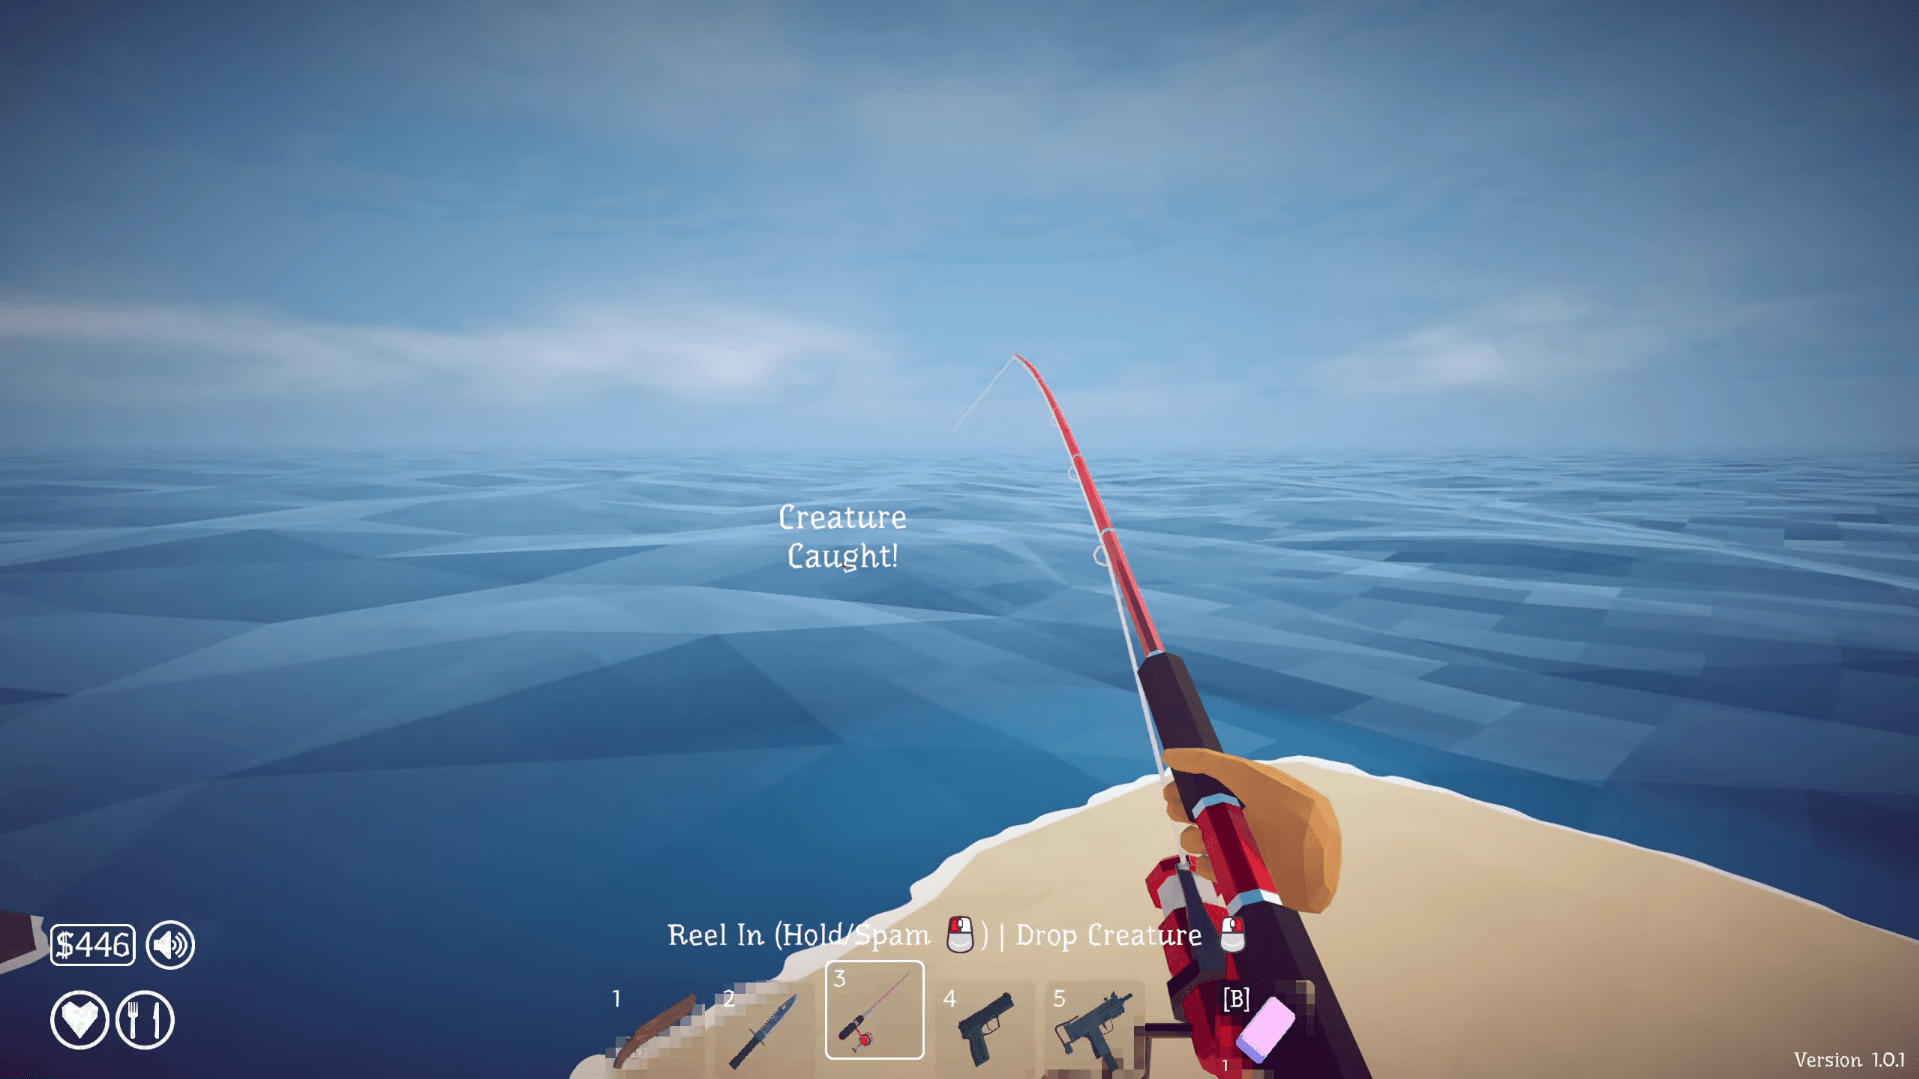
The game opens you on the starter island with almost nothing, so the first move is selling beach shells and spare clams. Clams sell for $1 each, which is just enough to fund the Crab Fishing Rod ($2–3). From there, the money loop runs through five clear stages tied directly to which islands you've unlocked.
- Island 1 (Lighthouse): Sell shells and clams, buy the Crab Rod, then switch to Hot Dog bait to catch Rock Crab ($7) and Lobster ($9) instead of Brown Crabs.
- Island 2 (Forest): Equip the Beginner Lure and target Triggerfish at $18 per catch. That's a meaningful jump from the starter island values.
- Island 3: Grab the Standard Lure ($15) and keep inspecting catches with F before selling. Some fish here feed quest chains, so hold anything unusual.
- Island 4 (Sky): The Professional Lure ($50) opens the high-value roster. This is where farming becomes genuinely fast.
- Island 5 (Volcano): The Scientific Lure ($500) is expensive, but the Superdwarf Fish at $1,700 per catch makes it pay back quickly.

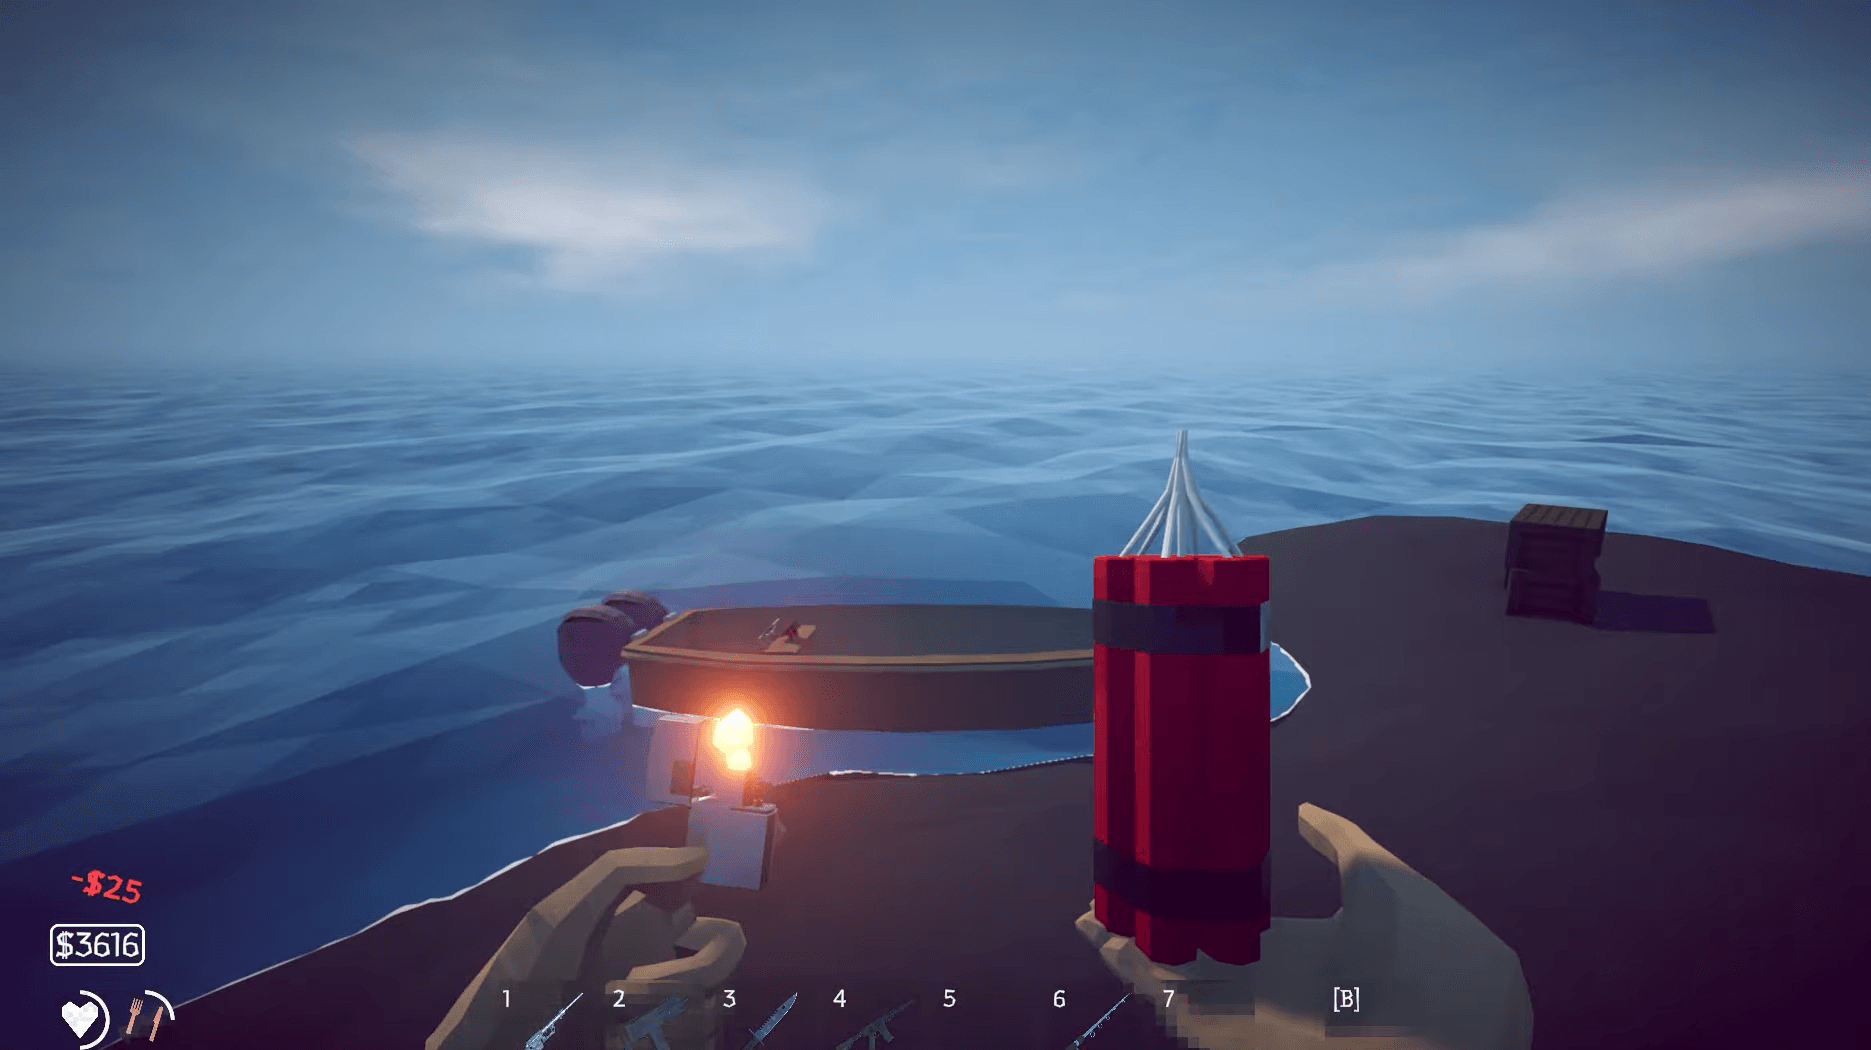
Documented fish sell values by island
Every price below is verified from the in-game fish table. Press F on any catch to confirm the current value in your own save, since patches can shift numbers.
| Catch | Island | Lure Required | Sell Price | Notes |
|---|---|---|---|---|
| Superdwarf Fish | Island 5 (Volcano) | Scientific Lure | $1,700 | Highest documented value; Endangered-tier |
| Parrotfish | Island 4 (Sky) | Professional Lure | $350 | Strong repeatable earner |
| Voxelfish | Island 4 (Sky) | Professional Lure | $340 | Endangered-tier |
| Flying Fish | Island 4 (Sky) | Professional Lure | $320 | |
| Tigerfish | Island 4 (Sky) | Professional Lure | $310 | |
| Halibut | Island 4 (Sky) | Professional Lure | $290 | |
| Eel | Island 4 (Sky) | Professional Lure | $280 | |
| Sengarat | Island 4 (Sky) | Professional Lure | $280 | |
| Triggerfish | Island 2 (Forest) | Beginner Lure | $18 | Best early-game earner |
| Lobster | Island 1 (Lighthouse) | Hot Dog Bait | $9 | |
| Rock Crab | Island 1 (Lighthouse) | Hot Dog Bait | $7 | |
| Mackerel | Island 2 (Forest) | Free Lure | $6 | |
| Gar | Island 2 (Forest) | Free Lure | $5 | |
| Piranha | Island 2 (Forest) | Hot Dog / Beginner Lure | $4 |
The Island 4 Professional Lure roster is the most repeatable mid-game farming route. Eight species in the $280–$350 range means every trip to the Sky island pays well, even if you don't land a Parrotfish every time.
How do killscore multipliers affect your earnings?
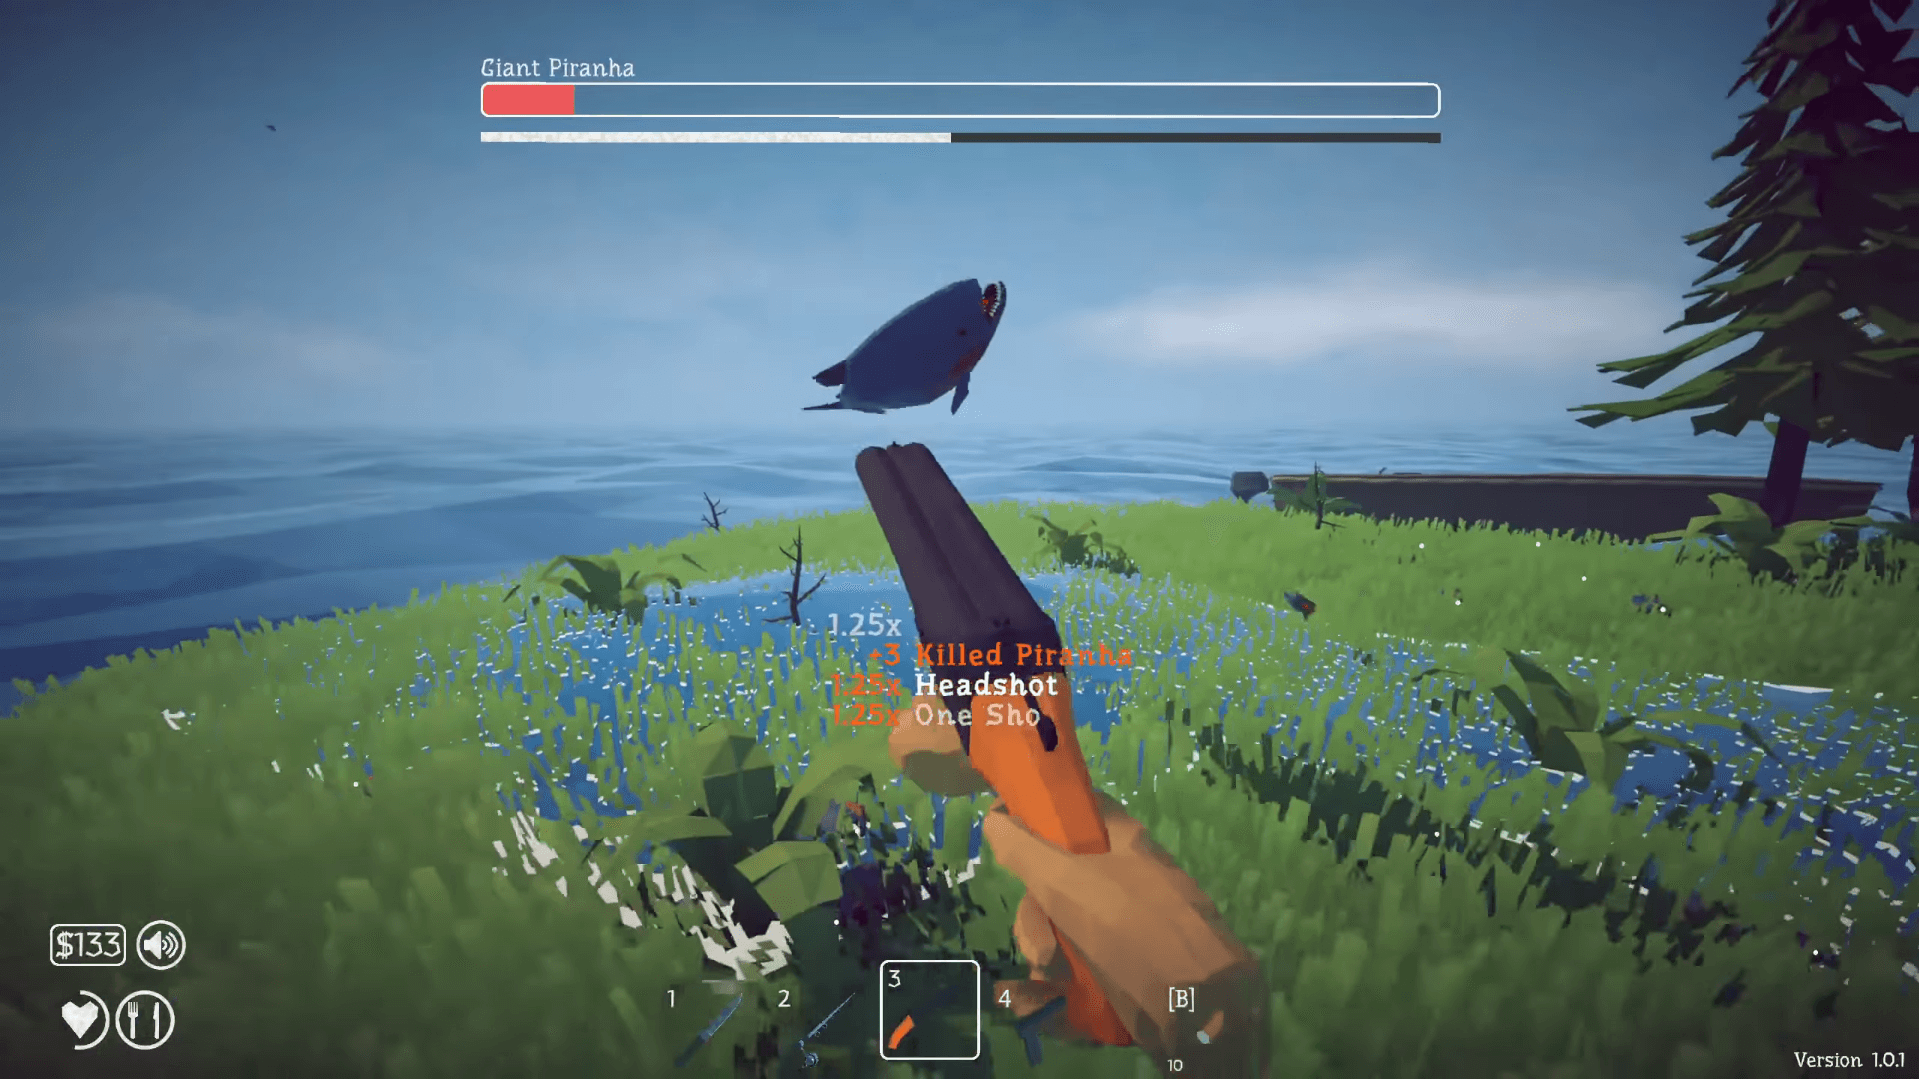
This is where the money math gets interesting. A plain kill pays the base sell price. A stylish kill multiplies it. The official Impressive achievement confirms a 5x milestone exists, and community-documented modifier values give you a working formula for stacking bonuses.
Known style modifiers:
- 360 Spin: 1.5x
- Headshot: 1.25x
- Last Bullet: 1.25x
- No Scope: 1.2x
- Point Blank: 1.1x
Four additional modifiers (Killsteal, Fly Fishing, Overkill, Finally) exist but have undisclosed values, so they're not safe to build a farming route around. The 1.5x figure for 360 spins comes from a single community source, so treat it as directionally correct rather than exact.
The mistake most players make is ignoring style kills entirely and selling everything raw. Even a headshot bonus on a $350 Parrotfish pushes that to $437. Stack a 360 spin on top and you're at $525 from one catch.
Should you cook fish before selling?
Yes, with one caveat. Grilling catches before selling adds up to a 1.5x bonus on top of the base price, and that stacks with killscore multipliers. The 1.5x figure comes from a single community source, so verify the payout difference in your own save before committing to a full cooking workflow.
The practical approach: cook high-value catches from Island 4 and 5 where the multiplier has the most dollar impact, and skip cooking on low-value starter fish where the time cost isn't worth it.
The starter money loop, step by step
- Sell every beach shell and spare clam on arrival (clams: $1 each).
- Buy the Crab Fishing Rod ($2–3).
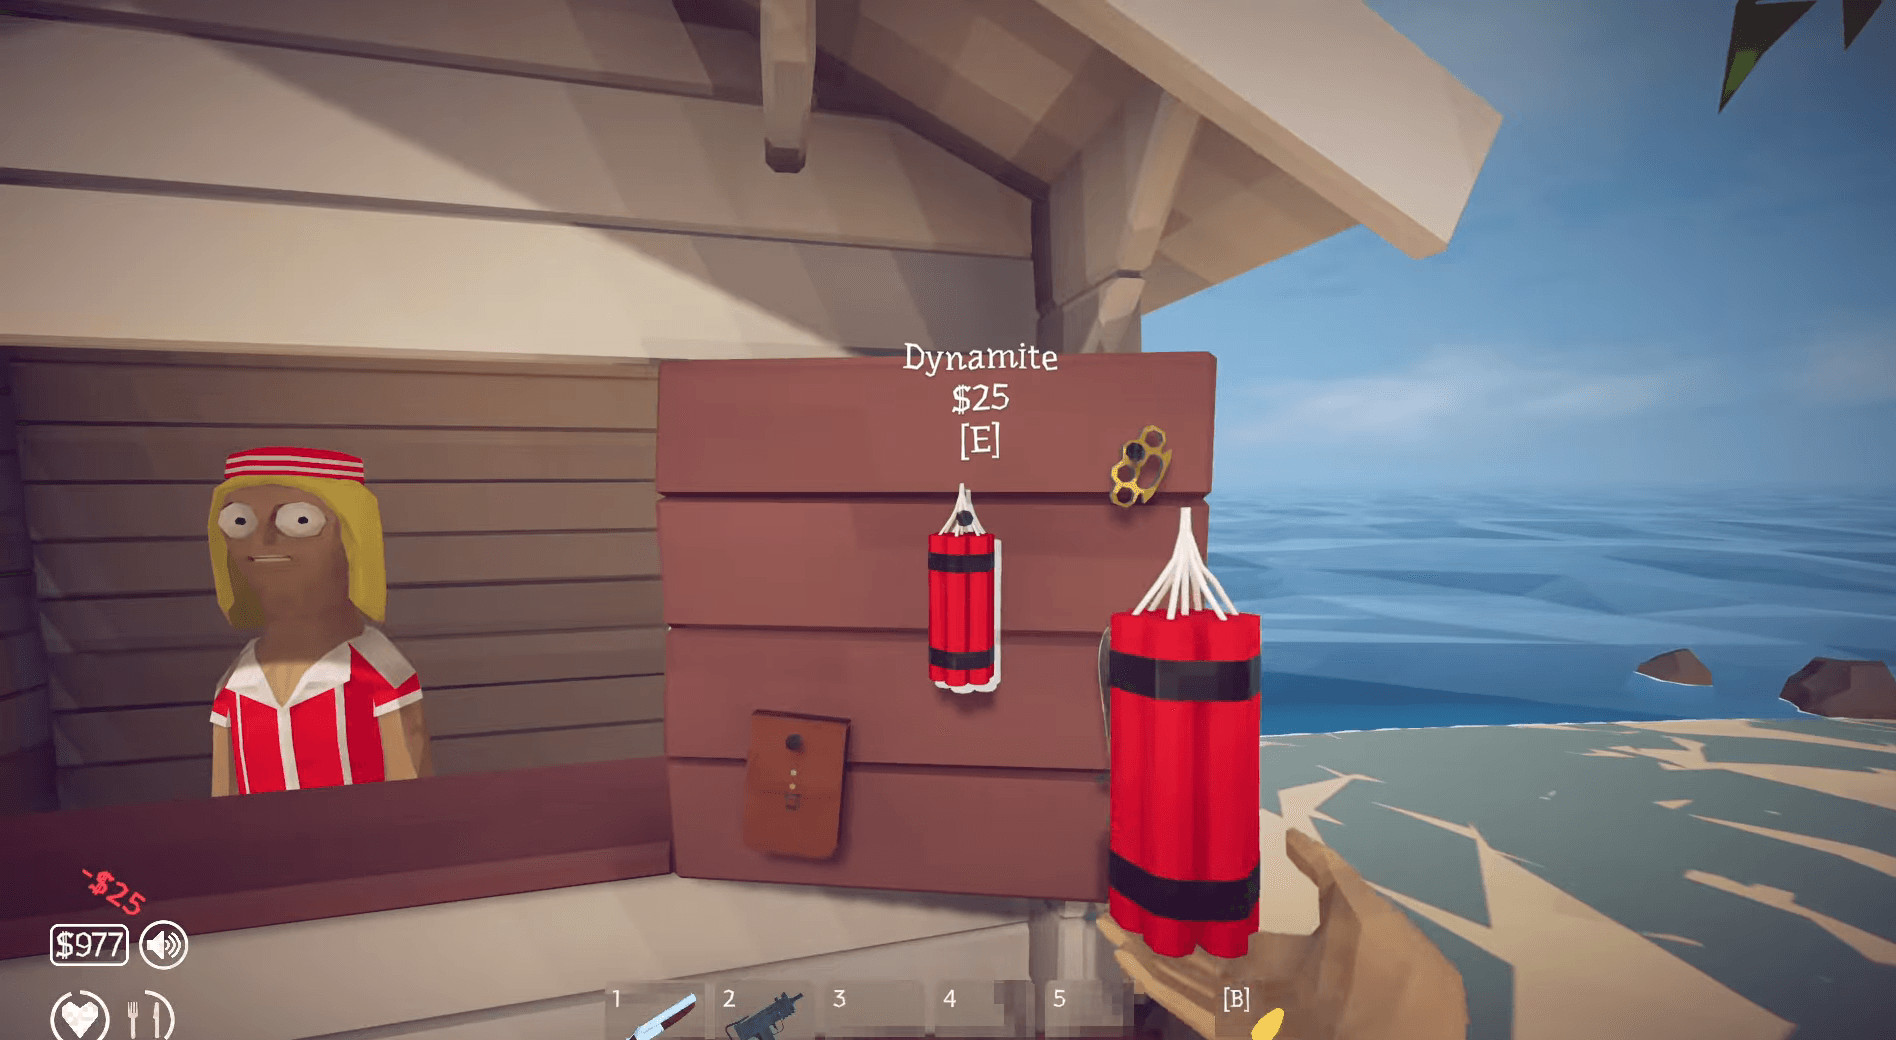
- Purchase the $45 Knife as soon as possible.
- Switch to Hot Dog bait to target Rock Crab ($7) and Lobster ($9) instead of Brown Crabs.
- Move to Island 2 and buy the Beginner Lure to access Triggerfish ($18).
- Save for the Standard Lure ($15) on Island 3, then the Professional Lure ($50) on Island 4.
- Cook high-value catches before selling and use style kills wherever practical.
For players who want to run through the early game quickly, the speedrun community has documented a shell-sale opener that chains directly into buying the rod, knuckles, and beer before rushing the first bosses. It's a legitimate fast-start structure with no exploits involved.
What about the casino?
Skip it as an income strategy. The odds table hasn't been published by Dazed Games, which means jackpot screenshots circulating online are survivor bias, not a repeatable return. Use the casino for cosmetic rewards. If you're curious about what the Lucky Bait Casino actually offers, the All In achievement guide covers the roulette mechanics without pretending it's a money-making method.
Setting a loss limit before you spin is the only sensible approach.
Common mistakes that slow down your income
- Upgrading the rod before the bait. Hot Dog bait on the Crab Rod outperforms a rod upgrade at the same price point early on.
- Selling everything immediately without pressing F to check values. Some catches are worth holding for quests.
- Ignoring cooking entirely. Even a rough 1.5x bonus on $350 fish adds up fast over a farming session.
- Pre-selling boss drops. Progression chains ask for specific items much later, and there's no way to recover them.
- Treating the casino as income. It isn't.
FAQ
What's the single most valuable fish in the game?
The Superdwarf Fish at $1,700, caught on Island 5 (Volcano) with the Scientific Lure. Among mid-game options, the Island 4 Professional Lure roster tops out at $350 for Parrotfish.
Do trick shot multipliers stack?
The community documents 5x as a confirmed milestone via the Impressive achievement. Individual modifier values (360 spin at 1.5x, headshot at 1.25x, etc.) come from community sources rather than official patch notes, so use them as a guide and verify in your own save.
Is co-op better for farming money?
There's a documented co-op sell-and-buy cycling technique from launch week where friends spam-buy stock while one player sells to multiply shared wallet turnover. It's patch-volatile and may not survive balance updates, so it's not a reliable long-term route.
Should I save Drip Creatures or sell them?
Don't sell them. Drip Creatures feed into the Reel of Fortune and legendary skin unlocks, which is a separate progression system from raw cash farming. Keep them out of the sell loop entirely.
For more strategies across every system in the game, the full How to Fish guide collection covers everything from boat upgrades to boss fights.