
The Tuna in How to Fish is not the relaxing catch its name implies. This Island 4 miniboss leaps high, hits hard, and moves unpredictably across open terrain with very little cover to work with. Worse, you need to kill one every time you want to trigger the Albatross encounter, so learning the fight efficiently matters. The lure alone costs $1,200, and a sloppy run wastes both that and your time.
What do you need to catch the Tuna?
The Tuna is a guaranteed catch on the Professional Boss Lure, which you buy from the Island 4 shop for $1,200. Do not confuse this with the regular Professional Lure or other boss lures available earlier in the game. Only the Professional Boss Lure triggers the Tuna.
Before you cast, make sure you have activated the relevant NPC request on Island 4's rocky area. The Tuna belongs to a two-target progression chain, and spending your lure before that quest is active can leave you stuck without a clear path forward.
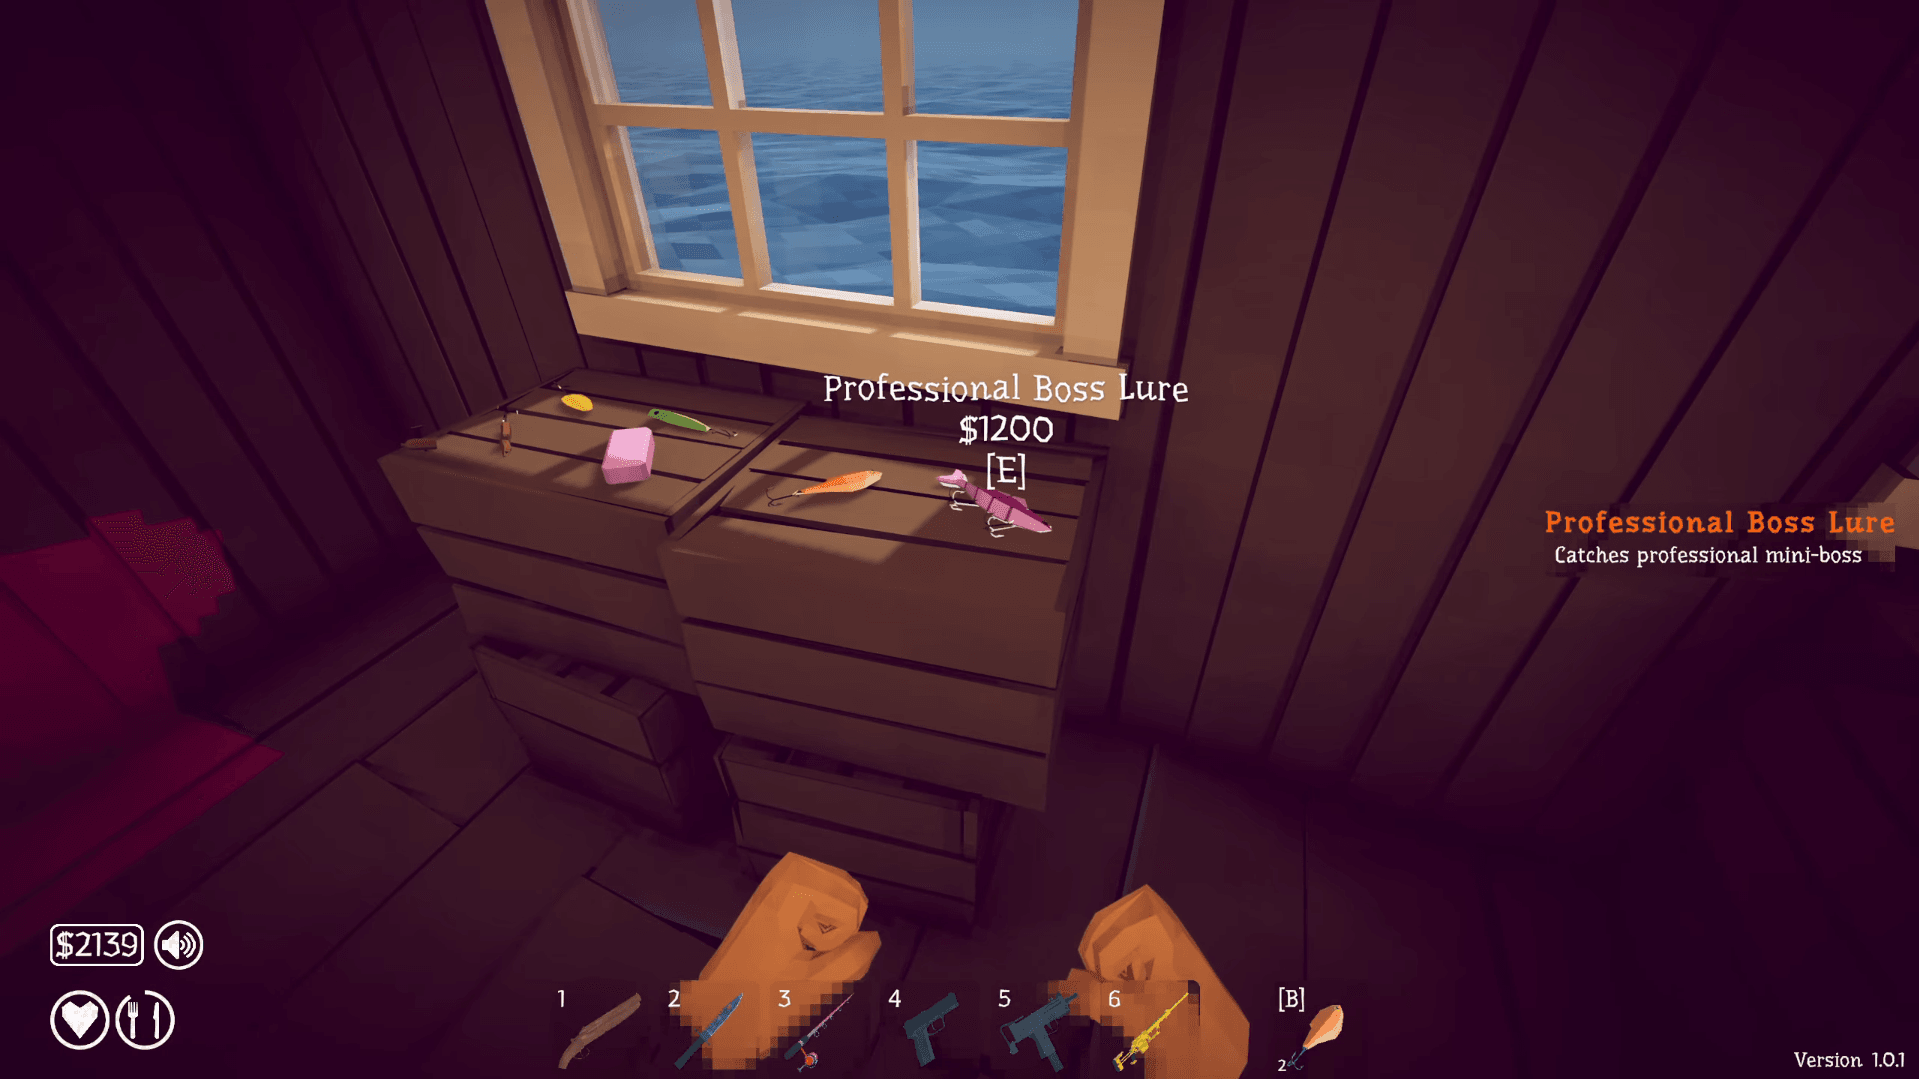
How to Fish Boss Guide: How to Beat the Tuna

What weapons should you bring to the Tuna fight?
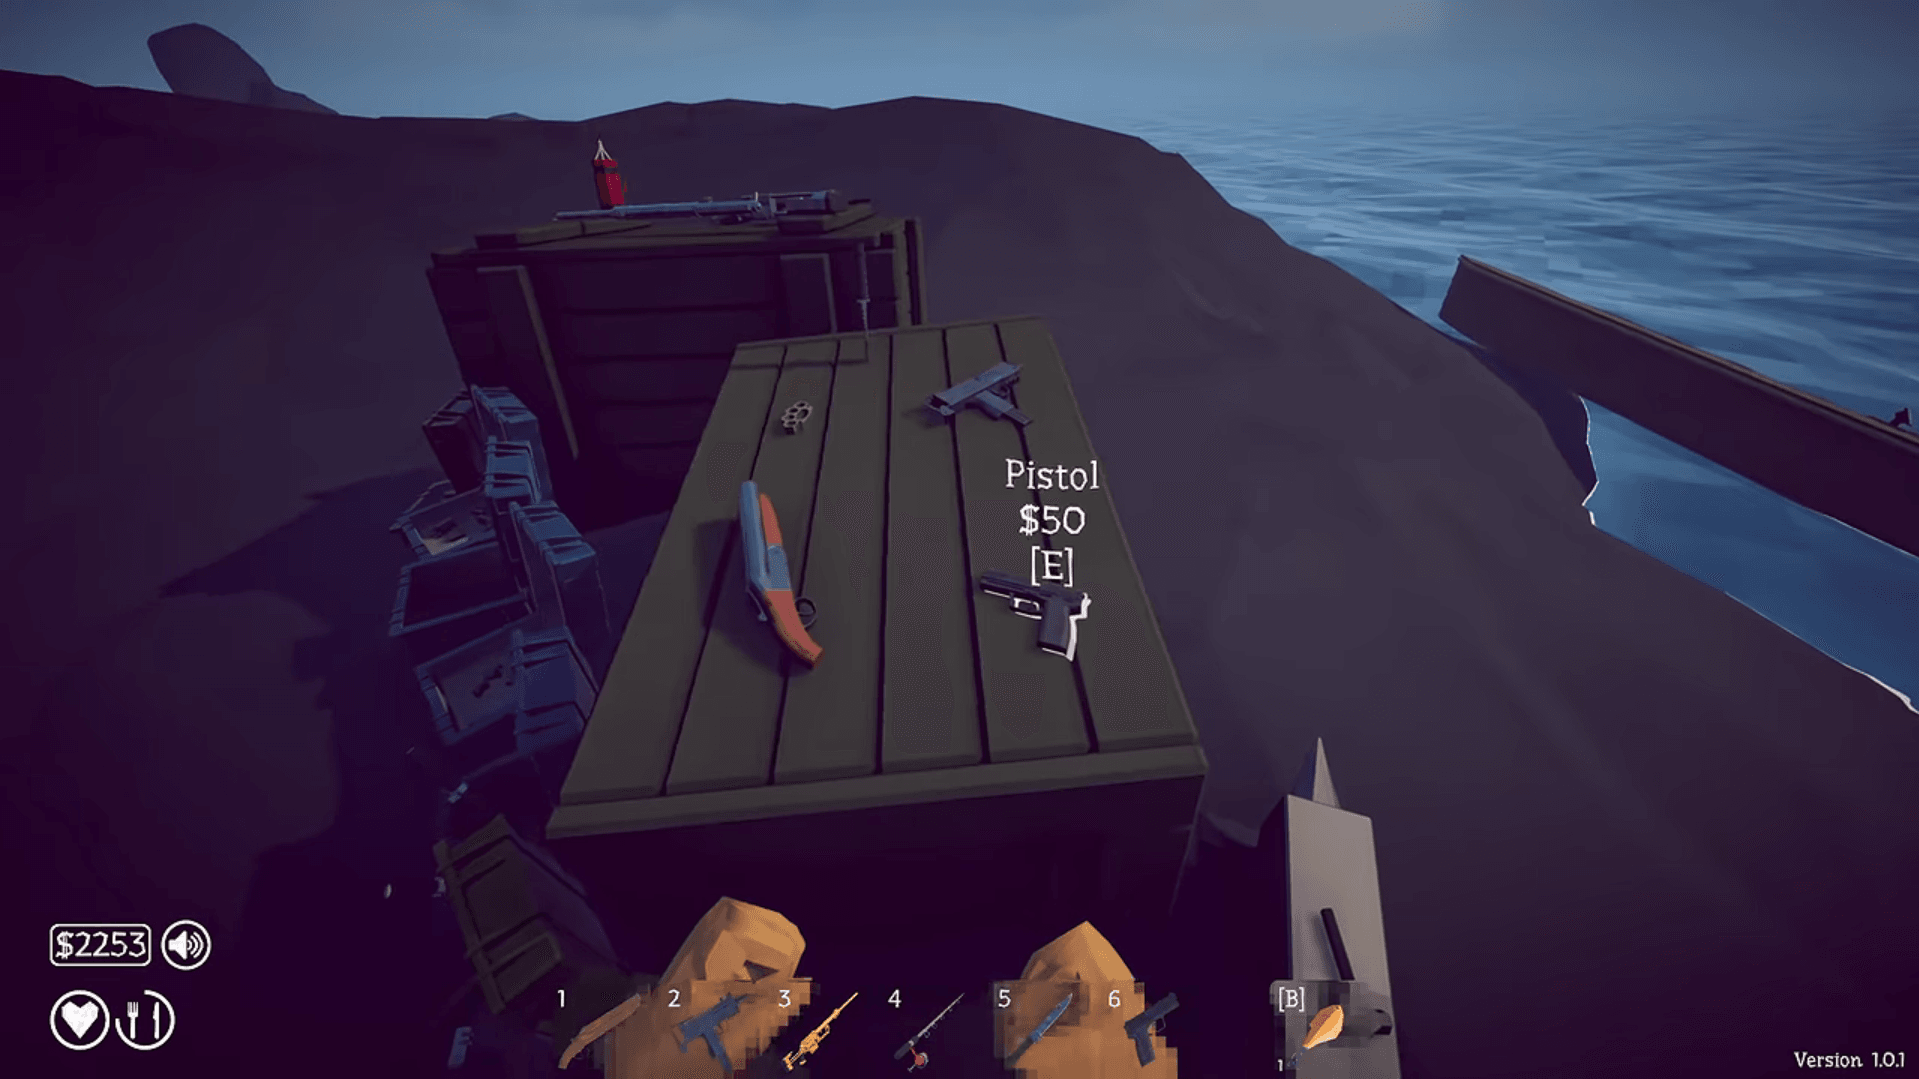
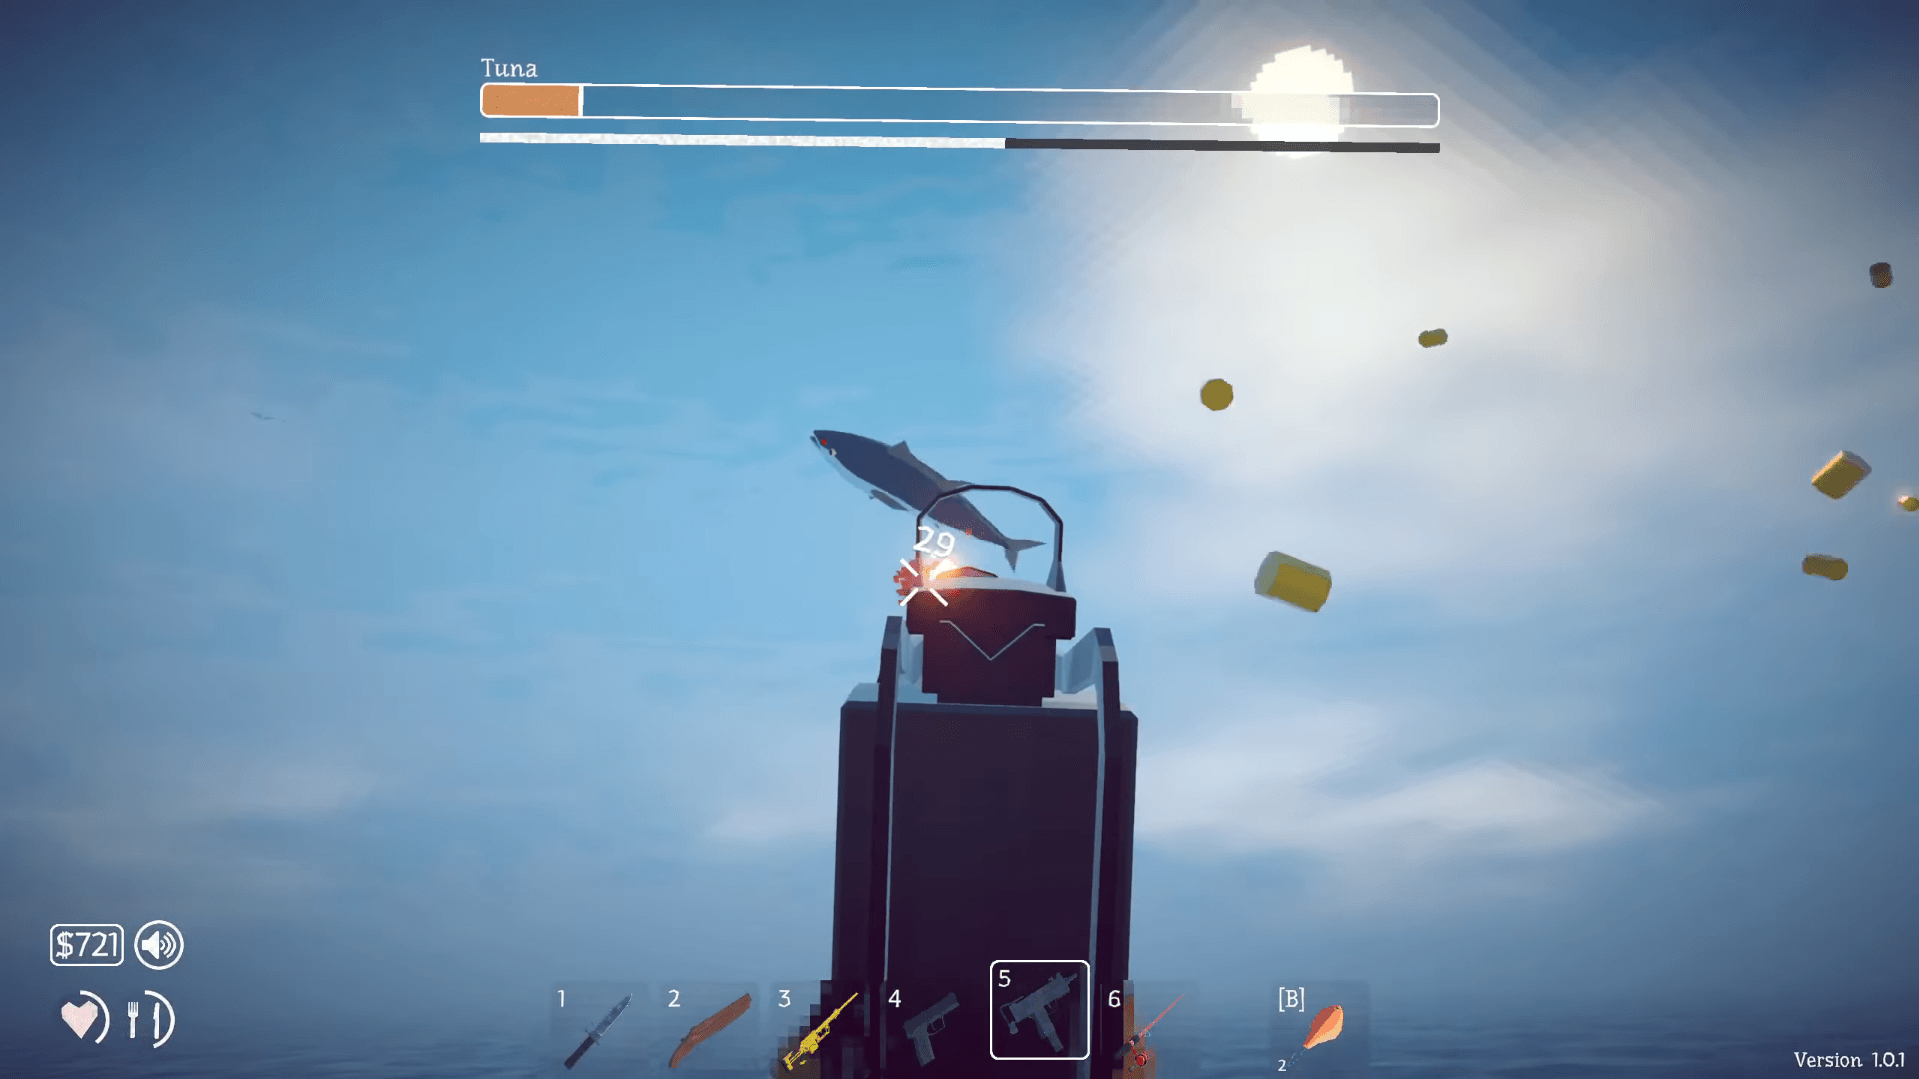
After testing every weapon combination against this encounter, the upgraded SMG and a sniper rifle are the two best options. The SMG is the more forgiving choice because spraying bullets at a leaping, flopping fish is far easier than lining up precise shots while it charges you.
For the SMG, swap the compensator for a suppressor if you still have your Island 3 version, and pick up every bullet upgrade you can afford. For the sniper rifle, equip a suppressor, an extended magazine, and max out the bullet upgrades before the fight.
| Weapon | Strength | Weakness |
|---|---|---|
| Upgraded SMG | Easy to spray during repositions | Lower damage per shot |
| Sniper Rifle | High damage per hit | Requires precise aim on a fast target |
Both weapons are worth carrying. The SMG handles the frantic close-range moments, and the sniper rifle lets you punish the Tuna during the brief pauses when it repositions for another run.
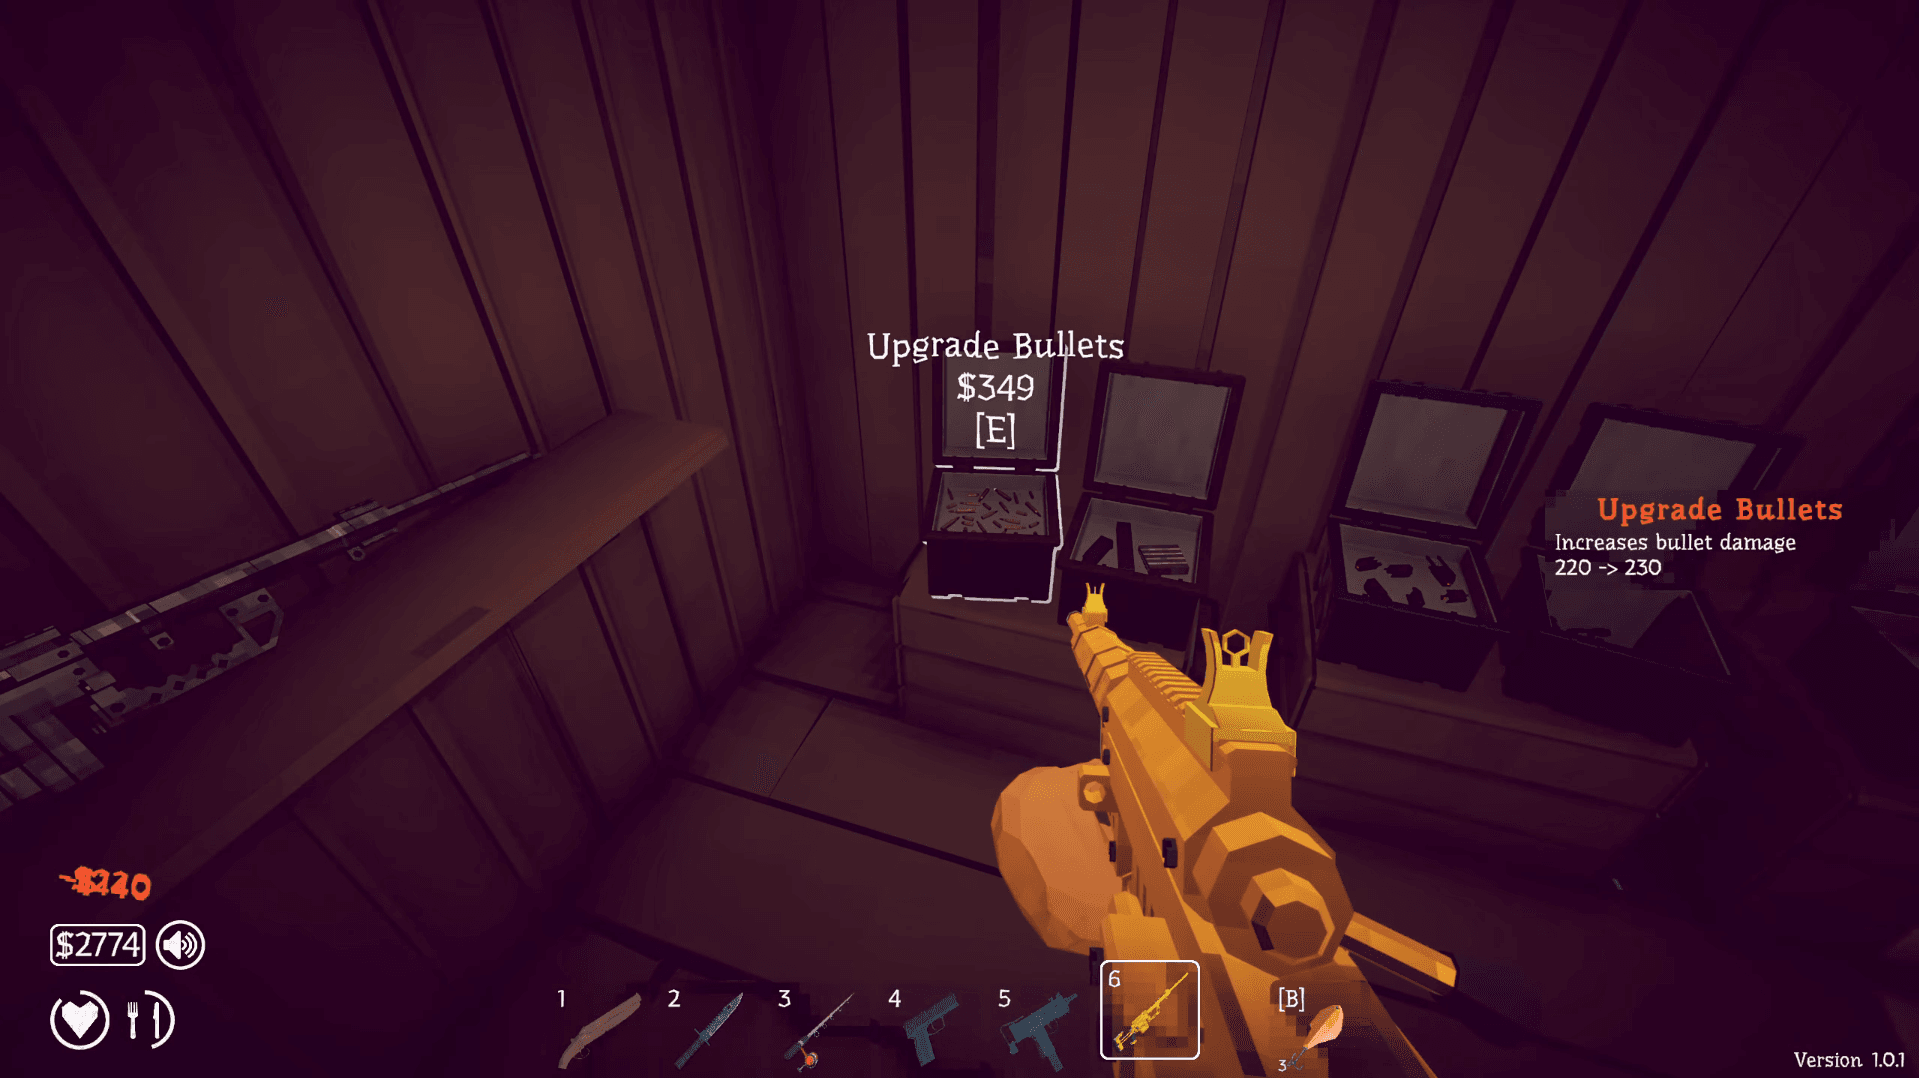
How to Fish Boss Guide: How to Beat the Tuna
How do you actually fight the Tuna?
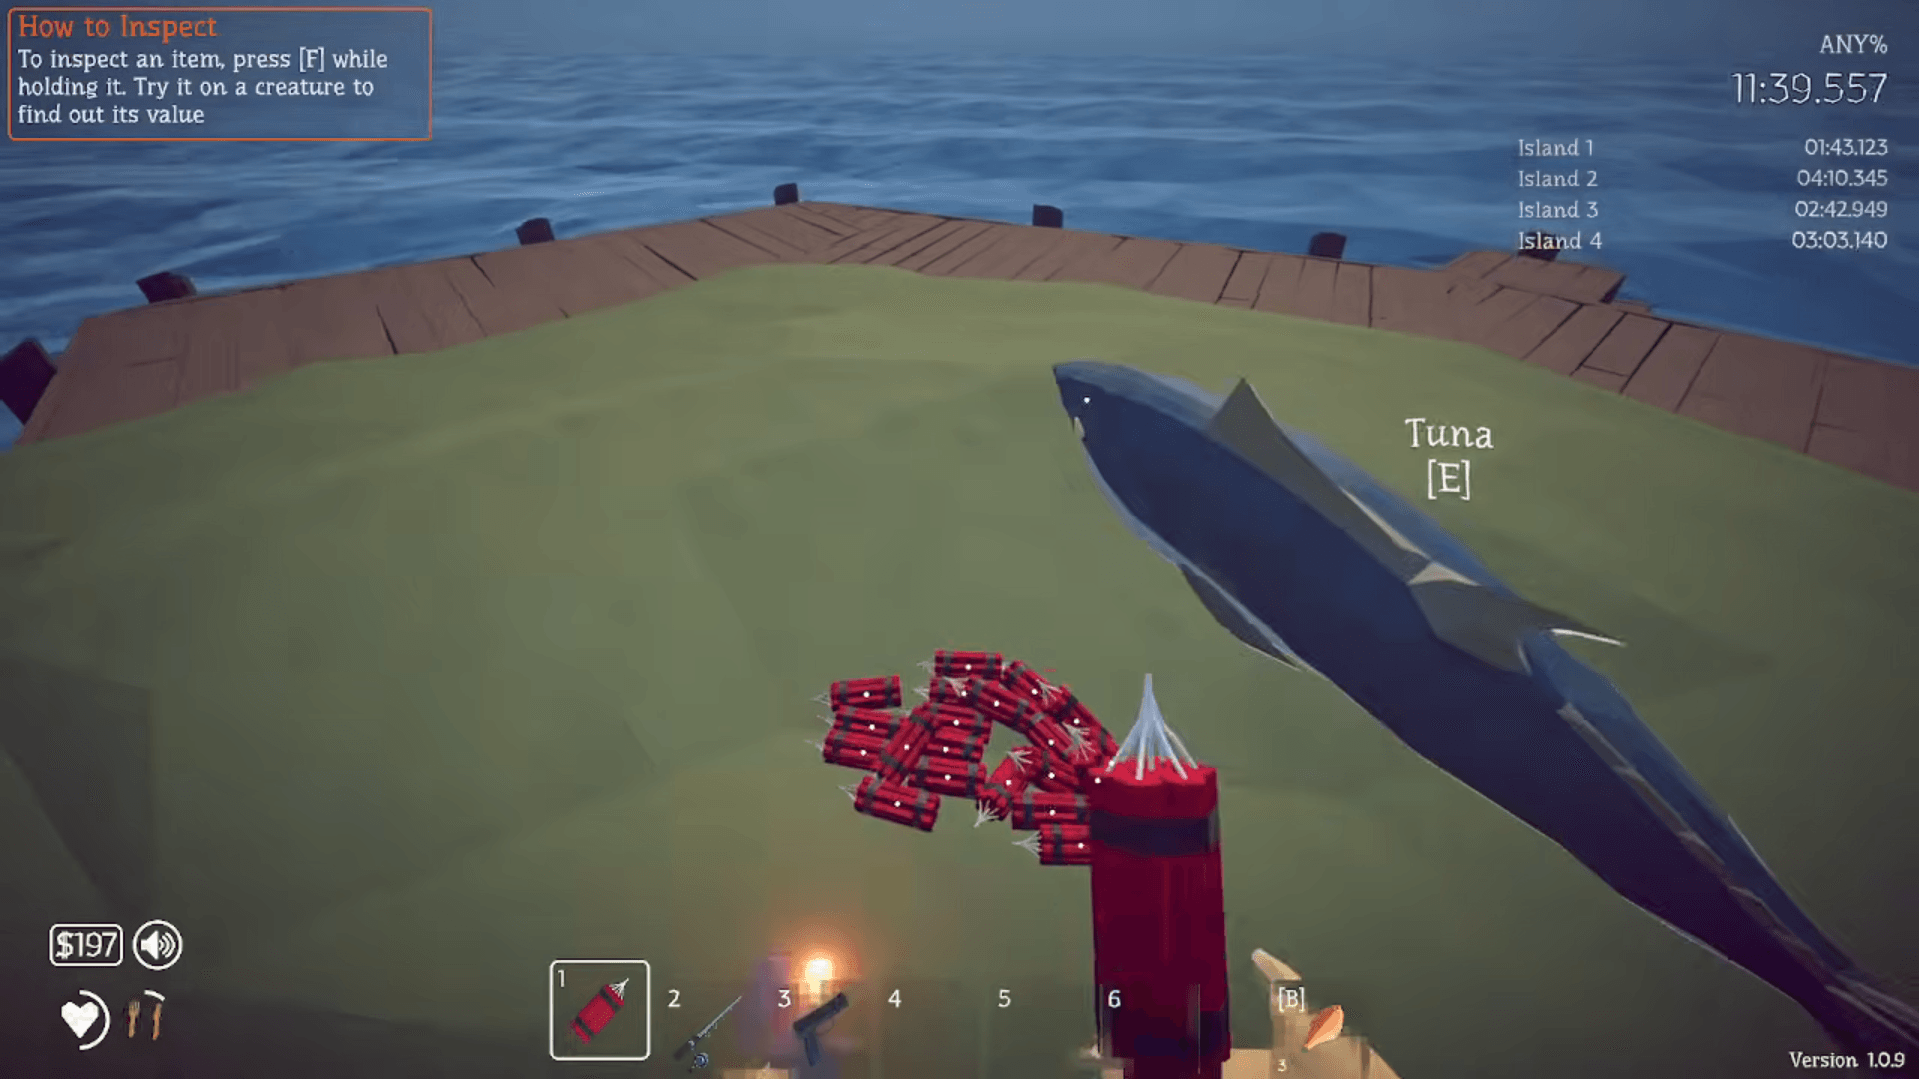
The Tuna comes ashore after you hook it and the fight plays out on Island 4's open terrain. There are no trees here like on Island 3, so the fish moves with fewer obstacles to slow it down. Expect more unpredictable pathing.
The core of the fight is straightforward: the Tuna leaps and lunges toward you, and your job is to strafe sideways to avoid the attack, then shoot during the recovery window while it repositions. The fish can also attack almost from above, so watch for the high arc jump and move laterally rather than backing up in a straight line.
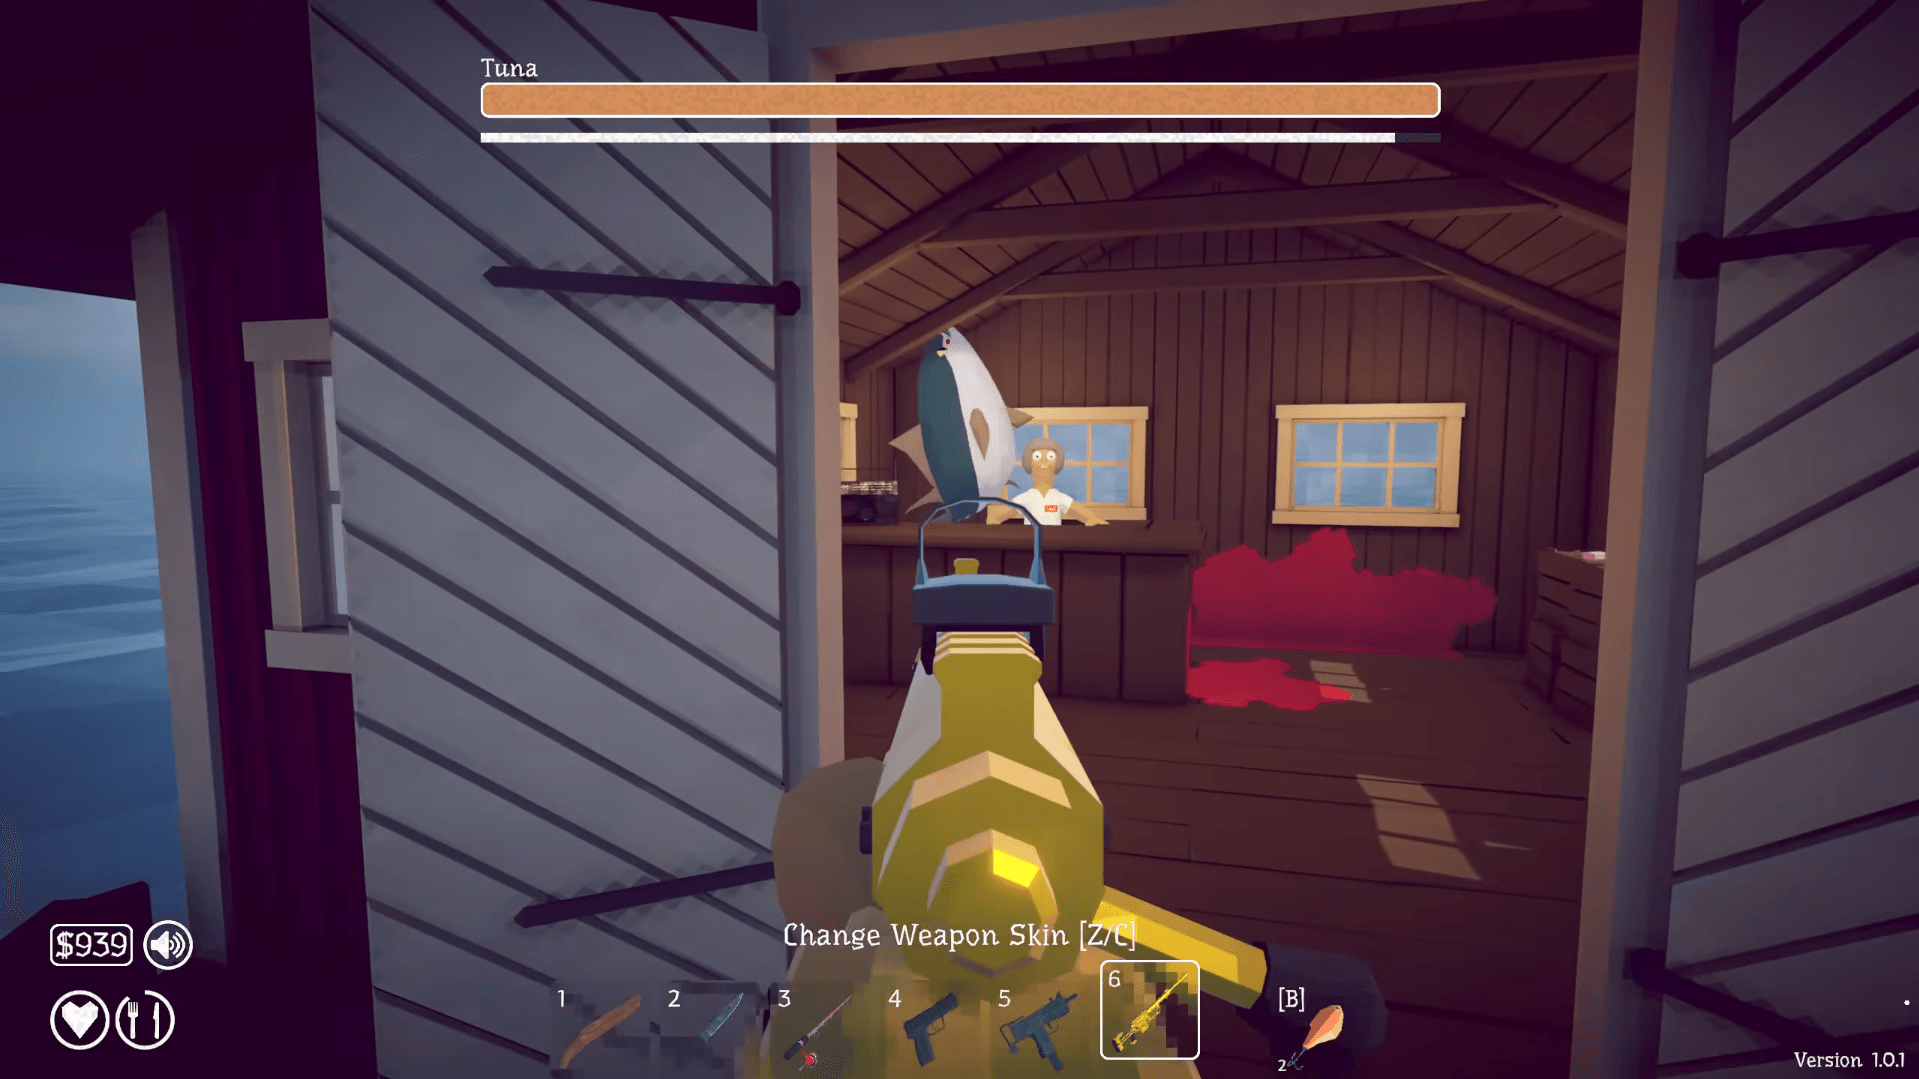
How to Fish Boss Guide: How to Beat the Tuna
One approach that works is baiting the Tuna's predictive charge. Move slightly in one direction to draw its commitment to that attack, then cut the opposite way. The fish overshoots, and you get a clean window to unload.
You can try to lure the Tuna into a building to get it stuck, but the tight rooms make this risky. You are just as likely to get cornered as the fish is to get trapped. Open ground with room to strafe is generally safer.
Solo vs. co-op: does it change anything?
Solo players should clear out regular enemies on Island 4 before casting, and pick a spot with enough open space to see the Tuna's approach clearly. The fight is manageable alone with the right loadout.
In co-op, the main thing to coordinate is who carries the Tuna's body after the kill. The corpse is a quest item for the next encounter, and accidentally selling or cooking it means starting over. Assign one player to pick it up immediately after the fight ends.
For a full breakdown of every Island 4 encounter and how the Tuna fits into the broader boss chain, the How to Fish all bosses guide covers each fight from Spider Crab to the Albatross in sequence.
What happens after you beat the Tuna?
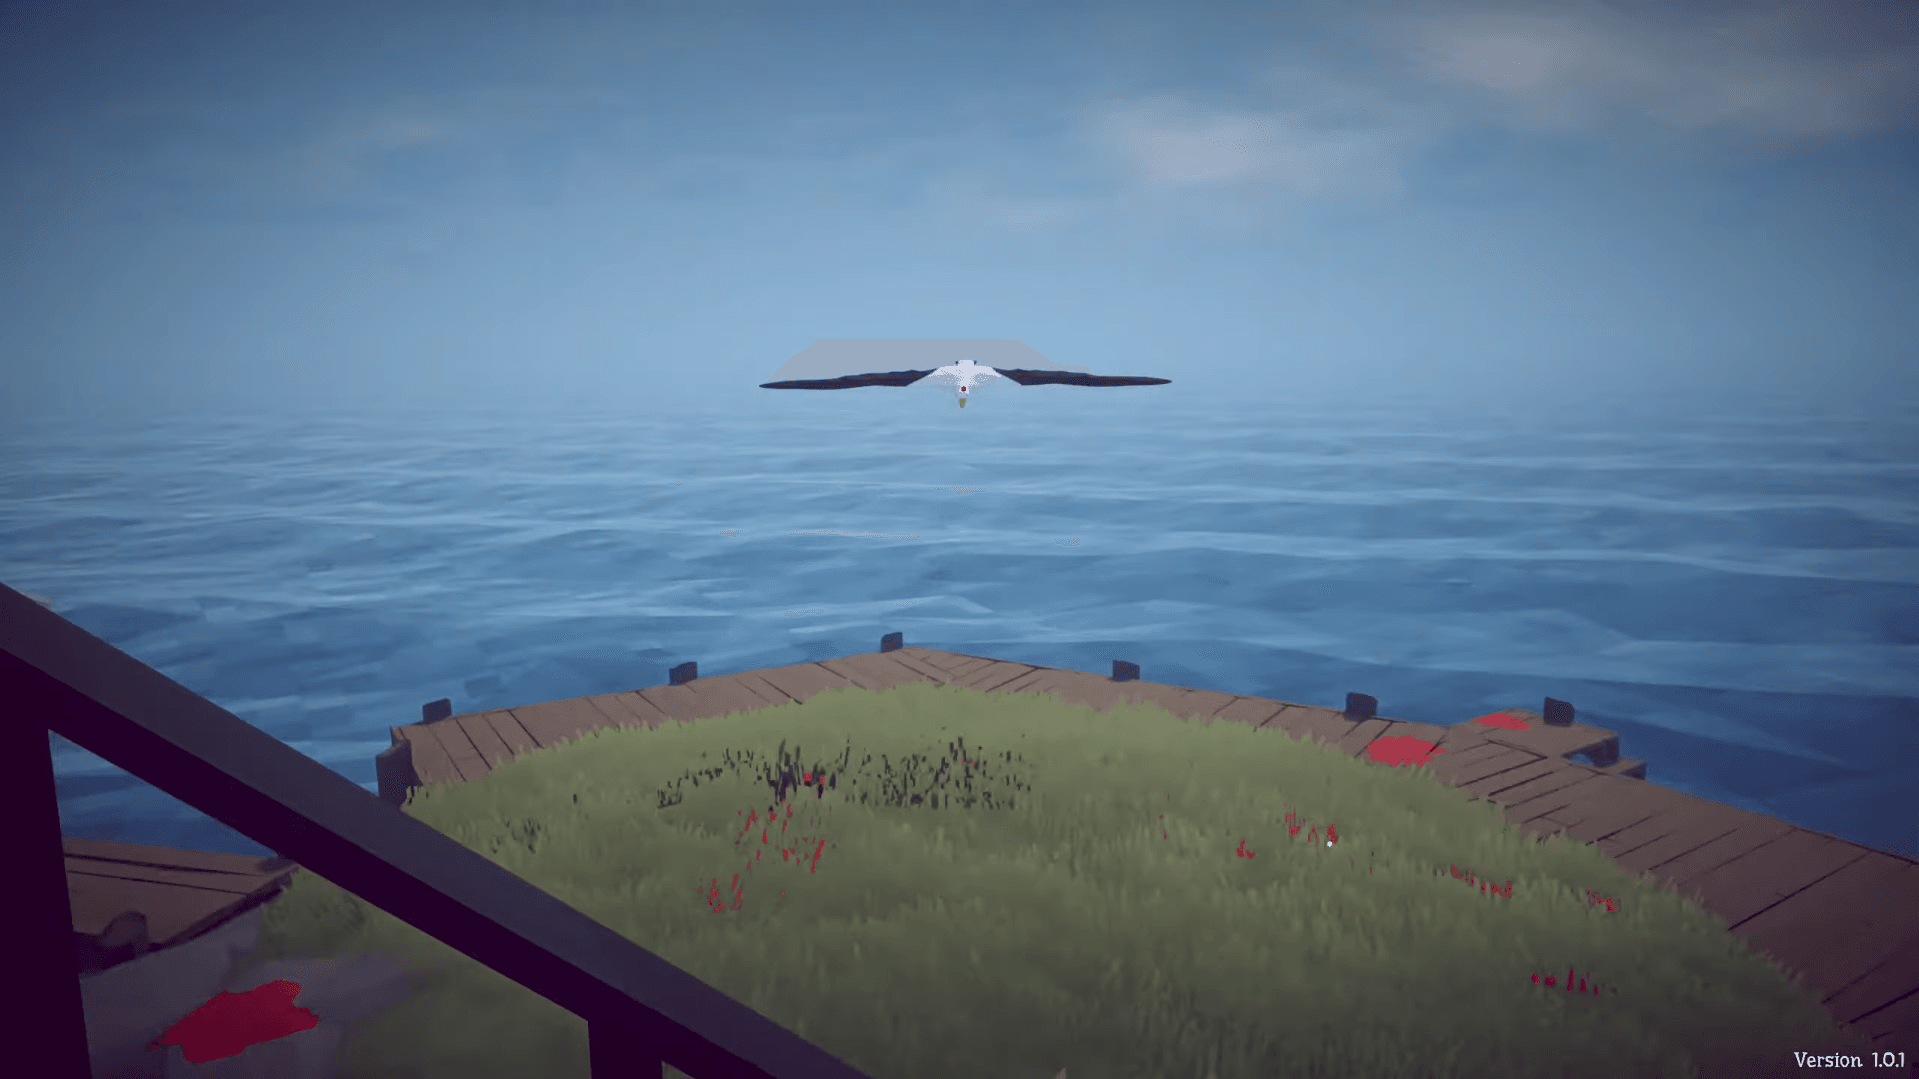
Once the Tuna is down, you have two options. Cooking and selling it nets roughly $4,000, which more than covers the cost of the $1,200 Professional Boss Lure. That is worth doing if you need funds.
However, if you are ready to fight the Albatross, do not sell the body. Pick up the defeated Tuna and carry it to a position near building cover on the island. When you drop the corpse on the central grass patch, the Albatross swoops in and destroys it, triggering the next encounter. Once you place it, you cannot recover the body or sell it, so choose your timing deliberately.
For the Albatross fight itself, positioning and weapon choice shift significantly compared to the Tuna. Check the Albatross boss guide for the full breakdown on cover strategy and sniper tactics against the aerial boss.
For more guides covering every boss and challenge in the game, the full How to Fish guide collection has everything from Pufferfish tactics to trophy unlocks in one place.