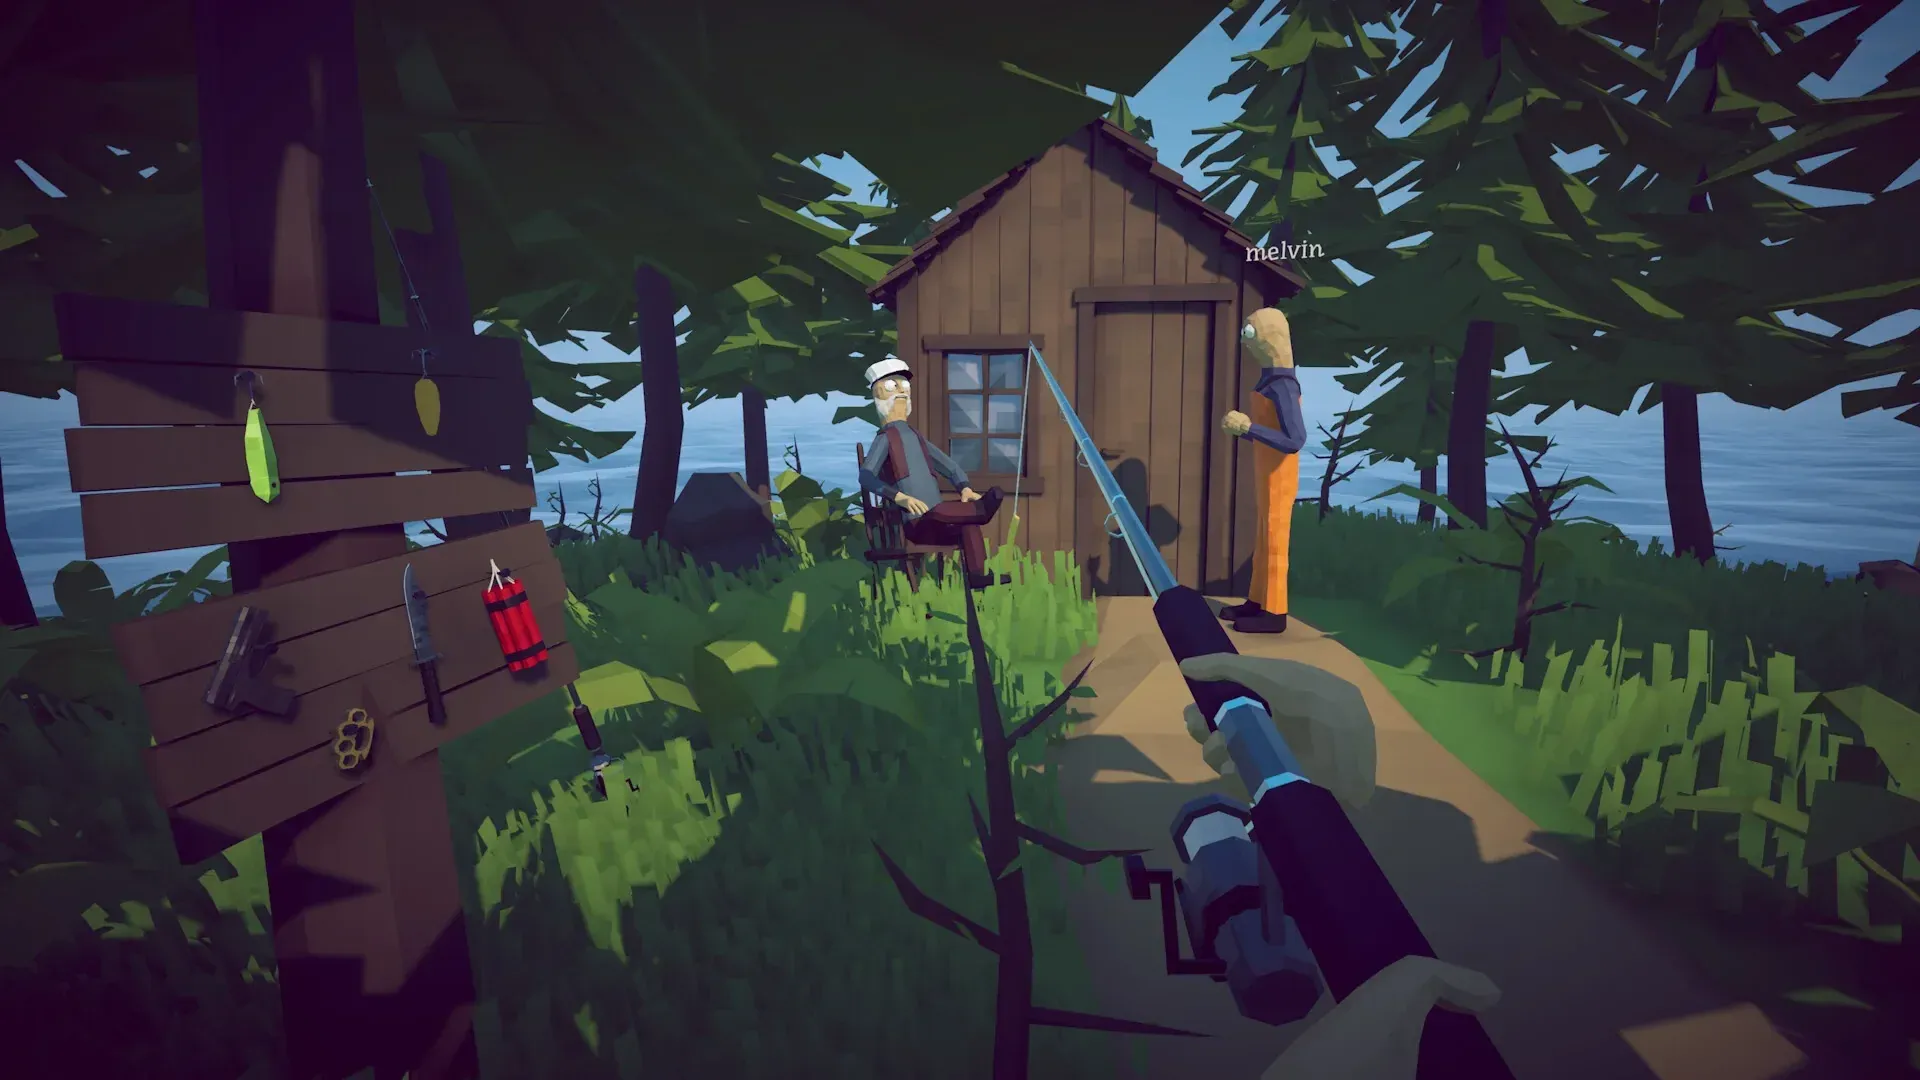

The full boss route in How to Fish runs through six encounters, each gated behind a specific quest trigger rather than a raw power check. Spend money on the wrong thing before the boss even spawns and you waste both time and currency. Get the trigger right first, then worry about gear. That single habit separates smooth progression from hour-long dead ends.
All How to Fish Bosses &
All six story bosses follow a fixed sequence tied to island progression. Each one requires a specific trigger item or quest step before it will appear, and each drops a trophy that unlocks the next island.
| Boss | Island | Trigger | Rewards |
|---|---|---|---|
| Spider Crab | Island 1 | Empty Beer Can | Spider Crab Shell, Boat Keys |
| Giant Piranha | Island 2 | 3 Leeches for a Leech Bait | Giant Piranha Skeleton, Island 3 |
| Pufferfish | Island 3 | Give tourist the endangered creature, then use the Carrot bait | Pufferfish Tail, Island 4 |
| Giant Bird | Island 4 | Use Professional Boss Lure to acquire Tuna fish, then put it in the grass in middle | Bird Head, Island 5 |
| Whale | Island 5 | Scientist smaller-creature setup | Throw Whale into Volcano |
| Magma Whale | Final | Whale into Volcano event | Final progression sequence |
The pattern is always the same: finish the local NPC request, prepare the boss trigger, kill the target, keep the trophy, return to the NPC, receive the next route. If the Radar does not update after a kill, check whether you handed in the right trophy before assuming something is broken.

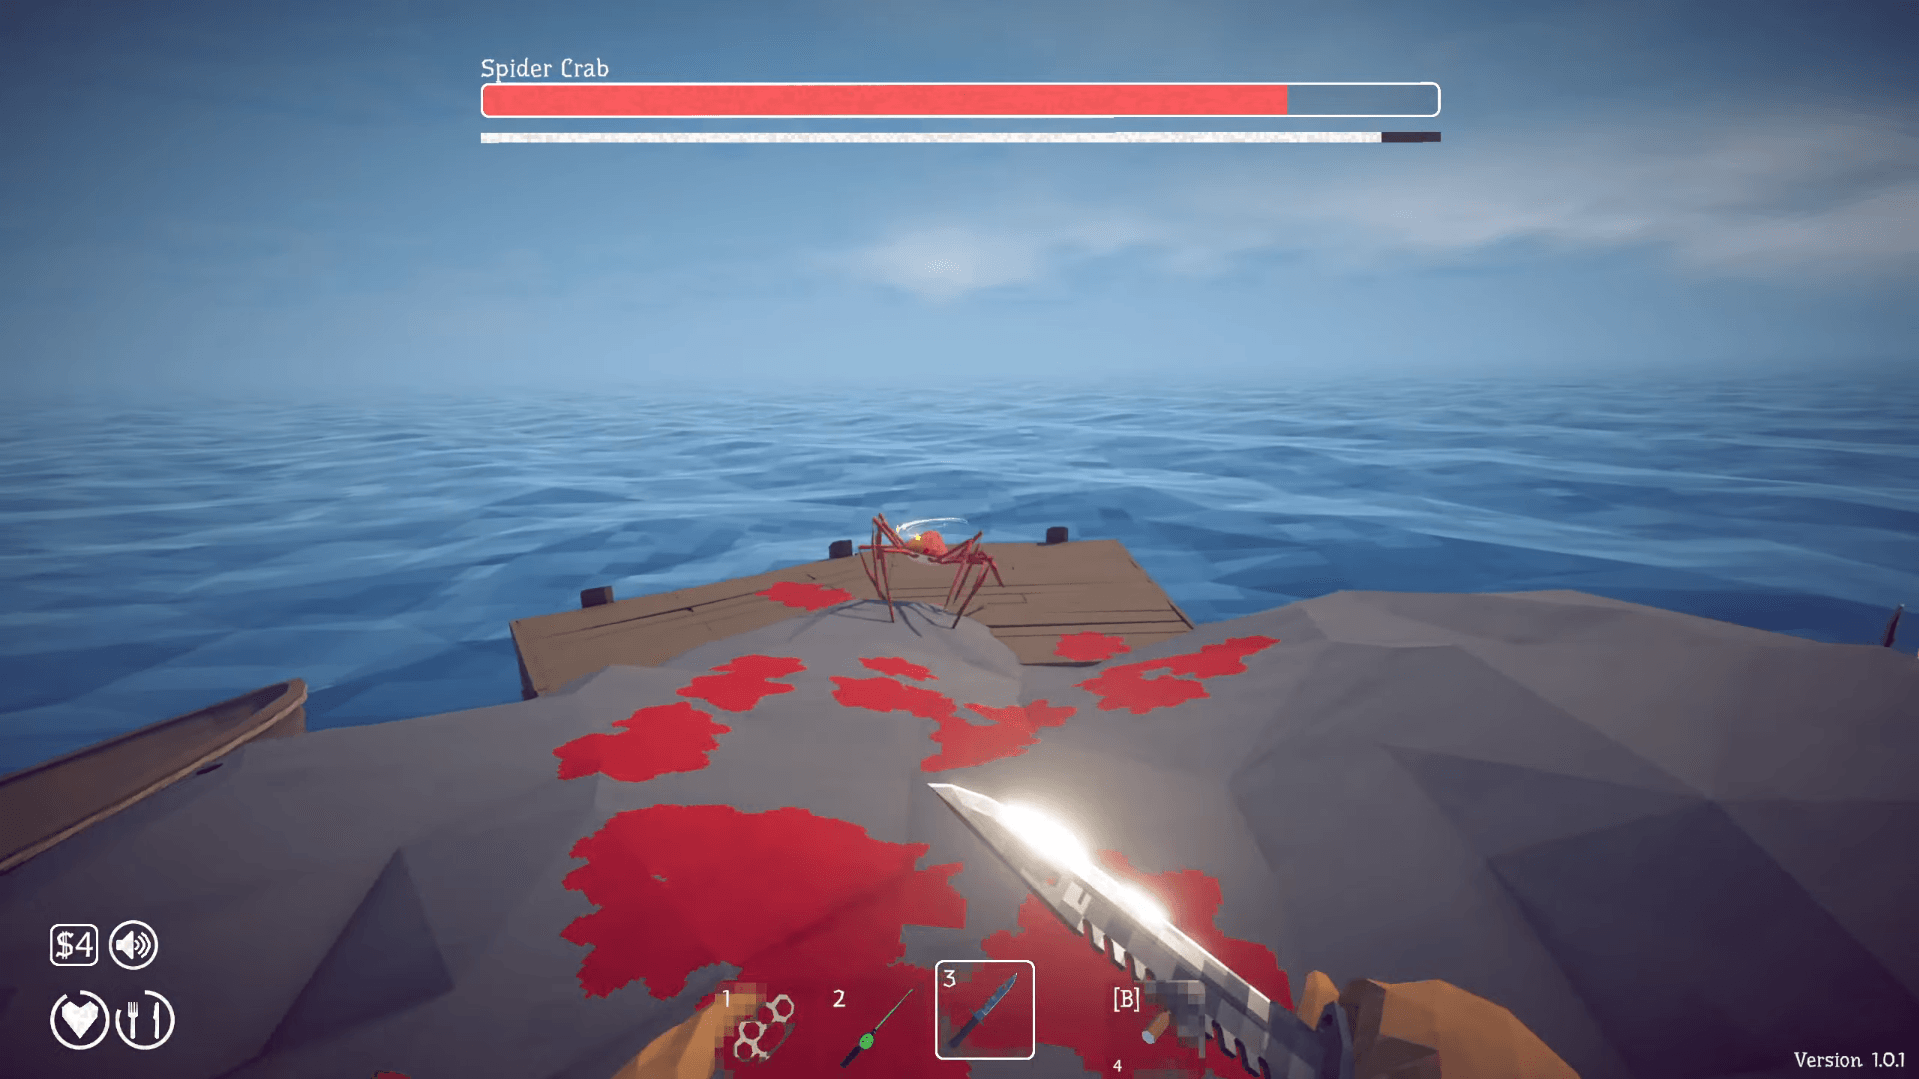
How to beat Spider Crab
Spider Crab is a timing fight, not a damage race. The instinct to attack aggressively and look for a stun mechanic is wrong. The opening comes from the boss itself: after Spider Crab commits to its own attack, it enters a brief vulnerable state. Move in for a short damage burst during that window, then back off before it recovers.
Staying beside it to squeeze out extra hits is where most early deaths happen. Give it room, wait for the commit, punish cleanly, and leave.
Before any of that matters, the Lighthouse Keeper must have given you the Empty Beer Can. If Spider Crab has not appeared, that hand-in is the first thing to check.
How to Fish Guide: All Bosses & How to Beat Them
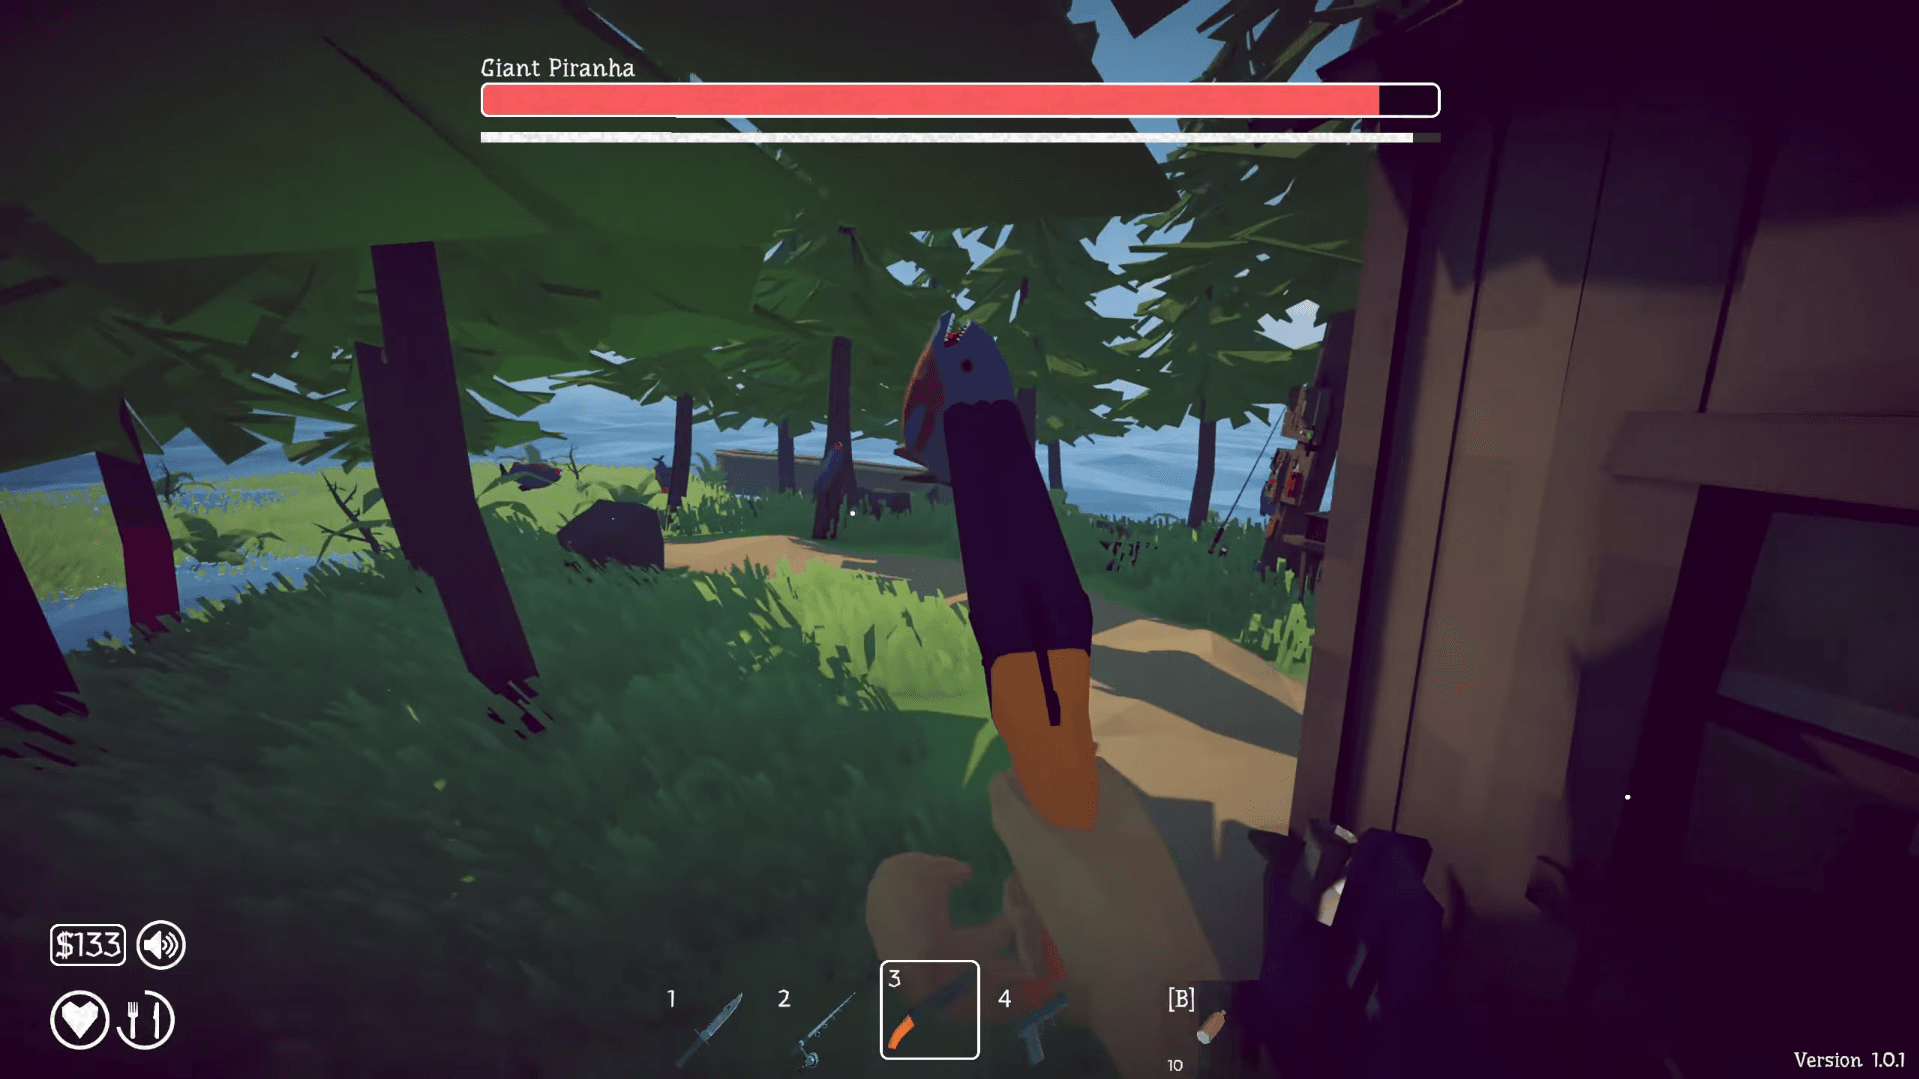
How to beat Giant Piranha
The Giant Piranha fight is where ranged damage stops being optional. The arena fills with smaller creatures quickly, and the temptation is to turn away from the boss every time something smaller becomes annoying. Resist that. Chasing minor threats stretches the encounter long enough for hunger, missed shots, and accumulated damage to compound into a failed attempt.
Deal with immediate threats only when necessary, keep most of your fire on the boss, and make sure you have food before triggering the fight.
The quest gate here is the Island 2 Leech requirement. You need 3 Leeches converted into Leech Bait before the Giant Piranha will spawn. Buying a better gun does nothing for that step.
How to Fish Guide: All Bosses & How to Beat Them
How to beat Pufferfish
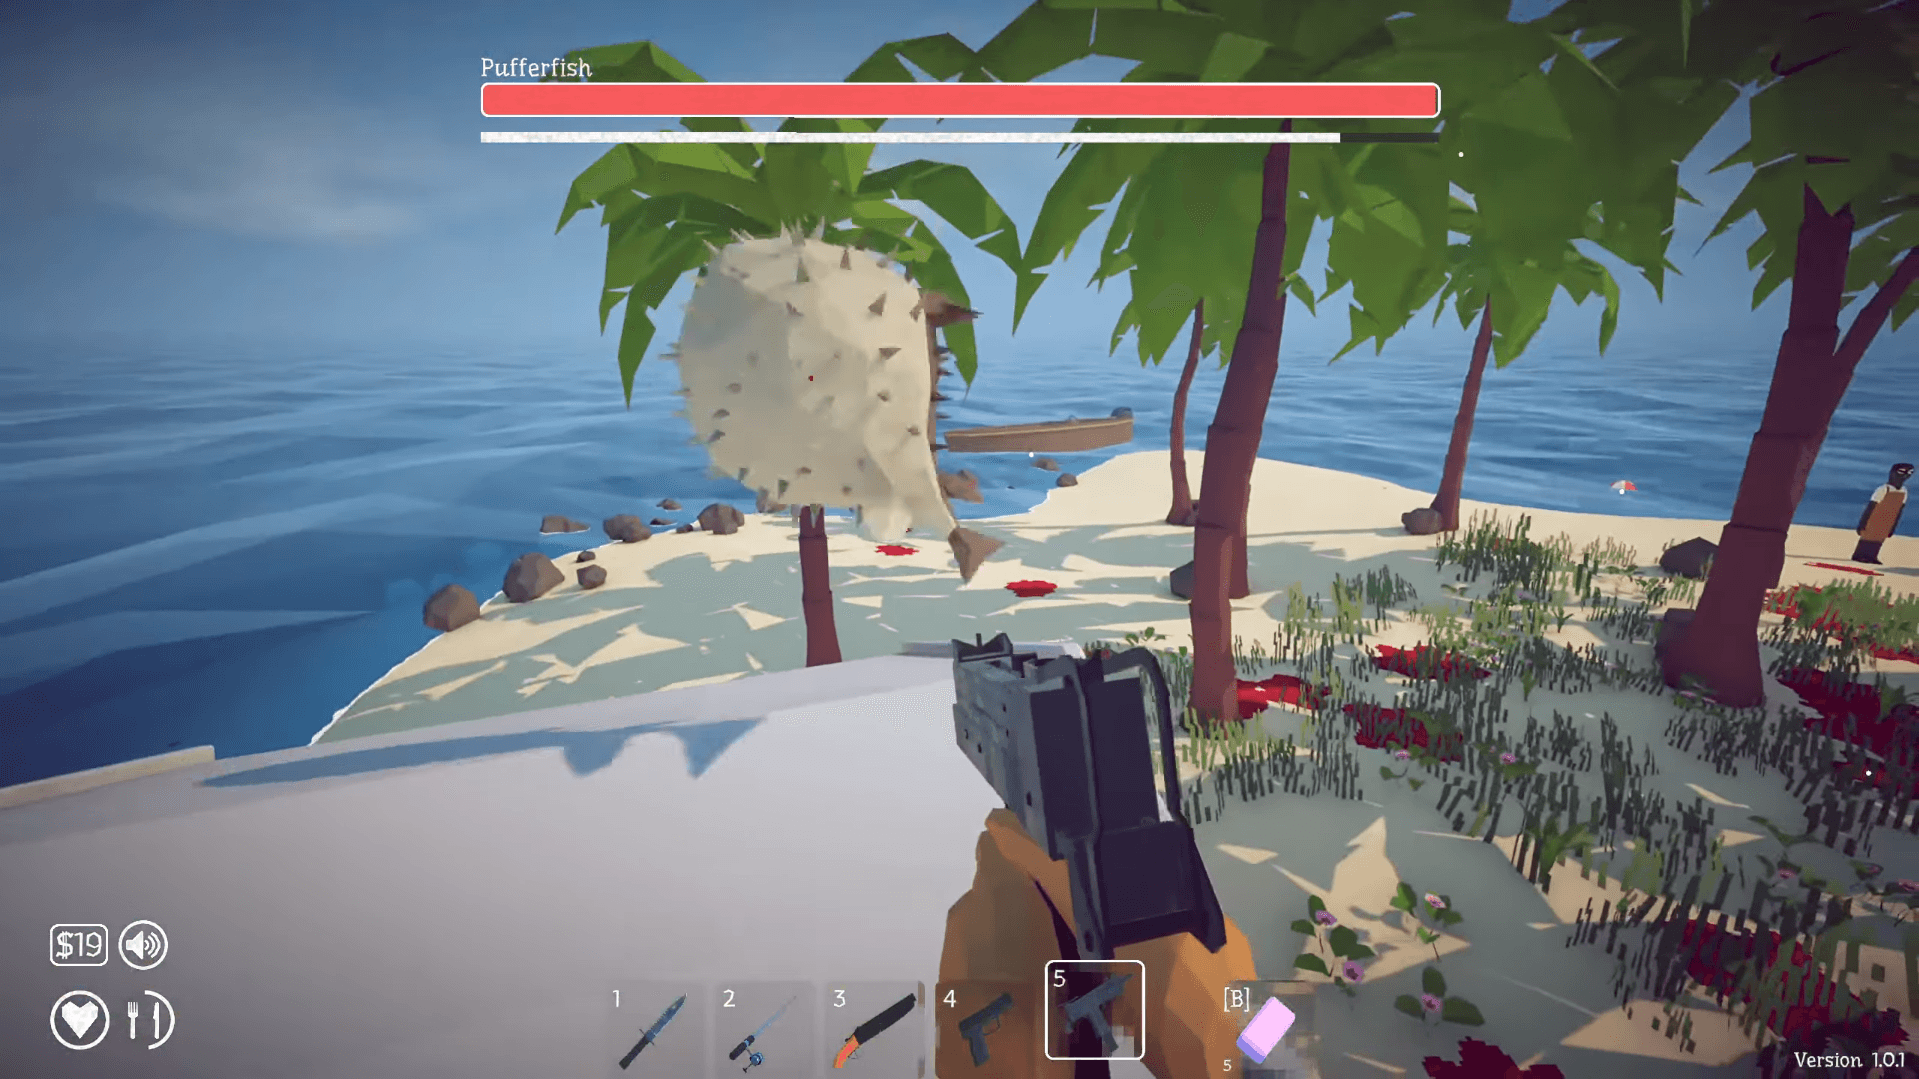
Pufferfish is the fight that proves a more expensive weapon is not always the answer. The real lesson here is positioning. Standing in open ground gives the boss a clean path to you. Use the trees.
With a tree between you and the Pufferfish, you force it to reposition and create ranged windows you would not have in the open. Do not abandon that cover just because the boss health is getting low. A nearly dead Pufferfish can still end the attempt if you chase it into open ground.
The trigger for this fight is a multi-step chain: give the Tourist a valid Endangered Species creature, receive the Carrot, then use the Carrot to spawn the Pufferfish. Without the Carrot, you are still solving the Tourist's request, not preparing for a boss.
How to Fish Guide: All Bosses & How to Beat Them
How to beat Giant Bird
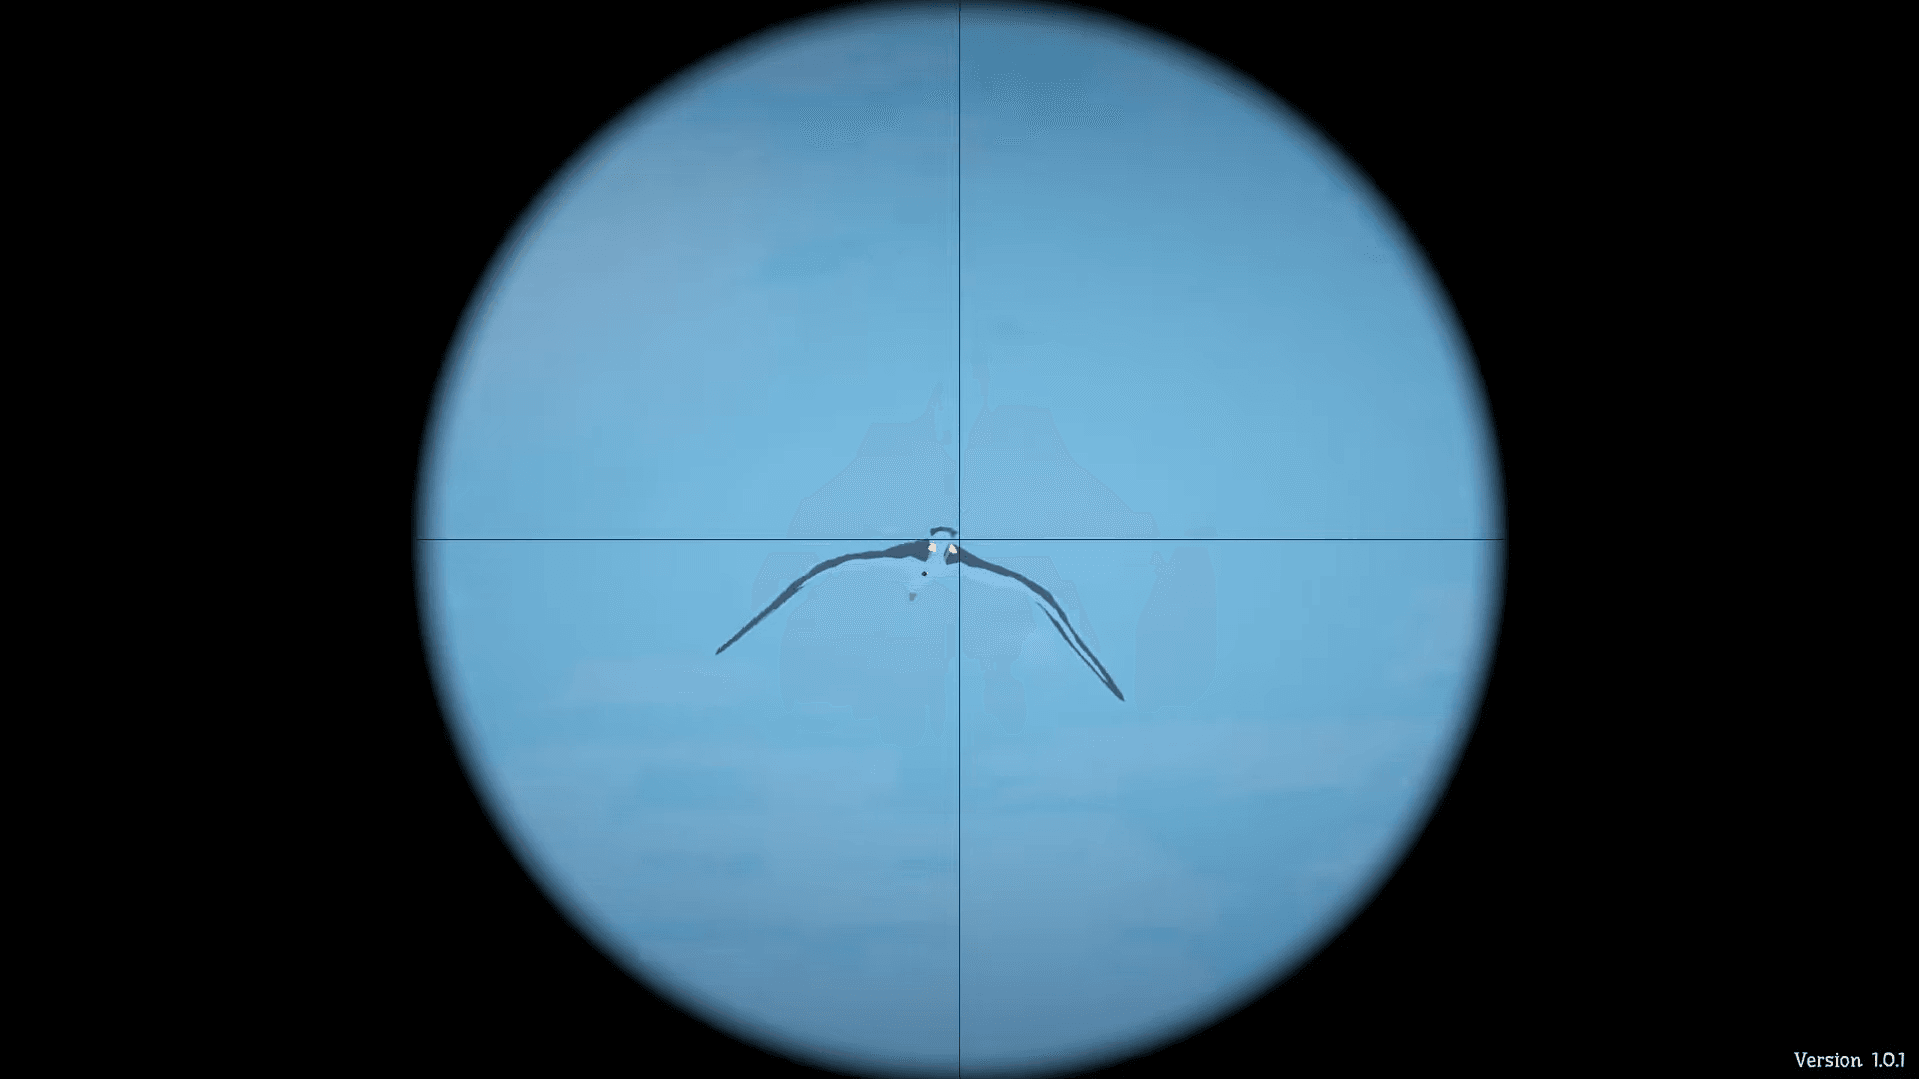
Island 4 is the clearest example of why reading the NPC request before firing at anything matters. The local NPC explains that the bird returns when someone brings Tuna. Tuna is tied to the Professional Boss Lure, so that lure is the actual first step, not killing ordinary birds.
Once the Giant Bird spawns, the fight becomes a cover management problem. Chasing the bird around the island means giving up every firing lane and piece of cover you established. Stop moving with it. Pick a position near a building, wall, or solid object and make the bird come to you.
How to Fish Guide: All Bosses & How to Beat Them
When it approaches, step out of the line of pressure, let the pass end, then return to your position and keep shooting. Cover creates firing windows. It is not a place to wait passively.
The Bird Head is the required trophy. Confirm you have it before sailing away. Without the hand-in, the Island 5 coordinates will not appear.
How to beat Whale and Magma Whale
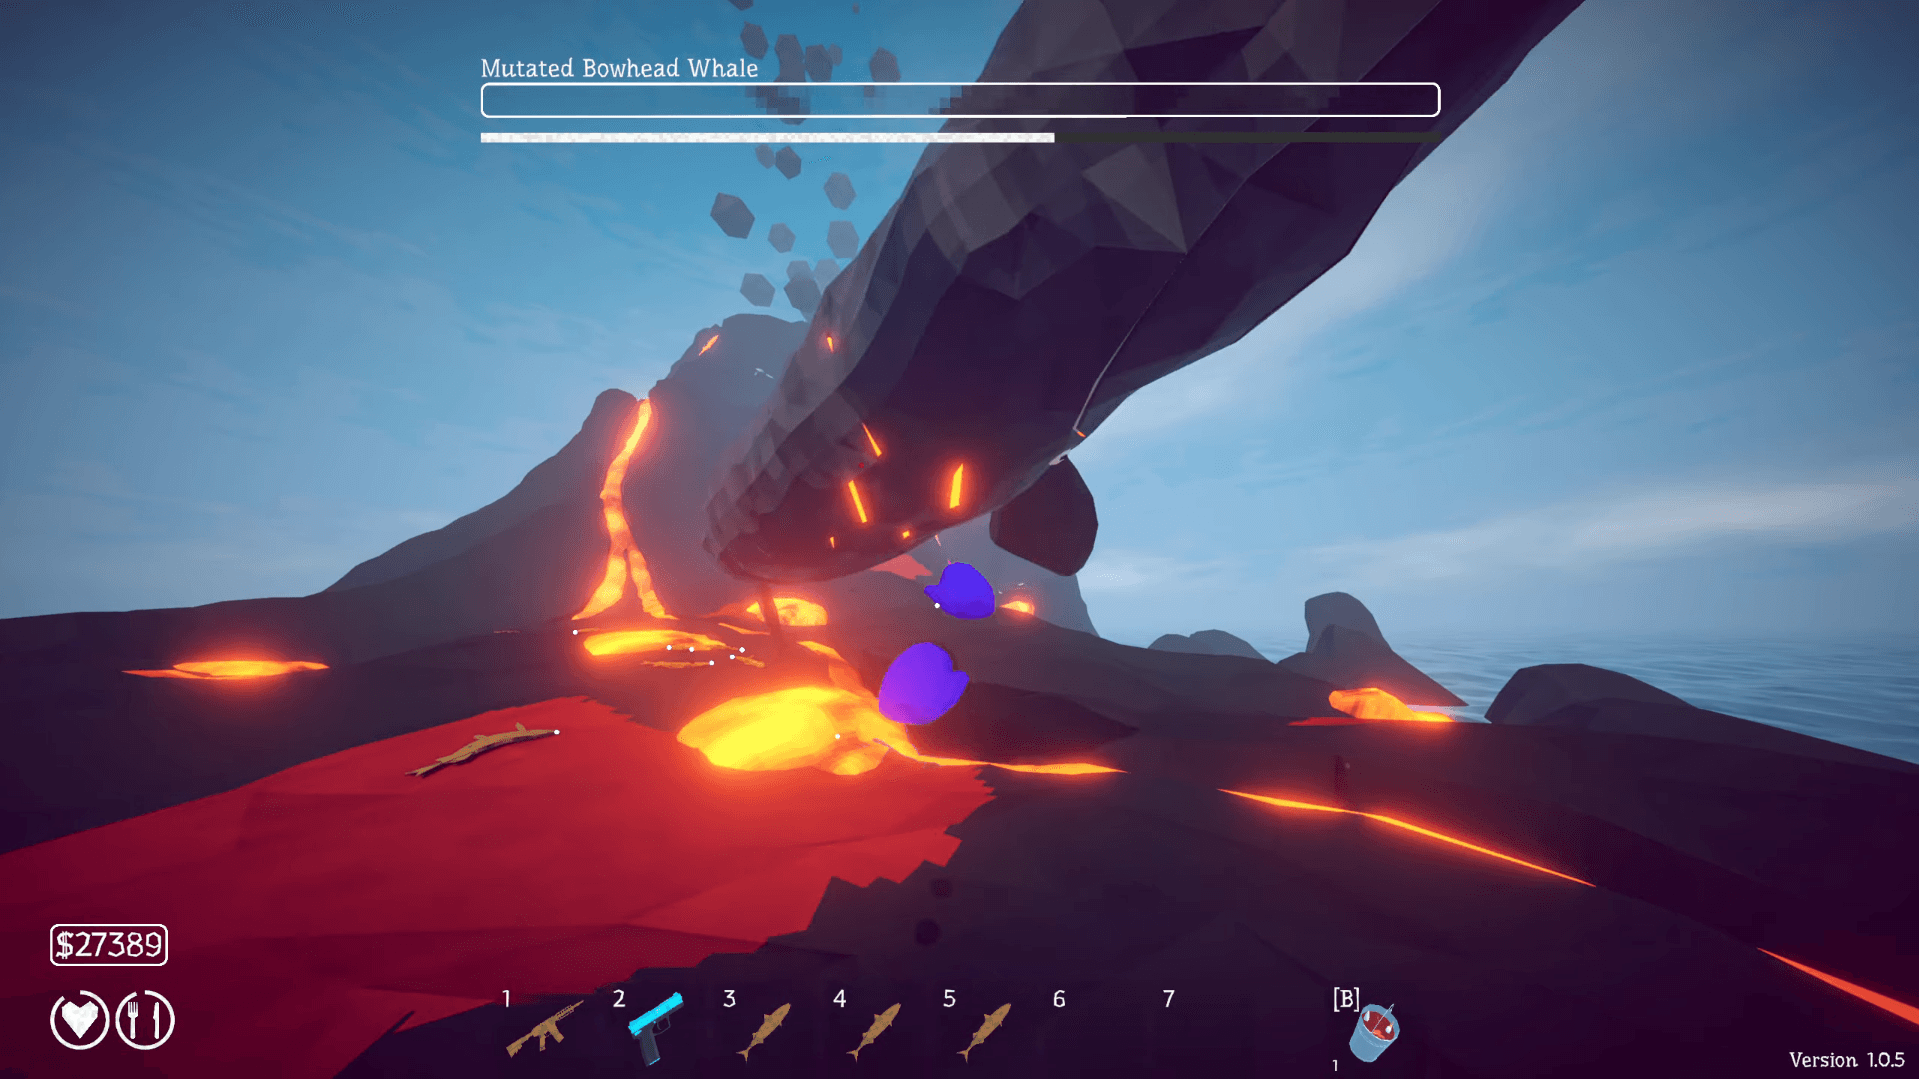
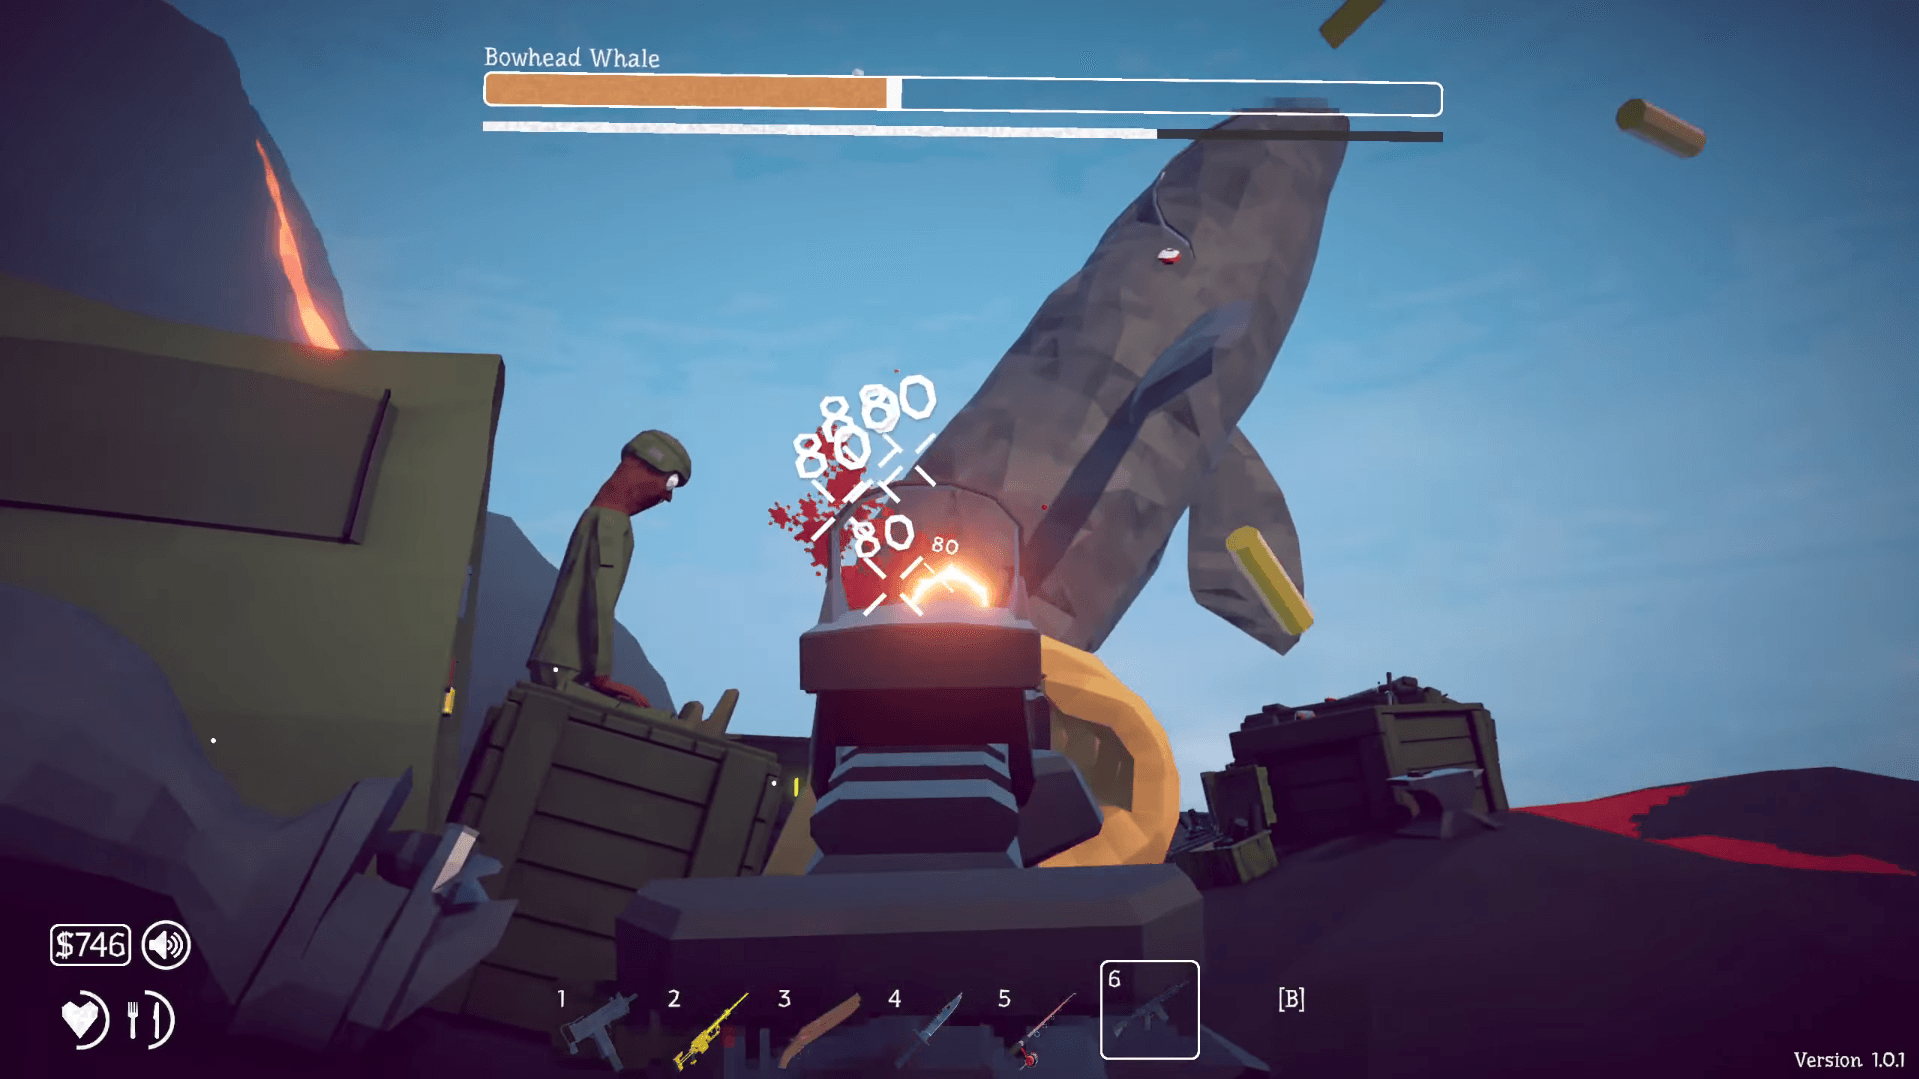
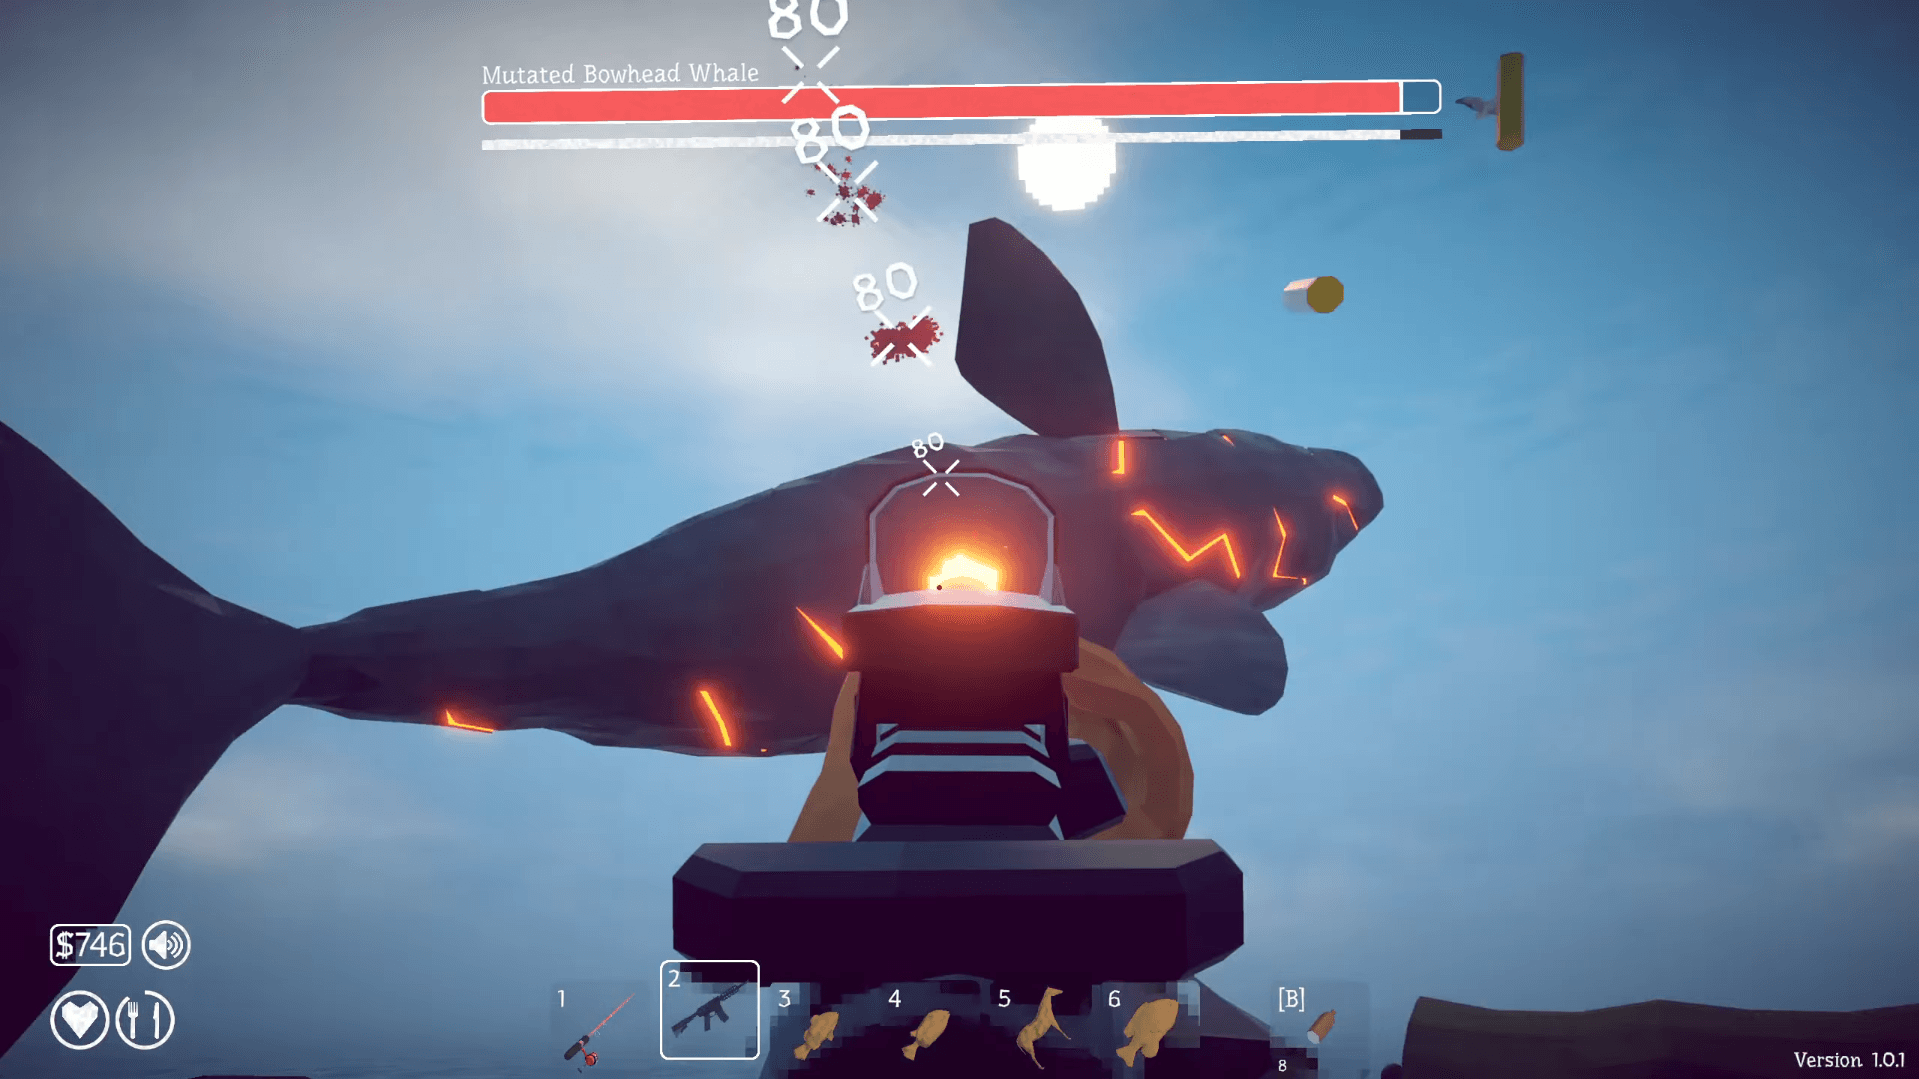
The final two bosses are connected. The Scientist on Island 5 asks you to catch a normal Bowhead Whale for an experiment. That Whale is not an optional side objective. It is the literal setup item for the Magma Whale fight.
The full chain runs: speak to the Scientist, prepare the required Whale bait, catch and defeat the Bowhead Whale, carry it to the Volcano, throw it in, then fight the Magma Whale.
Spending money on combat gear while still missing the Scientist's experiment step does nothing.
How to Fish Guide: All Bosses & How to Beat Them
Why you should not try to escape the Volcano arena
The Volcano arena feels small, and the instinct is to use the boat to create distance. That is the wrong move. Pulling the Magma Whale too far from the Volcano causes it to despawn, resetting the entire fight.
Create space inside the encounter area. There is a real difference between making room to read an attack and accidentally leaving the fight. Stay inside the boundary.
How to survive the Magma Whale's landing attack
The Magma Whale's landing is not the only dangerous moment. Rushing back to point-blank range the instant the landing ends is how a lot of otherwise clean attempts fall apart. The boss can still move aggressively after coming down.
Wait long enough to see where it is actually moving, then resume ranged damage. The rhythm is: read the attack, move through the landing, watch the follow-up, shoot once the space is safe again.
Bring the ranged setup you have already invested in and know how to control. The final boss is not the place to test an unfamiliar weapon.
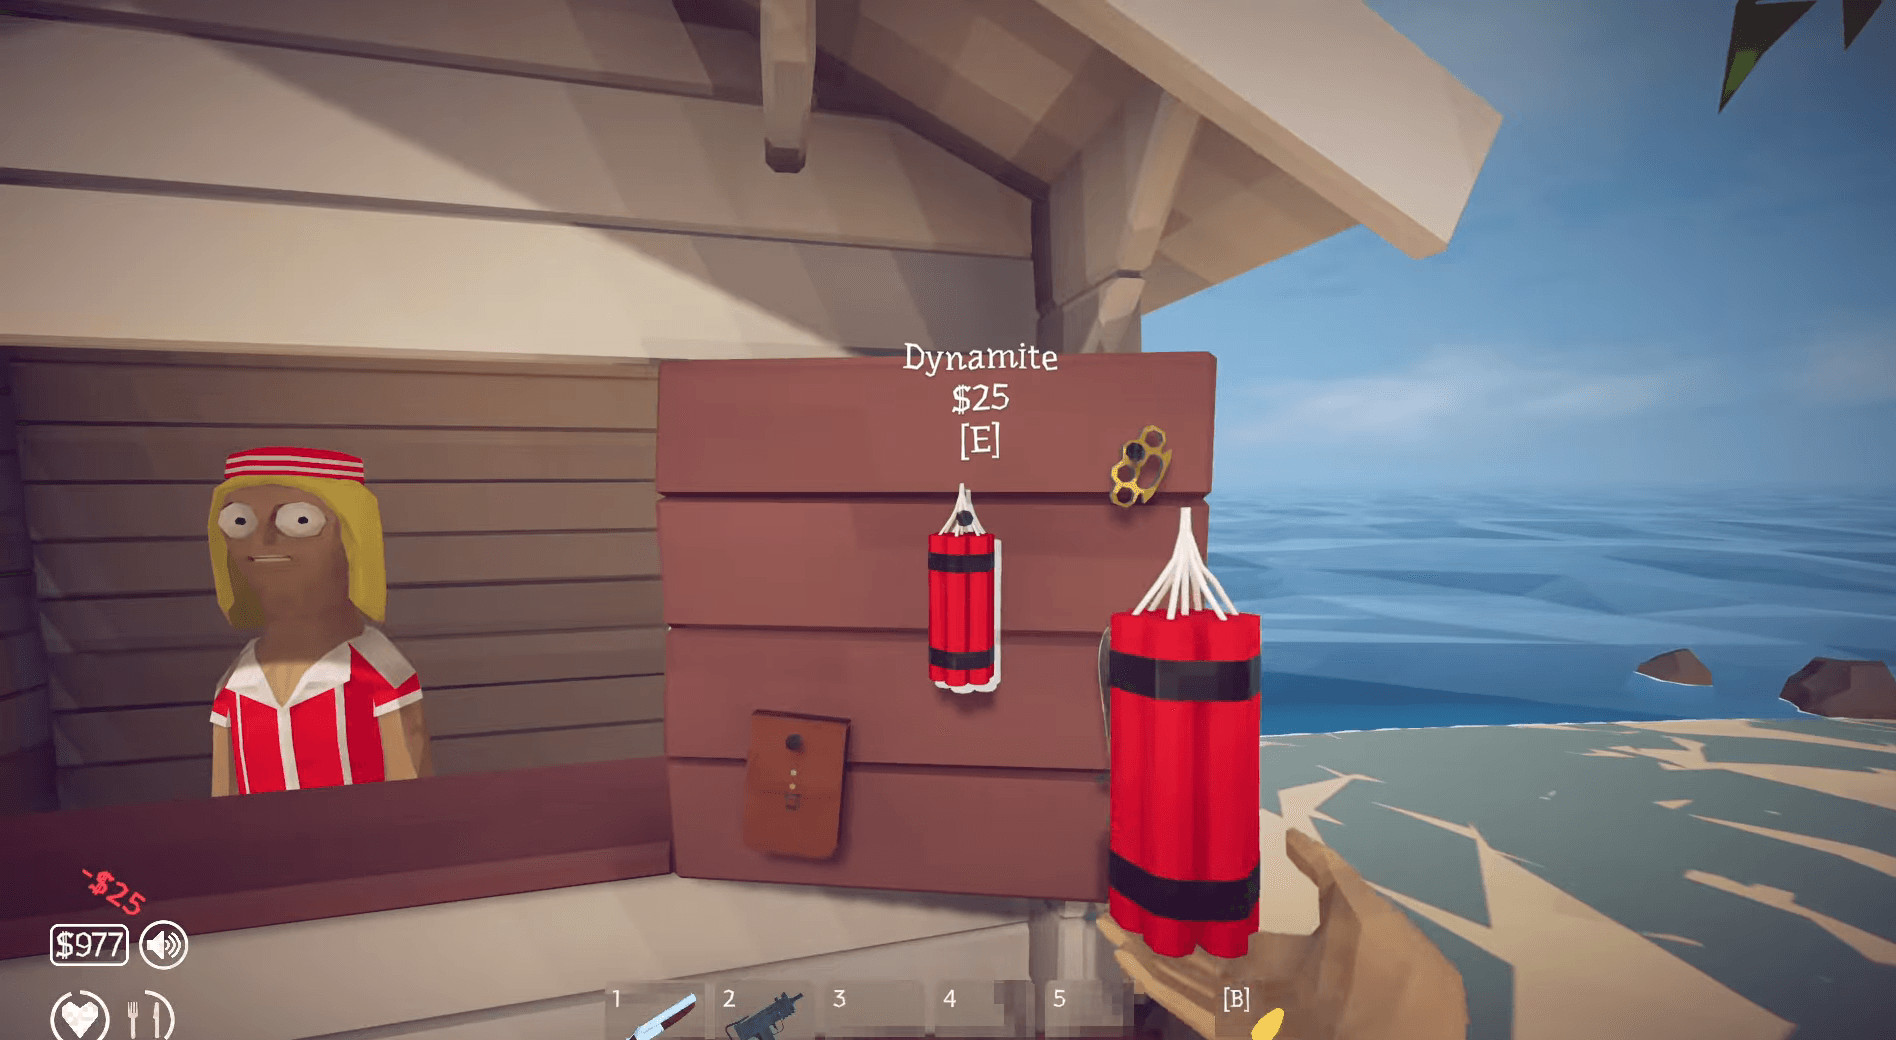
Does Dynamite help in boss fights?
Dynamite costs 25 and works as a burst damage supplement, not a primary damage source. Its value is stacking damage into a short, predictable window when you already know where the boss will move.
Place it where the boss is going to cross rather than throwing it reactively mid-fight. Avoid steep slopes and edges where the charge can roll away from the target. Do not bet the whole attempt on one explosion.
For normal progression, Dynamite works best alongside a weapon you already trust. It becomes more interesting for the Easy achievement, which rewards killing a boss within 10 seconds and rewards front-loaded burst setups.
For a full breakdown of every achievement tied to these fights, including the Handyman and Easy unlock conditions, the How to Fish trophy list guide covers every step in efficient unlock order. The full collection of How to Fish strategy guides has individual pages for each boss if you need a deeper breakdown of any single fight.