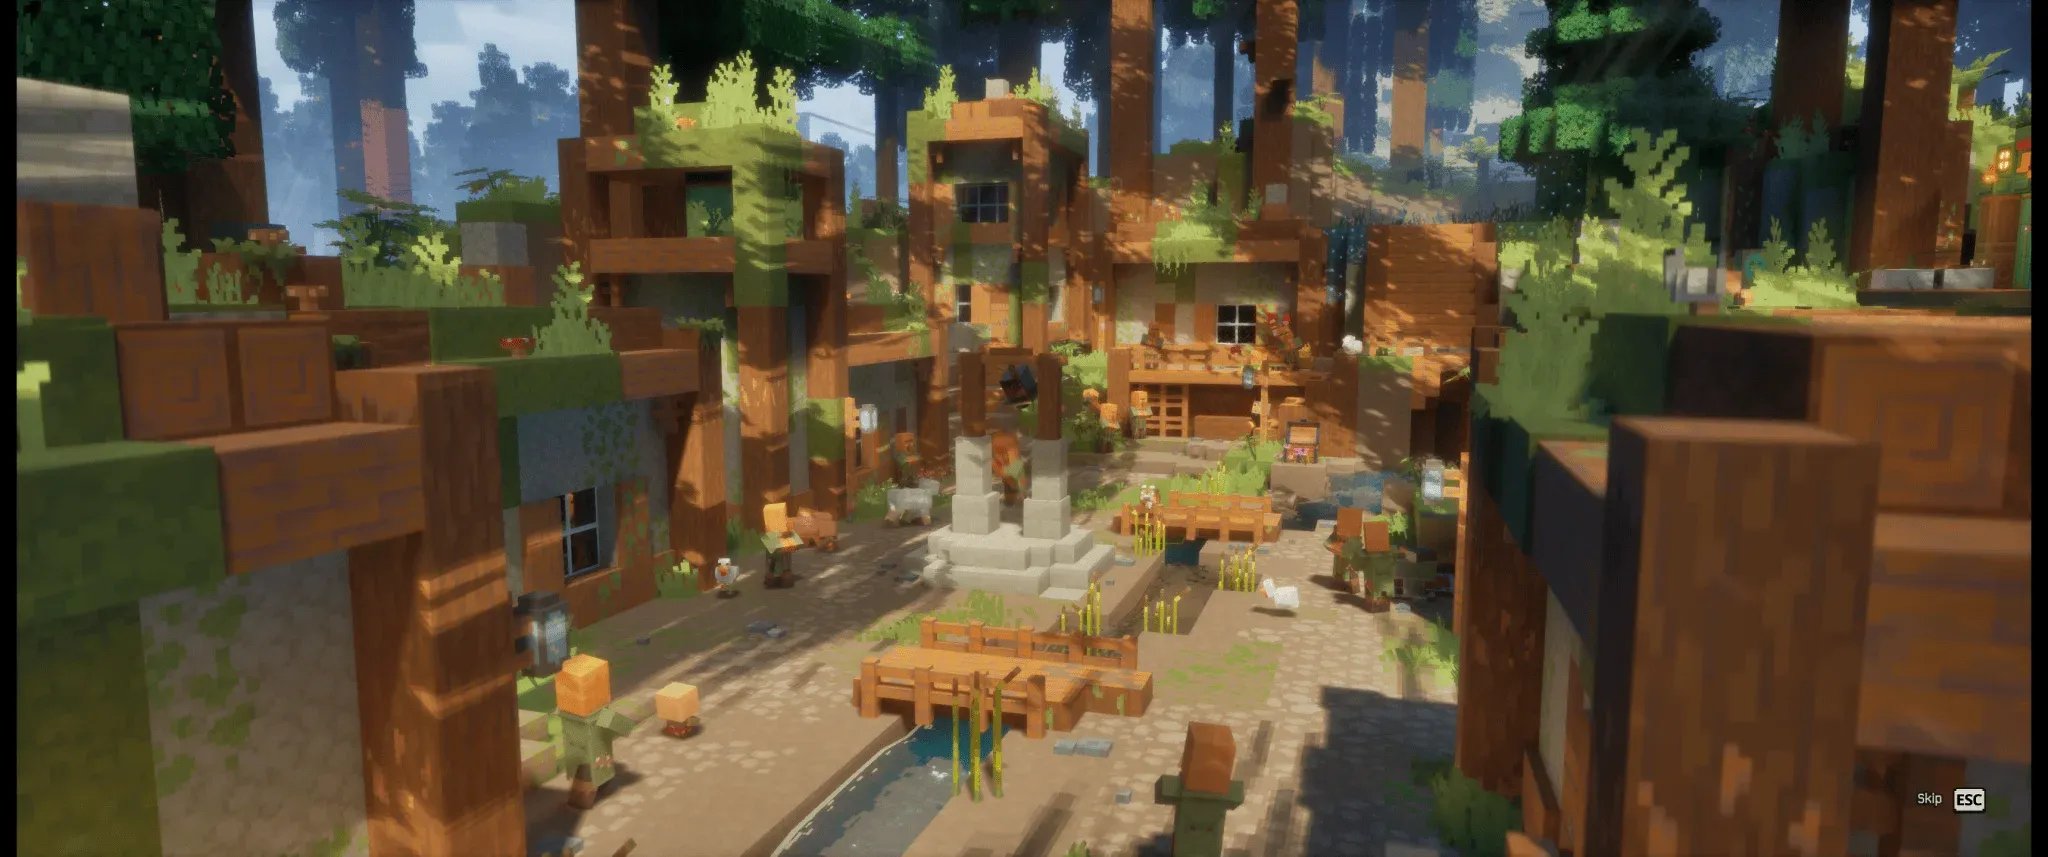


Artifacts and talismans are where Minecraft Dungeons II stops feeling like a casual hack-and-slash and starts feeling like a proper build game. You get three active artifact slots and three passive talisman slots, and the choices you make across those six slots define your entire combat identity. With 51 confirmed artifacts extracted from game files and 17 talismans now fully detailed, there is a lot to parse before launch.
How do artifacts work in Minecraft Dungeons 2?
Artifacts sit on a three-button active bar with short cooldowns. The design philosophy here is deliberate: the sequel rewards you for pressing these buttons constantly, not saving them for emergencies. Demo footage from the gamescom 2026 Copper Monstrosity fight showed bombs, self-buffs, and shockwave tools being cycled through the entire encounter, not held in reserve. Think of artifacts as part of your damage rotation rather than a panic button.
Pets, which occupied artifact slots in the original game, have moved to the talisman row in the sequel. That means your three artifact slots are purely active abilities, which opens up far more aggressive loadout configurations.
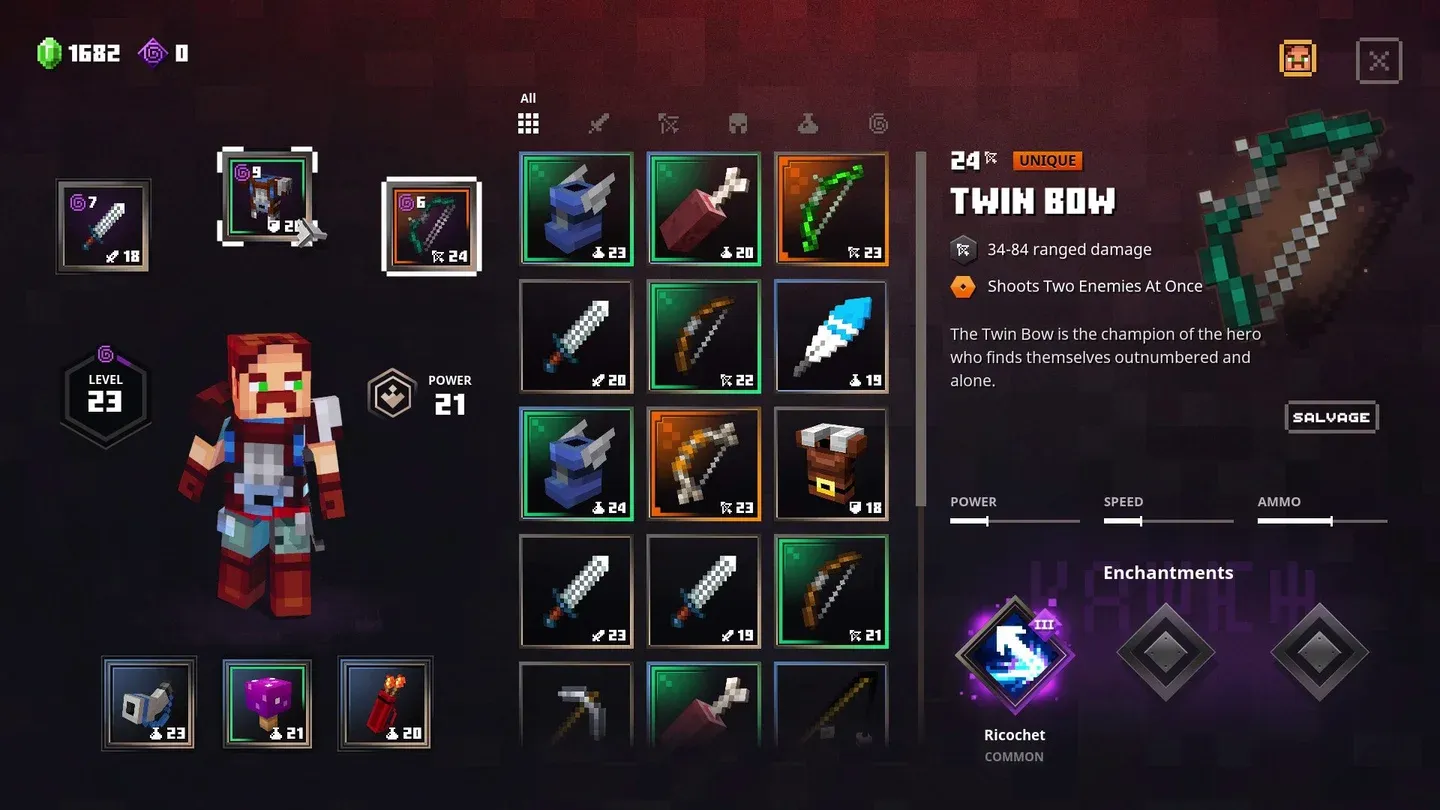
Three-slot artifact bar layout
Artifacts tier list: what the demos actually showed
S-tier: the three buttons from the Copper Monstrosity fight
The gamescom 2026 hands-on against the Copper Monstrosity gave the clearest picture of which artifacts belong on every bar. Three types stood out.
Bomb artifacts were the primary burst tool. The pattern was consistent: dash in, drop the bomb into the window after an enemy telegraph, collect the damage. Community file extractions confirm several explosive variants exist, and every one of them shares the same verb: area burst on demand. If you find a bomb, it goes on the bar immediately.
Self-buff artifacts appeared alongside the bomb in the same gamescom build. The exact tooltip has not been made public, but the usage pattern is clear enough. Press before a combo window, get a measurable offensive or survivability edge. Short-cooldown self-buffs are the reason the sequel feels aggressive rather than defensive.
Shockwave and cone artifacts were described in Xbox Wire hands-on coverage as effective in tight corridors against Warden-style enemies. A cone or circle blast that does not require single-target line of sight belongs on every bar for cave runs and arena rooms.
A-tier: strong tools that solve specific problems
These artifacts do not replace the bomb as your primary damage button, but they solve shown problems well.
- Healing artifacts fit the aggressive cadence because you press them before you need them, not after you panic. Demo coverage described potions as part of the rotation rather than emergency items.
- Summon artifacts appeared in community file extractions as multiple variants. If a minion absorbs one copper cube or one Warden shockwave, it has earned its slot.
- Mobility artifacts matter for both the Sift parkour sections and Copper Monstrosity repositioning. Short cooldowns make these usable mid-combat.
- Lightning and elemental artifacts extend the kit during the Copper Monstrosity fight, which is built around electricity. They add ticks during a combo window without replacing the bomb.
B-tier: useful in specific contexts
Exploration artifacts that reveal map sections or mark chests are genuinely helpful on a first Overworld run. Once you know the map, they get replaced by combat tools. Thorns and reflect artifacts have a niche in overrun scenarios against archer illagers. Debuff artifacts that slow or weaken enemies add a third layer of crowd control on top of what the Enchantsmith already provides through arrow enchantments.
C-tier: wait for launch confirmation
Anything whose only evidence is a file extraction with no demo footage or hands-on mention belongs here. The community database lists 51 total artifacts, and some may be dungeon-exclusive, some post-launch DLC, and some cosmetic transformations. Do not spend Soul Corrupted currency on a C-tier artifact until post-launch data confirms the verb.
What are talismans and how do they differ from artifacts?
Talismans occupy three separate passive slots. They do not go on cooldown. They apply their effects continuously or conditionally, reshaping how your hero fights without requiring any button press. There are 17 confirmed talismans, and they cover damage, defense, mobility, companions, and loot.
All 17 confirmed talismans
Companion talismans explained
Three talismans summon companions: Tasty Bone (wolf), Golem Kit (Iron Golem), and Prickle's Mark (Prickle). All three work the same way mechanically. The companion fights alongside you, has its own health pool, and returns after a 30-second cooldown when defeated. You can only have one companion active per talisman slot, but nothing stops you from filling all three talisman slots with companion talismans if you want a full escort build.
The wolf from Tasty Bone was the standout in demo footage, drawing enemy attention and absorbing hits that would otherwise interrupt your combo. The Iron Golem from Golem Kit is the tankier option based on its description. Prickle's Mark is the least documented of the three before launch.
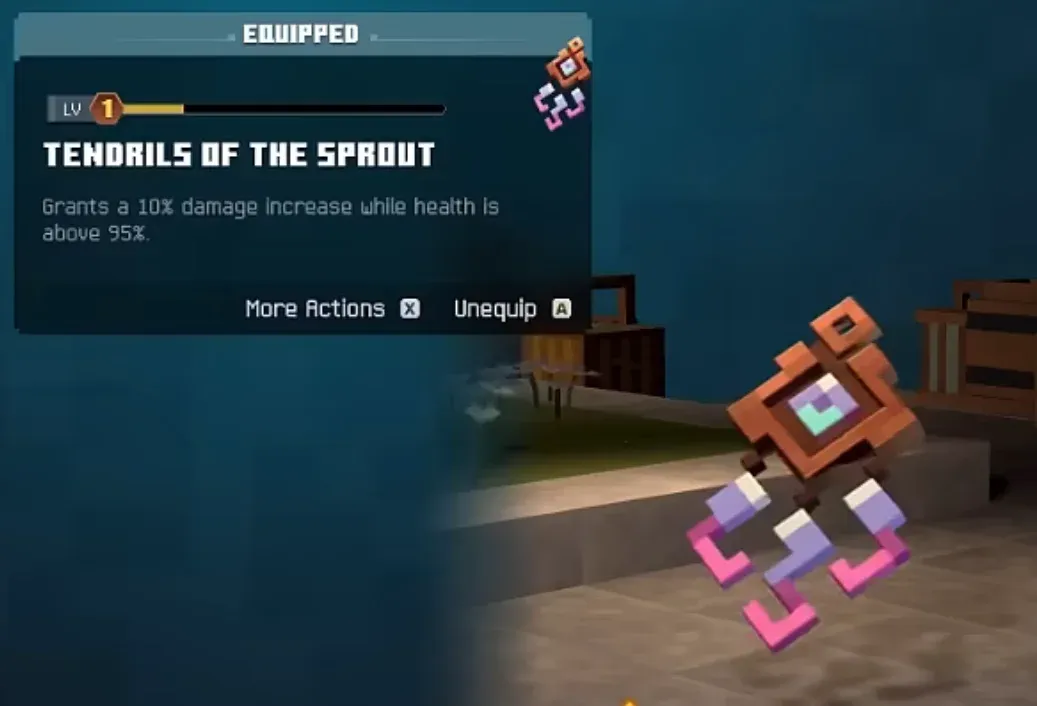
minecraft dungeons ii Companion talisman
What are the best talisman combinations?
The right talisman trio depends entirely on your playstyle. After testing the confirmed numbers against each other, three combinations stand out.
Soul build: Twisted Tooth, Essence of Efficiency, and Thrifty Pendant. Twisted Tooth pumps your soul income by 40%, which feeds artifact usage. Essence of Efficiency trims artifact cooldowns by 4%, keeping your active bar cycling. Thrifty Pendant converts your emerald stockpile into up to a 25% damage bonus, which rewards players who are not constantly spending at vendors.
Loot farming build: Lucky Clover, Looter's Charm, and Tasty Bone. Lucky Clover and Looter's Charm stack their separate effects: one boosts the quantity of drops, the other boosts the drop chance from enemies. The wolf from Tasty Bone keeps enemies occupied while you pick up everything on the floor.
Melee damage build: Fist of Iron, Ocelot's Paw, and Thrifty Pendant. Fist of Iron adds 10% to all melee hits. Ocelot's Paw adds another 10% specifically to jump attacks, which are one of the sequel's signature mechanics. Thrifty Pendant layers a third damage multiplier on top if you manage your emerald count.
How do artifacts and talismans fit into the full loadout?
The full inventory in Minecraft Dungeons 2 has 12 combat tiles: one melee slot, one ranged slot, four armor pieces, three artifact slots, and three talisman slots. Pets sit in the talisman row, not the artifact row, which is the biggest structural change from the original game.
The intended combat cadence from demo coverage is: open with ranged to initiate or crowd-control, close with melee, cycle artifacts on cooldown throughout. Talismans apply their passive effects the entire time without any input required. The Enchantsmith in Brave Haven adds enchantment books to weapons and gear on top of this, so artifacts and talismans are not the only source of bonus effects.
For a full breakdown of every confirmed weapon that feeds into these loadouts, the guide to all confirmed Minecraft Dungeons 2 weapons covers the Tornado Blade, War Hammer, Battlestaff, and more with playstyle notes. If you want to know what you are unlocking as you build toward these loadouts, the complete trophy and achievement list has all 28 achievements with tips on the trickiest ones.
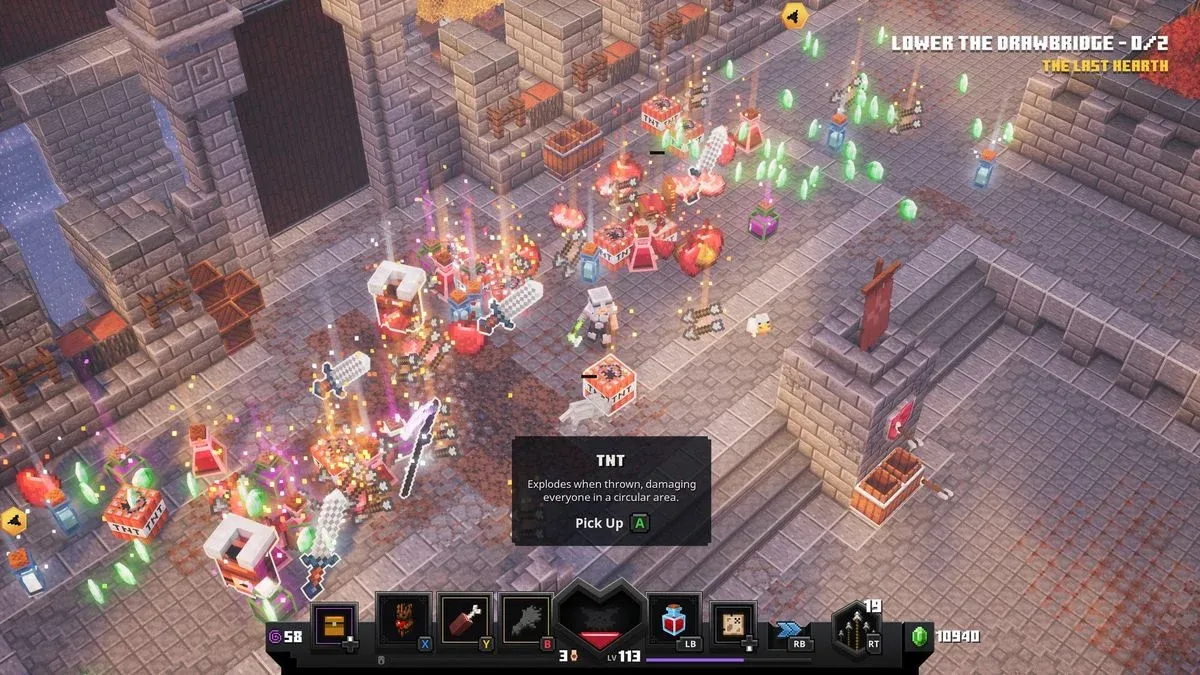
Full 12-slot loadout grid
What should you prioritize first?
The Eye of Experience talisman is the strongest early pick because level 10 unlocks your third artifact slot, and getting there faster means building a complete loadout sooner. Equip it in your first talisman slot and leave it there until you hit level 10, then swap it out for a damage or companion talisman.
For artifacts, prioritize any bomb or explosive variant you find. The gamescom footage showed that explosive artifacts work against every enemy type shown, including the Copper Monstrosity. A self-buff artifact in the second slot keeps your offensive pressure consistent. The third slot is where you specialize: mobility for the Sift, a summon for tankier dungeon rooms, or a shockwave tool for cave sections.
For everything else launching alongside the game, the Minecraft Dungeons II strategy guides collection covers capes, crossplay setup, pre-order editions, and exact launch times by region.