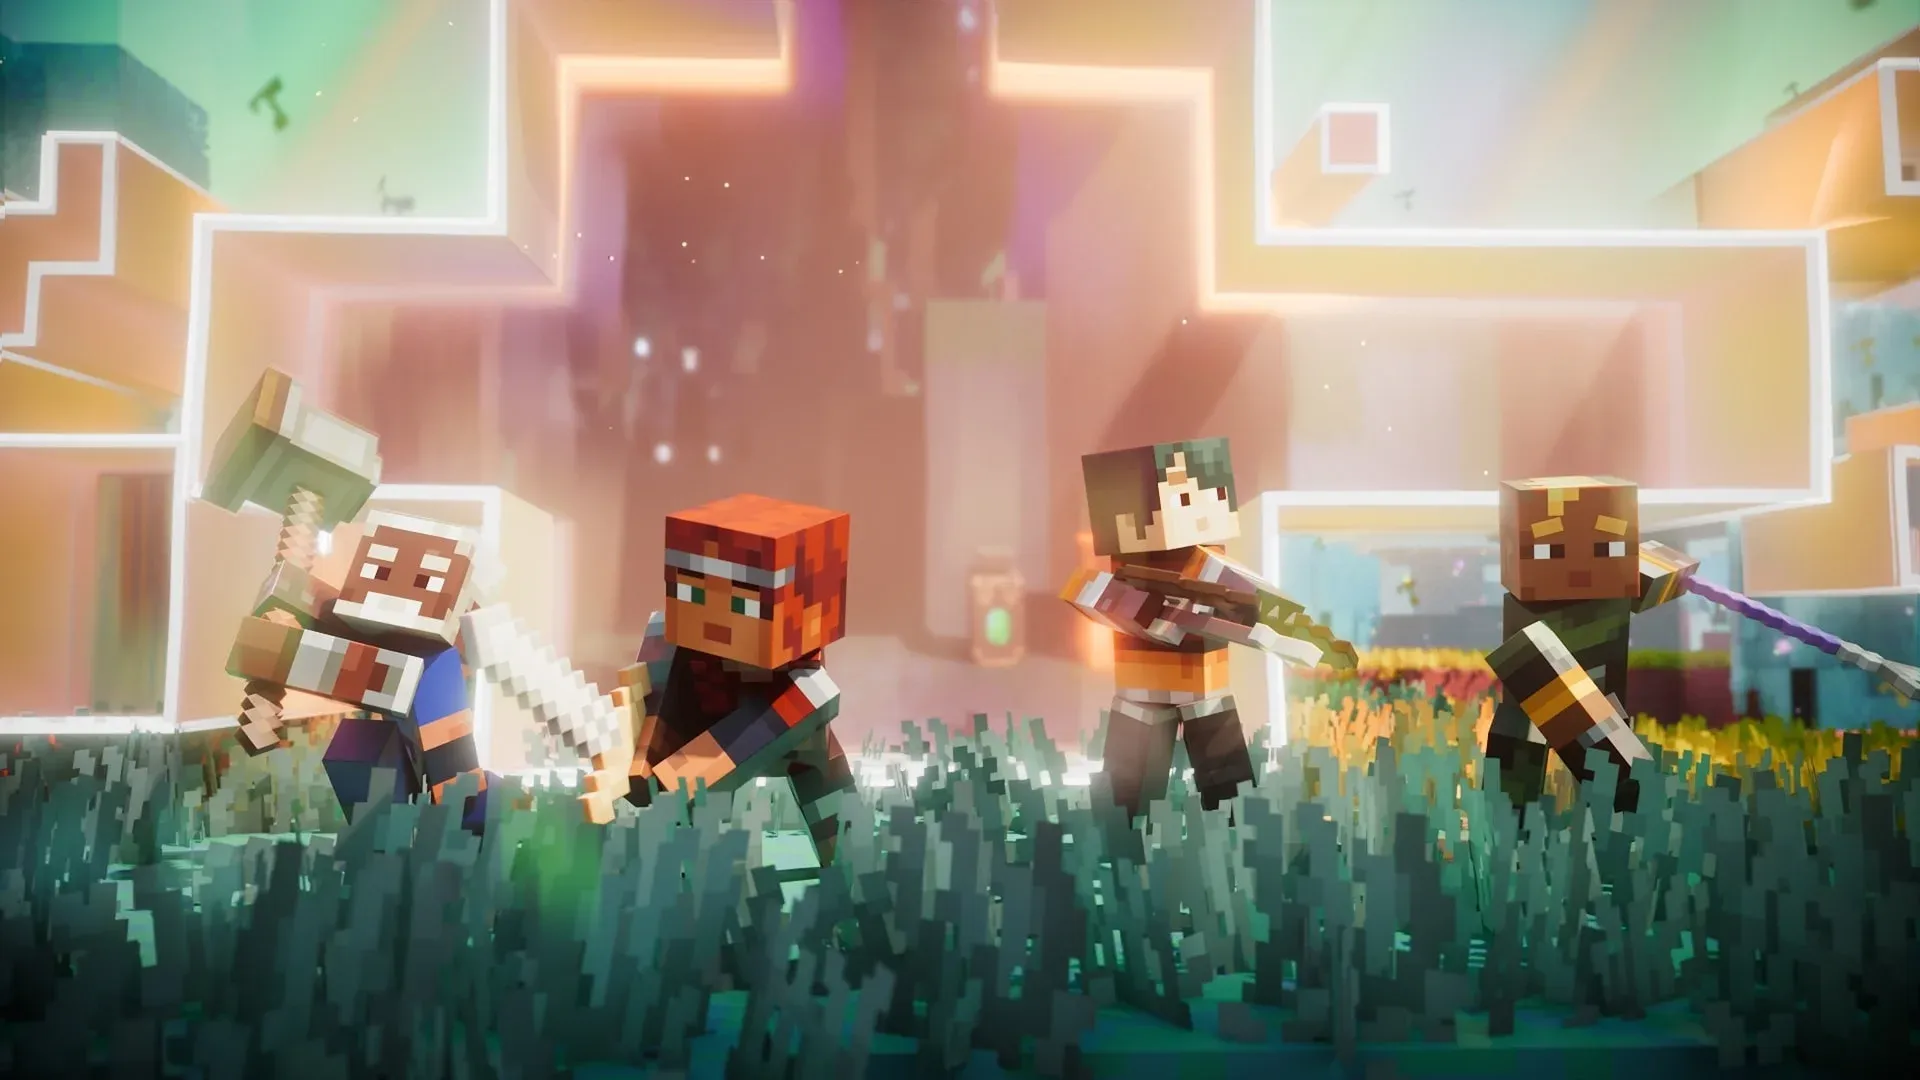


Minecraft Dungeons II launches September 29, 2026, and it is a meaningfully different game from the 2020 original. Mojang and Double Eleven doubled the gear slots, added a skill tree, introduced a soul-corrupted dimension called The Sift, and built in a possession mechanic that changes how you read combat encounters. After roughly nine hours with preview builds across PC and Xbox Series X, the biggest takeaway is that the players who struggle are almost always the ones who treat this like the first game. It is not.
What changed from the original?
The original Minecraft Dungeons gave you six gear slots and a mostly linear mission structure. The sequel gives you 12 slots, interconnected regions, a jump button with real combat applications, and possessed enemies that can turn a routine mob pack into a genuine threat. Enchantments are now refundable and transferable at the Enchantsmith, so no single gear decision is permanent. That one change alone makes early experimentation far less punishing.
The full 12-slot loadout breaks down like this:
Because armor is now split into four pieces, matching sets gives meaningful bonuses. A mismatched high-power loadout can genuinely underperform a lower-power matched set, which is the first mistake most new players make.
Full 12-slot loadout grid
What is possession and why does it matter?
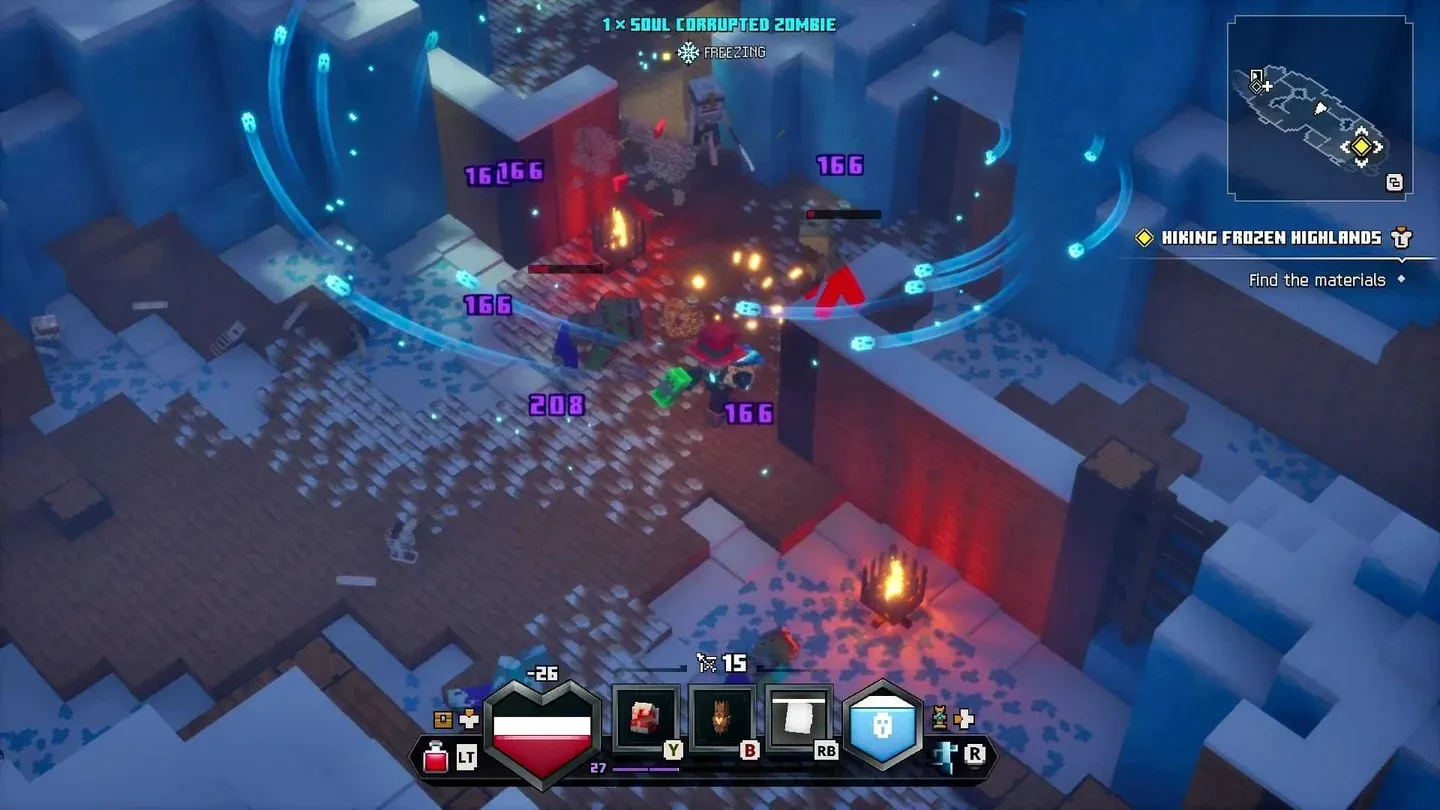
Possession is the combat mechanic that will kill you the most in your first session if you ignore it. Spectral forces can take over ordinary mobs mid-fight, changing their silhouette and giving them a faint purple tint with a translucent shroud. A possessed zombie hits like a mini-boss. A possessed Creeper can wipe your group if you dismiss it because you are used to the original's threat hierarchy.
The rule is simple: purple tint means drop everything else. Possessed enemies also spread corruption to nearby mobs if left alive too long, so prioritizing them is not just about self-preservation. It changes the entire encounter for your whole party.
The visual cue is the whole game. Read the color, not the size of the enemy model.
What are the best starter builds?
Three build directions cover the vast majority of playstyles for the first few hours. None of them require perfect gear, and since enchantments are refundable, you can respec freely.
Soul Reaper Sifter (best for solo)
This build centers on the soul mechanic. Kill enemies, fill your soul gauge, and the Anima Conduit enchantment heals you every time you absorb souls. Pair it with Enigma Resonator for a chance at triple damage based on your soul count, and your damage actually scales as fights drag on. The Echoing Crystal talisman widens your soul collection radius and adds passive health on soul spend, so you are rarely scrambling for pickups mid-fight.
For artifacts, a Soul Lantern, Corrupted Beacon, and Harvester cover healing, crowd control, and burst damage in one loadout. Against elite mobs and Twisted Warden variants, pop the Beacon or dump souls into the Harvester and the health bar disappears fast.
Vanguard Juggernaut (best for co-op)
The sequel's mobs are aggressive trackers that swarm you. Glass-cannon builds get overwhelmed fast without someone holding the line. The Juggernaut does exactly that, but it is not passive. The new jump mechanic lets you leap into a crowd, land a heavy jump attack, and the Iron Clad Sigil talisman gives you a brief defensive shield right as enemies swing back. Stack that with Reinforced Plated Mail and the Iron Hide Amulet artifact and you are genuinely hard to kill.
The wide sweeping arc of the Great Axebane means Leeching procs constantly across multiple targets. You out-heal incoming damage without slowing your attack cadence.
Parkour Striker (high risk, high reward)
This build only works because of the new movement system. Featherweight Emblem cuts dodge roll cooldown and leaves a smoke trail that blinds enemies. Chain rolls into a jump attack with dual daggers and the Rogue Vestments multiply the impact damage. Single-target output against early bosses is competitive with the S-tier builds.
The catch: one bad positioning call in a tight corridor and you are dead. There is almost no defensive safety net here. If that sounds appealing, it is an excellent build. If you are still learning the possession mechanic, start somewhere else.
Early skill tree allocation
How should you spend your first hour?
The opening tutorial in Brave Haven is short and forgiving, but it skips several things that matter.
- Open every chest in the tutorial camp. Starting gear is fixed, but the bonus emeralds fund your first enchantment rolls.
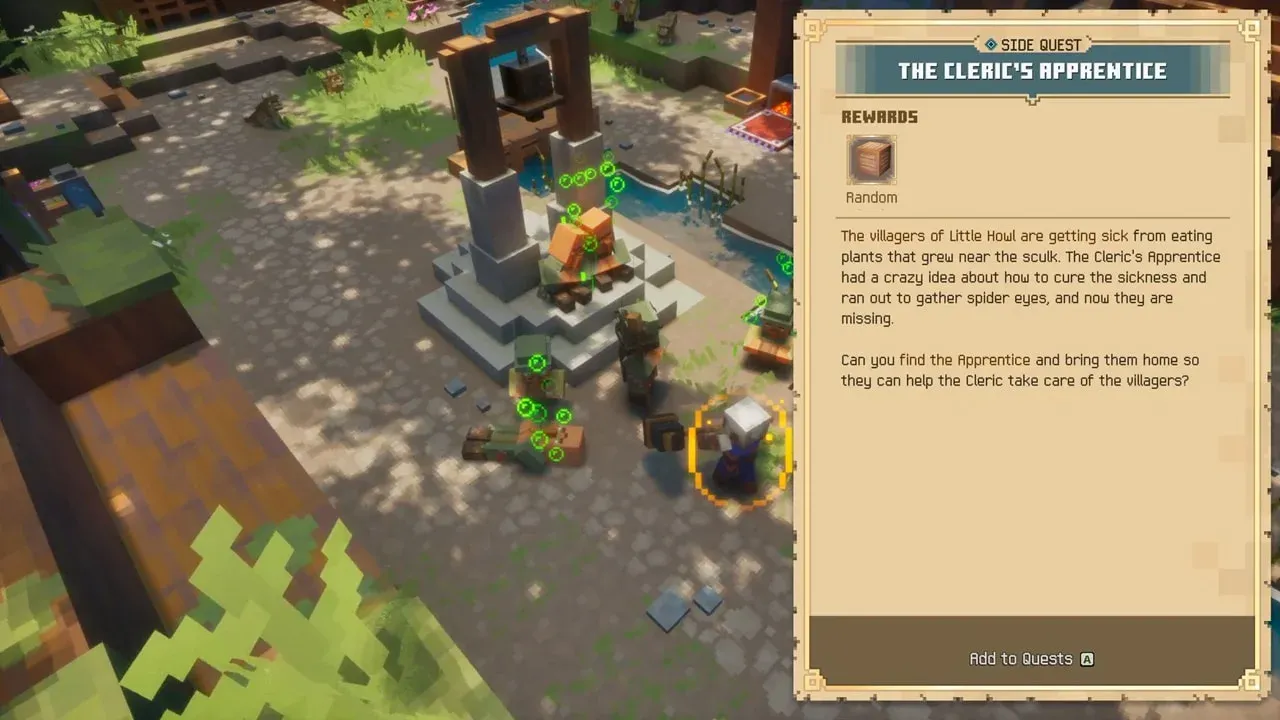
- Talk to every villager NPC with a marker. Some unlock fast-travel points, others open side quests that reward skill points.
- Check the skill tree immediately after the first mission. Early bonuses to health and dodge recovery matter more than raw melee damage.
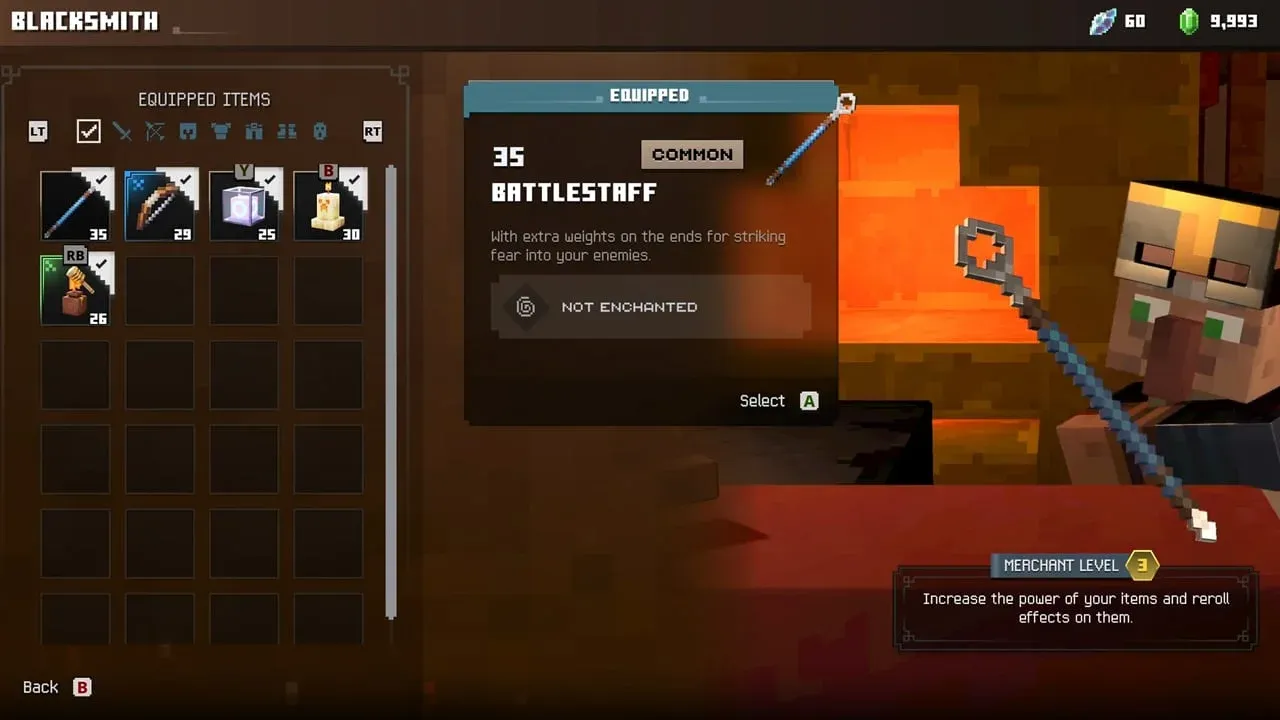
- Salvage everything you replace. The sequel adds a single salvage-all button at the Blacksmith, so there is no reason to hoard common gear.
- Set up cross-play linking before you need it. The Microsoft Account link between Xbox and PC is the only friction point, and sorting it before a boss fight saves real time.
After the tutorial, the campaign opens into a hub with multiple paths. The recommended route: clear the first two Overworld quests to unlock the first Sift rift, then enter The Sift and complete the first region without skipping side caves. The extra emeralds and gear rolls are worth the detour. Return to camp after the first Sift boss, salvage, enchant, and spend skill points before pushing into the second region.
How does the enchantment system work?
Enchanting is the system the sequel changes most. Instead of fixed rolls on loot, you collect enchantment books into a personal library and apply them at the Enchantsmith to any gear slot you choose. Applied enchantments can be upgraded over time, which means your preferred build keeps improving rather than being reset by the next drop.
That library mechanic also changes the salvage question. A piece of gear with a bad roll is no longer pure vendor trash because the enchantment books you found transfer to whatever you equip next.
For early weapons, the safest enchantments are:
Rolling Prospector on your melee weapon for the first three hours and never regretting it is the most consistent early economy play. The gear you eventually replace matters less than the emeralds that let you upgrade the gear you keep.
Talismans at the early stage are simpler: bonus health, faster dodge recovery, or extra emeralds from chests. An extra ten percent emeralds per chest adds up quickly and funds Enchantsmith upgrades on your keepers.
Enchantsmith book library UI
What weapon should a beginner use first?
The combat staff is the most forgiving early weapon. Its wide hit arc tags multiple mobs at once, which is exactly what you want when possession triggers and you need to isolate a threat without losing track of the rest of the pack. Testing all weapon classes against early Sift encounters, the staff consistently produced the fewest deaths because it teaches spacing before it demands timing.
The warhammer hits harder, but its wind-up animation gets you killed if you misread a possessed enemy's attack. The sword is faster and more forgiving on timing, but the narrower arc means you can get surrounded before you clear the frontline.
For ranged, the bow is the most consistent early pick now that ammunition recharges automatically. The crossbow hits harder per shot but the slower fire rate creates gaps when multiple possessed mobs rush simultaneously.
For a full breakdown of every weapon confirmed in the game, the Minecraft Dungeons 2 confirmed weapons guide covers all 23 options with stats and playstyle notes.
Cross-play and co-op setup
The sequel supports up to four players online, local couch co-op, mixed co-op, and matchmaking. Cross-play works across PC, Xbox, PlayStation, and Switch, but account linking requirements vary by platform.
Matchmaking uses party codes, so you can join a public group without adding friends. For the full setup walkthrough including cross-progression details, the Minecraft Dungeons 2 crossplay and cross-progression guide has every step.
For solo play, the companion AI from the original is gone. You can recruit AI heroes at camp, but a self-healing artifact setup is more reliable than babysitting AI companions through Sift encounters.
Five mistakes that will end your first run early
- Ignoring armor set bonuses. Four armor slots means matching sets now give meaningful bonuses. A mismatched high-power loadout can underperform a lower-power matched set.
- Enchanting common gear too early. Enchantment books are permanent additions you can level up. Do not burn them on gear you will replace in an hour.
- Bringing only damage artifacts. A healing or shield artifact is close to mandatory in solo play. Running a totem alongside damage artifacts and swapping the second damage slot for a defensive option after the first boss is the right call.
- Forgetting the jump button. Some enemy attacks are easier to jump over than to roll through, especially the Twisted Warden's shockwave. Jump is not just for platforming.
- Skipping the world map. The interconnected world marks quest locations, rifts, and fast-travel shrines. Not using it leads to aimless wandering between regions.
Performance and accessibility settings worth changing
The PC minimum spec is a GTX 1050 with 8 GB of RAM, so the game runs on modest hardware. A few settings make the first session noticeably smoother regardless of platform:
- Turn on damage numbers and enemy health bars in accessibility options. They make possession identification faster and remove guesswork on elite health thresholds.
- Lower shadow quality on Switch and Xbox Series S if you want a locked 60 FPS in four-player co-op.
- Enable subtitles. Some Sift enemies telegraph attacks with audio cues, and subtitles catch them if your volume is low.
The Xbox Series X and PlayStation 5 versions run at a locked 60 FPS. The Switch version in preview held 30 FPS in handheld mode with reduced enemy density.
For everything else you need before launch, including editions, pricing, and pre-order bonuses, the Minecraft Dungeons 2 pre-order guide covers Standard, Deluxe, and Game Pass in full. The full Minecraft Dungeons II guide collection has boss walkthroughs, cape unlocks, and trophy tips as you push deeper into The Sift.