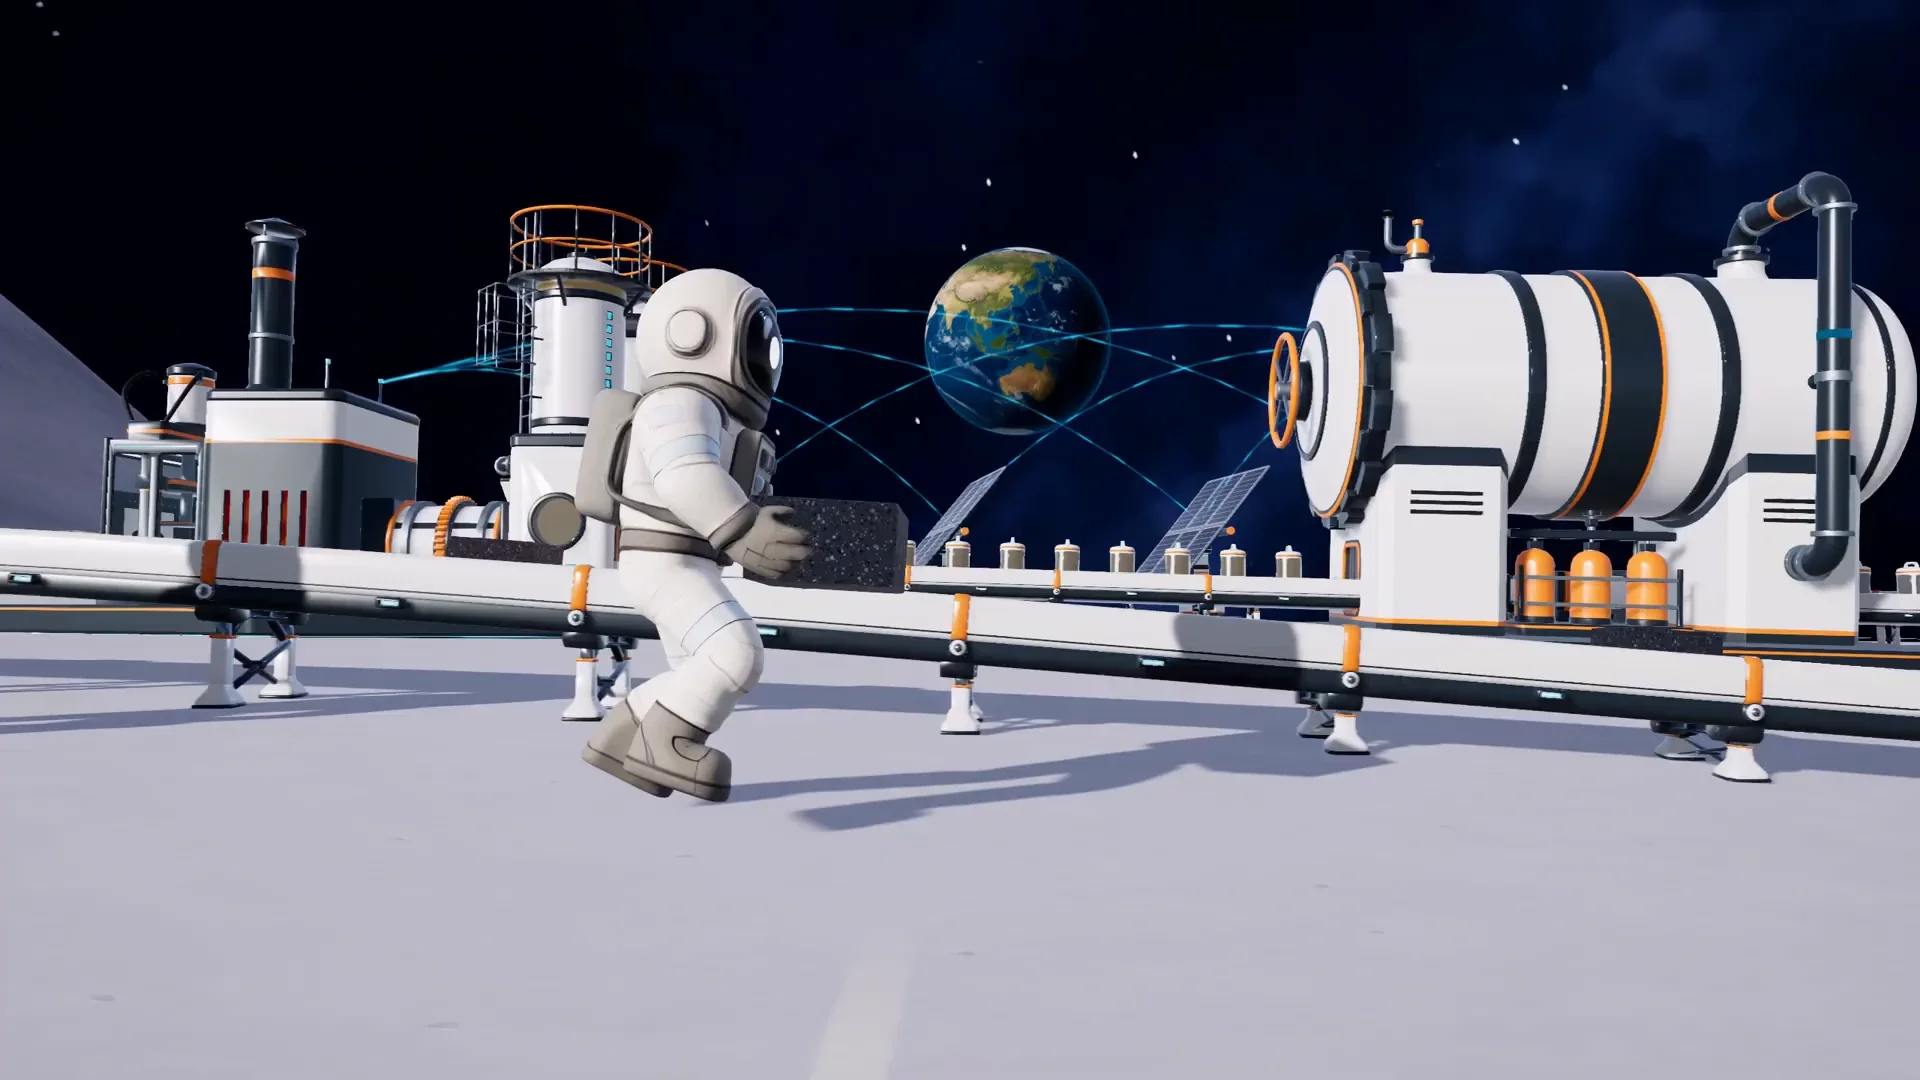

Building a factory in Moon Sweepers that runs without you babysitting every conveyor belt is the difference between steady profits and a production line that stalls every few minutes. The key is not throwing down as many machines as possible. It is building a production chain where every stage feeds the next one at the right rate, and the 12-conveyor limit forces you to think carefully about every connection you make.
How does the Moon Sweepers production chain work?
The factory runs on three machine types, each handling a distinct stage of processing. Understanding what each one does before you place a single belt will save you a lot of dismantling later.
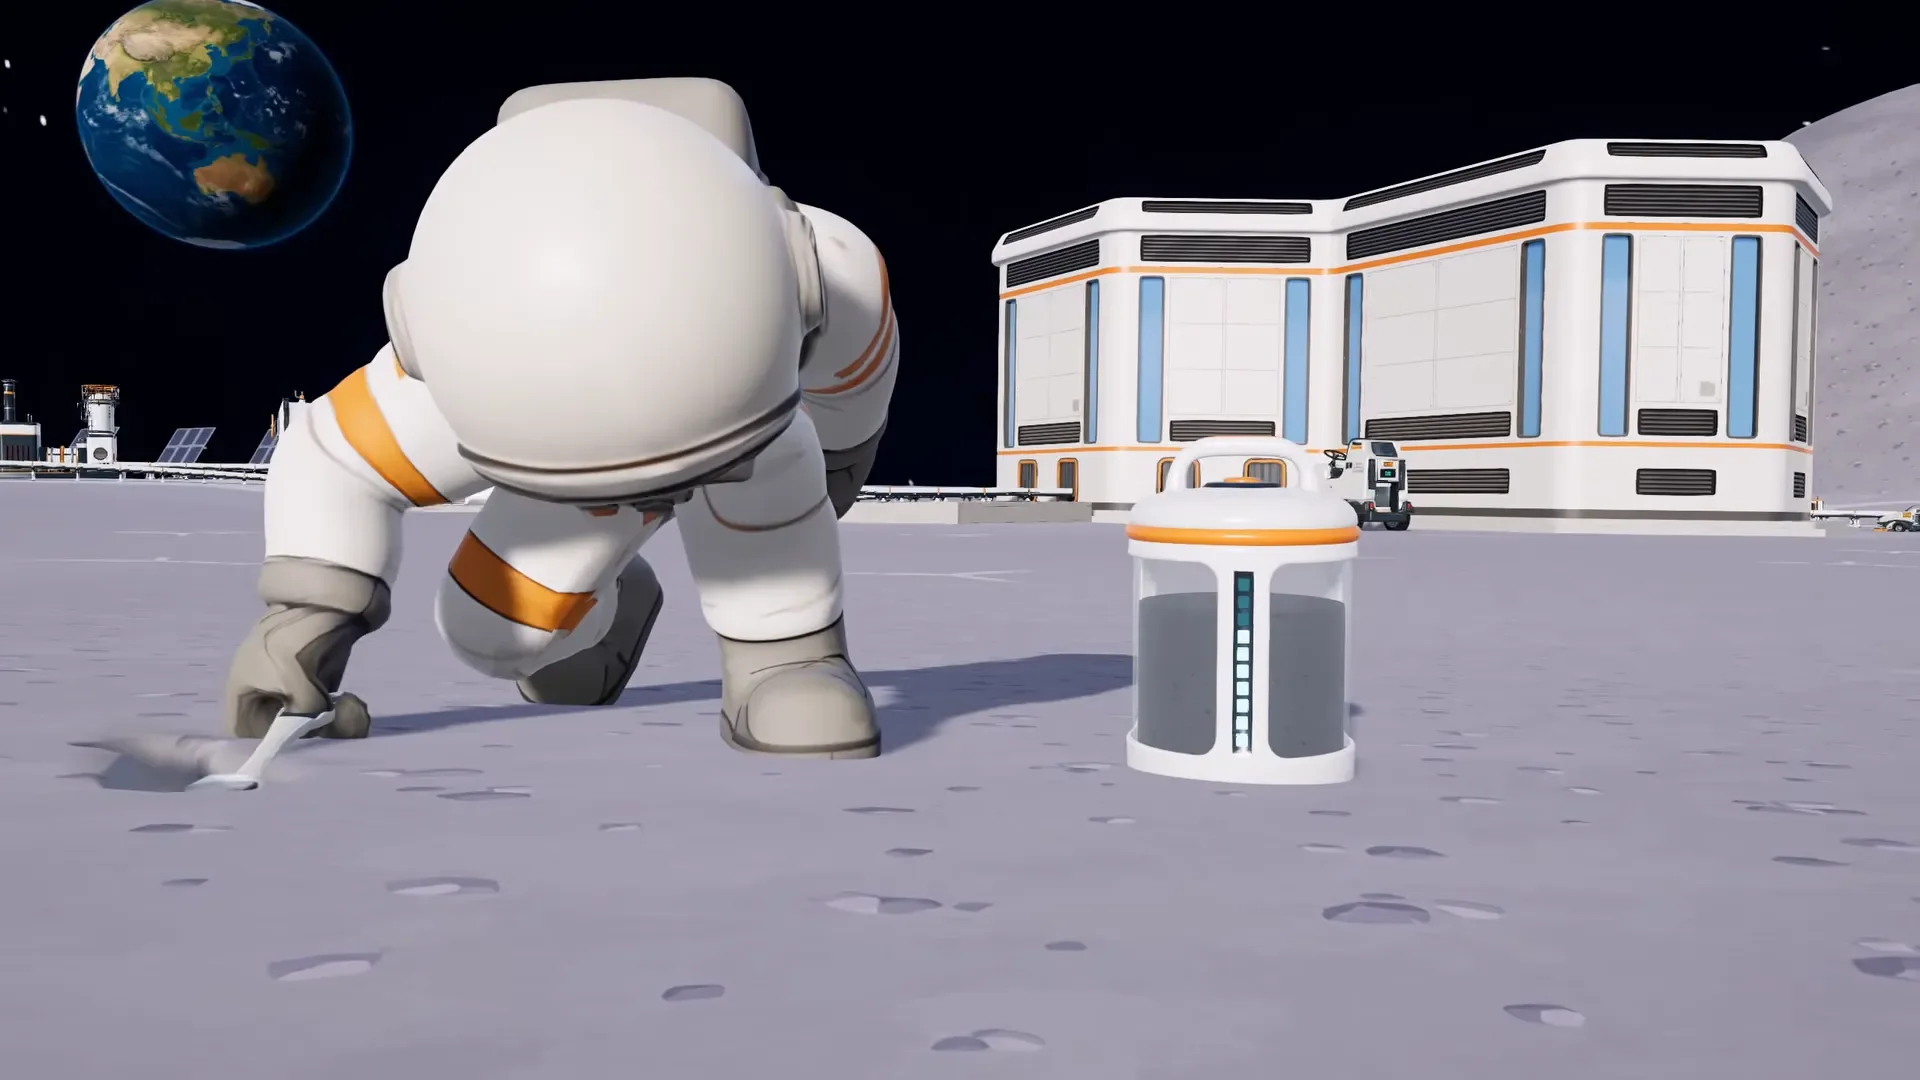
- Capsule Catchers collect incoming capsules and supply raw materials to the rest of the line.
- Pressure Chambers take that raw dust and convert it into Moon Sand, which feeds the final stage.
- Stone Presses combine the required inputs to produce Moon Stone, the finished product you deliver for profit.
The chain only works when every stage keeps pace with the others. If your Pressure Chambers produce Moon Sand faster than your Stone Presses can consume it, sand accumulates on the belts. If the presses run short of either input, they sit idle even while the rest of the factory hums along. Balance is the goal, not raw machine count.


What is the best factory layout in Moon Sweepers?
The 2 Capsule, 4 Pressure Chambers 8 Stone Presses layout is the most practical configuration for late-game automation.
With 8 Stone Presses running simultaneously, the conveyor belt becomes the bottleneck rather than the machines themselves. That is exactly the outcome you want, because it means you are extracting maximum value from every one of the 12 conveyor connections your base allows.
The setup also scales well. Early in the game, run the same production line at half size: 1 Catcher, 2 Chambers, 4 Presses. Once your resource supply and power capacity grow, double this layout to reach the full build.
How to setup this layout
- Place 2 Capsule Catchers in positions where incoming capsules can reach their collection points without requiring awkward belt detours. Assign 4 bots to each catcher during setup.
- Add 4 Pressure Chambers arranged in two pairs. Run splitters from the catchers to distribute dust evenly across all four chambers.
- Install 8 Stone Presses grouped in pairs alongside each chamber. Route both the Moon Sand output from the chambers and a separate dust supply to the correct input terminals on each press.
- Merge the output lines using mergers after the Stone Presses, then direct the combined Moon Stone stream toward your base or delivery point.
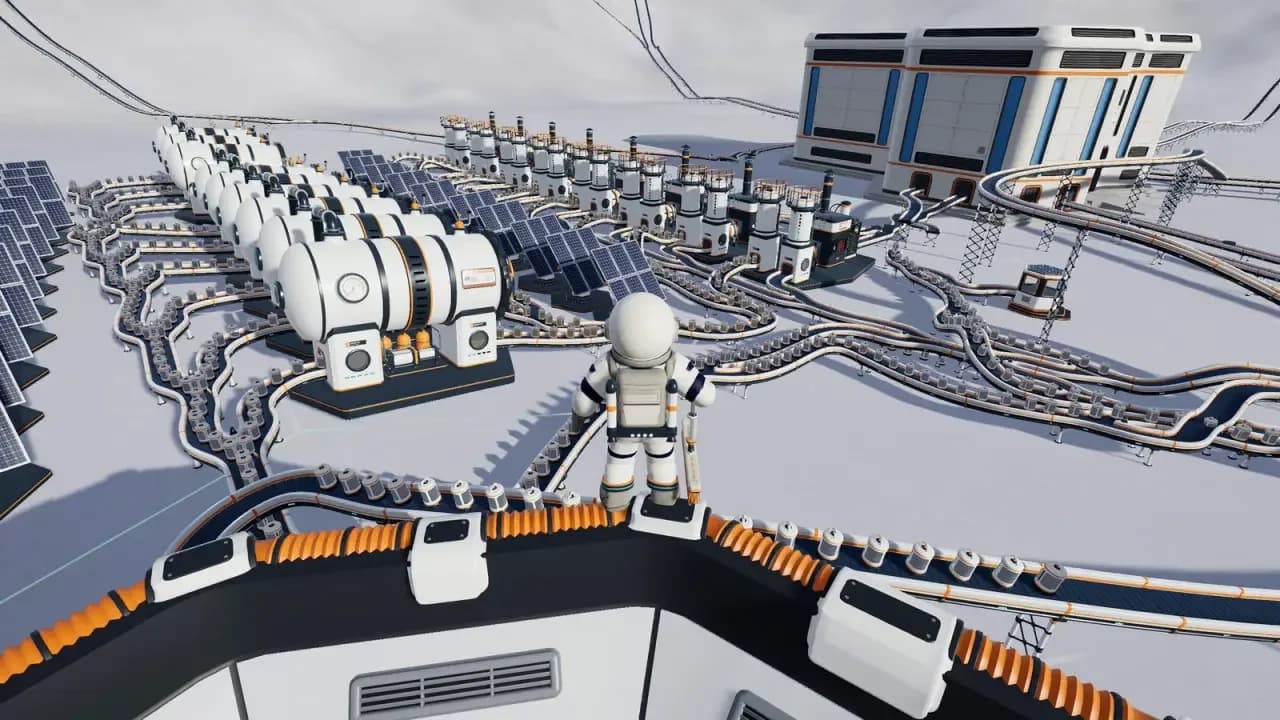
Dust routing to Pressure Chambers
How to connect splitters and conveyor belts correctly
Material routing causes more factory failures than machine placement does. A belt can appear correctly connected while feeding the wrong input terminal, leaving a machine permanently idle.
Build the belt network in this order to avoid that problem:
- Route dust from the Catchers to the Pressure Chambers first.
- Send Moon Sand from the Chambers to the Stone Presses.
- Add a separate dust line to the Stone Presses that need both inputs.
- Merge the finished Moon Stone into a single delivery route.
Keep these routing principles in mind:
| Rule | Why it matters |
|---|---|
| Use splitters to branch one belt into multiple paths | Lets several machines share a single source without extra Catcher connections |
| Keep dust and sand routes separate | Prevents wrong-input errors that stall production silently |
| Use mergers only at the output stage | Combining products mid-line can block upstream machines |
| Respect the 12-conveyor limit | Every connection to your base counts; plan input and output routes before building |
| Test each branch before expanding | Catching a routing error early costs far less than dismantling a finished factory |
Splitter distributing Moon Sand output
Is this better than smaller factory designs?
For late-game play, yes. The 2-4-8 configuration processes more material per conveyor connection than any smaller arrangement, which matters when 12 connections is the hard ceiling.
That said, a smaller factory is often the smarter investment earlier on. An alternative configuration worth knowing is 1 Capsule Catcher, 2 Pressure Chambers, and 5 Stone Presses. This modular design can be repeated as the factory expands, and it requires less space and fewer resources to establish.
Neither layout should be treated as a guaranteed maximum-profit build. Actual output depends on how frequently your Catchers supply dust, whether your Chambers produce enough sand to keep the Presses fed, and whether your power system can handle the load. Adding more Stone Presses to a line that is already starved of inputs will not fix the underlying problem.
For a deeper look at what to unlock before committing to a full factory build, the best upgrades guide covers the upgrade order from early tools through to the machines used here. If you are still getting started, the beginner strategies and brush upgrade tips will help you build the resource base the factory needs to run efficiently.
For a complete breakdown of how J.O.O.N.A.S. fits into an automated production setup, the J.O.O.N.A.S. placement and connection guide covers how to integrate that automation tool alongside the factory layout described here. You can also browse the full Moon Sweepers strategy guides collection for every system in the game.