
Building the right MyPLAYER in NBA 2K27 comes down to one decision made before you touch a single slider: pick the job, not the rating. The players who waste VC are the ones chasing a 95 overall without a clear plan. The players who dominate Rec and Pro-Am are the ones who know exactly what their build needs to do every possession, then spend precisely enough to do it. This guide covers the five core position templates, the attribute ranges that actually matter, and the badge thresholds worth targeting before you commit.
What makes a good NBA 2K27 build?
Every MyPLAYER build is a budget problem. You have a fixed pool of attribute points, and every point you spend in one area is a point you cannot spend somewhere else. Height, weight, and wingspan all shift your attribute caps and badge costs, which means two players with identical sliders can end up with very different badge access depending on body settings alone.
The smartest approach is to write down two or three actions your player must execute consistently, then spend enough to protect those actions without padding ratings you rarely use. A Rec point guard who never drives baseline does not need 90 Close Shot. A center who plays coordinated Pro-Am does not need the same rebounding investment as a solo-queue big.

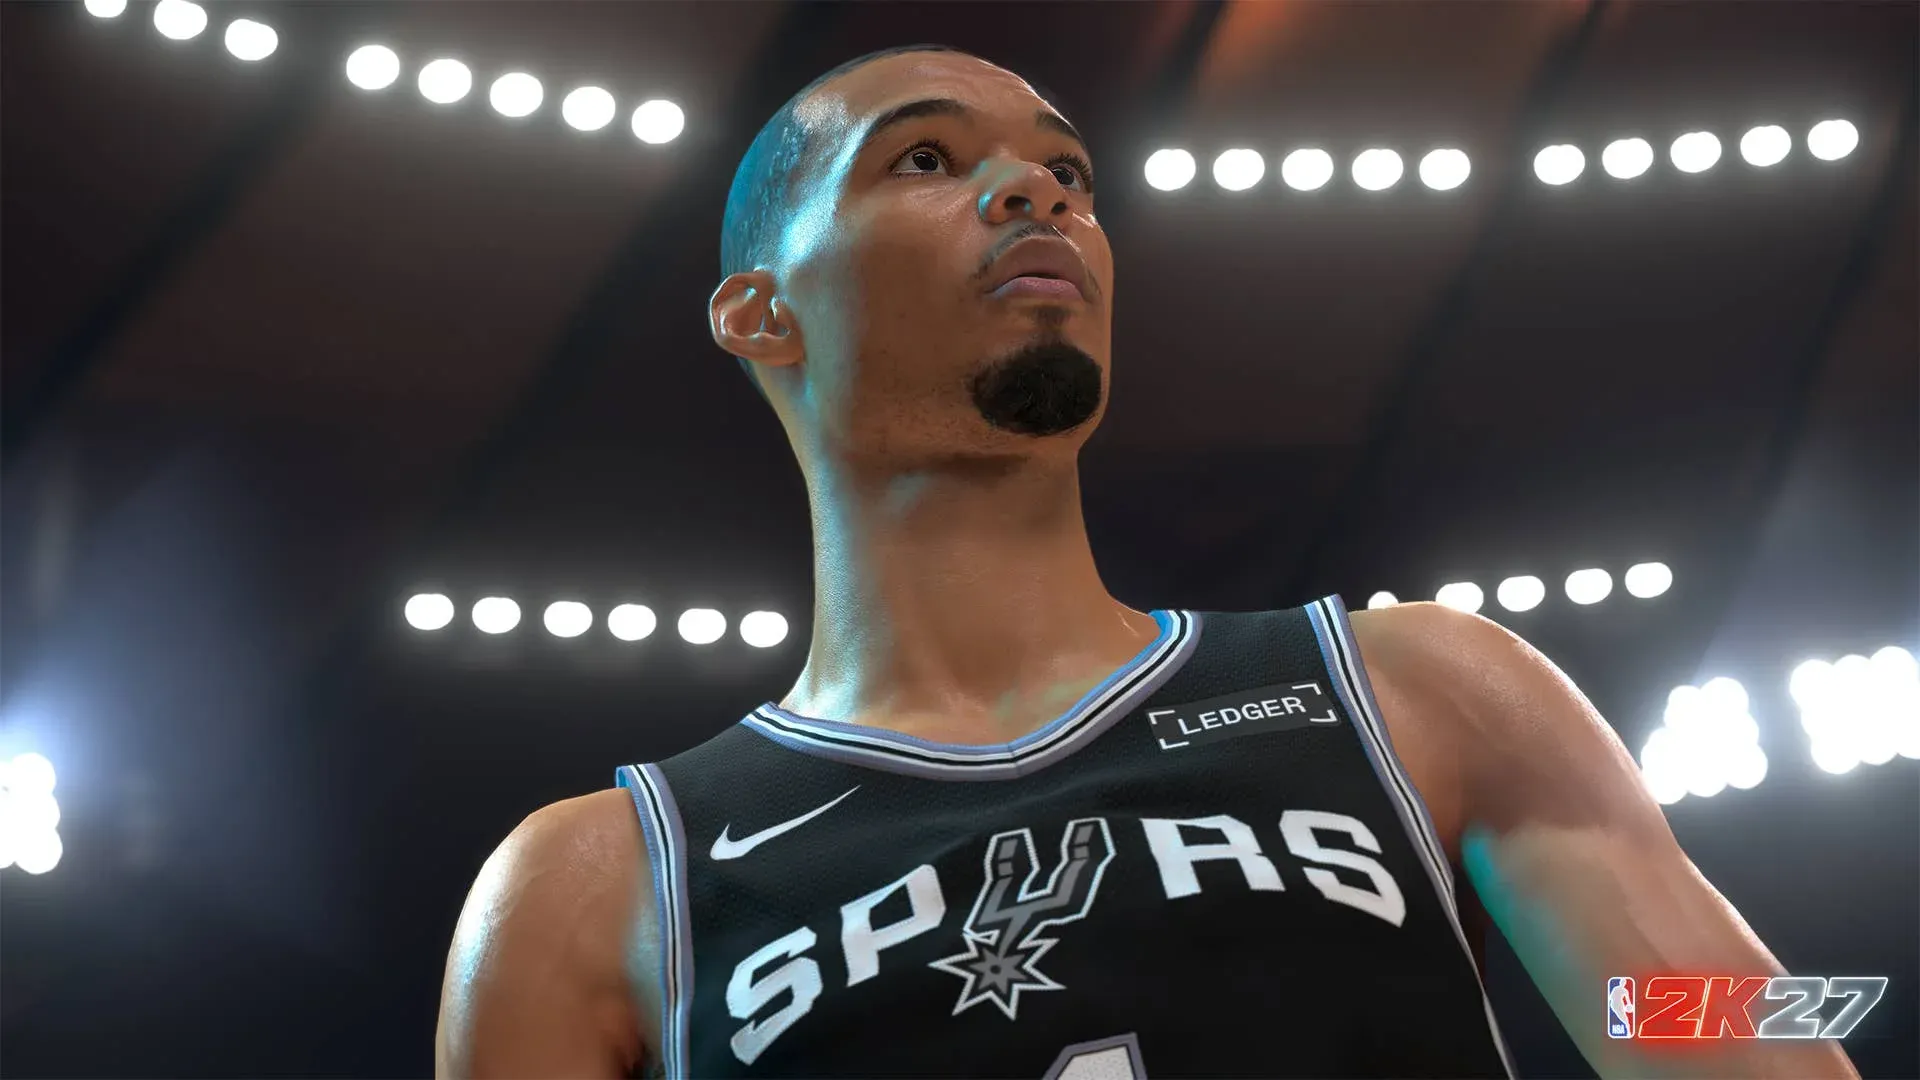
Best point guard build: tall two-way creator
The safest PG starting point is 6'4" to 6'6". Smaller guards generate more separation from defenders, but taller guards pick up finishing, contest ability, and switchability that pay off in 5v5 modes.
For a Rec or Pro-Am lead guard, protect Pass Accuracy in the 80 to 86 range and keep Free Throw high enough to convert foul-line possessions, which Rec creates more often than Park. From there, balance Ball Handle, Speed With Ball, and Perimeter Defense based on your mode. Early creator builds often land around 91 to 94 Three-Point and 91-plus Ball Handle, but those are specialist ceilings, not mandatory stops for every build.
The Bouncy Playshot archetype demonstrates what a well-rounded 6'4" PG looks like in practice: 94 Three-Point, 92 Ball Handle, 86 Speed With Ball, 85 Pass Accuracy, 85 Mid-Range, and 87 Driving Dunk. That Driving Dunk rating, paired with a 75 Vertical, is enough to unlock Pro Contact Dunks. Five Cap Breakers on Three-Point can push the rating to 99, and another five on Speed With Ball raises the ceiling further without rebuilding from scratch.
Best shooting guard build: 3-and-D secondary handler
A 6'5" to 6'7" SG who can space the floor, defend the perimeter, and punish a closeout fits almost every squad. This build should complement the point guard rather than duplicate one, so resist the urge to max Ball Handle when your PG already handles primary creation duties.
Practical early targets: 85 to 92 Three-Point, around 80 to 86 Ball Handle, 70 to 80 Pass Accuracy, roughly 85 Perimeter Defense, and 77 to 83 Steal. Rec players should preserve a useful Free Throw rating. Park specialists can redirect some of that budget toward finishing or athleticism.
One thing worth knowing about dunks: every dunk in 2K27 is manually timed, and the green window responds to the defender's contest level. A high Driving Dunk rating improves your odds but does not guarantee the result. Confirm the Vertical pairing before spending on a dunk threshold.
Best small forward build: versatile two-way wing
A 6'7" to 6'8" SF is the best all-around starting point before launch tuning settles. It can shoot, finish, switch on defense, and contribute on the glass without demanding primary ball-handler responsibilities.
Target roughly 86 Ball Handle if the animation menu rewards it at that height, 83 to 86 Speed With Ball, around 85 Perimeter Defense, 77 to 83 Steal, and useful Strength. An 87 Driving Dunk is a popular early finishing target because it clears the Pro Contact Dunk threshold (87 Driving Dunk plus 75 Vertical), though that pairing must be confirmed in the current Builder before spending.
Wingspan is a real tradeoff at this position. Extra reach can improve defensive contests and rebounding while reducing shooting attribute caps or changing badge economics. One extra inch is not free value.
Best power forward build: mobile stretch defender
For 5v5, a 6'8" to 6'9" PF needs to space the floor, rotate early, and move the ball. Start with roughly 80 Interior Defense, low-to-high 80s Block, around 82 Perimeter Defense, 76-plus Strength, 80 Pass Accuracy, and mid-80s Speed and Agility where body settings allow. Shooting must be reliable enough that defenders cannot abandon the corner.
Park changes the math. A PF acting as the lone big needs 80-plus Offensive Rebound, substantially higher Defensive Rebound, and enough Vertical and Strength to hold position. A coordinated Pro-Am corner defender can specialize more aggressively because teammates cover defined responsibilities.
Best center build: rebounding rim protector
Three center archetypes are worth knowing before you build.
The Triple-Double Threat (7'2", 227 lbs, 7'2" wingspan) is a three-level scoring center built around 91 Mid-Range, 89 Three-Point, 90 Standing Dunk, 91 Post Control, 89 Pass Accuracy, 84 Block, 82 Offensive Rebound, and 87 Defensive Rebound. The combination of elite shooting on a 7'2" frame punishes any defender who sinks into the paint. Gold Break Starter and Gold Dimer come from the 89 Pass Accuracy, making this build a legitimate playmaker from the elbow.
The Rise and Dime Paint Protector (7'1", 237 lbs, 7'7" wingspan) trades scoring range for elite defense and rebounding: 85 Interior Defense, 88 Block, 94 Offensive Rebound, 92 Defensive Rebound, 89 Pass Accuracy, and 90 Standing Dunk. The 94 Offensive Rebound and 92 Defensive Rebound combination unlocks Hall of Fame Sync Snatcher, which is the highest rebounding badge tier available. This is the traditional 5v5 center for structured lineups.
The 2-Way Bucket Chaser (6'11", 210 lbs, 6'11" wingspan, listed as PF) is the most offense-forward of the three: 94 Mid-Range, 91 Three-Point, 90 Close Shot, 89 Post Control, 85 Driving Layup, 85 Interior Defense, 80 Block, and 79 Speed. The tradeoff is rebounding: only 50 Offensive Rebound and 75 Defensive Rebound. Cap Breaker suggestions for this build prioritize Offensive Rebound first (five points), then Defensive Rebound (three points), then Block (five points), then Driving Dunk (five points).
| Build | Height | Best for | Rebounding | Scoring focus |
|---|---|---|---|---|
| Triple-Double Threat | 7'2" | Rec and organized squads | Solid (82 OR / 87 DR) | 3-level scoring |
| Rise and Dime Paint Protector | 7'1" | Structured 5v5 | Elite (94 OR / 92 DR) | Paint and outlets |
| 2-Way Bucket Chaser | 6'11" | Mismatch hunting | Limited (50 OR / 75 DR) | Mid-range and threes |
What are the key badge thresholds to know?
Badges scale across five tiers: Bronze, Silver, Gold, Hall of Fame, and Legend. Missing a threshold by one point locks that tier permanently for the build, so exact planning matters more than rounding up.
Key shooting thresholds to know:
- Deadeye Bronze: 73 Mid-Range or Three-Point. Gold: 92. Legend: 99.
- Limitless Range Bronze: 83 Three-Point. Gold: 93. Legend: 99.
- Mini Marksman (guards under 6'3" only) Gold: 94 Mid-Range or Three-Point.
- Set Shot Specialist Bronze: 65. Gold: 89 Mid-Range or 89 Three-Point.
Key animation requirements:
- Pro Contact Dunks: 87 Driving Dunk plus 75 Vertical.
- Elite Contact Dunks: 96 Driving Dunk plus 82 Vertical.
- Small Contact Dunks (under 6'5"): 86 Driving Dunk plus 75 Vertical.
- Paint Patroller Gold (6'6" and taller): 77 Interior Defense plus 93 Block.
- On-Ball Menace Gold (under 6'10"): 91 Perimeter Defense plus 80 Agility.
Legend badges require hitting hard attribute ceilings of 98 or 99 in designated primaries. Base attribute allocation alone cannot reach Legend tier. You need to combine maximum base ratings with Max +1 or Max +2 badge perks to push active badge performance from Hall of Fame to Legend during gameplay.

Badge tier unlock thresholds
How do Cap Breakers work in NBA 2K27?
Cap Breakers are post-builder upgrades earned through season milestones. Each can be applied up to five times within a single attribute category, pushing ratings past the standard caps your height and wingspan normally impose.
Cap Breakers scale inversely: applying points to lower secondary attributes returns multi-point gains, while applying them to attributes already near maximum returns single-point gains. A 6'8" build with a base 92 Mid-Range can apply five Cap Breakers to reach 97, unlocking Legend shooting badge eligibility that was out of reach at creation.
Badge Synergy (Fuse and Reaction) adds another layer. Seasonal Synergy can expire, and Legend badges are not available at creation. Do not spend as if future rewards or a fixed number of Cap Breakers are guaranteed.
VC preflight checklist
On PC, the GAMES.GG companion app gives you desktop access to our guides when reviewing attribute targets and badge requirements. Before making a build expensive, work through these checks:
- Confirm badge tiers and any secondary attribute requirements at your exact height.
- Check animation requirements for every package you plan to equip.
- Compare Badge Token costs at your specific body settings.
- Review wingspan effects on shooting caps, defensive ratings, and rebounding.
- Preview eligible Cap Breaker gains at 99 OVR.
- Plan Badge Loadout swaps for different matchups.
The test build feature exists for a reason. Use it before spending VC on expensive upgrades.
For more position-specific strategies and build comparisons, the full NBA 2K27 guides collection covers everything from badge farming to mode-specific tips. NBA 2K27 sits firmly in the simulation games genre, where the difference between a good build and a great one comes down to planning, not spending.