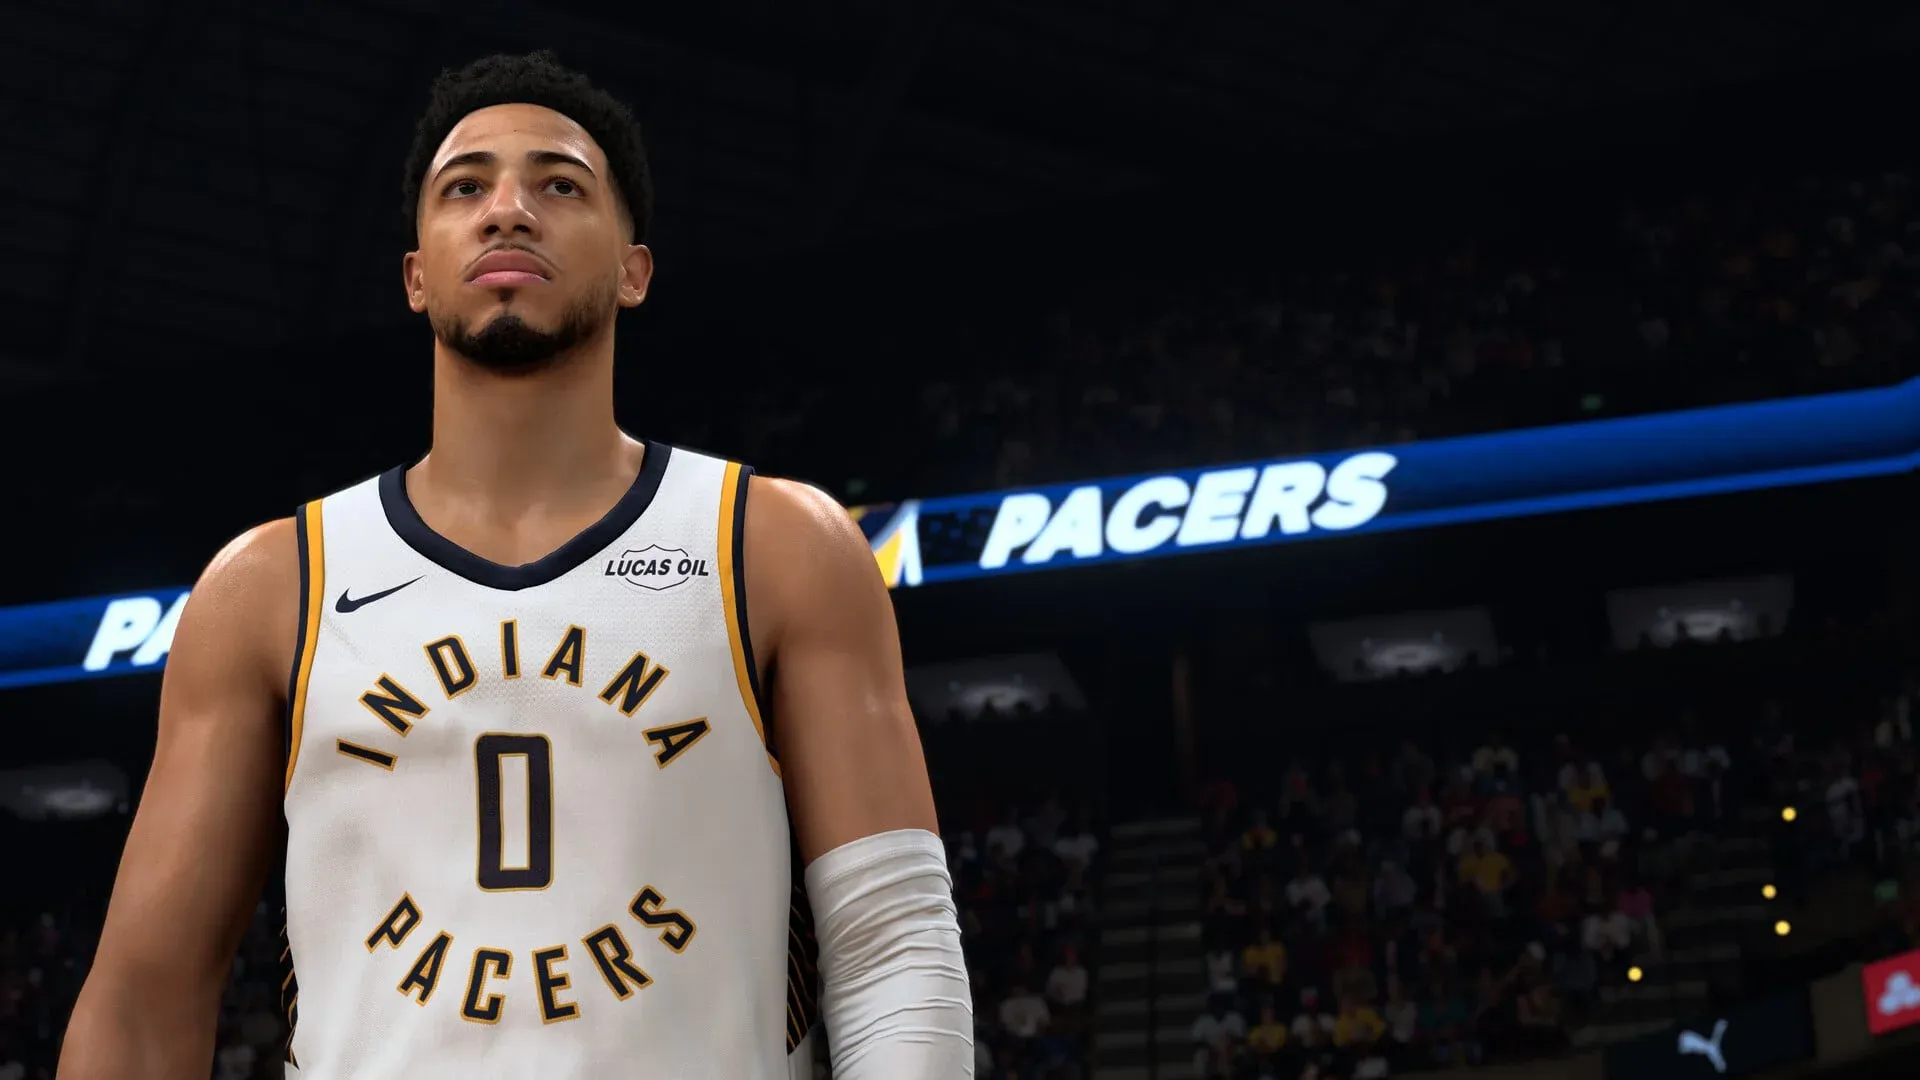


NBA 2K27 overhauled its MyPLAYER systems more aggressively than any recent entry. Three systems sit at the center of it: Build Specialization, which turns on-court play into permanent upgrades; Takeover, now a fully customizable loadout rather than a fixed boost; and Shooting, where a tighter green window is punishing players who carried over their 2K26 timing without adjusting. Understanding how all three connect is the difference between a build that peaks at 80 overall and one that keeps getting stronger through the entire season.
What is Build Specialization and why does it matter?
Build Specialization is the progression layer that wraps around your MyPLAYER after you leave the Builder. You create your player, pick your attributes and one of the 40 Signature Blueprints, and then Build Specialization takes over as the system that rewards you for actually playing your role on the court.
There are six disciplines: Shooting, Finishing, Playmaking, Defense, Rebounding, and the new-for-2K27 Physicals. Each discipline has its own quest track containing 10 objective-based quests. Complete those quests through regular play and you earn three categories of reward: exclusive cosmetics, Cap Breakers that push attributes past their normal ceiling, and a permanent Synergy Slot upgrade when you reach Level 10 of any track.
Physicals is the headline addition. Previously, athletic attributes like speed, agility, strength, and vertical lived inside other categories. In 2K27 they get their own discipline, their own Badge slots, and their own Specialization track, which means every archetype has a dedicated path to invest in athleticism without cannibalizing their primary skill category.
What rewards does each discipline track give you?
The Level 10 Synergy Slot is the reason to finish one track completely before spreading across several. Extra Synergy capacity means more room for Fuse and Reaction Badges, the pairs that can push a badge beyond its normal tier. Splitting your effort across three tracks simultaneously delays that payoff significantly.
What are the Cap Breaker rules you need to know?
Cap Breakers are the most valuable reward in the Specialization system, and 2K placed hard limits on them that catch players off guard. Here is every confirmed rule:
- Maximum of 5 Cap Breakers per attribute
- They are permanent once applied and cannot be moved or refunded
- Your body type (height, weight, wingspan) still sets the absolute ceiling, so a Cap Breaker cannot push an attribute past what your physical build allows
- Cap Breakers earned through a discipline track must be applied to that discipline's own attributes or to a Physicals attribute — you cannot grind the Defense track and redirect the reward into your three-point rating
- You can preview and test Cap Breakers in the Builder and in the NBA 2K HQ companion app before committing
Because they are irreversible, treat every Cap Breaker like a locked decision. Preview first, commit second.
How does Build Specialization connect to Badge Tokens and Takeover?
All three systems share the same six disciplines as their backbone, which is what makes them feel connected rather than separate grind tracks bolted together.
Badge Tokens are what you spend to equip badges into your 20 Badge slots. Tokens are earned through six meters driven by live in-game performance, Team Practice drills, and Gatorade Training Facility workouts. Tokens from in-game events stay locked to their discipline, while bonus Tokens can go anywhere. Build Specialization quests run alongside that same activity, meaning the games that fill your Token meters also advance your quest progress simultaneously.
Takeover mirrors the five on-court disciplines (Finishing, Shooting, Playmaking, Defense, Rebounding) and rewards the same behavior as Specialization: commit to a role, and you get stronger in it across every system at once. A rim protector grinding the Defense Specialization track is also filling their Defense Token meter and warming up a defense-focused Takeover ability during the same games.
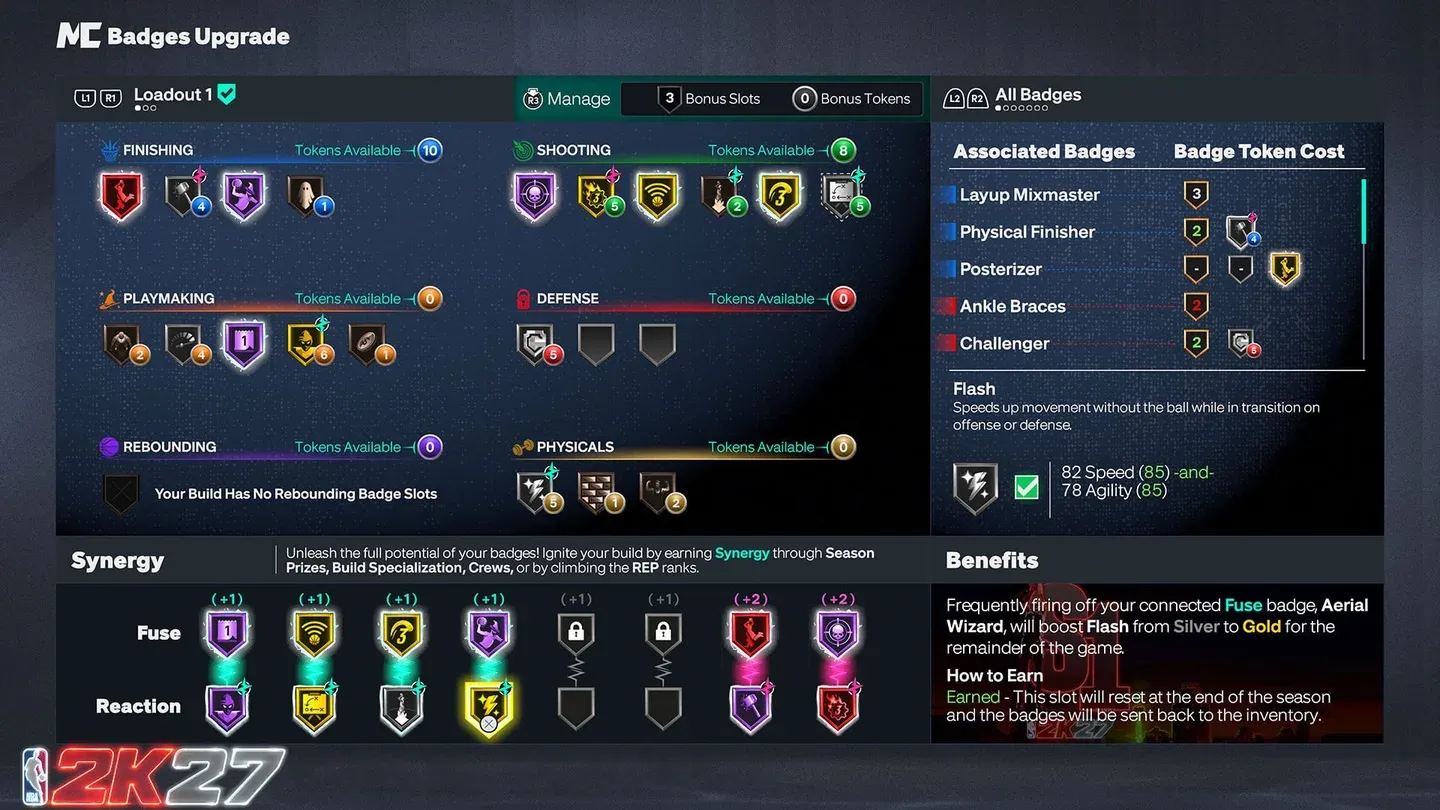
Badge Token meters by discipline
For a deeper look at building around these systems from scratch, the NBA 2K27 best builds guide for every position covers position-specific attribute targets and VC-saving badge tips.
How does the Takeover system work in NBA 2K27?
Takeover is no longer a single fixed boost that happens to you. In 2K27 it is a loadout you assemble in the Builder, with the same level of intentionality you bring to Badge Tokens and Synergy.
The confirmed structure: you define your Takeover across five disciplines, choose from 19 unlockable Takeover Abilities, fill five Takeover slots, and shape how your momentum behaves with three specialized Perks. The abilities are unlockable through progression rather than available from day one, so your active Takeover loadout grows as your MyPLAYER develops.
What do the three Takeover Perks do?
2K confirmed three Perks designed to optimize how momentum builds and sustains. The exact numerical values have not been published, but the design intent of each is clear:
- Accelerator controls how quickly your Takeover meter charges. Guards who want frequent bursts of momentum lean toward this.
- Longevity extends how long your Takeover window stays active once triggered. A big who wants a prolonged dominant stretch benefits more here.
- Overdrive handles sustaining momentum during an active Takeover, squeezing more output from the window you already have.
Accelerator versus Longevity is a genuine playstyle trade-off. Treat any specific percentage figures you see circulating elsewhere as unverified until 2K publishes them officially.
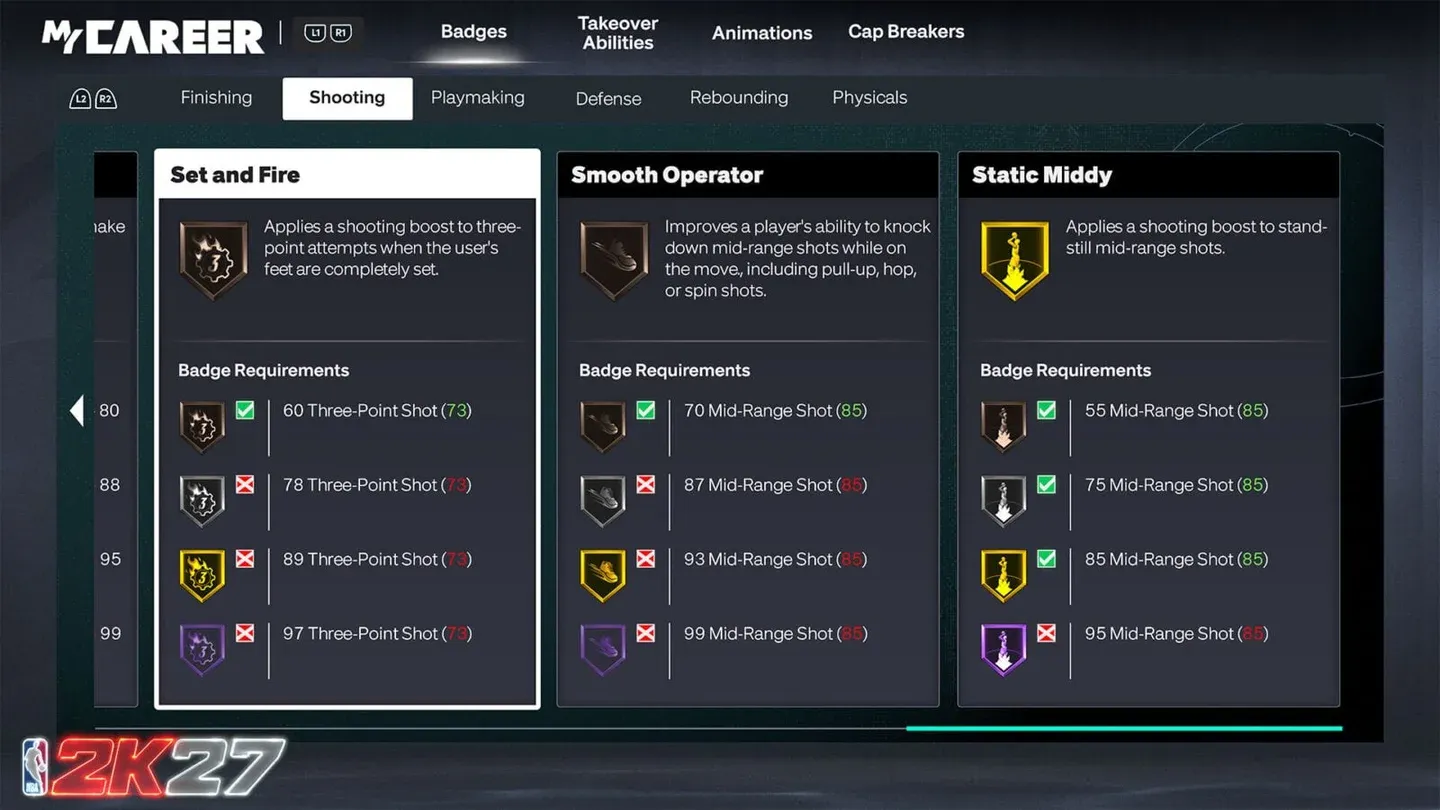
Takeover loadout with five slots
For position-specific Takeover and build planning, the NBA 2K27 best center builds guide covers three proven setups with full attribute breakdowns.
How does shooting work in NBA 2K27?
Shooting is the most debated mechanic in 2K27's early access, and the frustration has a single root cause: the green window is smaller this year. Shots that would have greened in 2K26 now clip the edge of a tighter threshold. That is a deliberate difficulty change, not a bug.
2K gameplay director Mike Wang has stated clearly that there is no RNG factor in shooting. Release inside your jumper's green window every time and you make every shot. A miss is diagnostic information, not bad luck. It tells you your release landed early or late, and the only question worth asking is which side.
Testing during early access found the core pure green window sits around 15 to 20 milliseconds wide for a typical jumper before any boosts are applied. That is roughly a fiftieth of a second.
What actually widens your green window?
Two dials have the biggest effect: your jumpshot's Release Window grade and its release speed.
Release Window grade scales directly with your window size, from roughly A+ at approximately +10% to F at approximately -10%. Of the four jumpshot grades (Release Height, Defensive Immunity, Release Speed, Release Window), protecting the Release Window grade is the most important trade-off when building a custom jumper.
Release speed trades window size for quickness:
A Very Quick release gives defenders less time to contest but costs 10% of your window. That is a real reason not to chase maximum speed if you cannot consistently hit the tighter timing.
Your shooting rating buys forgiveness, not a bigger perfect window. The pure green window changes very little with rating, roughly ±3.1 ms at a 65 rating versus ±3.6 ms at a 99. What high ratings dramatically expand is the near-miss "shoulder" zone where shots still fall around 70% of the time, widening from approximately ±5.8 ms at a low rating to ±13.9 ms at a high one. That is about 2.4 times more forgiveness on slightly-off releases. Ratings also gate which bases and releases you can equip, so raising your Three-Point or Mid-Range rating unlocks better jumpers and more forgiveness simultaneously.
Shot meter on or off: which should you use?
The answer is a sequence. Leave the meter on while you learn a new jumper's timing. With windows tighter this year, the meter is the fastest way to internalize where each animation releases. Once your release cue is anchored and you are greening consistently, turn it off. Turning the meter off grants a larger green window and lets you time your player's actual release instead of reacting to a bar on screen.
Whichever setting you use, adjust the meter's size, speed, opacity, and on-screen location in the settings menu. A meter that is too small or too fast makes consistent timing nearly impossible while you are still learning.
Button shooting vs rhythm shooting
NBA 2K27 supports both. Button shooting (hold and release the shoot button) is more precise and is the choice of most competitive players because the timing is entirely in your hands. Rhythm shooting (right-stick flick matching the shot's pace) feels more natural to some players and reads the animation's flow.
Neither is objectively better. Pick one and commit. Switching between them resets the muscle memory you are building, which is exactly what tighter windows penalize.
How to grind Build Specialization efficiently
2K has not published the exact objective for each of the 60 quests across the six tracks, and the community is still mapping them during early access. The structure is confirmed, and that is enough to plan around:
- Drive one discipline to Level 10 before touching others. The permanent Synergy Slot at Level 10 is the best structural upgrade a track gives. Half-finishing three tracks simultaneously delays that payoff.
- Match the track to your actual playstyle. A slasher on the Finishing track completes quests during normal games. A lockdown defender on the Defense track does the same. Forcing a role you do not play slows everything down.
- Bank Cap Breaker decisions. Earn it, preview it, confirm the attribute is one your body type can push, then commit. Never spend one reactively.
- Use the Gatorade Training Facility and Team Practice. Both feed Badge Token meters at the same time games feed quest progress, so the same effort works across multiple systems.
For players just getting started, the NBA 2K27 beginner's guide covers the full MyCAREER progression loop including VC spending priorities and early build decisions.
How do all three systems fit together?
Build Specialization, Takeover, and Shooting are three separate systems organized around the same six disciplines, and they reward the same core behavior: commit to a role and play it consistently.
A rim protector grinding the Defense Specialization track earns Cap Breakers for defensive attributes, fills their Defense Badge Token meter, and warms up their defense-aligned Takeover ability during the same games. A stretch big grinding Shooting earns Cap Breakers for their three-point ceiling, unlocks better jumper bases through higher ratings, and builds toward a Shooting-focused Takeover. The systems do not fight each other; they amplify the same playstyle decisions.
Your Signature Blueprint sets the foundation. Badge Tokens fill your 20 slots. Synergy pushes badges past their normal tier. Build Specialization hands you the Cap Breakers and extra Synergy capacity that separate a day-one build from a season-deep one. Takeover defines how your peak moments feel. And Shooting determines whether those peak moments actually convert.
For more guides covering every position and build archetype, the full NBA 2K27 guides collection has position-specific breakdowns to help you plan the right path for your MyPLAYER.