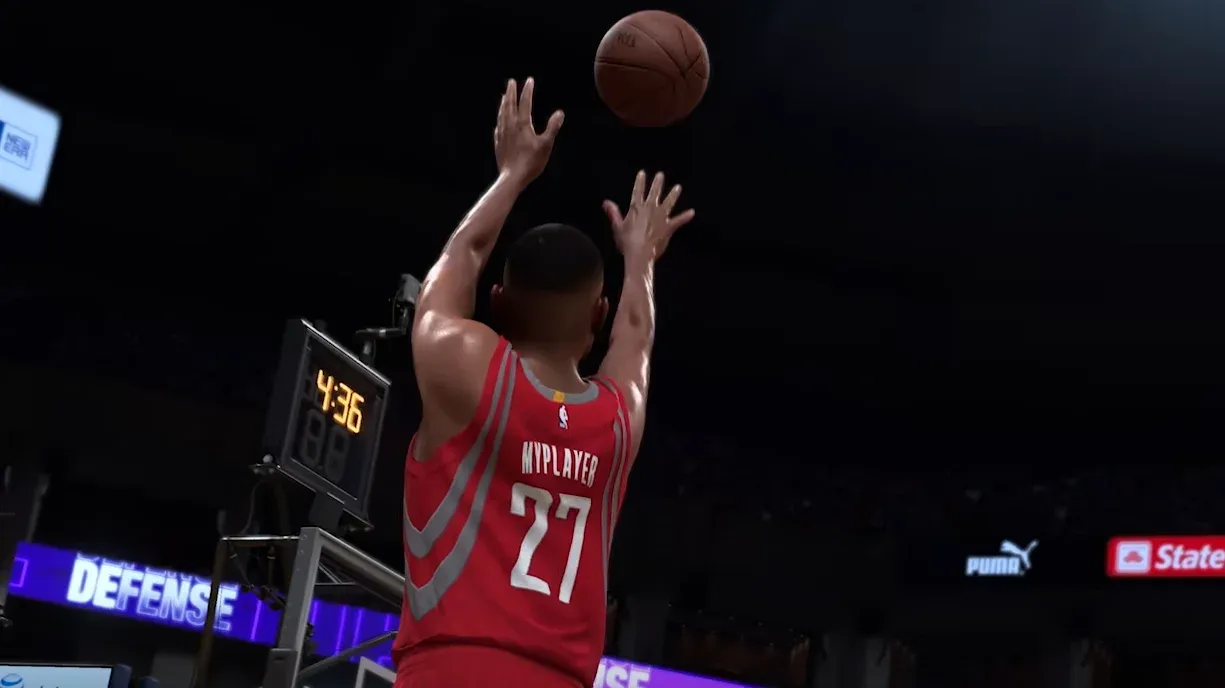


Stop missing open threes in NBA 2K27
Shooting in NBA 2K27 is genuinely punishing if you go in blind. Open looks clang off the back of the rim, your timing feels right but the feedback says early, and your three-point percentage sits somewhere embarrassing. The good news is that none of this is random. Every miss has a reason, and once you understand how the green window actually works, the whole shooting system clicks into place. This guide covers the mechanics behind consistent greens, the best jumpshot setups for different skill levels, the settings that quietly matter, and the badges worth equipping first.
How does the green window work in NBA 2K27?
The green window is the span of milliseconds where releasing the shoot button guarantees a made shot. It is a threshold, not a probability. Release inside it and the ball goes in every time. Release outside it and the shot cannot drop regardless of your three-point rating.
A typical pure window runs somewhere between 15 and 20 milliseconds wide without any boosts. That is roughly a fiftieth of a second, which explains why shots that feel right can still miss. You are not dealing with bad luck. You are dealing with a window you have not fully located yet.
Two things about the window are worth internalizing before anything else. First, the window has both a width and a position. Two jumpshots can have identical window sizes but sit at completely different points in the animation, which means learning one shot's timing does not carry over to another. Second, the window travels with the animation. Because no two shot gathers start from exactly the same position, the window shifts slightly from rep to rep. Aiming for the center of your window, rather than the earliest millisecond that greens, is the only way to absorb that drift reliably.
Green window timing zone
What shifts your timing window mid-game?
The window position is not fixed across a game. Several factors slide it earlier or later without changing its size:
- Stamina drain slows your gather and release, pushing the window later than your practiced timing.
- Low adrenaline carries the same penalty. Burning dribble moves before a shot costs you both window position and window size, since dropping shot ratings and shrinking the green window go hand in hand.
- Distance from the basket changes the release point. A deep three does not time the same as a mid-range pull-up.
- Catch quality matters. A clean catch off a crisp pass times differently from a reach catch where you had to adjust your body.
- Defensive contests alter the shot you actually take, not just its conversion rate. A hand in your face changes the release clock and narrows the window on top of that.
- Standstill versus moving shots each carry their own baseline timing.
Understanding these variables explains why your timing can feel perfect in practice but inconsistent in live games. The shot is not broken. The window moved.
Button shooting vs rhythm shooting: which should you use?
Both methods start from the same base green window size. The difference is what happens next.
Button shooting gives you the base window, every time. No bonus, no penalty. It is the stable floor and ceiling simultaneously, which makes it the smarter pick while learning a new jumpshot or playing under lag.
Rhythm shooting modifies the base window based on how accurately you match the shot's tempo with your right stick movement. Match it well and the window grows slightly. Rush or drag the tempo and the window shrinks below what button shooting would have given you. The tempo bonus is described by the game's lead gameplay designer as not a massive boost, but rhythm shooting does have a higher ceiling for players who master the timing.
For most players building consistency, button shooting is the practical choice. Rhythm shooting is a real skill bet with upside, but the tempo match has to be genuinely close, and you still need to nail the release timing on top of that.
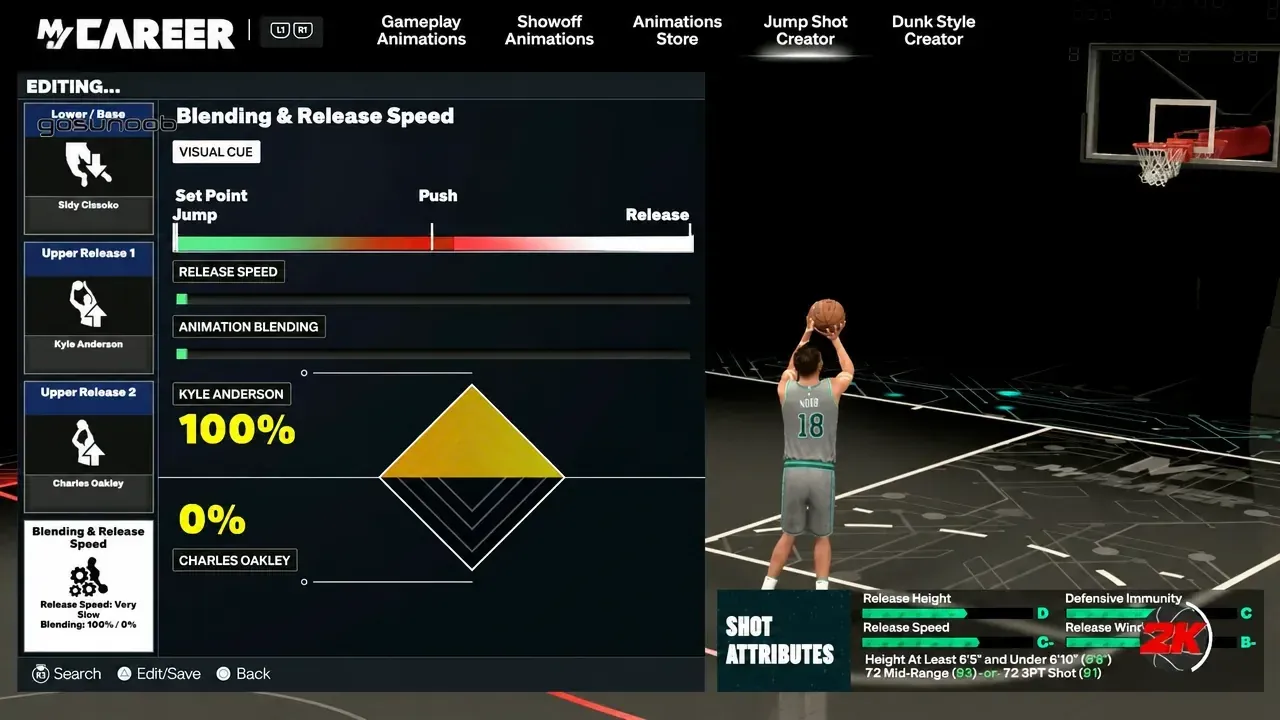
What is the best jumpshot setup for NBA 2K27?
The current meta setup centers on the Ray Allen base paired with Oscar Robertson Release 1 and Beluba Release 2, blended at 58% Oscar Robertson and 42% Beluba, with release speed set to maximum. This combination produces a B+ release window grade, which translates to a meaningful timing advantage over shots with D+ or F grades.
The Ray Allen base earns its reputation because it combines a fast animation with a strong release window grade. Fast animations beat closeouts. A strong release window grade gives you more room to work with on every attempt. Most meta jumpshots sacrifice one for the other. This setup does not.
The catch is the attribute requirement. Unlocking the Ray Allen base fully requires an 89 mid-range or 89 three-point attribute. If your MyPLAYER cannot hit that threshold yet, the LaMelo Ball base with the same Oscar Robertson and Beluba releases, blended at 65% Oscar Robertson and 35% Beluba, is a legitimate alternative. LaMelo only needs an 86 mid-range or 82 three-point rating and still delivers a wide release window.
Jumpshot creator base selection
Beginner-friendly jumpshot bases
If you are still building your MyPLAYER or developing foundational timing, these bases consistently rank as the most forgiving options:
The Stephen Curry base is the most recommended starting point. The animation shows the ball leaving at a predictable moment that aligns cleanly with the shot meter, which reduces the cognitive mismatch that causes timing errors with other bases. Many experienced players keep Curry variants long after they could switch to faster options.
The Jayson Tatum base trades a little speed for a wider window, making it the better pick for spot-up situations where you have time to set your feet. The higher release point also clears defender hands more effectively on closeouts.
What are the best shooting badges for consistent greens?
NBA 2K27 has 9 shooting badges, with 5 new additions. The most useful framing is to think of them across two axes: set or moving, and three-point or mid-range. Four of the five new badges map directly onto those four combinations.
This split is genuinely new to the series and changes badge planning. A spot-up shooter and a shot creator now want different badges rather than different tiers of the same badge.
Here is how the key badges break down practically:
- Set and Fire is mandatory for catch-and-shoot players. If most of your attempts come from stationary three-point looks, this badge should be your first priority.
- Deadeye reduces the penalty from closing defenders. It does not eliminate contest penalties, but it keeps contested looks viable when you cannot always find clean looks.
- Arc Cadence handles moving three-pointers including pull-ups, hop-steps, and spin shots. Shot creators who generate their own looks off the dribble need this over Set and Fire.
- Smooth Operator is the mid-range equivalent of Arc Cadence, boosting fading and moving mid-range attempts.
- Limitless Range extends effective shooting distance for deep threes. Only relevant if your build is designed to shoot from well beyond the arc.
- Quick Trigger improves no-dip jump shots. Useful situationally but requires advanced timing skill to execute consistently.
What controller settings actually improve your shooting?
Settings are not secondary to your jumpshot. They directly affect how much timing information you have and whether the system is working with you or against you.
Shot Timing Visual Cue: Set this to Push. It gives you a consistent, repeatable visual reference point during the animation rather than asking you to react to the meter in real time.
Shot meter: Turn it off once you know your animation. Playing without the meter grants a 10% green window bonus, and testing confirms this lands on late releases rather than on already-timed shots. That means the bonus specifically helps the misses you are most likely to produce under pressure. Leave the meter on while learning a new jumpshot, then disable it once you can recognize the release point without it.
Shot Feedback: Set this to All Shots. The feedback overlay now separates two distinct failure modes: whether your timing was early or late, and whether your tempo was fast or slow. These are different problems with different fixes. Reading which one the game is telling you speeds up your correction process significantly.
Shot Cues: Turn these on while learning a new jumpshot. They help you identify where a specific animation releases before muscle memory takes over.
Defensive Assist Strength: Set this to zero for full manual control on defense. This does not affect shooting directly but prevents the game from auto-correcting your positioning in ways that create bad shot selection habits.
How to practice shooting efficiently
The most common mistake is practicing in an environment that does not match how you actually shoot in games. Drilling stationary catch-and-shoot attempts in an empty gym builds timing for exactly that situation, not for pull-ups off the dribble or shots after using a screen.
A structured progression works better:
- Start completely stationary at the top of the arc with no dribbling. Focus only on the release timing until you can hit 15 consecutive greens.
- Introduce walking movement toward the free throw line extended. Check whether movement shifts your timing relative to your stationary baseline.
- Add dribbling into your approach. The cognitive load of handling the ball can disrupt a release timing that felt automatic standing still.
- Play against light CPU pressure at low difficulty, focusing exclusively on finding open looks and executing the full shot sequence under game conditions.
The game's lead gameplay designer put it plainly: try different jumpshots until you find one whose tempo you can match naturally, then stay on it and put the reps in. The creator holds roughly 800 bases with hundreds of release options, and the green window sizes vary enormously between them. Trial and error across that space is not a viable strategy. Find a forgiving base, commit to it, and practice the shots you actually take in games.
Hot zones and stamina: the overlooked factors
Hot zones are a genuine shooting boost that many players ignore entirely. To work toward lethal zones, head to the Art of Shooting Gym and complete the shooting challenges at the highest available difficulty in the court areas you want to prioritize. Street Kings provides another path to building up your preferred shooting locations through consistent makes from specific spots across multiple games.
Stamina management matters more than most players realize. Draining your adrenaline with unnecessary dribble moves before a shot puts you in a worse shooting position even before the ball leaves your hands. Gatorade boosts help maintain energy levels, but the smarter play is creating separation efficiently rather than burning stamina on extra moves that do not improve your shot quality.
For builds where shooting is the primary skill, jump shot VC boosts are worth considering during online sessions. Removing preventable disadvantages before competitive play is straightforward optimization.
How do shooting ratings actually affect your shots?
Rating does not control whether you green. Timing does. What rating actually purchases is forgiveness on the shoulder of the window, the band where slightly mistimed releases still convert at a reasonable rate.
Testing across 30,700 shots shows the pure window itself barely moves across the rating ladder, growing only about 0.5 ms from a 65 rating to a 99. The meaningful change is in the surrounding band where shots still fall around 70% of the time, which expands from roughly 5.8 ms to 13.9 ms across that same range. Higher rating does not help you green. It stops a slightly bad release from becoming a brick.
Your Three-Point Shot and Mid-Range Shot ratings also gate which jumpshot bases and releases you can equip, so they buy access to better animations in addition to forgiveness. The Calibrated takeover produces a larger timing boost than the entire rating ladder combined, so takeover activation is worth planning around if you are optimizing for peak shooting performance.
For deeper optimization across your full MyPLAYER setup, the NBA 2K27 best builds guide for every position breaks down attribute targets that unlock the best shooting animations without sacrificing your build's other strengths.
Putting the full shooting system together
Shooting in NBA 2K27 rewards players who treat it as a system rather than a single skill. Your jumpshot base sets the baseline window. The release window grade on that base multiplies it. Your release speed setting trades window size against animation speed. Your rating determines how much a slightly off release costs you. Your badges cover specific shot types. Your settings determine how much information you get and whether you earn a passive bonus. Your stamina and hot zones affect the window on every possession.
The players who green consistently are not the ones who found the fastest animation. They are the ones who found a base they can time naturally, built the settings around it, and put in enough reps that the release is automatic under pressure.
For more ways to build on this foundation, the NBA 2K27 tips and tricks guide covers controller settings, Badge Tokens, and the other systems that compound your shooting progress across every mode. You can also find position-specific shooting build recommendations and the rest of the NBA 2K27 guides collection at GAMES.GG.