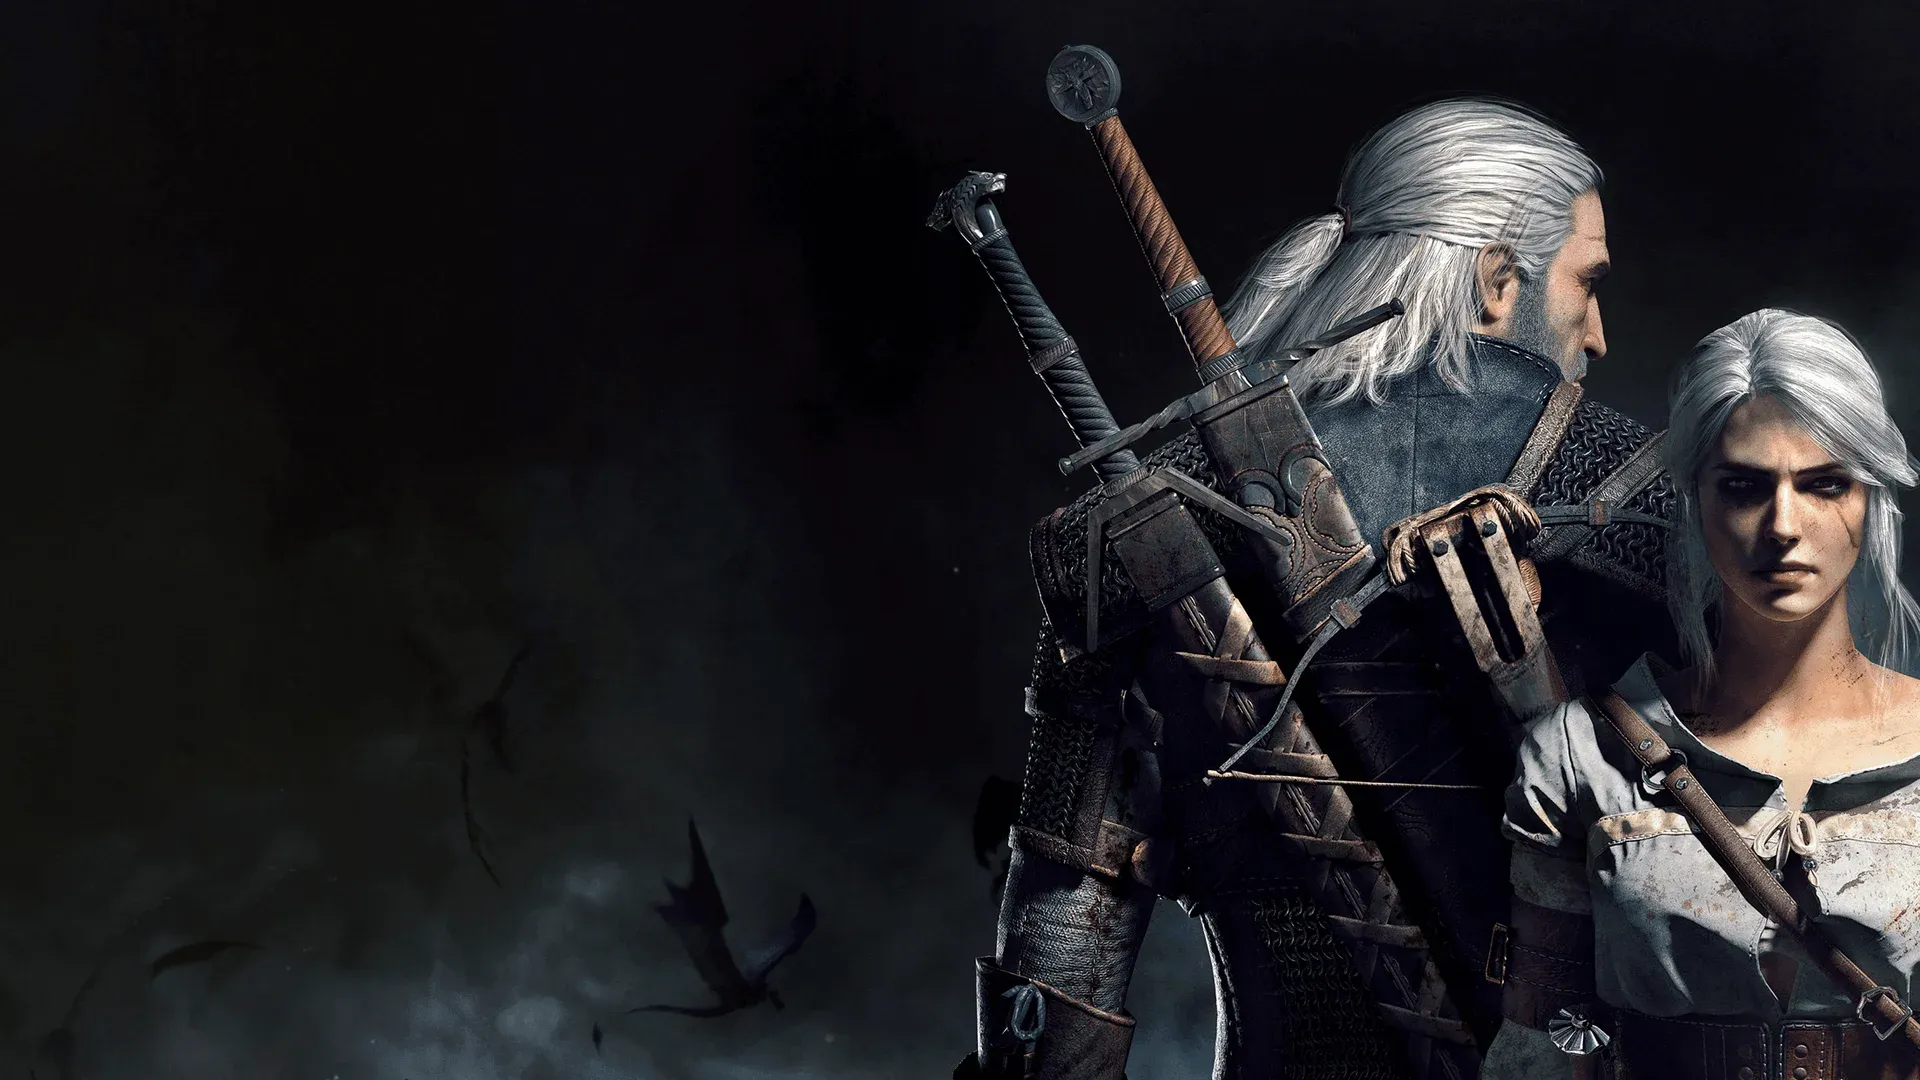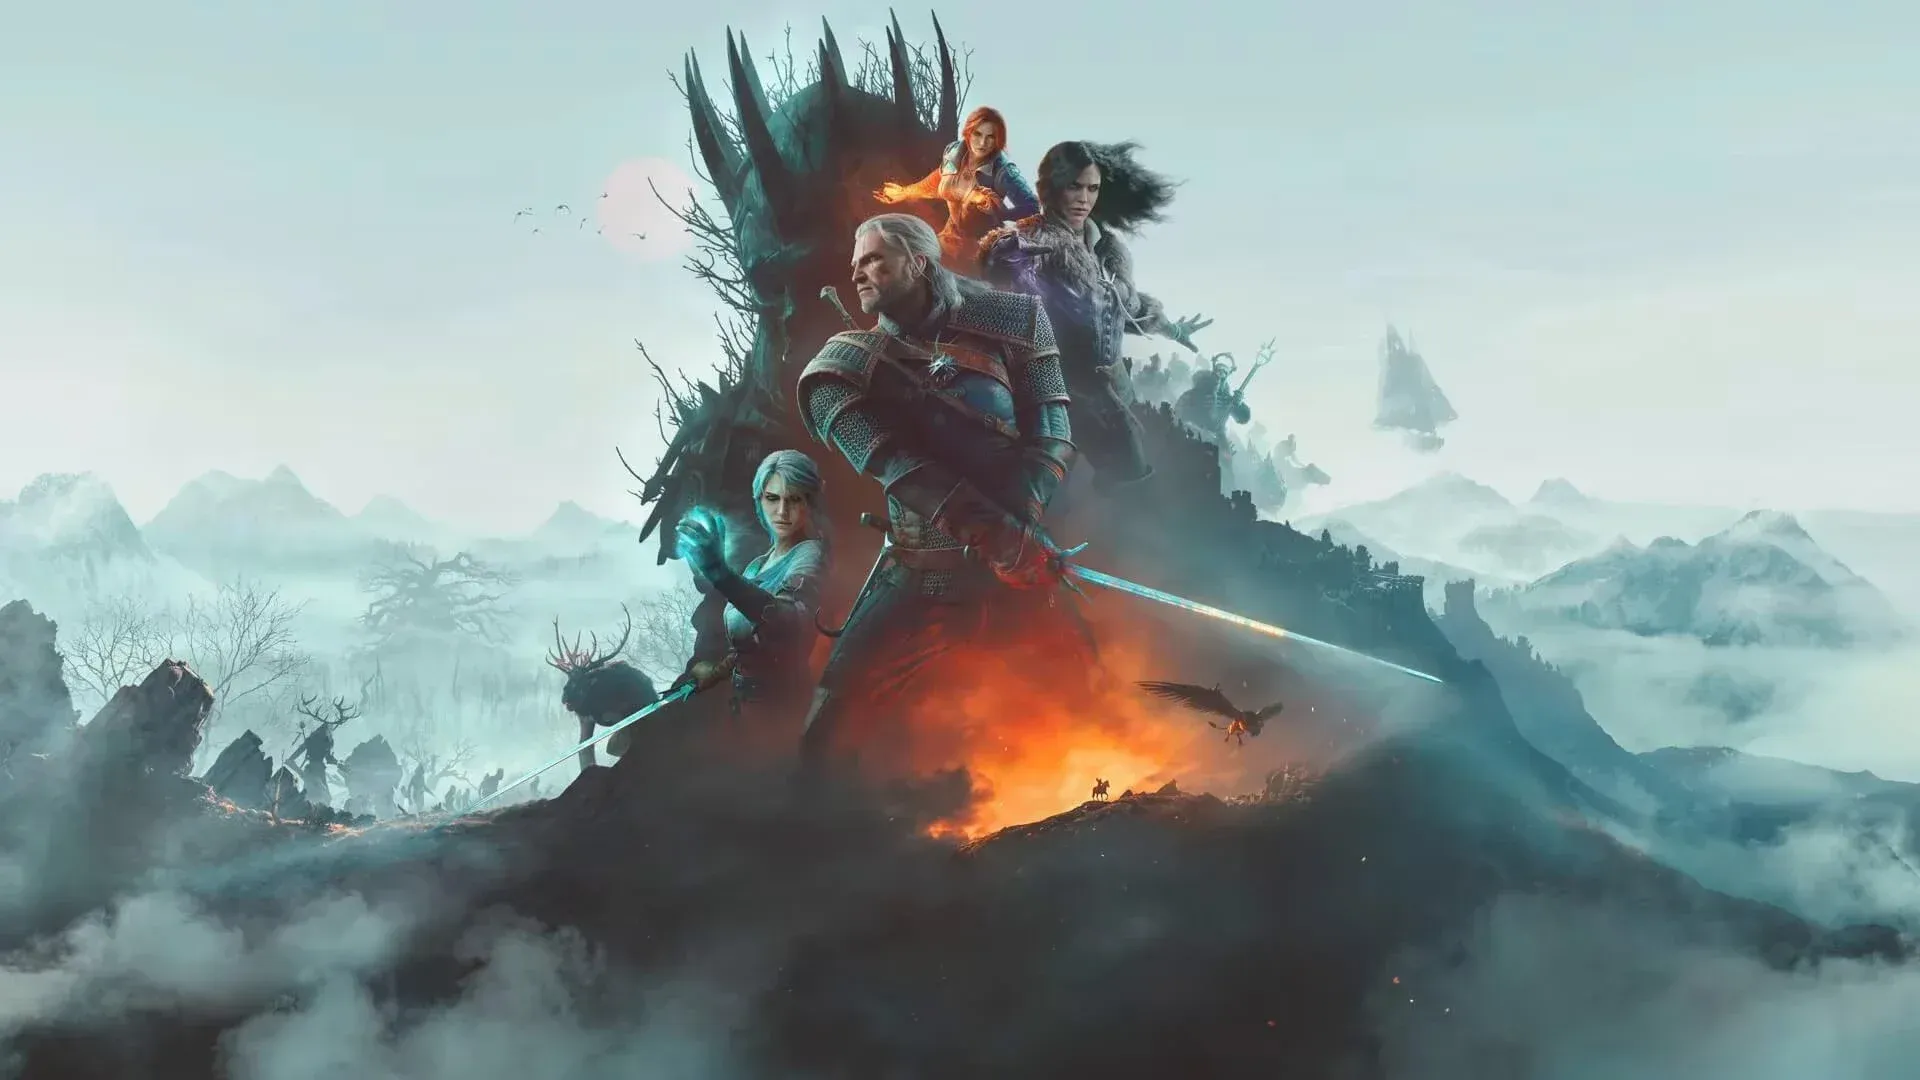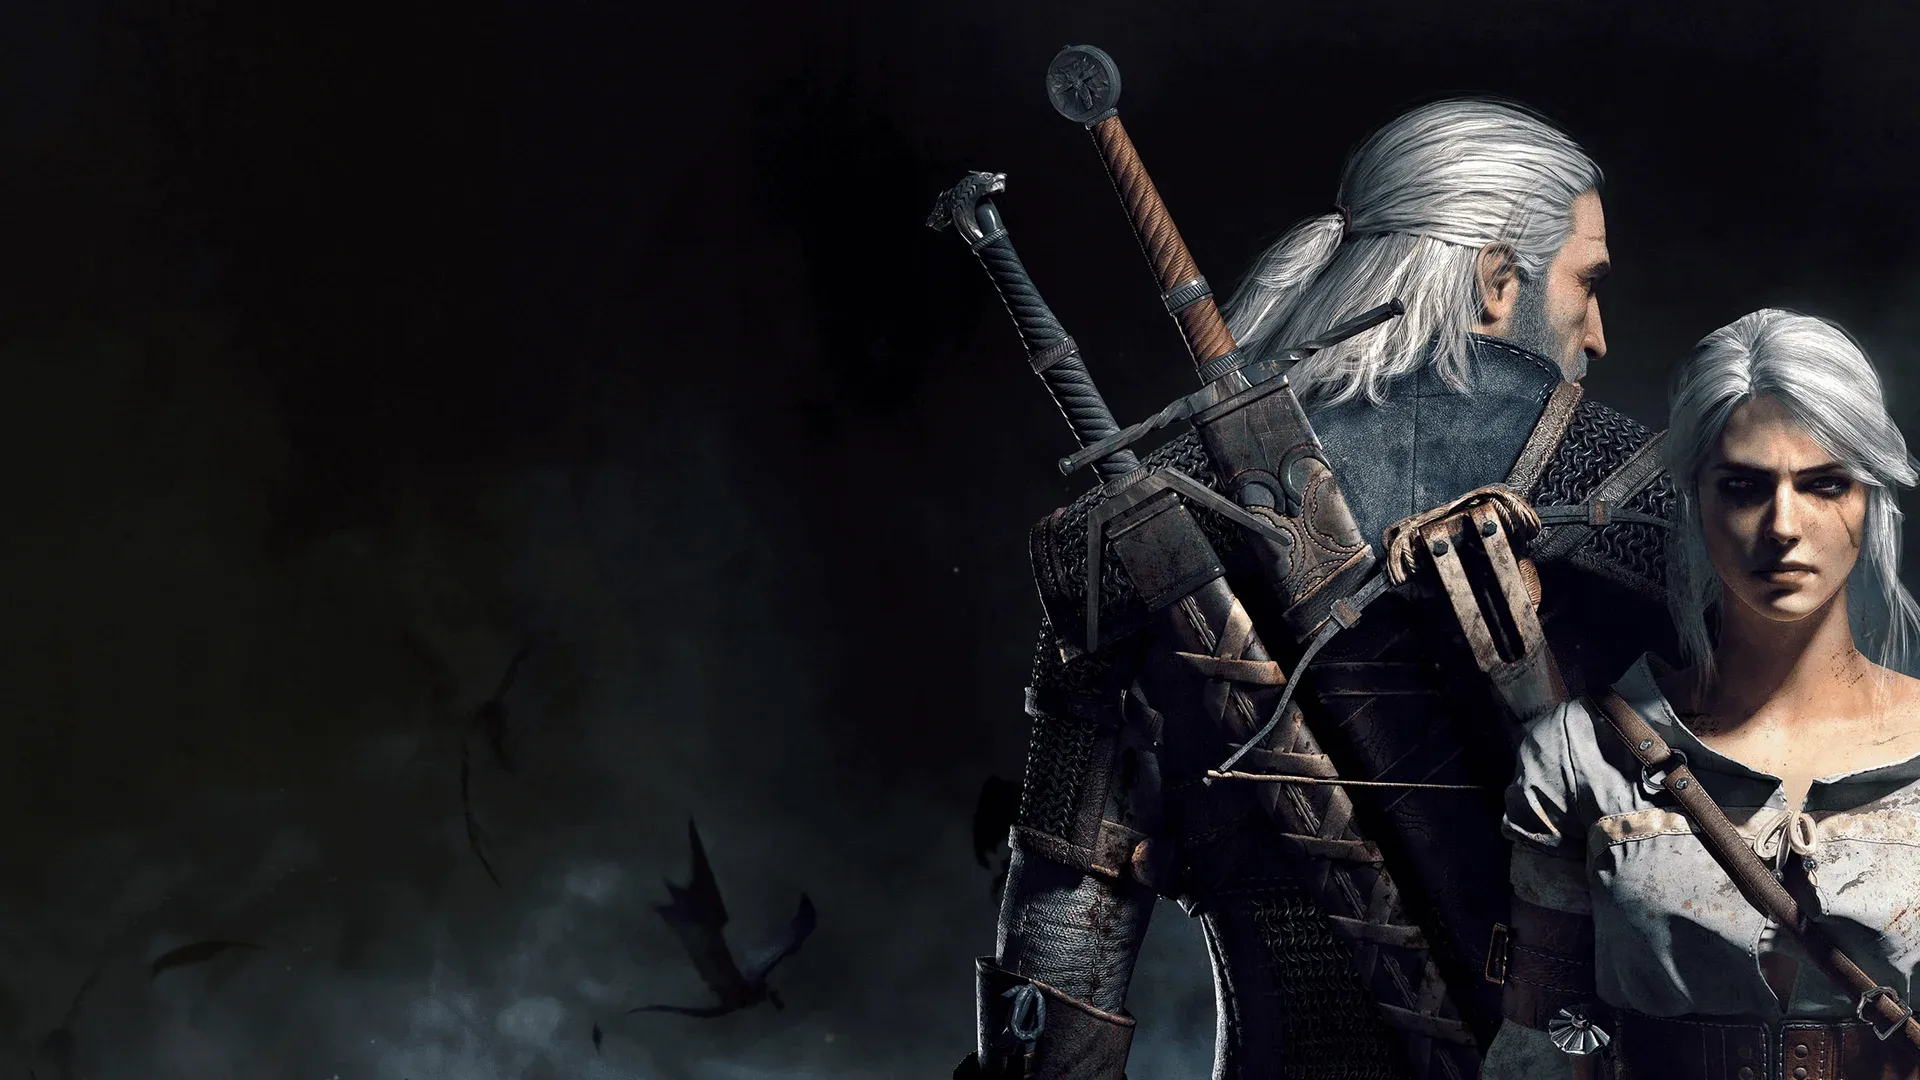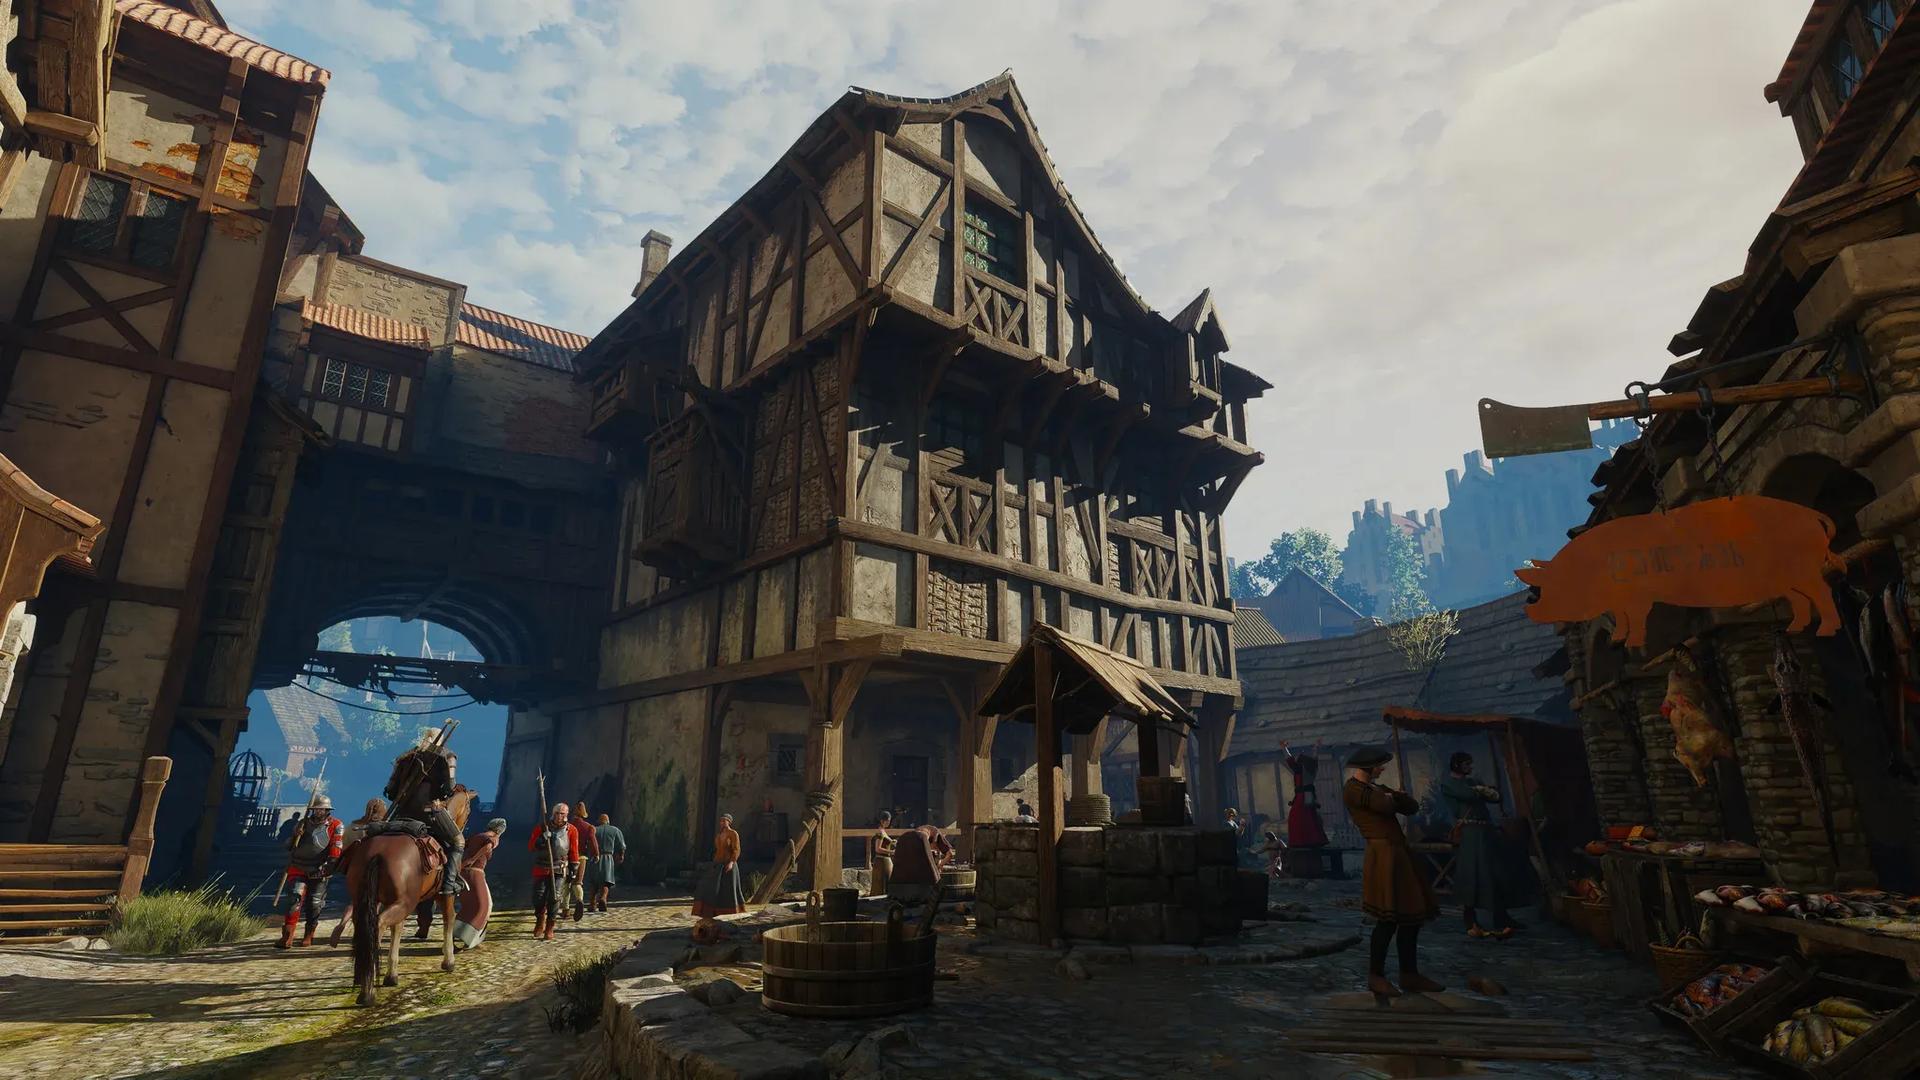

Vanilla Witcher 3, DirectX 11, every NPC wearing Vesemir's face and Vesemir wearing a pony. The cleanest face stress test DLSS 5 has ever failed.
DLSS 5 in The Witcher 3 original form is the easy case on paper. Version 1.32 is already DirectX 11, so you skip the wrapper, add fake motion vectors, install RenoDX, and drop in the official NVIDIA library. Tested on an RTX 5090 Mobile with a Core Ultra 9 275HX, and the result is noisier than it has any right to be.
For credibility, every character in the footage wears Vesemir's face, and Vesemir himself wears a pony. When the model turns a crowd of identical Vesemirs into a crowd of strangers, you see exactly how much DLSS 5 invents.
Why the Original and Not the Remaster
The Witcher 3 DX11 vs DX12 split decides everything here. Version 1.32 runs on DirectX 11 and has no native DLSS. The next gen update moved the game to DirectX 12 with native DLSS, which hands the model real engine data.
| Build | API | Native DLSS | DLSS 5 Result |
|---|---|---|---|
| Classic 1.32 | DirectX 11 | No | Noise, breakup and hallucinations even at x1 |
| Next gen 4.x | DirectX 12 | Yes | Stable, even at extreme settings |
So why the old one? Because it is the hard case, and hard cases are the only honest test.

Step 1. Get Version 1.32
A Witcher 3 1.32 downgrade is done through your store's version or beta options , not through shady patches. Pick the classic version branch, let it download, and launch once to confirm the main menu shows 1.32.
Step 2. Add the Vectors
- Install ReShade on witcher3.exe with add-on support and select DirectX 11.
- Copy the 64-bit DLSS5-Feeder add-on and its motion vector shader pack next to the executable.
- Turn off in-game antialiasing , the add-on refuses to initialize alongside it in many titles.
Step 3. RenoDX and the Library
- Copy the RenoDX DLSS 5 add-on into the bin x64 folder next to witcher3.exe.
- Add the official neural rendering library from any DLSS 5 title, plus a standard DLSS upscaler file.
- Launch the game, press Home, open Add-ons, and enable Neural Rendering.
- Press F6 to toggle, and use the intensity slider for comparisons.
That is the whole DLSS 5 RenoDX Witcher routine. Folder depth and every other branch are covered in the complete instructions.
The Vesemir Experiment
Any Witcher 3 mod that swaps faces works as a calibration tool. Load one, walk into Novigrad, and count how many Vesemirs survive the neural pass. A pony face on Vesemir is the control sample, because the model has clearly never seen a horse in a witcher's armor.
- On x1 with all vectors in place, faces still shift between frames.
- On x2 and above, every frame gets a new face , multi-pass ignores frame history.
- Each preset changes the face again, from grey-bearded veteran to something closer to a purple alien.
A face mod makes this obvious in seconds, which is more than any benchmark can promise.
Settings and Results
| Setting | Starting Value | Reason |
|---|---|---|
| Injection point | Output | The least noisy option on DirectX 11 |
| Intensity | Low to medium | Higher strength amplifies noise |
| Preset | Natural | Default drifts green; Cinematic drifts purple |
| Passes | x1 | More passes multiply hallucinations |
| Enable Upscaling | Off | Unfinished and flickery |
Verdict
If you want DLSS 5 in The Witcher 3 to look good, use the next gen DirectX 12 build. If you want to watch a neural network panic in front of fifty Vesemirs, use 1.32.
Source: Worst Guides Ever