

Pocketpair's Palworld throws a lot at you from the first minute: cold nights, hungry Pals, raids, and a technology tree that can eat your points if you're not careful. The good news is that most of the early friction disappears once you understand a handful of systems. These tips cover everything from your first base location to catching rare Pals without ever leaving the starting area.
What should you do before starting a new world?
Before you spawn in, spend two minutes on the world settings screen. Palworld gives you control over experience gain, resource gathering rates, stamina, damage, and what happens when you die. None of these are cheating. They're options Pocketpair built in precisely because the game's default survival settings can feel punishing to new players. The settings can be adjusted after world creation as long as you do it before loading back in, so if the early grind starts feeling wrong, you can fix it without starting over.
If you're returning from an earlier build and have mods installed, remove them before loading your save. Major version updates frequently break outdated mods, and loading a modded save into an incompatible version can corrupt your progress.

Adjust world settings before loading


How to pick the right base location
Your first base doesn't need to be perfect, but it should make your life easier rather than harder. The ideal early spot has flat building space, nearby wood and stone, accessible ore, and terrain that won't constantly trap your Pals in corners or on cliff edges.
Defensibility matters too. If raids are enabled, avoid spots where enemies can approach from every direction at once. A location with natural choke points, or at least enough space to build walls, will save you a lot of grief later. Being close to resources is the bigger priority though. Every minute you spend sprinting back and forth for basic materials is a minute you're not building, crafting, or exploring.
Once you place your Palbox, you can house up to 480 Pals inside it. The number of Pals you can have actively working at your base increases as you level up. Check the Missions tab at the Palbox to see what objectives unlock additional worker slots, then focus on those tasks before branching out.
Why you should prioritise Cloth early
The cold system is the most annoying survival mechanic in the first few hours. Once night falls without proper clothing, your character starts freezing. Torches work as a stopgap but they occupy a hand slot you'd rather use for weapons or tools.
The fix is straightforward: catch or defeat a Lamball, assign it to a Ranch at your base, and it will produce Wool passively. Turn Wool into Cloth at a workbench, then Cloth into clothing. As you level up, better clothing recipes unlock that protect against both cold and combat damage. Getting this system running early removes one of the most persistent early-game annoyances.
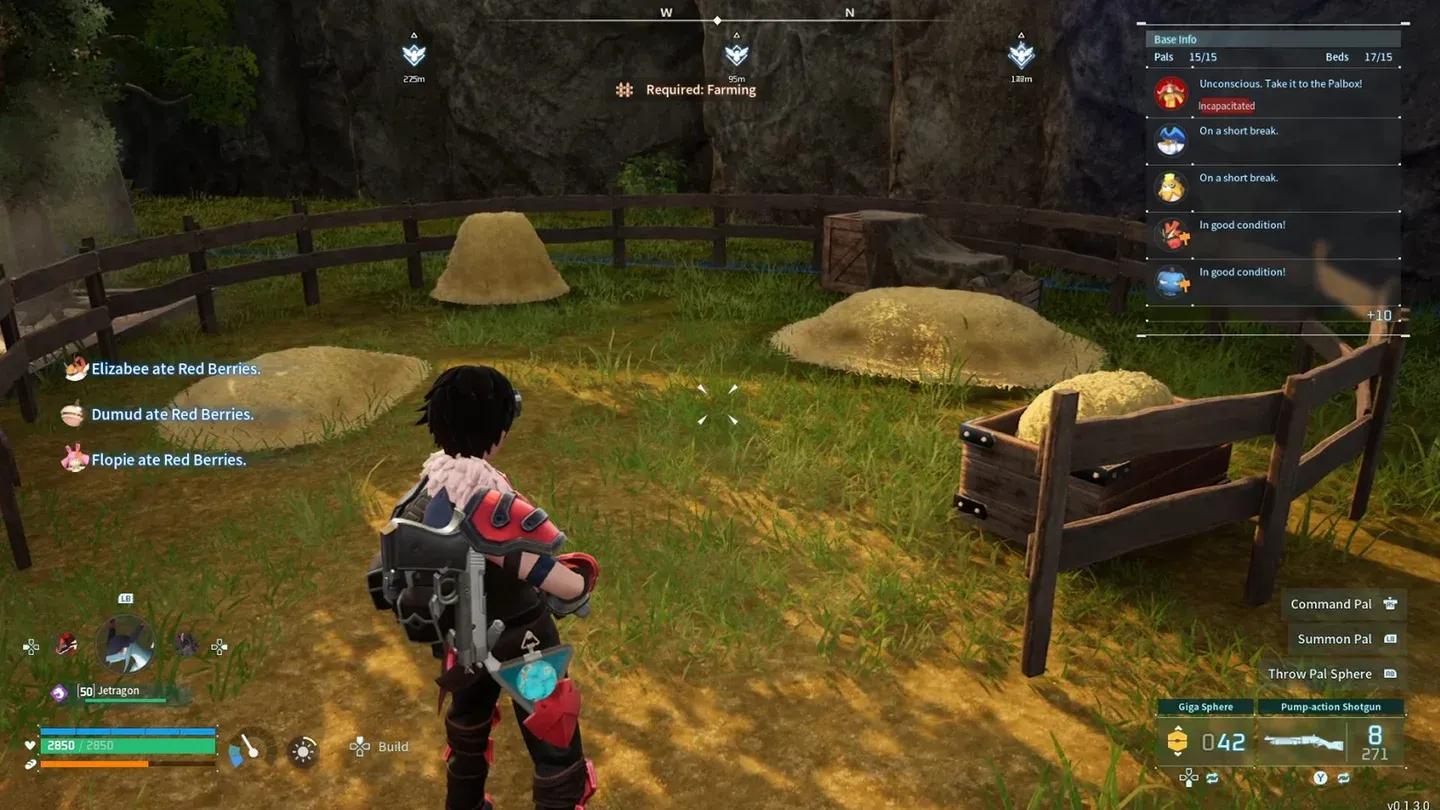
Lamball wool keeps you warm
How to spend Technology Points without wasting them
Technology Points accumulate as you level up, and it's tempting to spend them immediately on whatever looks useful. The smarter move is to check your Palbox missions first. Many missions require you to build specific structures, which means you need the crafting recipe unlocked before you can complete them. Running out of points mid-mission because you unlocked gear you don't need yet is a common early stumble.
Keep a small surplus on hand whenever possible. You also earn one bonus Technology Point for each new waypoint you discover, so actively exploring and activating fast travel statues has a direct payoff beyond just convenience.
Here's a rough priority order for early unlocks:
| Priority | Unlock | Why it matters |
|---|---|---|
| High | Parachute (level 5) | Faster traversal, safer cliff navigation |
| High | Cloth and clothing recipes | Solves the cold problem permanently |
| High | Sphere upgrades | Directly improves catch rates on rare Pals |
| Medium | Shield | Regenerates out of combat, strong defensive value |
| Medium | Berry Plantation | Passive food supply for you and your Pals |
| Medium | Direhowl Saddle | Ground mount that transforms early exploration |
| Lower | Alarm Bell | Useful for raids but not urgent in the first hours |
What's the fastest way to travel early on?
Stamina in the early sections of Palworld is genuinely limited, and walking everywhere gets tedious fast. Two things fix this: waypoints and mounts.
Activate every fast travel statue you encounter, even if you have no immediate reason to return to that area. You will eventually, and having the waypoint already discovered saves a long walk.
For mounts, the Direhowl is the standout early option. These creatures hunt in packs, which sounds intimidating, but capturing one isn't especially difficult if you approach carefully. Once you have a Direhowl and its saddle unlocked in the Technology menu, exploration becomes noticeably more enjoyable. Ground, swimming, gliding, and flying mounts all exist, but a reliable ground mount is the first thing worth chasing.
The Parachute, unlocked at level 5, also helps significantly with traversal. Pair it with a Grappling Gun once you have access to one, and cliff navigation stops being a problem entirely. Just remember the parachute only works as long as your stamina holds.
How to catch Pals more effectively
The core rule for catching: the lower a Pal's health, the higher your catch chance. Sneaking up behind a Pal also grants a bonus to capture success. In active combat, it's easy to lose track of a Pal's health bar, especially when your own Pals are attacking simultaneously. A Pal that reaches zero health goes unconscious and can no longer be caught, so be deliberate about how much damage you deal.
There are six tiers of Sphere, each with a better catch rate than the last. Unlocking higher-tier Spheres in the Technology tab is one of the most direct ways to improve your capture success on rare targets.
Beyond direct catching, two other methods get you Pals you might not find in the wild yet:
- Syndicate Camps are hostile NPC settlements that almost always contain a caged Pal at their centre. Defeat the guards, open the cage, and the Pal teleports directly to your Palbox. This is one of the best ways to access Pals from biomes you haven't reached yet.
- Egg Incubation lets you hatch Pal Eggs found in the wild. Larger eggs tend to produce rarer Pals. Set up an Egg Incubator early and keep feeding it whatever eggs you find.
- Breeding unlocks later and opens access to Pals like Elphidran Aqua and Reptyro Cryst that can only be obtained this way. Check out our guide to Palworld breeding combos for everything you need to set up a working farm.
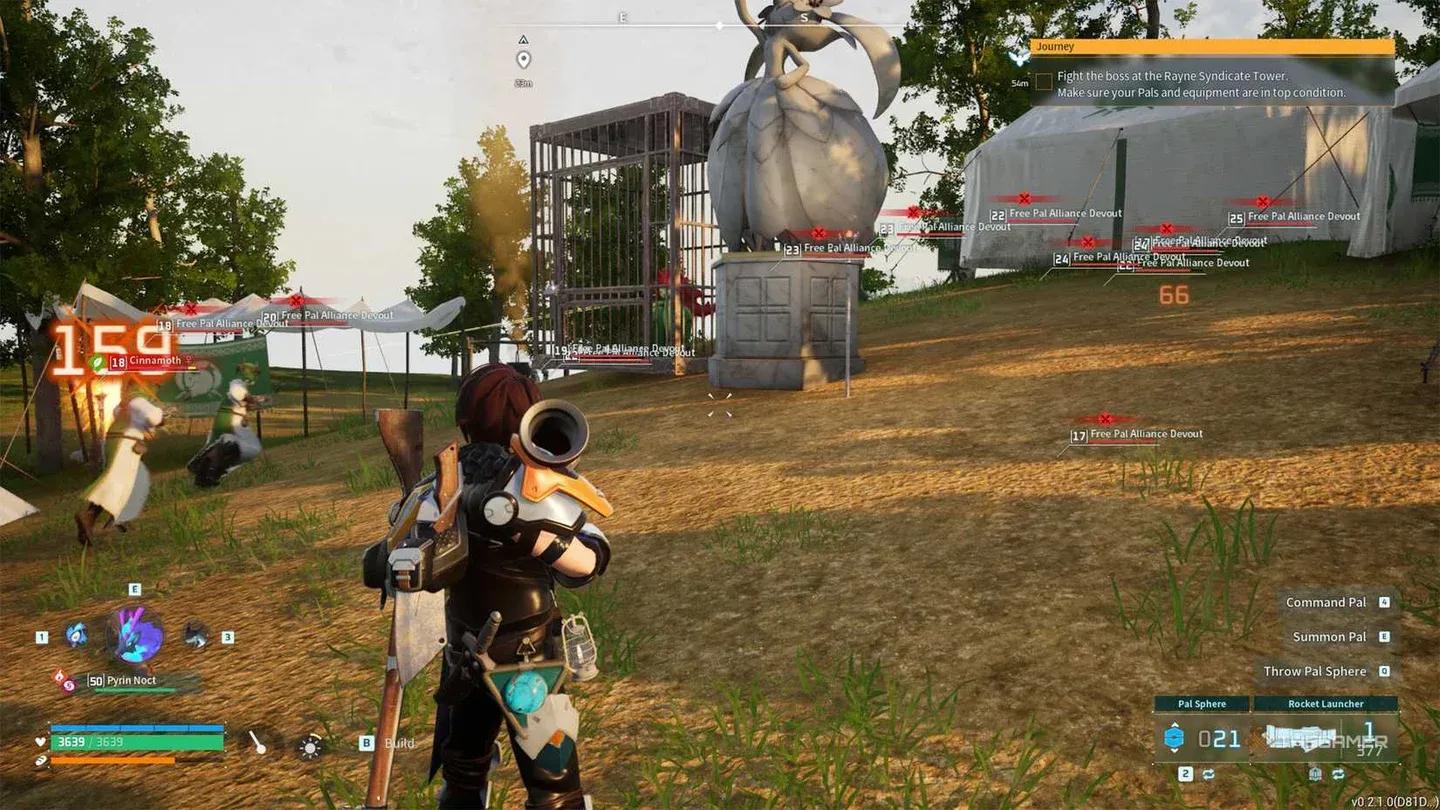
Syndicate Camps hide free Pals
Why elemental matchups matter more than you think
Palworld's type system works like a standard elemental chart: each element has strengths and weaknesses against others. Electric Pals are strong against Water types but vulnerable to Ground types, for example. In the early game this is easy to ignore, but once boss fights and dungeon encounters start scaling up, brute-forcing the wrong elemental matchup costs you resources, Pal health, and time.
Building a team with varied elements isn't just about combat efficiency. You want Pals covering different work suitabilities too: mining, lumbering, kindling, planting, handiwork, and gathering are all separate skills. A Pal good at one job is often poor at another. The broader your collection, the less you'll need to compromise.
For a deeper look at which Pals excel at specific base jobs, our best base Pals guide breaks down the top workers for every role.
How to keep your base running smoothly
A few things regularly break base efficiency that aren't immediately obvious:
- Trapped Pals: If your Palbox says Pals are hungry despite a full Feed Box, they're probably stuck on terrain. Re-allocate them through the Palbox to reset their pathing.
- SAN meter: Every Pal has a sanity stat. When it drops, they slow down, stop working, or behave erratically. Build a Hot Spring and similar comfort structures to keep SAN levels healthy.
- Small Feed Bag: This Ancient Technology unlock automatically feeds you and your team Pals from your inventory. It eliminates manual feeding entirely and is worth prioritising in the Ancient Technology tab.
- Alarm Bell: Raids happen even in offline play. An Alarm Bell lets you command your Pals to defend the base directly, though in most early raids your Pals will handle things without you needing to intervene.

Palbox missions drive base growth
What gear should you upgrade first?
Armour matters more than most beginners expect. Better gear protects against both combat damage and environmental hazards like heat and cold in different biomes. Before entering a new area or taking on a boss, check whether your current armour is appropriate for the conditions.
Weapons are worth maintaining too. Even if your Pals handle most of the combat, your own damage contribution helps weaken targets for capture and gets you out of situations where Pals are struggling. Repair or replace gear before heading into dangerous territory rather than after.
For the accessories that make the biggest difference to your survivability and combat output, our guide to the best accessories in Palworld covers exactly what to prioritise and where to find each one.
These fundamentals will carry you through the first dozen hours without major setbacks. For more guides covering specific systems in depth, the full Palworld guide collection has everything from breeding combos to boss strategies.