


Palworld 1.0's Hard Mode Towers are the game's most demanding combat test. Clearing the main story is just the entry ticket. Once you're inside, every boss hits harder, summons reinforcements, and moves faster than anything you faced on the way up. Brute-forcing these encounters with a high-level team won't cut it. You need the right Pals, the right gear, and a plan for every phase.
How do Hard Mode Towers unlock in Palworld 1.0?
Hard Mode becomes available after completing the main story and defeating the Azure Covenant Tower boss. Version 1.0 changed the unlock condition from earlier builds, so this is the current requirement. Once unlocked, every tower in the game gets a Hard Mode variant with altered attack behavior, not just inflated stats. Several bosses gain entirely new mechanics that don't appear in Normal Mode at all.
The recommended player level is 60 or above for the earlier towers, scaling up to 75-80 for the later ones. Going in underprepared is a fast way to lose progress.

Azure Covenant unlock screen
What gear do you need before entering?
Your equipment loadout matters almost as much as your Pal selection. Showing up in mid-tier armor against a Hard Mode boss is asking to get one-shot.
Elemental Resistance Rings deserve special attention here. Several Hard Mode attacks can nearly one-shot players without elemental protection, so stacking two of these before entering a tower is one of the highest-value preparation steps you can take.
What's the best Pal team for Hard Mode?
Forget bringing your favorites. Hard Mode rewards teams built around survivability and elemental coverage.
Two builds consistently outperform everything else after extensive testing across all towers.
Lifesteal build
The Felbat or Lovander lifesteal setup is widely considered the safest option for Hard Mode. The core team pairs your lifesteal Pal with four Gobfins running the Vanguard and Stronghold Strategist passive skills, combined with maximum player attack investment. The constant health recovery lets you absorb mistakes that would end any other run. If you're attempting Hard Mode for the first time, start here.
Knocklem rotation build
For players who prefer Pal-focused combat, running multiple Knocklems and rotating their Partner Skills keeps bosses permanently occupied while you deal ranged damage from a safe distance. This minimizes the amount of direct hits you take and turns Hard Mode into a much more controlled experience. It's one of the most reliable farming setups once you get the rotation timing right.
For players still building toward these lineups, the best breeding combos guide covers the fastest paths to getting top-tier combat Pals.
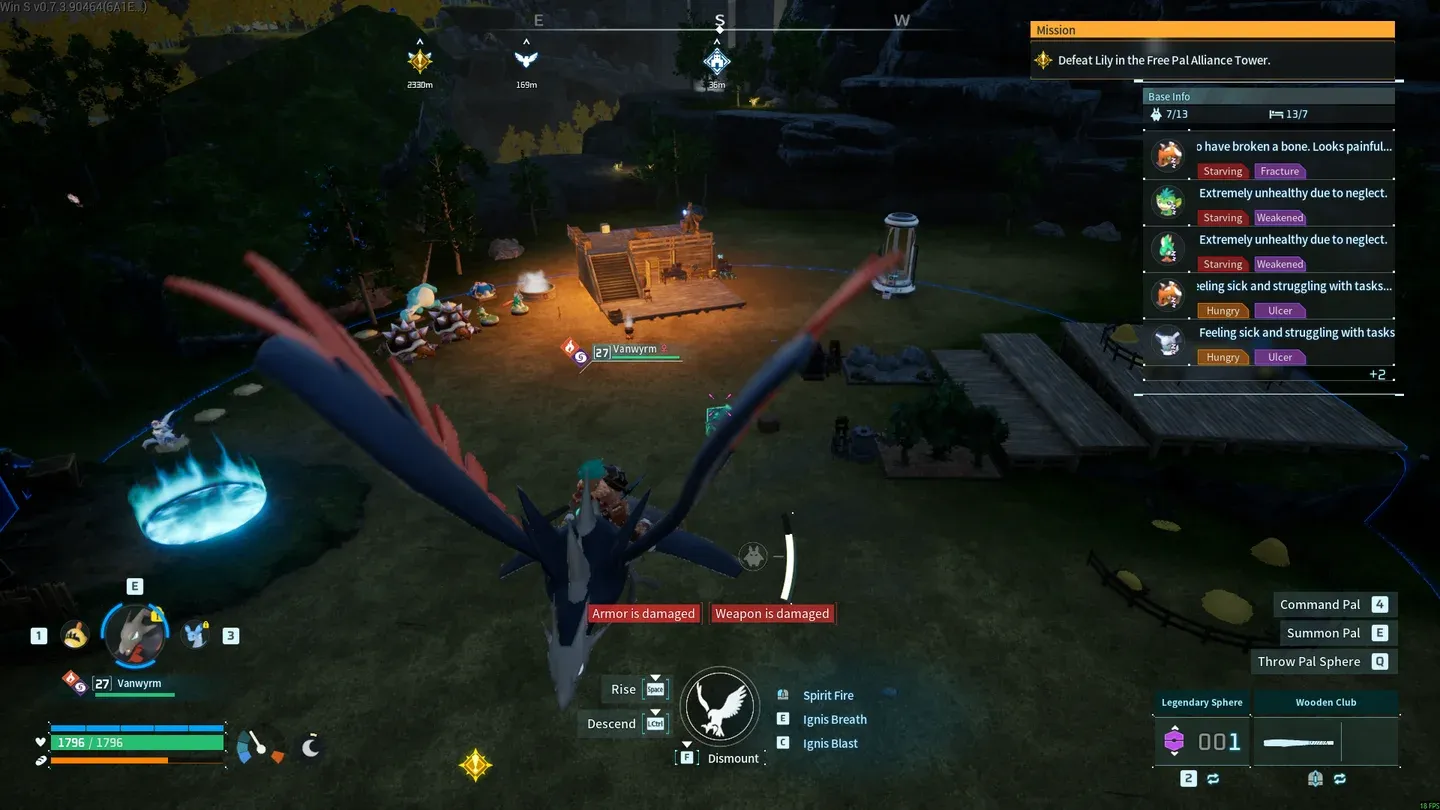
Knocklem rotation in action
Boss-by-boss breakdown: counters and key tips
Elemental advantage is the single biggest damage multiplier in these fights. Using the correct element often outperforms bringing a stronger neutral Pal.
How to survive Hard Mode
Study elemental weaknesses first
Before entering any tower, confirm the boss's elemental type and bring the correct counter. The damage difference between a neutral Pal and a properly countered one is significant enough to shorten fights by entire phases.
Keep moving constantly
Many Hard Mode attacks track your previous position. Constant movement makes a large portion of the boss's kit effectively miss. Standing still to deal damage is the fastest way to end a run.
Recall injured Pals immediately
Never let a Pal faint. Swap frequently so every Pal on your team survives long enough to use multiple Partner Skills. A fainted Pal contributes nothing; a recalled one can re-enter later.
Use your weapons actively
Legendary firearms contribute enormous damage in Hard Mode. Waiting for your Pals to carry the fight alone is usually too slow. You need to be actively shooting throughout the entire encounter.
Manage your burst cooldowns carefully
Rockets, Partner Skills, and ultimate attacks should be held for add waves and high-damage windows, not burned on the opening phase when the boss is at full health.
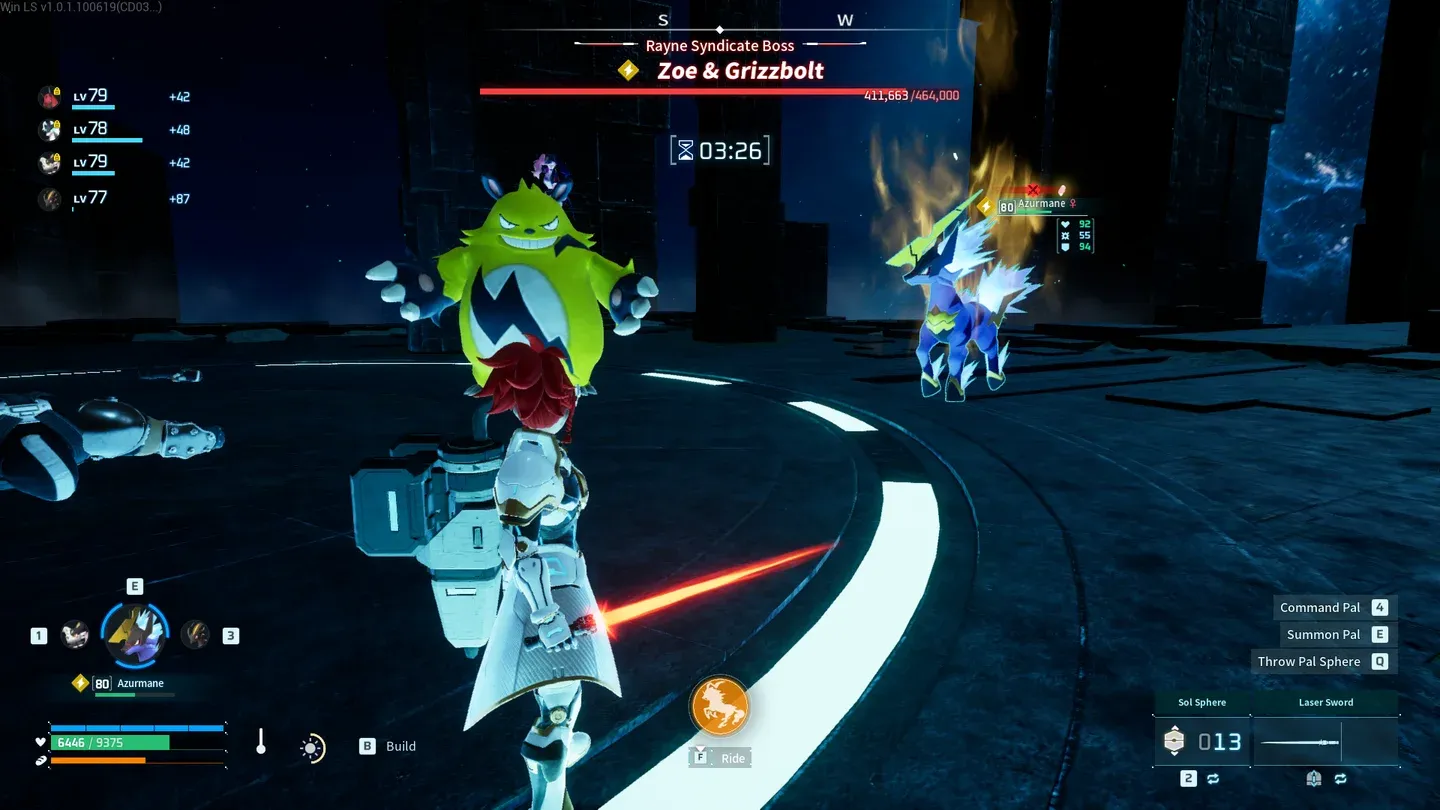
Legendary weapons pull real weight
What rewards do Hard Mode Towers give?
Every Hard Mode boss drops a cosmetic hat styled after its tower leader. Training Crystals are guaranteed on each clear, making Hard Mode towers one of the better sources of Pal progression materials in the endgame. Certain bosses also have a chance to drop legendary rewards, though these aren't guaranteed.
If you're pushing into endgame progression more broadly, check out the guides on how to get Ancient Civilization Cores and all new Technologies from level 66 to 80 to round out your character alongside tower farming.
Ready to push further?
Hard Mode Towers reward preparation over raw power. Get the elemental counters right, build around either the lifesteal or Knocklem rotation setup, keep your Pals alive, and stay moving throughout every fight. The rewards are worth the effort, and once the fundamentals click, these encounters become repeatable farming runs rather than walls. For more strategies across every part of the game, the full Palworld guides collection has everything you need to keep progressing.