
The best main base location in Palworld is the summit south of Frostbound Mountains, around (180, -39), where you can gather ore, coal, and wood at the same site. For a new save, start near the Plateau of Beginnings, around (233, -488), before committing to a mining hub.
Your first camp and your permanent factory have different jobs. Palworld 1.0 supports four bases on default settings, letting you keep a safe production hub while adding outposts for oil or endgame materials. The smart move is to solve your current shortage without building an elaborate factory you'll soon replace.
Version note: This guide covers Palworld 1.0, version 1.0.5. Later updates may change resource placement or technology requirements.
Which Palworld base location fits your next upgrade?
Use this table to match your next base to the material you need. Coordinates are approximate in-game scouting targets. Walk the area with the Palbox placement preview open before choosing the final position.
| Location | Approximate coordinates | Best for | Main trade-off |
|---|---|---|---|
| Plateau of Beginnings, north flat | (233, -488) | First production camp with wood, stone, and Paldium nearby | Limited ore within the build area |
| Golden Hills | (0, -524) | Early ore mining with nearby forest | Check your expansion space before placing stations |
| Summit south of Frostbound Mountains | (180, -39) | Main hub combining ore, coal, and wood | Uneven ground and crowded resource spawns |
| Sakurajima oil fields | (-646, 270) | Oil production with room for a larger factory | Local enemies are around Level 50 |
| Sunlit Isle oil field | (401, -467) | Oil-focused island outpost with 6 patches | No nearby ore |
| Oasis Isle oil field | (903, 195) | Oil production around 6 patches on open ground | Standard extractors still need patch placement |
| Western Mount Obsidian | (-744, -442) | Sulfur mining around roughly 7 clustered nodes | Heat protection required |
| Astral Mountains quartz field | (-212, 250) | Pure Quartz for Circuit Boards | Cold protection required |
| Southern Feybreak | (-1234, -1482) | 3 Hexolite Quartz nodes and an oil patch | Becomes less necessary after the mining building unlock |
| Farcry Marsh, Sunreach | (-305, -1410) | Soralite mining around roughly 6 clusters | Requires Mining Level 5 workers and imported wood |


Why is the Frostbound summit the best main hub?
Ore and coal share the same work area
Around (180, -39), the summit south of Frostbound Mountains brings ore, coal, and trees together. That makes it a strong choice for a smelting hub: you can gather both mining materials without maintaining separate ore and coal outposts.
To reach this area, climb east from the Sealed Realm of the Guardian fast travel point. Enemies on the approach are around Level 20 to 25, so establish your starter production before moving the whole operation here.
The summit is best for players who want one long-term crafting base with natural mining nearby. Its weakness is usable floor space: slopes, trees, and resource nodes compete with your furnaces and production buildings.

Ore and coal on one summit
High ground helps, but it needs defenses
The Frostbound summit's elevation restricts most ground raiders. Keep defensive structures in your layout, though, because Palworld 1.0 includes flying attackers.
Alternative: Devout Mineshaft ridge
If you want a resource-focused outpost rather than a larger home, scout Devout Mineshaft ridge at (26, -137). Its cluster contains 12 ore nodes and 10 coal nodes within roughly one base circle, making it useful for concentrating your mining crew around both materials.
When should you choose flat ground over natural nodes?
The answer changes at Level 24, when the Ore Mining Site lets you produce ore without living beside natural deposits. After that unlock, a spacious layout can be more valuable than squeezing another rock into the Palbox radius.
Open the Technology menu before committing to a new mining camp. These buildings can replace the reason you were considering that location in the first place.
| Unlock | Level | What it changes about base placement |
|---|---|---|
| Logging Site and Stone Pit | 7 | Natural trees and stone become less important |
| Crusher | 8 | Stone can supply Paldium Fragments |
| Ore Mining Site | 24 | Natural ore stops being mandatory |
| Sulfur Quarry | 46 | A dedicated sulfur deposit becomes optional |
| Pure Quartz Mine | 50 | You can move quartz production away from the snowfields |
| High-Pressure Crude Oil Extractor | 51 | Oil production no longer requires a natural patch |
| Hexolite Quartz Mine | 62 | A Hexolite Quartz outpost becomes optional |
| Soralite Quarry | 72 | You can produce Soralite without keeping a Sunreach mining base |
The Coal Quarry also lets you produce coal inside your chosen base. Treat these unlocks as a reason to reassess an outpost, rather than an instruction to dismantle a working setup immediately.
The High-Pressure Crude Oil Extractor has its own layout demands. It needs open ground with no structures underneath and uses more electricity, so make room for power generation before replacing your natural oil operation.
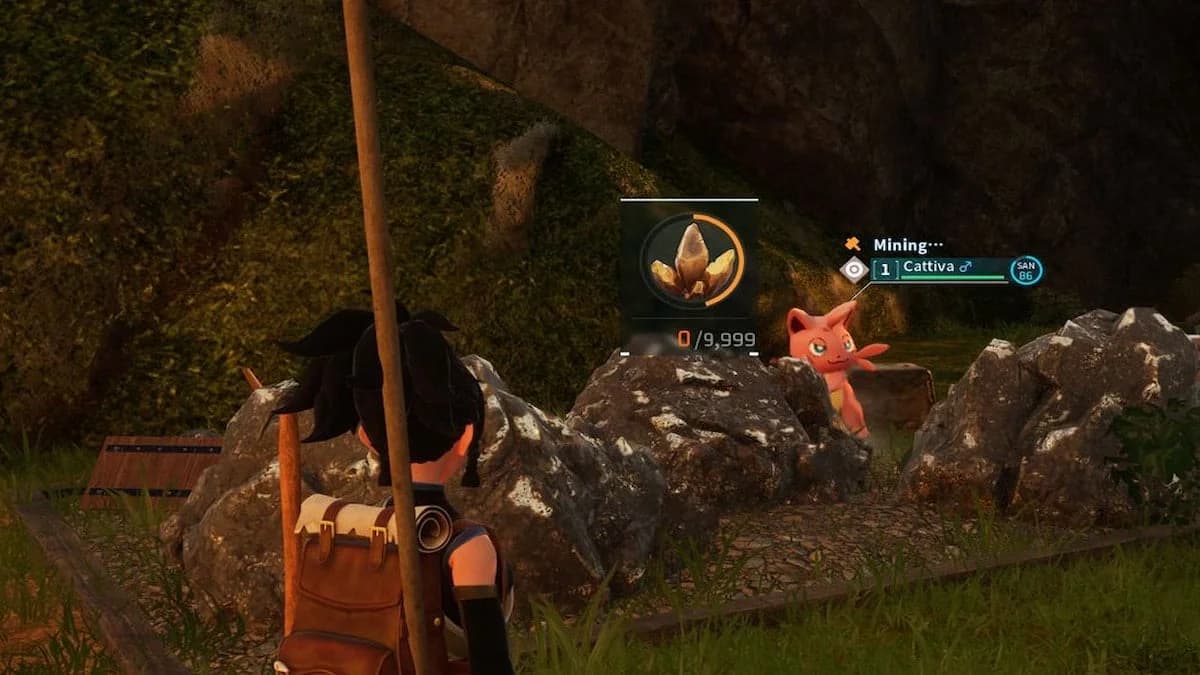
Check your next mining unlock
Where should you build while your team is still weak?
Plateau of Beginnings: the temporary starter camp
The north flat near (233, -488) gives you nearby wood, stone, and Paldium, plus low-level Pals to catch. It suits the first stage of a save because you can establish basic production without making a dangerous relocation trip.
Ore is the reason to look beyond the Plateau of Beginnings. Once the Logging Site and Stone Pit unlock at Level 7, followed by the Crusher at Level 8, your basic materials can come from buildings. Natural ore remains the location-sensitive resource until Level 24.
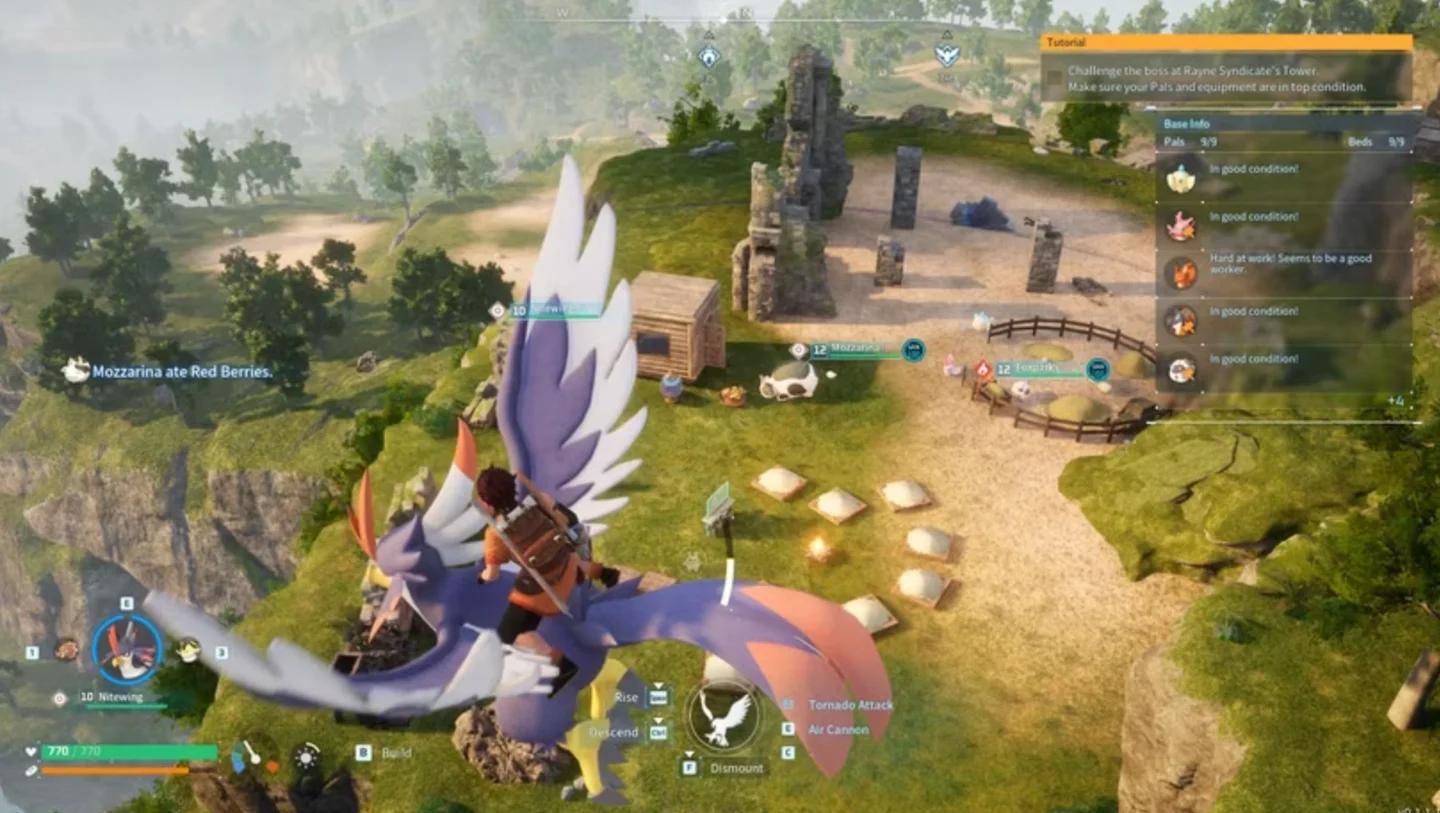
Leave room for starter stations
Golden Hills: an early move for ore
Golden Hills at (0, -524) is the stronger early pick when ore is slowing your crafting. Clustered deposits and nearby forest give you useful gathering options, while local wild Pals are roughly Level 2 to 10.
For a smaller dedicated mining camp, scout west of Fort Ruins at (156, -396). It has roughly 7 ore nodes on elevated ground, but limited room makes it better suited to mining than a full production hub.
If you're still setting up your first Logging Site or catching workers, the Palworld beginner tips guide covers the early decisions that support either location.
Which specialist outposts are worth a base slot?
Crude Oil: Sakurajima for space, islands for patch clusters
The Sakurajima oil fields around (-646, 270) are a strong choice when you want more than an extractor camp. The area has a large, flat build surface, oil patches, nearby coal and sulfur, and a dungeon near the waterfall. Bring a team ready for enemies around Level 50, and plan your defenses rather than relying on the terrain.
For a more focused oil base, compare these island options:
- Sunlit Isle, (401, -467): 6 oil patches with flat ground and nearby fast travel. Best for an oil outpost in an area with wild Pals under Level 10, though ore must come from elsewhere.
- Oasis Isle, (903, 195): 6 oil patches on open ground with a nearby fast travel point. Best when its position fits your existing operations better than Sunlit Isle.
Standard Crude Oil Extractors must sit on natural patches. At Level 51, the High-Pressure Crude Oil Extractor gives you another option, provided your main hub has the space and electricity to support it.
Sulfur and Pure Quartz: solve different shortages
For Sulfur, scout western Mount Obsidian around (-744, -442). Roughly 7 clustered nodes make it useful for Gunpowder production, but heat-resistant gear is necessary. Keep the outpost focused on mining, and wall off nearby lava hazards so workers cannot wander into them.
For Pure Quartz, head to the Astral Mountains around (-212, 250) with cold protection. Quartz supplies Circuit Boards, making this a useful specialist camp while electronics are holding up your production upgrades.
Both Mount Obsidian and the Astral Mountains are better treated as material outposts than automatic replacements for your main hub. You can keep crafting and breeding in a temperate base while these sites handle their mining jobs.
Hexolite Quartz: southern Feybreak
At (-1234, -1482), southern Feybreak combines 3 Hexolite Quartz nodes with an oil patch. That gives the location two production uses while you're working toward high-end equipment and Exotic Spheres.
You do not need to solve Chromite with another permanent base. Its hidden deposits require a Metal Detector or Smokie's Dig, Dog! Dig! Partner Skill to reveal them. Shield Dragon Tunnel is a useful mining destination near its fast travel point, so you can visit it separately from your Hexolite Quartz camp.
Once you unlock the Hexolite Quartz Mine at Level 62, reassess whether southern Feybreak still earns its slot through oil production or other work.
Soralite: Farcry Marsh in Sunreach
Farcry Marsh around (-305, -1410) has roughly 6 Soralite clusters close together. It is a specialist production site for Soralite and Paloxite Ingots, rather than a convenient place to gather every basic material.
Before placing your Palbox in Farcry Marsh:
- Bring a worker with Mining Level 5 or higher to automate Soralite gathering.
- Plan to transport wood in, because the rocky site lacks trees.
- Reach Sunreach by defeating the Feybreak tower boss or flying over from Feybreak with a high-stamina mount such as Frostallion.
- Remember that the Soralite Quarry unlocks at Level 72, allowing production elsewhere.

Target Soralite's glowing spot
How should you divide your four base slots?
On default settings, Palworld 1.0 supports four bases, with additional slots unlocked through Base Level progression. The fourth slot becomes available at Base Level 25, so plan this as an eventual setup rather than four immediate construction projects.
| Base role | Suggested location | Why keep it? |
|---|---|---|
| Main crafting and storage hub | Frostbound summit, around (180, -39) | Combines ore, coal, and wood with elevated terrain |
| Breeding and food production | Flat, temperate ground in Windswept Hills | Gives larger buildings room without a harsh climate |
| Oil production | Sakurajima, Sunlit Isle, or Oasis Isle | Supplies oil while your main hub handles other jobs |
| Current material shortage | Mount Obsidian, Astral Mountains, southern Feybreak, or Farcry Marsh | Lets you change specialist sites as technology advances |
This division keeps the fourth base flexible. If you need Circuit Boards, use it for quartz; if Soralite becomes the bottleneck later, shift that role to Sunreach rather than rebuilding your main factory.
Common mistakes
- Covering resource spawns with foundations. Building over an ore or coal deposit can prevent it from respawning. Leave the nodes you intend to farm uncovered.
- Choosing ore count over usable space. After the Ore Mining Site unlock at Level 24, a cramped deposit can be less useful than a flat production area.
- Treating the Palbox circle as optional. Keep the target deposits within your base radius so assigned miners can work them automatically.
- Ignoring temperature before relocating. Mount Obsidian requires heat protection, while the Astral Mountains require cold protection.
- Overbuilding a temporary camp. Check your next mining unlock before spending time on a factory devoted to a resource you'll soon generate anywhere.
Pro tips
Match workers to the deposit
Natural ore nodes require Mining Level 2 or higher, while Soralite requires Mining Level 5. Pair suitable miners with a transporting worker, and use Kindling workers at your smelting hub so gathered materials can become ingots.
If your miners keep leaving deposits to chop trees, workers without Lumbering suitability are easier to keep focused. Use the best base Pals guide to match your workforce to the jobs at each site.
Scout the full footprint before placing stations
At the Frostbound summit, check both the slopes and the spaces between deposits with the Palbox placement preview. You need room for stations and worker routes, not just a circle that touches the maximum number of rocks.
Permanent ruins create a similar problem: you cannot remove them to recover floor space. A slightly less crowded location can save you a lot of rebuilding once larger production buildings arrive.
Move your starter base carefully
When leaving the Plateau of Beginnings, dismantle structures manually before removing the Palbox so you recover their materials. Keep the relocation focused on the production you need next, rather than reproducing every corner of the old camp.
A remote Palbox also becomes a fast travel point. Once you can reach a specialist location to establish it, distance from an existing statue becomes less of a problem for later visits.
Frequently asked questions
What is the best base location for a beginner?
Start on the flat ground north of the Plateau of Beginnings around (233, -488). Move toward Golden Hills at (0, -524) when you need more natural ore for sustained crafting.
Are mountain bases safe from raids?
Mountain bases such as the Frostbound summit restrict many ground attackers, but Palworld 1.0 includes flying raiders. Keep defenses even when the approach looks difficult to climb.
Do you still need natural resource nodes after unlocking mines?
They become less important as production buildings unlock. The Ore Mining Site arrives at Level 24, the High-Pressure Crude Oil Extractor at Level 51, and the Soralite Quarry at Level 72, letting those materials move into a better-planned hub.
Does your base biome affect breeding?
Breeding works the same across biomes, so a flat, temperate site in Windswept Hills can remain useful after you move mining elsewhere. If you're converting that starter camp into a breeding hub, choose your next projects with the best Palworld breeding combos guide.