
Survive fights in Rob Run by pre-aiming likely approaches, keeping cover between you and extra opponents, and reloading after you break line of sight.
You do not need to defeat every player in a squad to save a run. You need a firing angle that limits return fire, enough ammunition for the immediate threat, and a route out before the group surrounds you. Build those decisions into your combat routine before chasing eliminations.
Learn the combat controls

Rehearse movement and weapon handling together
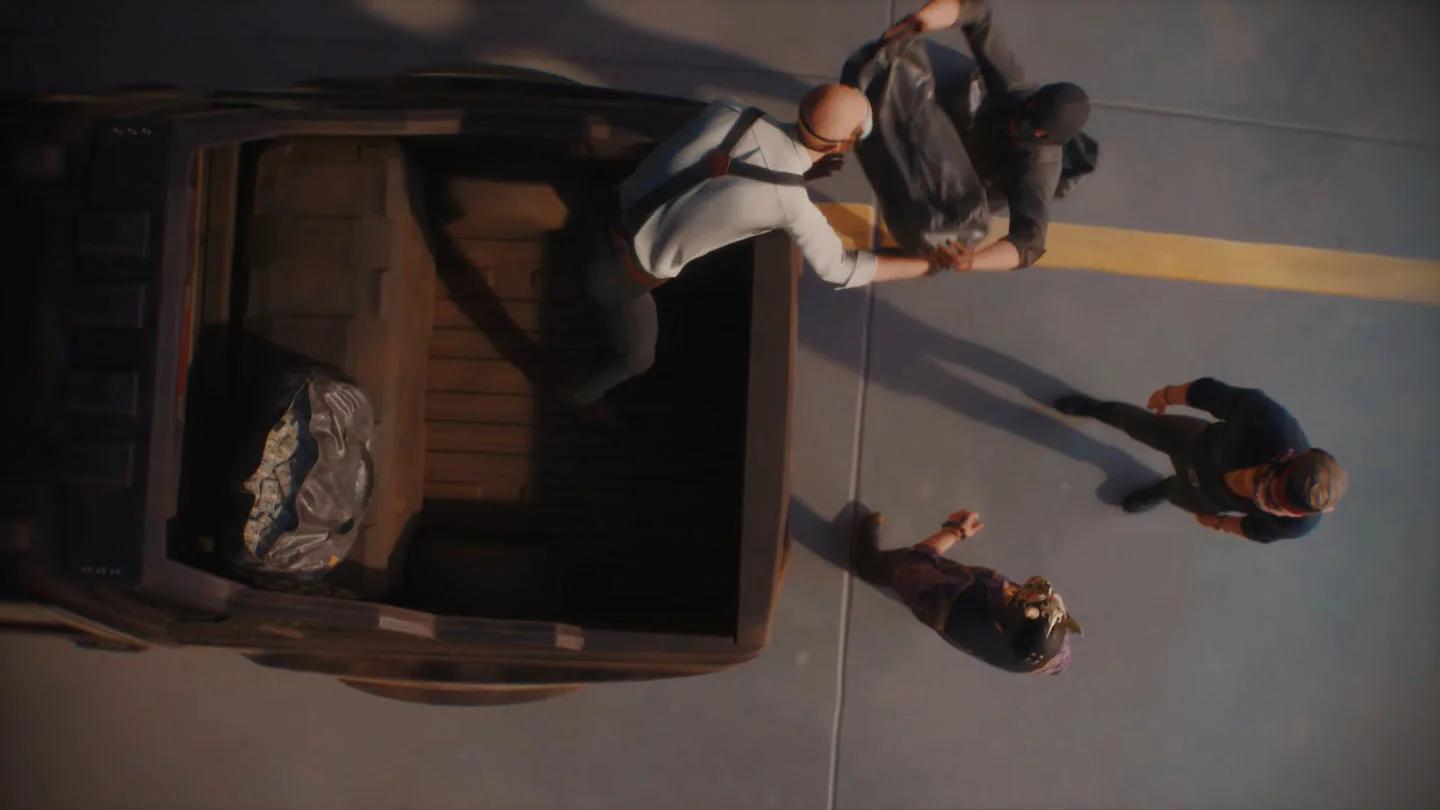
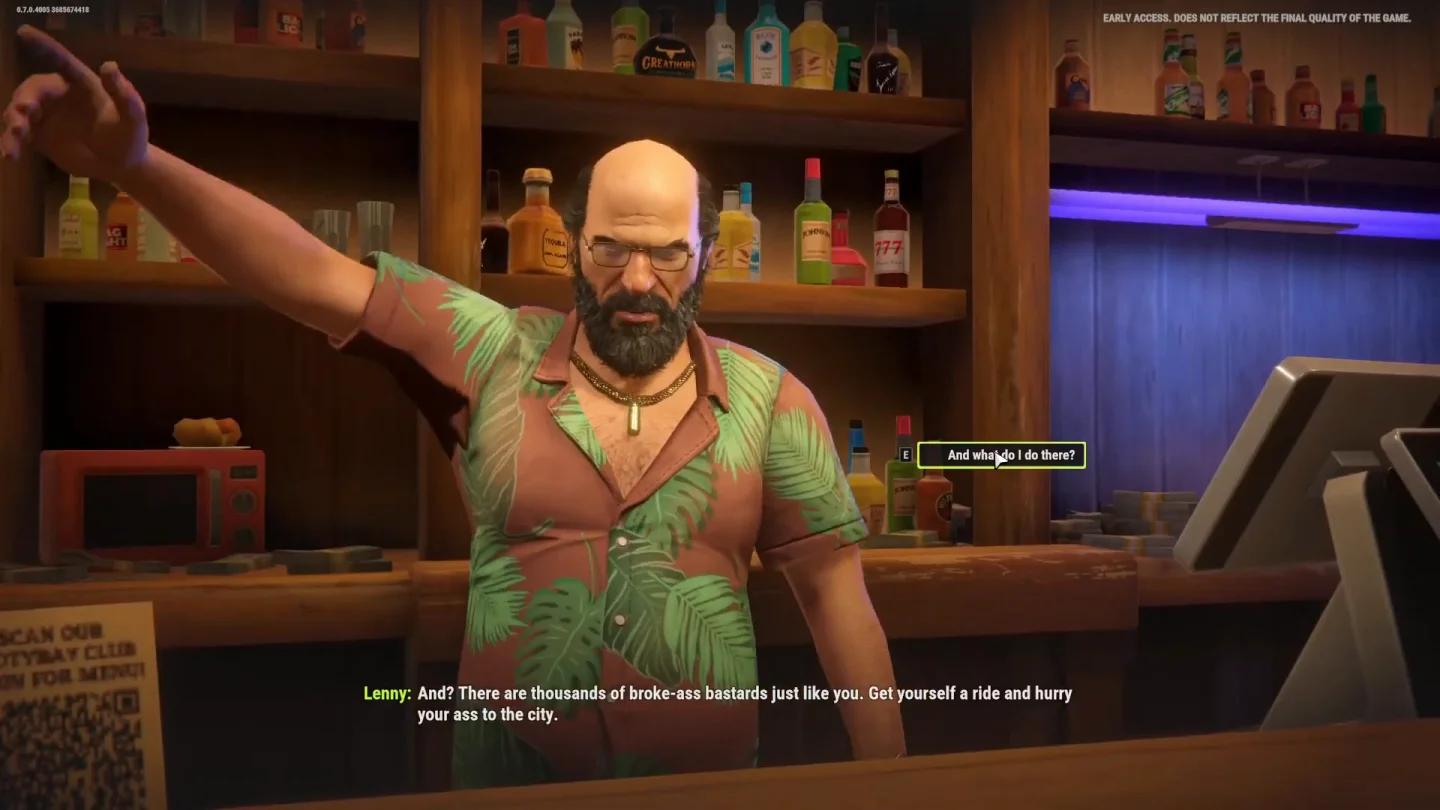
Start with equipment you can replace. Weapons appear as loot around the city, and you can buy them through the Black Market from Lenny or your base laptop. Basic pistols are a practical starting purchase when repeated equipment losses are slowing you down.
Use your configured aiming, firing, movement, and reload inputs to rehearse this sequence before taking valuable loot into a shootout:
- Aim: Set your crosshair on a doorway or corner before stepping into its sightline.
- Fire: Shoot a short burst, then release the firing input deliberately.
- Move: Return behind solid cover without continuing to track the same target.
- Reload: Complete the reload out of the enemy's sight, then check a different approach before exposing yourself again.
The exercise links your inputs to decisions. Reloading should follow a safe movement, and firing should follow a target choice. Pressing the right button at the wrong moment still leaves you exposed.
Choose gear you can replace
Aim effectively before you step out
Pre-aim likely entry points
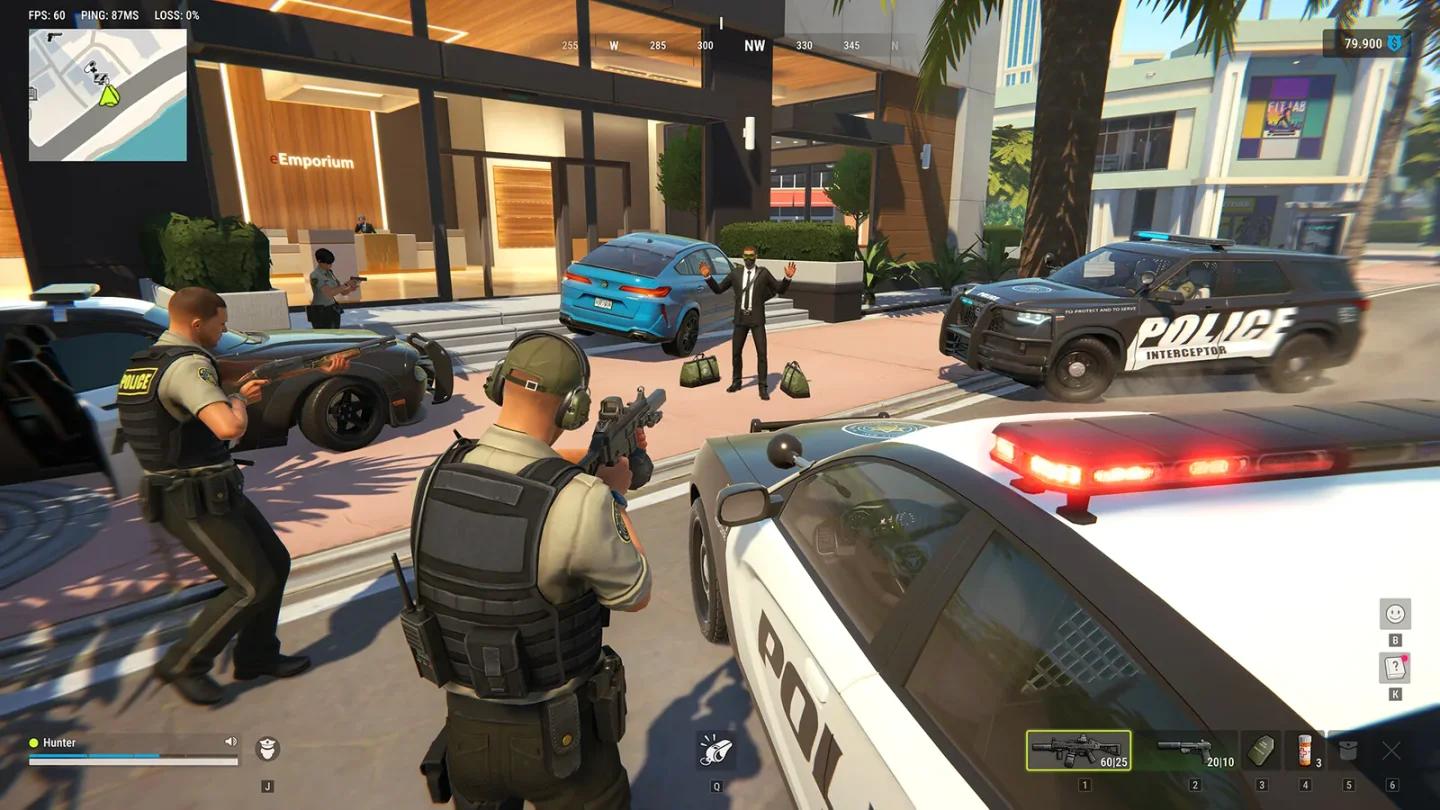
A useful aiming habit across action games is to reduce how far you must move your crosshair when an opponent appears. In Rob Run's urban fights, hold your aim on the doorway, stairwell opening, or corner an enemy must cross.
Choose the opening first, then position yourself to watch it. If your crosshair is pointing at the floor while you move around a corner, you must correct both your aim and your position after the opponent becomes visible.
Use short bursts to place shots on the torso and head. Start with a target area you can reliably track, then refine your aim when the opponent's movement allows it. Do not spend the whole exchange forcing a precise shot while another enemy moves around your cover.
Finish one aiming problem at a time
When several opponents are nearby, the immediate target is the enemy who can currently shoot you. Avoid switching between distant silhouettes while a closer player pushes your doorway.
A downed opponent is a lower priority than an active teammate advancing on your position. Keep your aim on the next threat instead of spending ammunition finishing someone while their squad closes the gap.
Pre-aim the next opening
Use cover and manage sightlines
Block the second opponent
Angle isolation means using the environment to fight one exposed opponent while blocking the others. A wall between you and an enemy's teammate is more useful than a clear view of the entire squad.
Before firing, check three things:
- The firing lane: Which opening are you watching?
- The exposed side: Can someone shoot you from a cross-street, adjoining doorway, or higher position?
- The fallback: Where can you move without crossing the same firing lane again?
Doorways and narrow corridors can restrict how many attackers reach you together. Hold them from a position with room to retreat. Standing inside the opening leaves you fewer options when the next player arrives.
Move before a flank closes
A good position can become a trap once opponents know where you are. After an exchange, consider whether another player has had time to reach your side. Reposition when your cover no longer blocks their approach, even if the original target remains in view.
Listen for footsteps while you move. They can warn you that an opponent is approaching a different entrance. Use that warning to turn, fall back, or leave; do not wait for the flanking player to appear beside you.
In a hideout defense, identify an interior fallback before committing to the first doorway. If attackers open another route into the room, move to the next defensible angle instead of watching an entrance they no longer need to use.
Choose the right engagement range
Match the route to your weapon
Choose your route around the weapon you are carrying. A close-range setup benefits from interior openings and short approaches. A rifle gives you more reason to hold a street angle, but it does not make an exposed intersection safe.
| Weapon category | Useful engagement | Position to look for | Decision to avoid |
|---|---|---|---|
| Submachine gun | Close interior fighting | Short corridor with nearby fallback cover | Chasing a target into a long, open street |
| Assault rifle | Mid-range street engagements | Corner that exposes one approach | Trading with several separated opponents |
| Semi-auto shotgun | Tight doorway ambush | Narrow entrance with room to retreat | Leaving the doorway to pursue a distant target |
| Light machine gun | Sustained fire through a chokepoint | Covered position overlooking a restricted approach | Holding the same angle while enemies flank |
Magazine capacity is useful against groups because you may need to address another threat before reloading. It does not replace positioning. A larger ammunition supply cannot block a second firing angle.
Refuse a bad approach
If reaching your weapon's useful range requires crossing an exposed street, find another route or let the target go. Closing the distance is a decision, not an obligation.
Likewise, do not abandon a strong doorway simply because a wounded enemy retreats. Their teammates may still control the space beyond it. Keep the protected angle unless you have a clear reason and a safe route to advance.
Reload and reposition safely
Make space before changing magazines
Reload during a retreat after cutting the enemy's view. Staying behind the same corner gives a pursuing opponent a clear place to push while your gun is unavailable.
Use this sequence when your ammunition runs low:
- Stop trying to finish a retreating target.
- Move behind solid cover to break direct sight.
- Continue toward your fallback position if opponents are pushing.
- Reload while the environment separates you from them.
- Aim at the approach they must use to reach your new position.
If several active enemies are advancing, spend your remaining shots on the immediate threat. Finishing downed players can wait until the approach is secure.
Distinguish concealment from cover
Smoke can obscure your movement, but it does not provide a wall that stops incoming fire. Use it to help reach another position or exit, not as a reason to stand still in the same firing lane.
Plan the destination before deploying it. An adjoining room, another corner, or a route away from the encounter gives the concealment a purpose. Running into smoke without knowing your next turn can leave you just as trapped.
Reload after breaking contact
Know when to disengage
Leave when you cannot isolate another target
Disengage when opponents spread across several approaches, your fallback becomes exposed, or your ammunition cannot support another exchange. You do not need to wait until you are nearly defeated to recognize that the position has failed.
Break sight, change direction behind cover, and move toward an exit you checked before the fight. For heists, scout that route while unmasked. If you have no active vehicle, a free rental from a Parking Terminal can help you prepare transport before starting trouble.
Your role and location determine the cost of dying:
| Situation | Death penalty |
|---|---|
| Criminal in Looty Bay | Lose your inventory |
| Civilian in the city | Keep bag contents and equipped gear |
| Police Officer in the city | Lose department-issued equipment only |
| Anyone in the desert | Lose all loot |
Consider surrender before a losing fight
Police Officers are other players, and arrest gives you options beyond another shootout. Surrender in Looty Bay costs the contents of your bag but preserves your equipped gear.
A bribe requires money in your bank account. If the officer accepts, you keep your bag contents; the officer can refuse. Treat that as a possible negotiated exit, not a guaranteed escape button.
Choose based on what you can still save. If the fight offers no protected angle and no clear retreat, preserving your equipped gear through surrender can be a better outcome than losing your inventory in another exchange.