
To succeed in the Stand Out boss guide on Roblox, hunt Jotaro by day, DIO at night, or run Donatello’s raids for Stand Chips. Your target depends on whether you want a specific Stand, a Stone Mask, an outfit, or story progress.
Raid tokens offer a second route to King Crimson and Highway Star, while story fights follow your active objective. Several side bosses also depend on rain, fog, or sunshine, so check the weather before crossing the map.
Farm raids for Chips and token-shop purchases
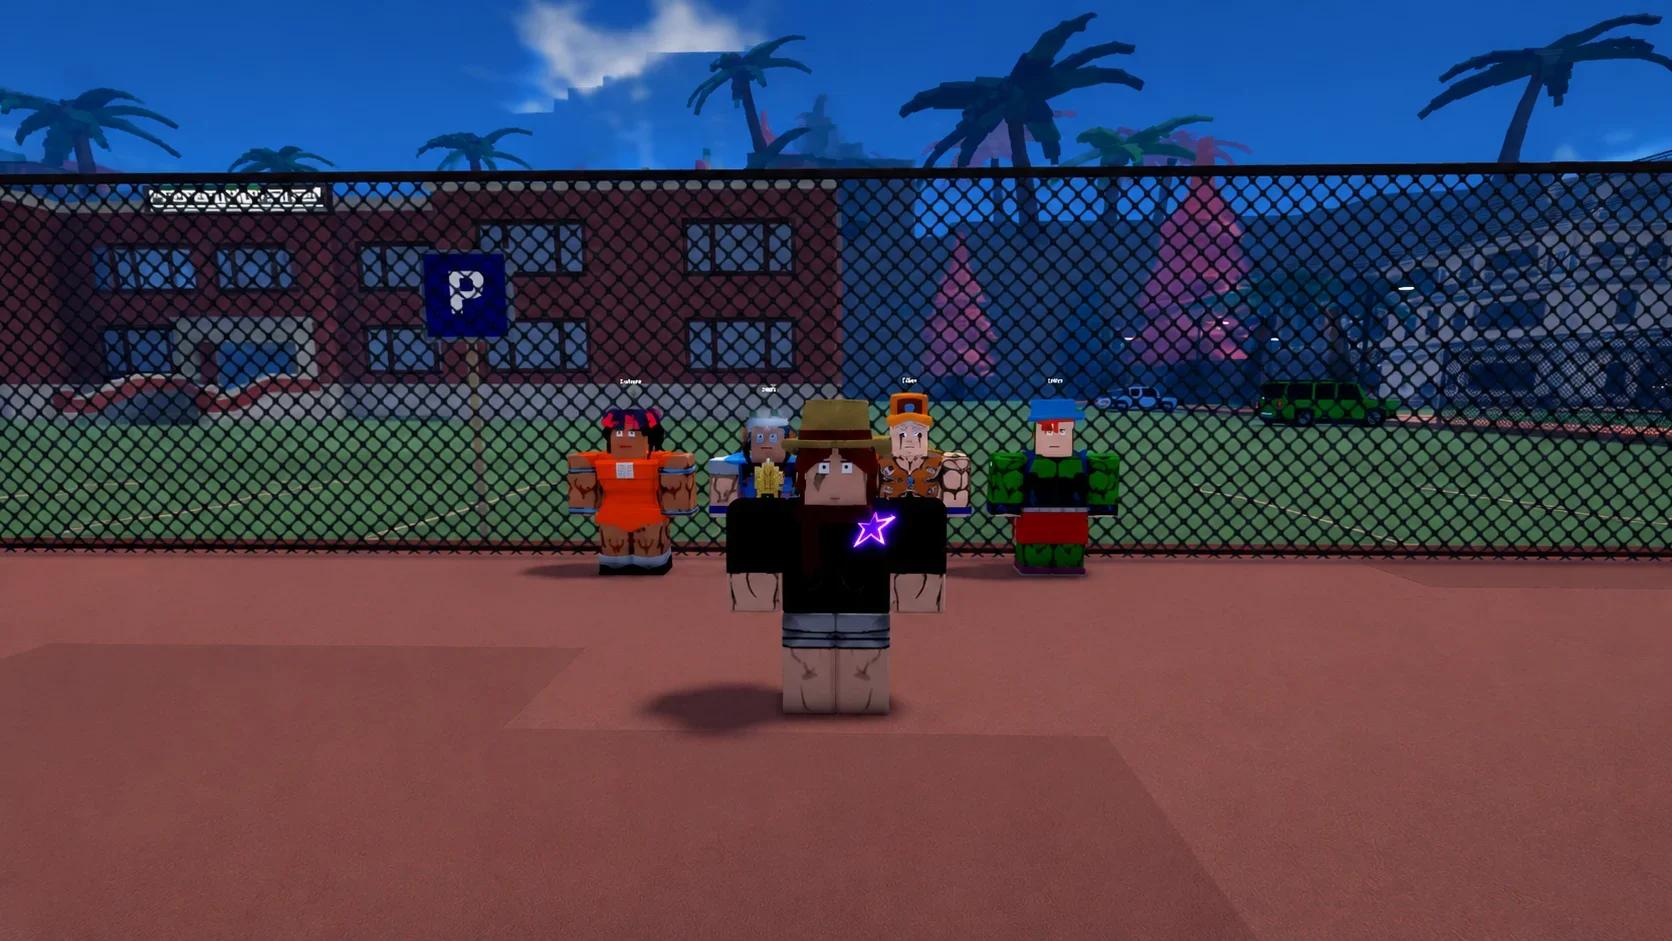
Talk to Donatello in the park near the Museum of O’ahu to start a raid. Both the Train Raid and Highway Star Raid offer Regular and Hard difficulties, with higher Coin, EXP, and Bizarre Arrow rewards on Hard.
| Clear reward | Regular | Hard |
|---|---|---|
| Coins | 2,500–3,500 | 5,000–7,000 |
| EXP | 1,800–2,200 | 4,000–5,000 |
| Bizarre Arrow chance | 9.6% | 27% |
Learn the objectives on Regular before moving to Hard. If your group keeps failing the harder version, return to Regular until everyone can handle the route. The larger reward pool is only useful when you can complete the run.


Train Raid: Prosciutto and King Crimson
Prosciutto is a fixed encounter in the Train Raid, although the other train cars can appear in different orders. The raid’s featured reward is the King Crimson Chip, which grants the full King Crimson moveset. Other possible clear rewards include Pesci’s Jacket, Arrows, and crafting materials.
Two objectives need specific actions:
- Aging objective: Take an ice pack for yourself, and use the others to protect civilians.
- Conductor’s key objective: If Pesci’s fishing line is present, dismiss your Stand and crouch behind the couches as you move.
Treat the listed loot as raid-clear rewards. Defeating Prosciutto is part of the run, not a substitute for completing its remaining objectives.
Prosciutto in the Train Raid
Highway Star Raid: finish the driving section
The Highway Star Raid offers the Highway Star Chip, Arrows, and crafting materials. Its encounter includes a driving objective between combat sections.
Follow this sequence:
- Reduce Highway Star to half health.
- Complete the driving objective while Hey Ya! tracks down the user.
- Finish the fight afterward to claim the raid loot.
Once the boss reaches the health threshold, focus on the driving objective instead of treating the encounter as an uninterrupted damage race.
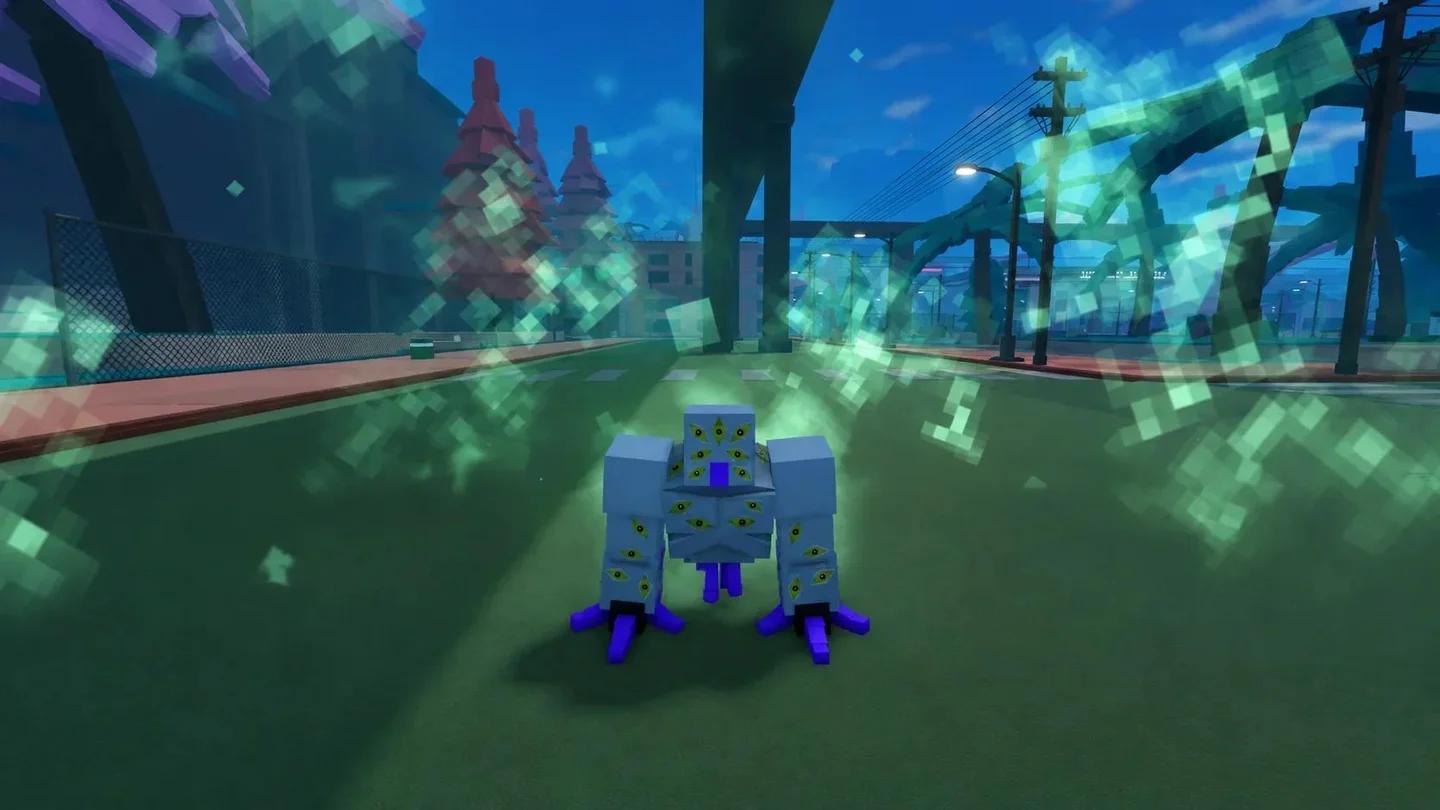
Highway Star raid encounter
Save the matching raid tokens
Each raid’s featured Chip has a 1% drop chance on Hard. The shops provide a separate purchase route:
| Item | Shop | Price |
|---|---|---|
| King Crimson Chip | Train Raid shop | 200 Train Raid Tokens |
| Highway Star Chip | Highway Star Raid shop | 200 Highway Star Raid Tokens |
| Stone Mask | Either raid shop | 40 tokens from that raid |
Buy the Stone Mask if Vampirism is your only goal. It avoids depending on DIO’s random drop, although DIO remains a useful target when you also want his Stand Chip or outfit.
Keep your tokens for the Chip if that is your priority. Check Stand Out codes for Mysterious Arrows before spending the tokens you are saving at a raid shop.
Hunt Jotaro and DIO during their spawn windows
Jotaro is a daytime world boss, while DIO appears at night. Neither has a confirmed fixed respawn timer or reliable map pin, so plan around the day-night cycle instead of counting down from the previous kill or camping one presumed spawn point.
| Boss | Spawn window | HP | Possible drops |
|---|---|---|---|
| Jotaro | Daytime | 800 | Star Platinum Stand Chip, Mysterious Arrow, Jotaro’s Jacket, and Jotaro’s Pants |
| DIO | Nighttime | 1,000 | The World Stand Chip, Stone Mask, Mysterious Arrow, DIO’s Jacket, and DIO’s Pants |
Jotaro fights with Star Platinum. DIO uses The World and Vampirism, so his encounter combines both parts of that loadout.
Contribute damage without relying on Time Stop
Both bosses scale rewards with the damage you deal. Join early enough to contribute, and use attacks you can land consistently. Keep a movement option available so you can get clear when necessary.
Both bosses can also override your Time Stop. Have another way to deal damage instead of making your entire opening depend on a free combo.
If you are choosing a Stand for these fights, the Stand Out tier list compares PvE and farming options before you commit to a Chip. Prioritize a moveset you can use reliably against the boss over one that depends entirely on an opening the boss can interrupt.
Find weather-gated quest bosses
These encounters start through NPC quests, and their listed rewards come from quest completion. Follow the required pickup or objective after the fight before moving on to another farm.
Yo-Yo Ma: find the Lettuce Trader in sunshine
The Lettuce Trader appears during sunny weather, with a changing name and location. Accept Yo-Yo, What the Hell, Ma?!, defeat Yo-Yo Ma, and collect the golden key afterward to finish the quest.
The completed quest awards:
- Three Mysterious Arrows.
- 1,500 Coins.
- A random Rokakaka Seed.
- A very low chance at a Yo-Yo Ma Chip or Harvest Chip.
Because the trader moves, use his appearance to recognize him instead of assuming a previous location will still work.
Leprechaun: follow Blackmore’s rainbow quest
Find Blackmore behind McKinley Highschool while it is raining to start Catch The Rainbow. His quest takes you to a Leprechaun at the rainbow’s end. Defeat it, pick up the cauldron, and capture the rainbow.
Completing the quest awards one Mysterious Arrow, Blackmore’s Jacket, and Blackmore’s Pants. The quest shares its name with his Stand, but it is not a guaranteed Stand unlock.
CEO of Fighting: start The Statue of Sorrow in fog
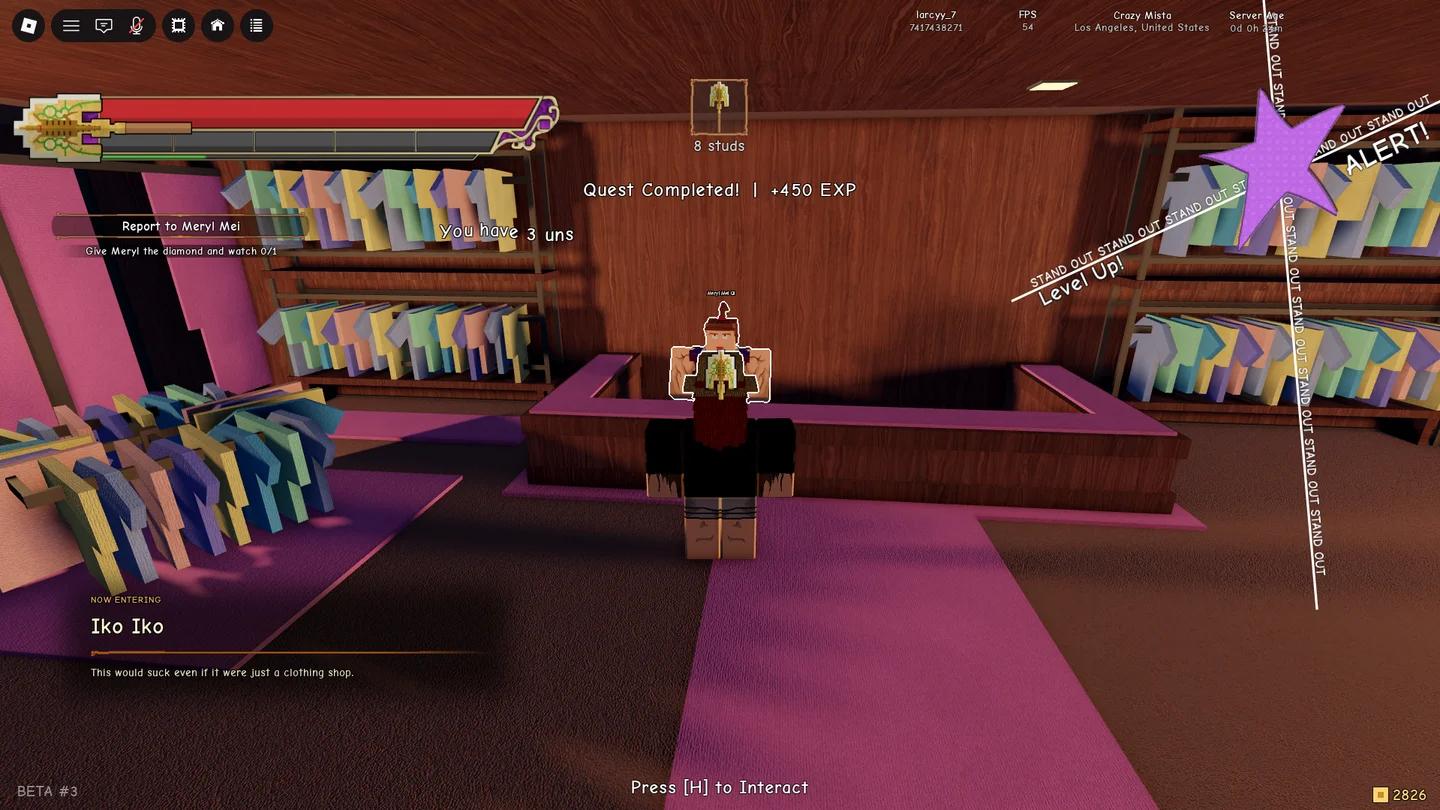
Speak to the Old Lady behind Iko Iko during fog to begin The Statue of Sorrow. Continue to Angelo, then crouch to follow the cracks toward the CEO of Fighting encounter.
Finishing the quest awards 4,000 Coins, one Mysterious Arrow, one Bizarre Arrow, and one Part 5 Mysterious Arrow.
The Rolling Stones sequence also determines an accessory reward. Lure the stone into the net for Hand of Fate. If the stone catches you, the reward is Slave of Fate instead.
Follow story objectives to reach these bosses
Use the Quests app to find your next story objective. These encounters belong to specific chapter steps, so following the active quest is more useful than searching for a roaming version of the character.
| Encounter | Location or objective | HP and Stand | Completion rewards or required action |
|---|---|---|---|
| Rohan Kishibe | Rohan’s Villa, during the diamond heist | 350 HP; Heaven’s Door | Escape the villa during the quest to receive the Blue Diamond and Lava Rock. |
| Wild Cat Size | Immediately after the villa escape, during Wild Cat Size | Three cats with 85 HP each | Complete the objective for 700 EXP and 200 Coins. |
| Charming Man | Charming Man Ambush, after opening Jodio’s food bag in the Diamotch chapter | 225 HP; Big Mouth Strikes Again | Complete the quest for 800 EXP and 750 Coins. |
| Bobby Jean | Hospital, during Defeat Bobby Jean | Glory Days | Complete the quest for 900 EXP and 550 Coins. |
| Ningbo and Laem Chabang | After returning to Iko Iko, during 200 Balloons | Ningbo: 280 HP and 200 Balloons. Laem Chabang: 200 HP and Lyin’ Eyes. | Follow the active story objective to reach the encounter. |
| Key West | Upper deck of Howler’s Yacht, during Track Key West | A stronger version of West End Girl | Follow the gold traces, then complete the pool objective when prompted. |
Against Bobby Jean, watch his firing angles and close the gap when you have an opening. His ranged pressure makes your approach part of the fight, not just the damage you deal once you reach him.
A character’s clothing is not proof that their boss encounter drops it. For Laem Chabang’s outfit, farm Ocean Crates or go metal detecting.
Finish Key West with the pool objective
When Key West is weakened and Dragona calls out the pool, get behind her and use a heavy hit to knock her into it. Continue following the objective instead of trying to finish this step through ordinary damage alone.
Before using a newly earned Stand Chip, stop at D’Arby’s if you want to keep your currently equipped Stand.