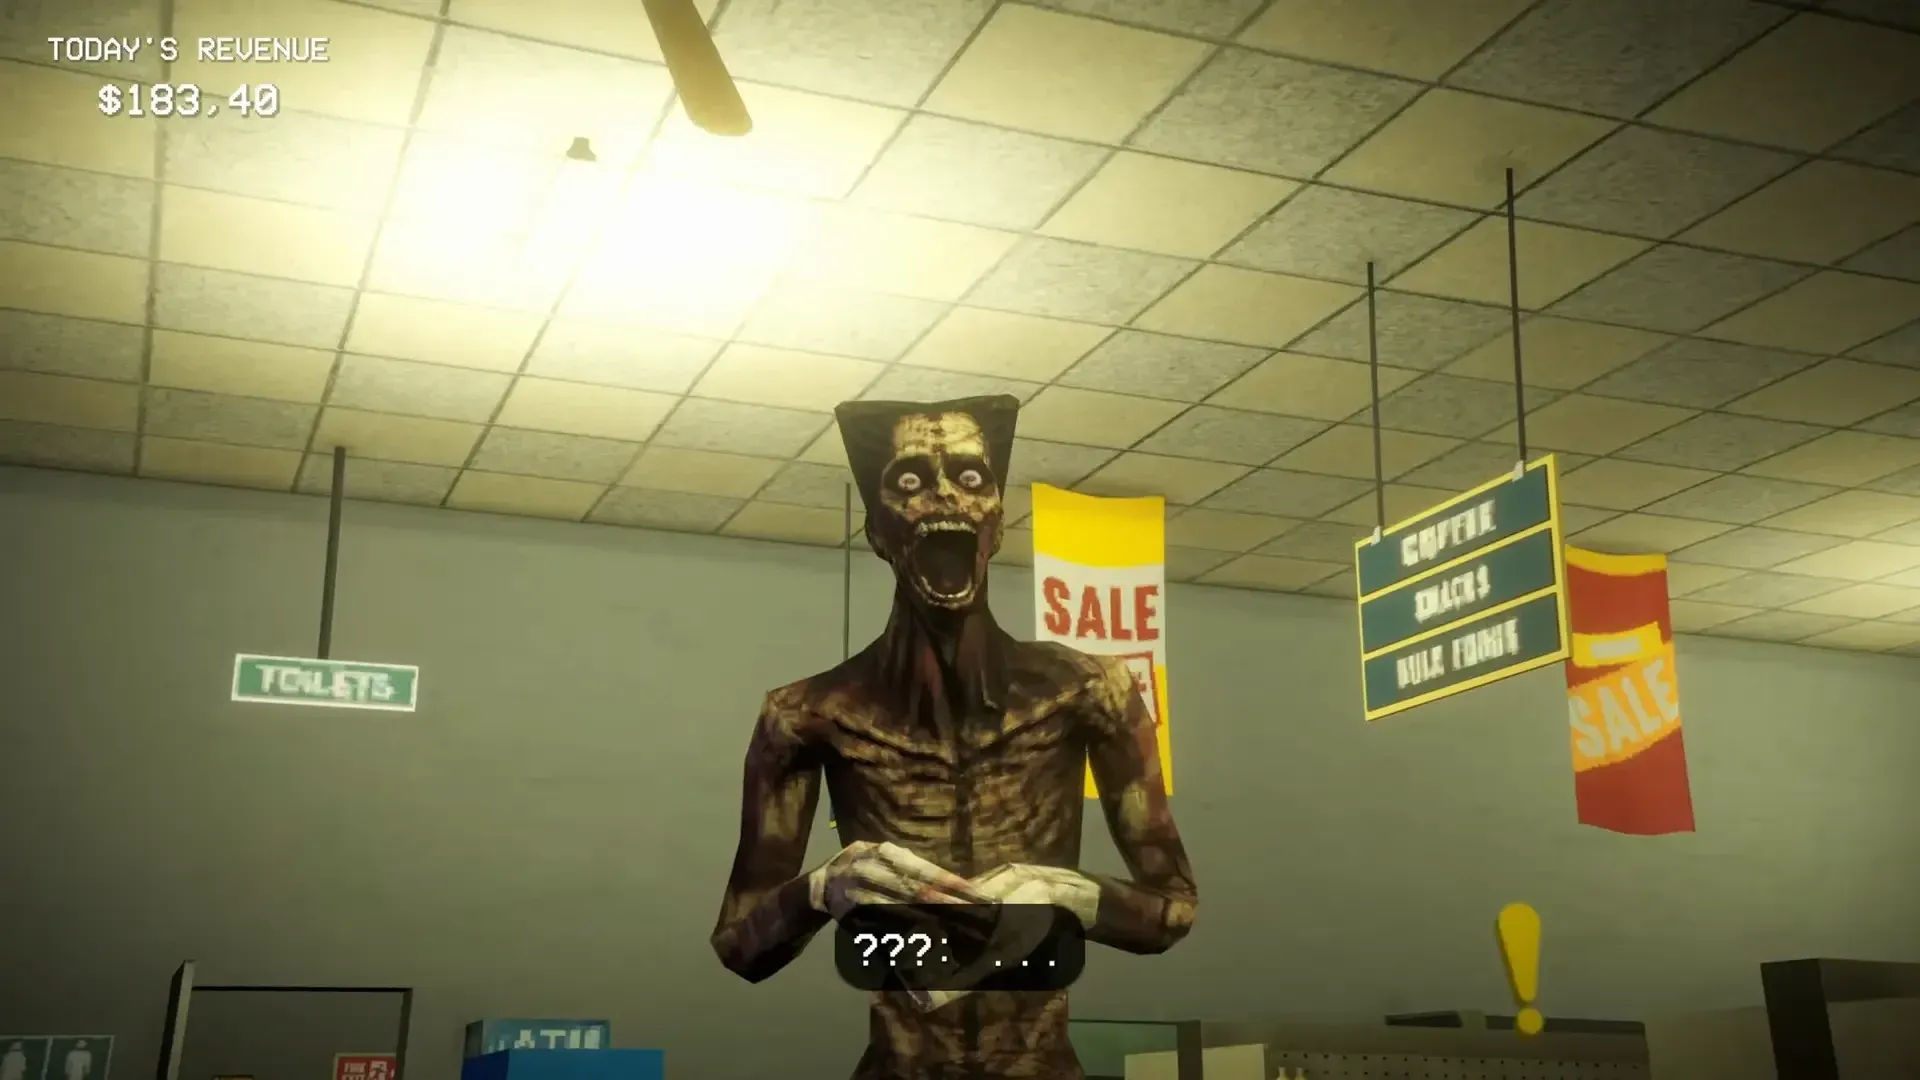


Shift At Midnight is a survival horror game where doppelgängers hunt you down through your store during increasingly brutal night shifts. Traps are your main tool for slowing, stopping, and killing these enemies before they reach you. There are three distinct traps available, each with different costs, damage outputs, and ideal use cases. Getting them wrong wastes your money fast. This guide breaks down every trap, what it does, and exactly when to deploy it.
What traps are available in Shift At Midnight?
The current build offers three traps: the Bear Trap, the Stun Mine, and the Flame Trap. You purchase all three as supplies through your checkout decks. They are not free, and costs scale with power, so spending carelessly will leave you underprepared for the harder nights.
Here is a quick breakdown of all three options:
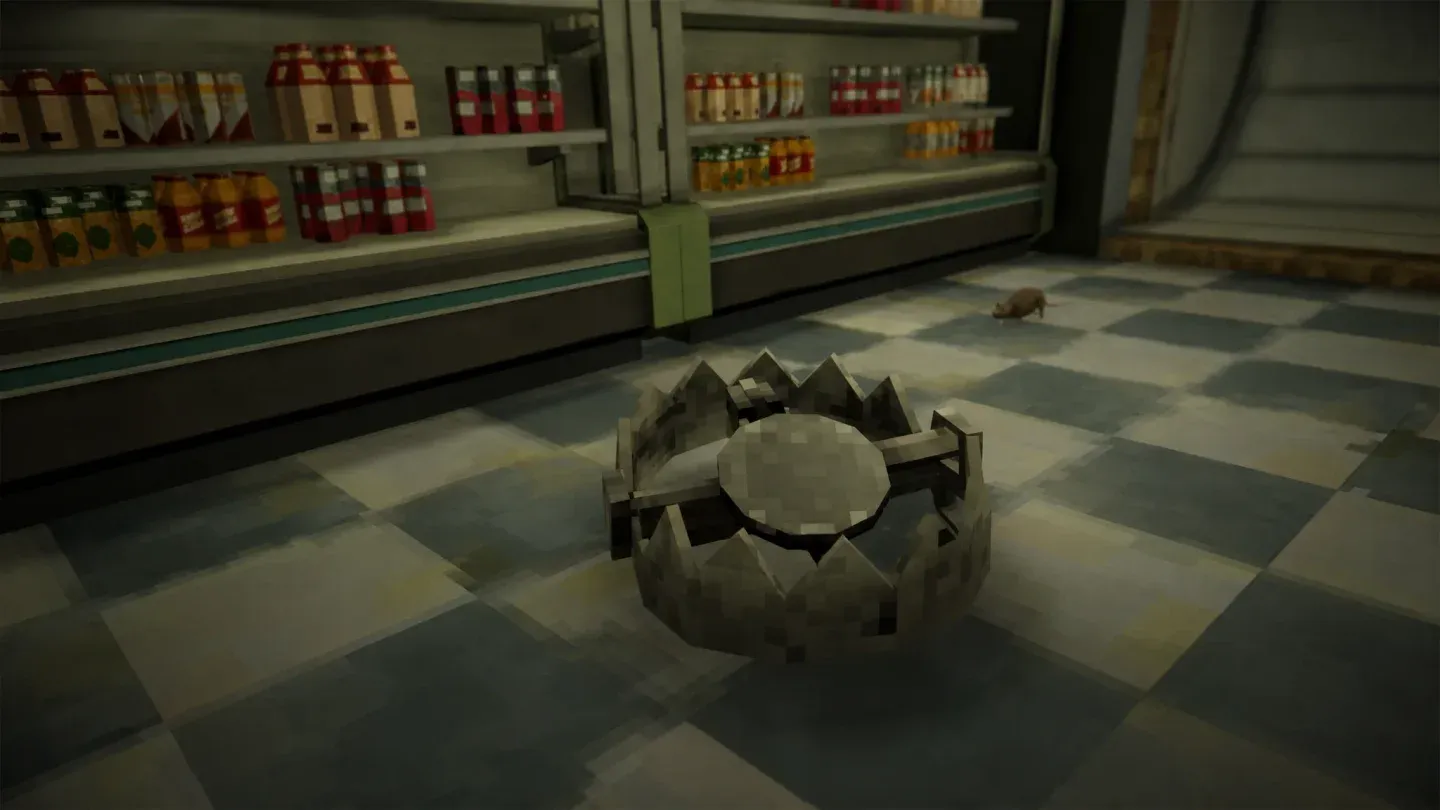
Bear Trap on the store floor
Bear Trap
The Bear Trap is the most affordable option and the one you will get the most consistent value from. It catches doppelgängers the moment they walk across it, making it a straightforward defensive tool. After testing it against the early-game enemy pool, it holds up well against Hunters and Brutes specifically. Both enemy types move predictably enough that placing a Bear Trap along their path almost guarantees a catch.
Because the cost is low, you can buy multiples without draining your resources. Place them at chokepoints, doorways, or anywhere you know an enemy will pass through. The luring tactic mentioned above is especially effective with Hunters, which tend to chase you directly.
Stun Mine
The Stun Mine works differently from the Bear Trap. Instead of catching a single enemy, it stuns every enemy and animal caught within its trigger radius. That area-of-effect behavior makes it far more useful in corridors and corners where enemies tend to bunch up during chases.
Place Stun Mines tactically along the lanes and corners where enemies chase you. The goal is to create a moment of breathing room so you can reposition or set up a follow-up trap. They are not high-damage tools, but the crowd control they provide becomes genuinely valuable once the enemy variety and aggression increases after night 8.
Flame Trap
The Flame Trap deals the heaviest damage of the three options and applies a burn effect to any enemy caught inside its radius. The trade-off is that it costs the most, and buying it too early or too often will leave you short on funds for everything else.
The Flame Trap earns its price during the final events of the game, where the strongest enemies appear. Against those targets, the raw damage output justifies the expense. Outside of those moments, leaning on Bear Traps and Stun Mines will stretch your budget much further.
How to use traps effectively across all nights
The biggest mistake players make is treating all three traps as interchangeable. They are not. Each one fits a specific phase of the game.
- Nights 1 through 7: Stick almost entirely to Bear Traps. The enemies are manageable, the traps are cheap, and you will not waste money on overkill.
- Nights 8 and beyond: Start introducing Stun Mines into your setup. Place them at the corners and lane entries where enemies chase you most often.
- Final events: This is where Flame Traps belong. Save your budget for these moments and position the Flame Traps where the strongest enemies will be funneled.
Being efficient with your money matters as much as knowing which trap to use. Traps are expensive relative to your available resources, so buying the wrong one at the wrong time compounds into a serious disadvantage by the later nights.
Which trap should you prioritize?
For most of the game, the Bear Trap is your best investment. It costs the least, works against the most common early enemies, and lets you build up resources for the harder nights. The Stun Mine becomes a genuine priority from night 8 onward, particularly for controlling chase routes. The Flame Trap is a situational finisher, not a default purchase.
If you are looking for more strategies to survive the night, the Shift At Midnight guides collection covers additional mechanics and tips beyond trap placement. Shift At Midnight sits comfortably in the indie games space where resource management and positioning matter more than raw reflexes, and the trap system is a good example of that design philosophy in action.