
Splatoon Raiders takes the colorful squid universe and drops it squarely into looter-shooter territory. Think Borderlands or Destiny, but with ink, Salmonids, and a surprisingly deep loadout system built around your Ink Tank and the Gadgets you slot into it. Picking the right Gadgets is what separates a smooth raid from getting swarmed and splattered, so here's a full breakdown of every Gadget in the game and which ones are worth building around.
How do Gadgets work in Splatoon Raiders?
Every loadout in Splatoon Raiders centers on your Ink Tank. At the start, you can equip two Gadgets from whichever Tank you have active. As you use a Tank and collect Power Eggs, it levels up and unlocks new abilities. Once a Tank is fully ranked up, you can equip three Gadgets at once, which opens up far more creative builds.
There are three Tank types, each with its own Gadget pool: Speed Tank, Power Tank, and Tactical Tank. The Gadgets you have access to depend entirely on which Tank you're running, so understanding what each Tank offers is the first step to building a loadout that actually works.

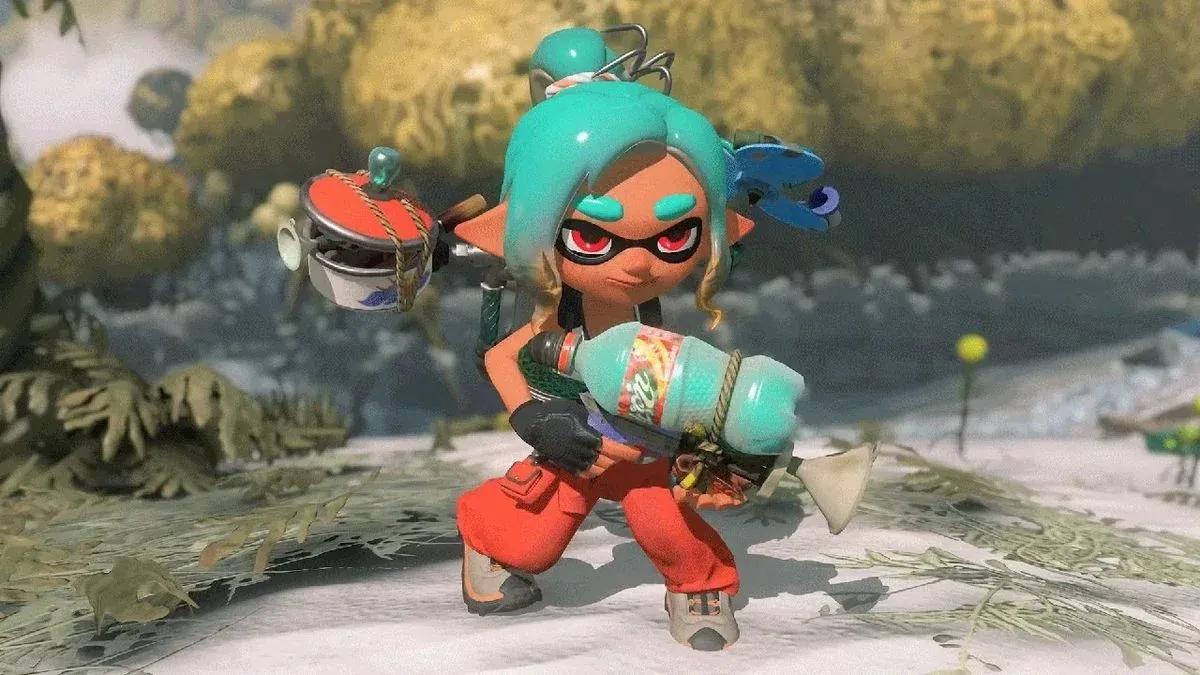
All Gadgets in Splatoon Raiders
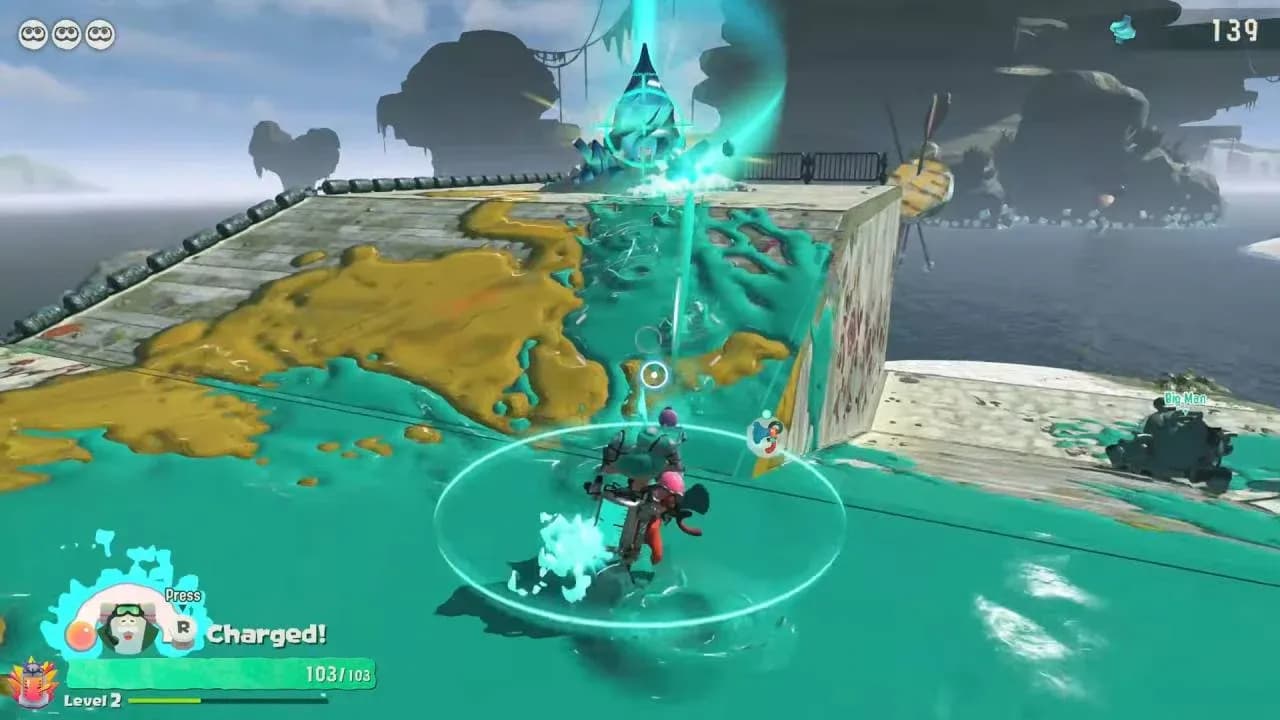
Bombloons trap chain setup
Speed Tank Gadgets
Speed Tank Gadgets reward aggressive movement and repositioning. If you find yourself constantly getting cornered by Salmonids, these tools give you the mobility to escape or punish enemies mid-chase.
| Gadget | Description |
|---|---|
| Blast Boot | Stylish footwear that creates an explosion on landing after a quick leap |
| Dash Bomb | Blasts you in a chosen direction using the left analog stick |
| Booyarang | A boomerang-style throw that arcs back and deals damage along its path |
| Jump Bomb | Launches you airborne in a chosen direction with explosive force |
| Flywire | Fires a line that zips you to where it attaches, including inkable ground, walls, and Salmonids |
Power Tank Gadgets
Power Tank Gadgets lean into raw damage output and crowd control. These are the tools you reach for when a wave of Salmonids is about to overwhelm your position.
| Gadget | Description |
|---|---|
| Splatchet | Rushes forward and slashes in a wide arc, hitting multiple enemies at once |
| Spinwheel | Sends Salmonids flying as it rolls forward; hold the button to lock on to Boss Salmonids |
| Splatellites | Orbits eight ink discs around you, inking the ground and damaging nearby enemies |
| Meteor Mitt | Delivers massive ground-slam damage from height, with a period of airborne invincibility |
| Shellacker | Charges up to fire an exploding ink blast; longer charge equals bigger explosion |
Tactical Tank Gadgets
Tactical Tank Gadgets focus on area control, traps, and sustained damage over time. A fully upgraded Tactical Tank with the right three Gadgets can practically run itself while you focus on positioning.
| Gadget | Description |
|---|---|
| Shot Pot | An auto-turret that fires at nearby crates and Salmonids without any input from you |
| Hi-Fiver | Shoots five simultaneous ink lines that bounce off terrain, with static lines that damage Salmonids |
| Bombloons | Explodes when attacked by a weapon; chaining multiple Bombloons together scales up the explosion |
| Tether Wail | Connects you to a laser that thickens and deals more damage the longer you extend it |
| Torqscrew | Deploys on ground or walls to create a vortex that sends Salmonids flying |
What are the best Gadgets in Splatoon Raiders?
After testing all three Tank types extensively across endgame content, the Tactical Tank build with Shot Pot, Bombloons, and Meteor Mitt holds up as the strongest general-purpose setup. Here's why each piece earns its slot.
Shot Pot is the backbone of this build. A fully upgraded Shot Pot with strong Parts equipped handles a surprising number of Salmonids entirely on its own. Drop it, let it work, and spend your attention on positioning and the bigger threats.
Bombloons pull double duty as a trap layer and an emergency escape tool. Place them at Salmonid spawn points to punish incoming waves, or pop one at close range when things get too hectic. Linking multiple Bombloons together dramatically increases the blast radius, which makes them especially effective in tight corridors.
Meteor Mitt is the panic button. When you're getting swarmed and need to reset the situation, going airborne gives you a brief window of invincibility while the slam deals massive damage on landing. It's the kind of Gadget that wins rounds that looked lost.
For players running the Speed Tank, the combination of Flywire and Jump Bomb is worth serious consideration. Flywire gets you across the map or out of a bad spot faster than almost anything else, and Jump Bomb pairs naturally with it for explosive repositioning when Salmonids close in.
For more strategies and loadout breakdowns, the full Splatoon Raiders guides collection covers everything from early-game progression to advanced raid tactics. If you're new to shooter games and want context on how Splatoon Raiders fits the genre, that's a solid place to start before jumping into harder content.