
Splatoon Raiders gives you three distinct ink tanks to build around, but the upgrade system is where most players leave serious power on the table. Spending Skill Points on the wrong stats early means slower clears, messier runs, and a rough time once Salmonids start hitting harder in the late game. This guide breaks down exactly which upgrades to grab first, how each tank should be built, and when to release the Tank Limiter for maximum sustain.
What are the best tank upgrades to prioritize?
Weapon Damage is the single most impactful stat you can invest in. Every weapon you equip benefits from it, so there is no wasted spending here. Higher Weapon Damage means Salmonids go down faster across every dungeon type, which directly improves your run efficiency regardless of which tank you are using.
After Weapon Damage, move to Gadget Damage and Gadget Part Slots. Gadget Damage amplifies your active abilities, while more Part Slots mean you can stack additional modifiers onto each gadget. The combination of these two upgrades opens up the burst potential and sustained output that makes late-game missions manageable.
HP sits at the bottom of the priority list. Survivability matters, but pumping points into health before your damage stats are solid just means you survive longer while killing things slower. Upgrade HP only when you notice you are getting one-shotted or struggling to stay alive through specific encounters.
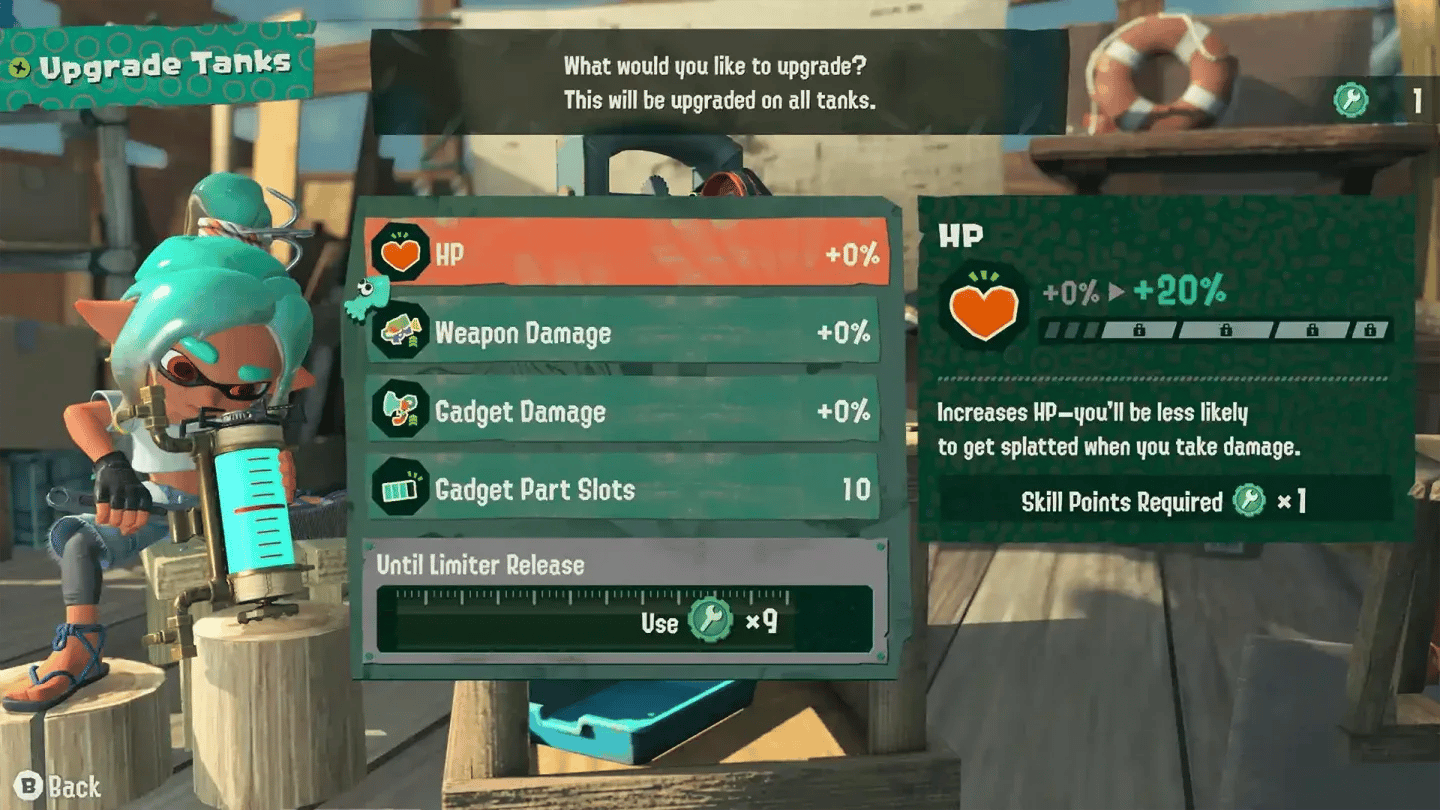
Releasing the Tank Limiter

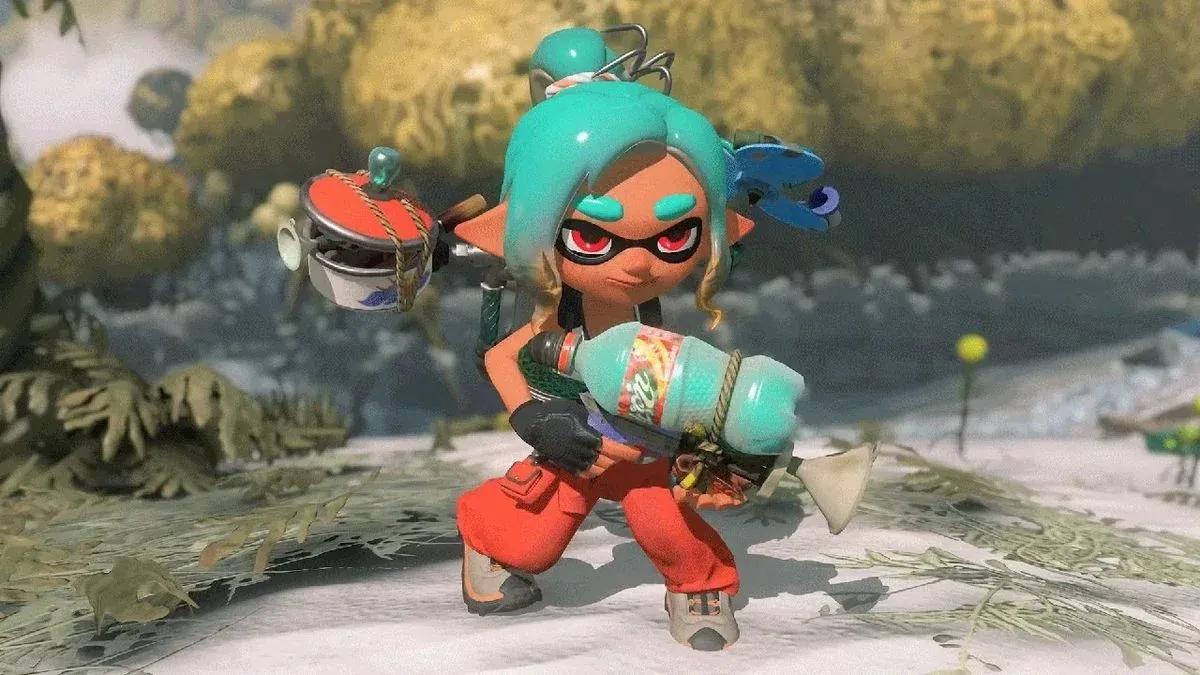
How do you unlock the Tank Upgrading Facility?
The facility is built through Hideout Ship Construction using Salty Tongue's Bucket x5 and Spirhalite Shards x500. It becomes available to construct at the start of the game once you reach a certain story checkpoint, making it one of the first constructions worth targeting. All stat upgrades cost Skill Points, so farming those efficiently keeps your progression moving.
How to release the Tank Limiter
Once you spend enough Skill Points across the upgrade tree, you unlock the option to release the Tank Limiter. Removing it expands your ink tank's storage capacity, letting you attack enemies for longer stretches before needing to refill. For aggressive playstyles or builds centered on sustained gadget uptime, this is a meaningful quality-of-life improvement that compounds well with Cooldown Reduction upgrades.
Best Tactical Tank build
The Tactical Tank is the strongest choice for mid-to-late game content. Its gadget selection rewards players who want automated damage output and strong mobility.
Core gadgets:
- Shot Pod (primary): Deploys an auto-turret that attacks enemies continuously without requiring your direct input
- Torqscrew (secondary): Lets you fly in mid-air, dodge incoming attacks, and reduce damage taken while airborne
- Splatlights (third slot, unlocked later)
Shot Pod upgrades to stack:
- Fire Rate Up
- Auto Trigger on Hit
- Double Trouble
- Blaster
- Knockback Gas
- Cooldown Reduction
- Duration Up
Torqscrew upgrades to stack:
- Floaty Fun
- Damage Reduction
- Area Width Up
- Vertical Area Up
- Suction Force
- Ferment
- Cooldown Reduction
- Duration Up
Relic Powers for Tactical Tank:
- Gadget Recovery
- Speed Up
- Gadget Recovery (Enemy Defeat)
- Gadget Recovery (Flying)
- Danger Burst
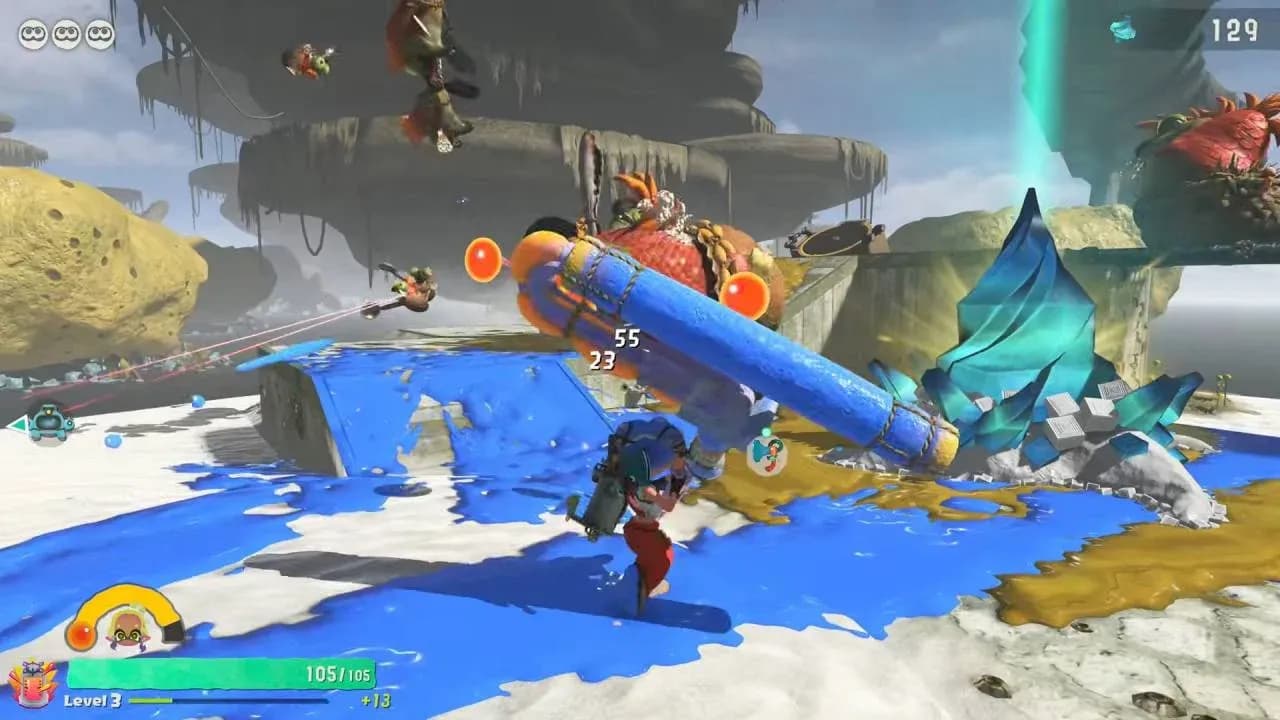
Shot Pod upgrade loadout
Best Power Tank build
The Power Tank is the go-to choice for early game. High survivability and a strong starting gadget make it forgiving while you learn the systems. It is also worth leveling because gadgets unlocked here carry over to benefit your Tactical Tank later.
Core gadgets:
- Splatlights: Continuously paints the ground, improving movement, ink recovery, and escape options
- Hatchet: Secondary gadget
Splatlights upgrades to stack:
- Splat Area Up
- More Splatlights
- Auto Trigger on Hit
- Knockback
- Scorch
- Duration Up
- Cooldown Reduction
With enough Cooldown Reduction, Splatlights can stay active almost permanently, keeping the ground painted and your mobility high throughout every fight.
Relic Powers for Power Tank:
- Speed Up
- Gadget Recovery
- Gadget Recovery (Taking Damage)
- Finishing Burst
Best Speed Tank build
The Speed Tank is the weakest of the three overall, but it has a defined niche. Played correctly, it handles dangerous situations with sharp mobility and can maintain ink supply better than most players expect.
Core gadgets:
- Blast Boot: Ideal for repositioning quickly or jumping into combat
- Booyarang: Keeps your ink supply topped up during extended fights
Blast Boot upgrades to stack:
- Explosive Range Up
- Damage Surge
- Freeze
- Ink Recovery
- Explosive Damage Up
- Cooldown Reduction
Booyarang upgrades to stack:
- Added Ink
- Persistent Booyarang
- Auto Trigger on Hit
- Damage Up
Relic Powers for Speed Tank:
- Speed Up
- Gadget Recovery
- Gadget Recovery (Movement Speed)
- Mega Power Egg Burst
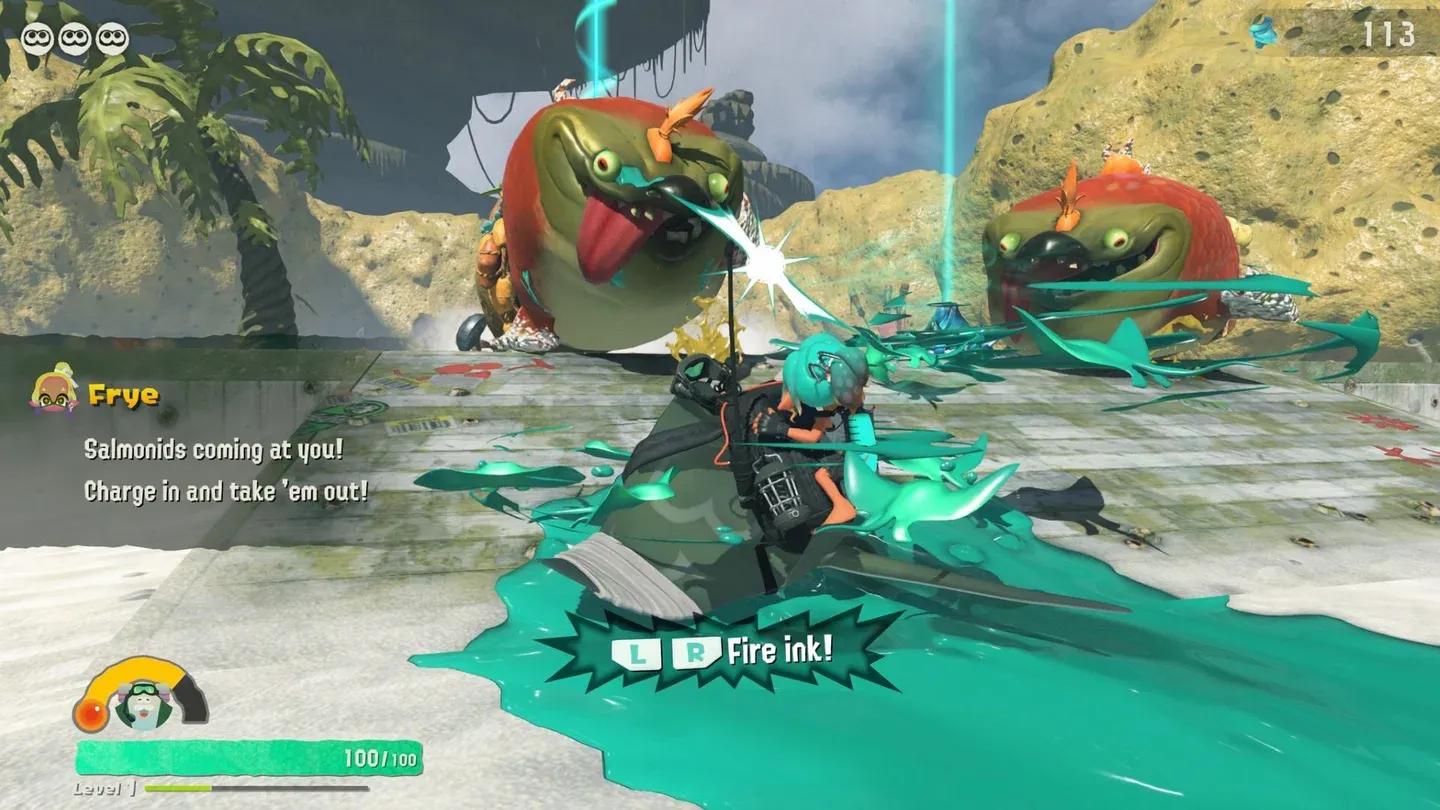
Booyarang upgrade options
Which tank should you use first?
Start with the Power Tank. It handles early dungeon pressure well and teaches you the gadget system without punishing mistakes too harshly. Once you reach mid-game, transition to the Tactical Tank for its superior crowd control and automated damage output. The Speed Tank is a fun side project once your other tanks are developed, but do not rely on it for your primary progression push.
For a deeper look at which gadgets pair best with each tank type, the best gadgets guide for Splatoon Raiders covers every Gadget by tank category with endgame loadout recommendations. If you want to understand the full weapon selection available to you, the all weapon types guide explains how to unlock, upgrade, and scrap every option from Shooters to Splatanas.
For everything else, the full Splatoon Raiders strategy guide collection has you covered from early dungeons through endgame content.