
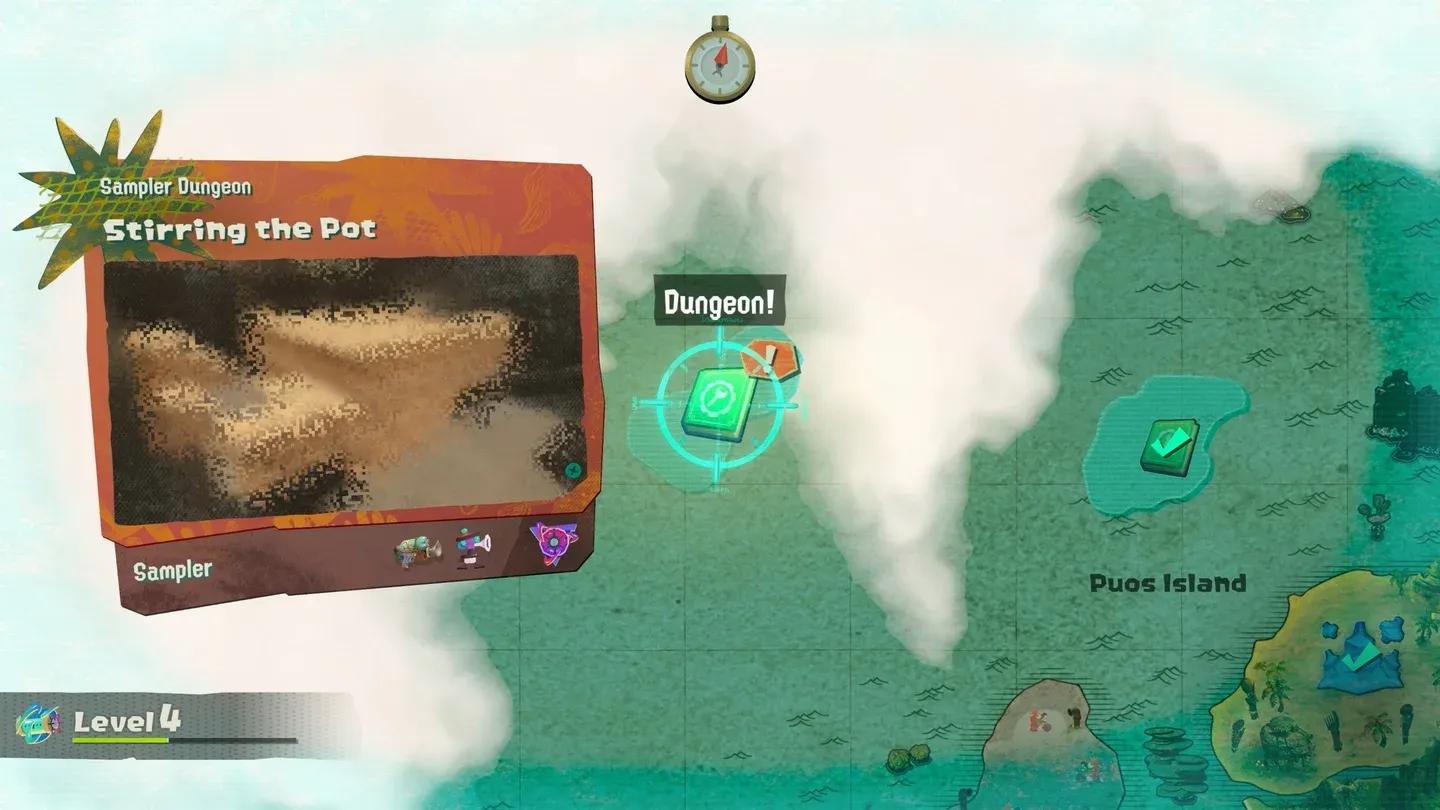
Old Compasses are one of the best reasons to revisit stages you've already cleared in Splatoon Raiders. Each one you find gets added to your overworld map and points you toward a hidden Sampler Dungeon, which rewards a Skill Point on completion. There are 24 total: 21 tucked inside blue breakable crates across the game's stages, and 3 earned by beating specific Buried Ruins on Super Spicy difficulty. Miss one and you're leaving free Skill Points on the table.
What are Old Compasses and why do they matter?
Compasses function as a two-step collectible. First you find the physical compass hidden in a stage, then you take it to the overworld map and use it to locate a Sampler Dungeon. These dungeons often restrict your weapon or gadget options, making them a puzzle-style challenge similar to the Octo Expansion stages from earlier games. Clearing one always pays out a Skill Point, so completionists and anyone pushing their build forward will want every single compass tracked down.
Blue crates hold compasses
Blue crates are the ones you're hunting. Plain crates drop weapons or Spirhalite gems, orange crates hold Briny Scrolls, and blue crates always contain a compass. Once you know the color-coding, you'll stop smashing random crates hoping for a lucky find.

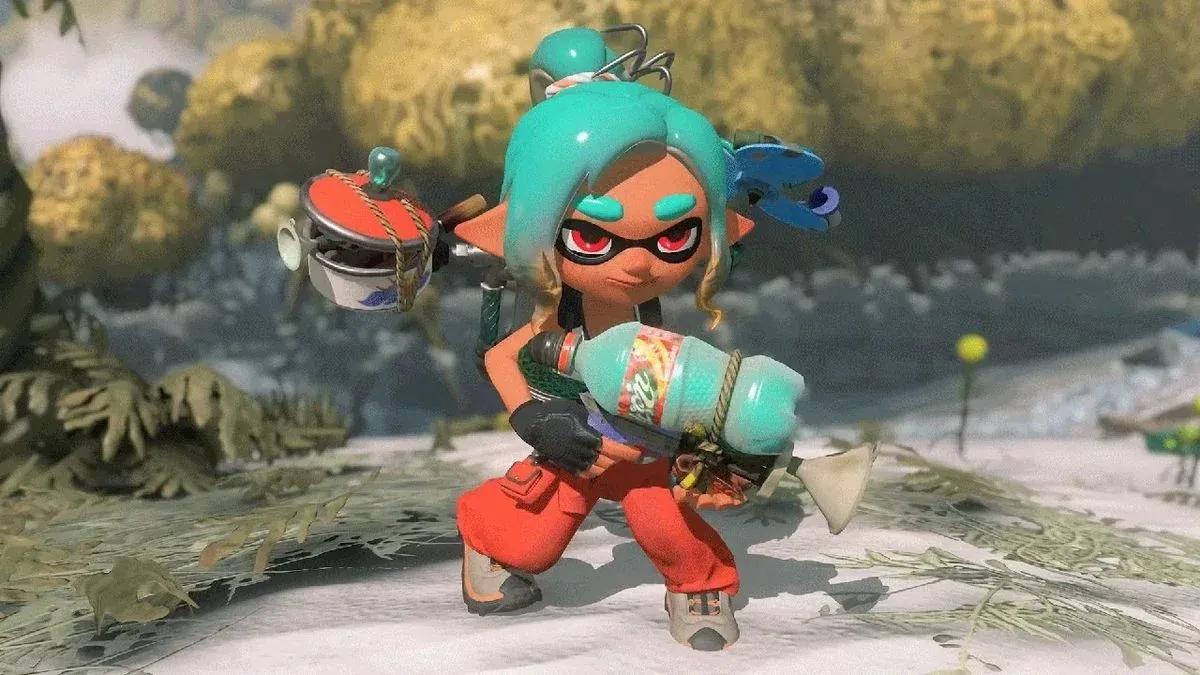
All Old Compass locations in Splatoon Raiders
Early-game stages (Erpp and Puos Islands)
Tumetto Rocks - Head past the second small crystal into the next arena, then use Bot Hop to reach the small island sitting between two palm trees. The blue crate is right there.
Lintle Inlet - Follow the path past the large crystal to the first small crystal arena, exit left, cross the bridge with the gap in its center, then use the green trampolines ahead to bounce up to a raised platform. Break the blue crate at the top.
Pipyoni Cliffs - After using the moving walkway to launch across a small gap, look left immediately on landing. The blue crate sits in a narrow passage through the cliff face.
Carbanyara Wetlands - Push into the arena just before the second surfboard section and check the back-right corner. The crate is sitting in plain sight.
Fridda Trail - Work through the inkrail section, ride the moving walkway across a gap, land, then look left. Use Bot Hop to cross to the platform holding the crate.
Taytur Rocks - Use the air current to the left of the large starting crystal. Continue forward to a small bridge and drop through the air ring at its midpoint to ride a wind current down to an island with the crate. Watch for enemies on landing.
Soyu Cliffs - Follow the path to a metal grate overlooking the second small crystal. Before dropping, use Bot Hop to reach the platform on the cliff face, then hop again to the platform above it where the crate waits.
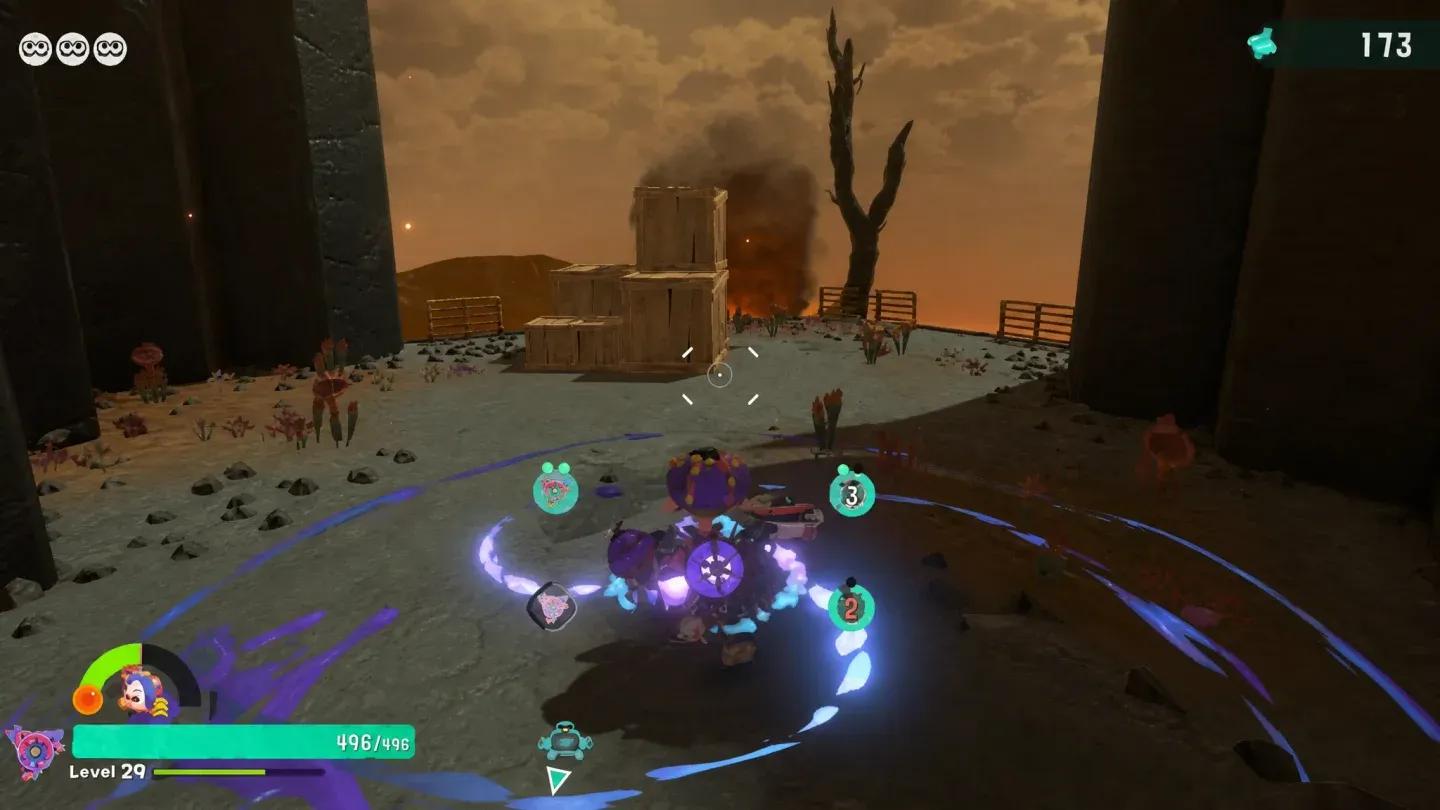
Yaksubi Volcano - After the section with consecutive jumps on tall plants, look left in the next arena. There is a small alcove near a burned tree with a cluster of crates. The blue one is tucked behind the regular crates.
Uven Crater - This one requires zero detour. Follow the path past the first crystal, drop down, and the crate is on your right at the bottom before the tall plant section.
Vanilo Mountain - Reach the first small crystal, then enter the icy corridor on the right. Ink the sides of the three platforms on the slippery slope, climb them in squid form, and follow the path to the crate at the far end.
Kreyp Lava Lake - Go to the back of the stage to find a small bridge opposite a smoky island. At the bridge's center, fall through the rings hovering above the lava to hit an air current. The crate is on the island when you land.
Sahlse Vents - In the area just before the final crystal, several islands are connected by air currents. Go to the first island on the right to find the crate.
Sampler Dungeon map overview
Mid-game stages (Tygoru and Zapiz Islands)
Choclet Iceberg - From the large starting crystal, take the right-side path. Use squid form to slip through the square grate in the floor and drop into the underground cave. The crate is down there.
Seaza Mountains - Find the icy slope traversed by boosting off tall plants. At the end of the plant section, look right to spot a platform with the blue crate.
Baygull Beach - Head to the dock area at the back of the stage near the small crystal. The crate is right there, though a Stinger's ink blasts make it a bit more hectic to grab.
Kurmuh Lava Flows - Ride the inkrail past the first small crystal and continue to a platform stacked with crates. The blue one is in the pile.
Toonya Glacier - Advance to the area where small platforms rotate in circles through the water. Enter the alcove on the left side of this section to find the crate.
Sweeshrim Peak - After the inkrail section past the first crystal, reach the small arena with the frozen flower. The crate is in the back-right alcove of that arena, surrounded by Sparky Salmonids.
Yillatay Icicles - Climb the slope immediately left of the first crystal. The blue crate is at the top, visible from the hill.
Rinboh Lake - Follow the right-side path from the large starting crystal. The crate is in the alcove directly behind the Big Shot enemy on the concrete slope.
Krimpuf Cave - In the arena with the first small crystal, locate the ice pillar embedded in the back-right wall. Shoot the propeller on the pillar to break the wall and expose the blue crate behind it.
Super Spicy Buried Ruins (endgame compasses)
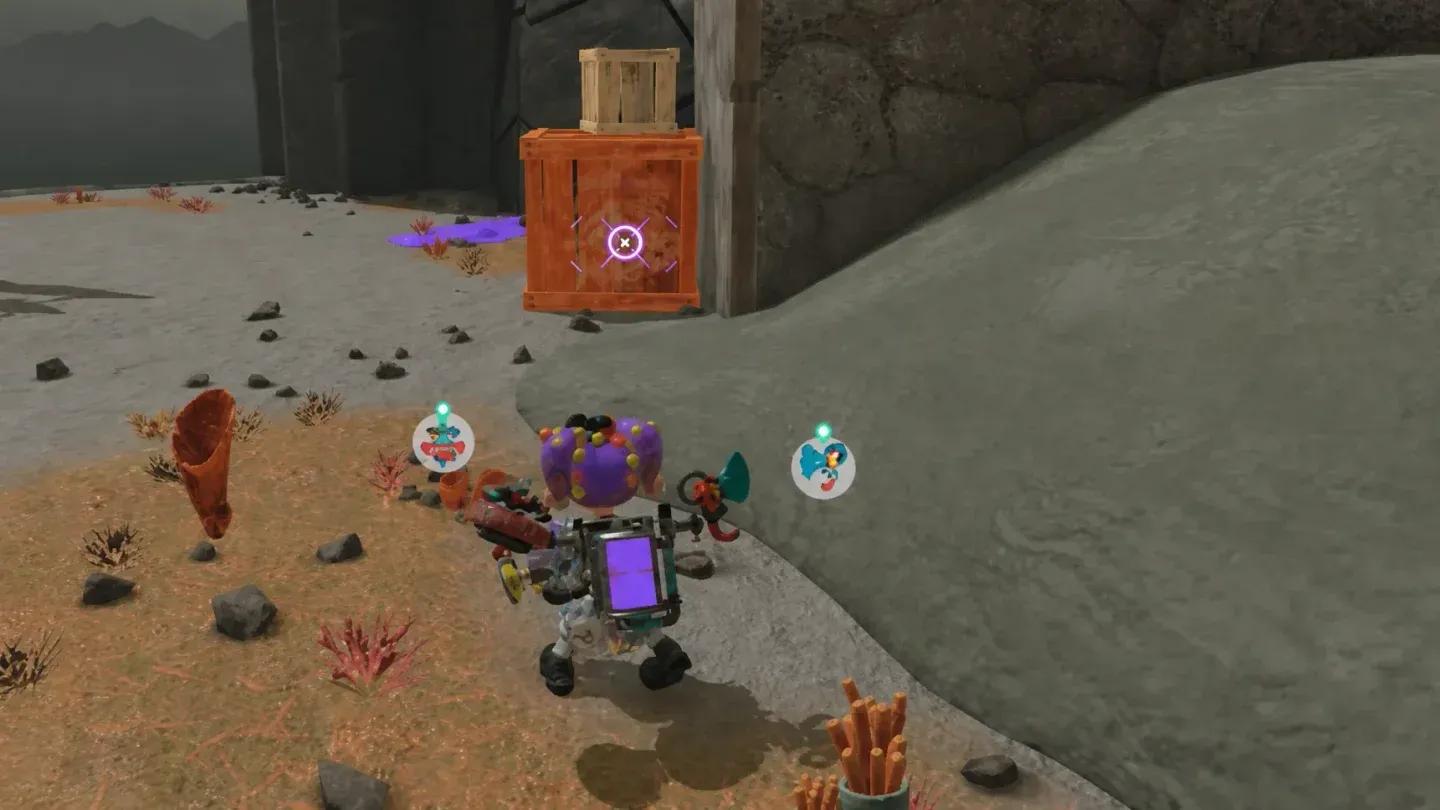
The final 3 compasses do not come from blue crates. They are rewards for clearing three specific Buried Ruins on Super Spicy difficulty:
| Buried Ruins | Compass Reward | Sampler Dungeon Unlocked |
|---|---|---|
| Chowda Buried Ruins | Old Compass | Full-Course Power Feast |
| Unnyarang Buried Ruins | Old Compass | Full-Course Tactical Feast |
| Minchup Buried Ruins | Old Compass | Full-Course Speed Feast |
Super Spicy rewards an Old Compass
How do the three compass types work?
Once a compass is in your inventory, you use it on the overworld map to track down its associated Sampler Dungeon. Each of the three compass colors operates differently, and knowing the method before you start saves a lot of map-cursor fumbling.
Blue compass: expanding circle method
The blue compass reacts to cursor movement direction. Zoom out to mid-zoom on the map, then push the left joystick firmly in one direction. The circle fills with blue when you move toward the dungeon and drains when you move away. Work horizontally first: sweep left until the blue disappears, note that position, then repeat vertically. Once the cursor sits directly over the dungeon location, the A button prompt appears. Press it to reveal the dungeon.
Orange compass: proximity meter method
The orange compass has a rising bar that fills as you move the cursor closer to the dungeon. Keep steering toward whatever direction causes the bar to rise. When the bar is full and you are standing directly over the correct spot, the A button prompt appears.
Yellow compass: needle method
The yellow compass is the most direct. Its needle points straight at the dungeon. Follow the needle until it begins spinning, which signals you have arrived. Press A to reveal the dungeon.
Spinning needle means you're there
What do Sampler Dungeons reward?
Every Sampler Dungeon hands out a Skill Point on completion. These are the same points you earn from other sources and spend on upgrades, so clearing all 24 compasses represents a meaningful progression boost. The dungeons themselves vary in difficulty and often impose weapon or gadget restrictions, which makes them more interesting than standard dungeon runs. Think of them as optional challenge stages that pay out.
For more on building around your Skill Points, the Splatoon Raiders weapon types guide breaks down every weapon category and how to unlock them. If you want to optimize what you equip before heading into restricted Sampler Dungeons, the best gadgets guide covers which gadgets perform best across each tank type. And if you are working toward 100% completion, the full outfit unlock guide covers all 39 outfits and their exact unlock conditions.
For a full breakdown of everything else to do in the game, the Splatoon Raiders strategy guides collection has you covered from early dungeons through to endgame content.