


Valheim biome progression guide: every zone in order
Valheim is built on a simple but satisfying loop: survive a biome, gear up, beat the boss, unlock the next zone. Each area introduces new enemies, new resources, new environmental threats, and a boss that gates your progress. This guide covers every biome in order, from the peaceful Meadows all the way through the volcanic Ashlands, with a focus on what to prioritize, what gear actually matters, and how to beat each boss without wasting hours of progress.
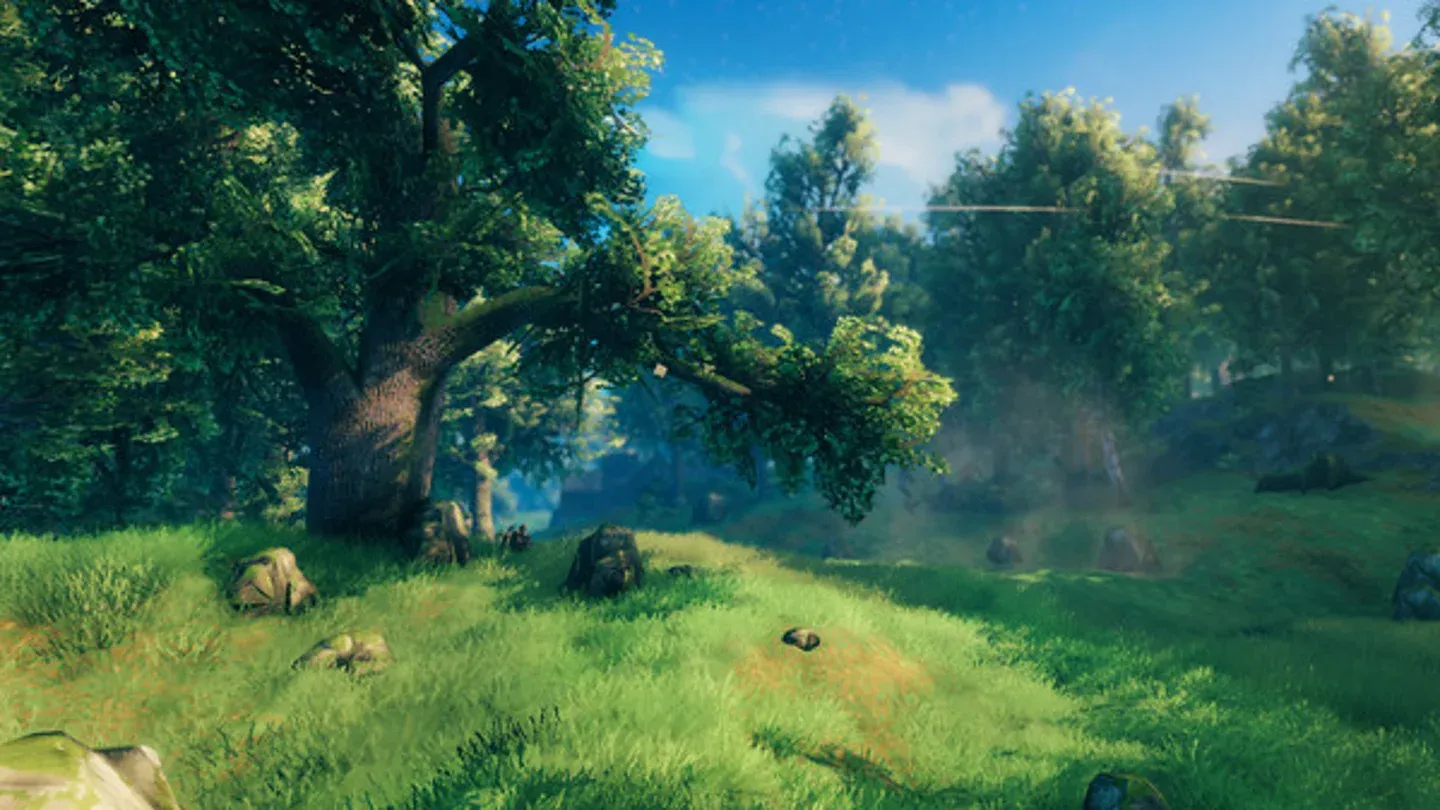
Meadows biomes starting area
What is the biome order in Valheim?
Valheim's biomes follow a clear progression path. You cannot simply skip ahead; each boss drops an item or key that opens up the next zone. The order is:
The Deep North is Valheim's final biome added in 1.0, with its own boss, Kall Fimbulbringer, requiring 3 Malicious Blood at the Strange Bowl.
Meadows: how to get started
The Meadows is where every run begins. Enemies are manageable, resources are plentiful, and the biggest threat is wandering too close to a Black Forest border. Your job here is to build a functional base, establish food habits, and prepare for Eikthyr.
Grab Wood, Stone, Flint, Leather Scraps, and Deer Hide early. Flint appears near water and gives you access to your first real weapon upgrades. Hunting Boars, Deer, and Necks keeps your food supply stocked; running with three active food effects dramatically increases your Health and Stamina compared to eating nothing.
For weapons, the Flint Spear is a strong early pick because it's cheap and fast. Keep a Club handy for when you start running into Skeletons near the Black Forest. A Crude Bow makes hunting Deer significantly easier and lets you handle dangerous enemies from a safe distance.
How to beat Eikthyr
You need 2 Deer Trophies to summon Eikthyr at his altar. His attacks are telegraphed clearly: lightning-based frontal blasts and close-range melee swings. Use the large stones around the altar to break line of sight during his lightning barrages.
The safest approach is keeping distance and using a Bow. If you prefer melee, wait for him to finish an attack before committing to a few hits. Never drain your full Stamina bar, because you need enough left to dodge his next swing.
Defeating Eikthyr drops Hard Antlers, which craft the Antler Pickaxe and unlock Bronze Age progression.
Black Forest: bronze age begins
The Black Forest is where Valheim opens up considerably. Greydwarfs patrol in groups, Trolls can delete an underprepared character in seconds, and Bears are a serious early threat with valuable drops. Your first trips should focus on scouting rather than clearing everything.
Two resources matter most immediately: Surtling Cores from Burial Chambers (required for your Smelter and Charcoal Kiln) and Copper and Tin for Bronze progression. Mark every Burial Chamber, Copper deposit, and Troll Cave you find.
Remember that ores cannot be transported through Portals, so plan your routes accordingly.
What gear is worth crafting in the Black Forest?
- Bronze Axe: Your first must-craft. Cuts Birch and Oak for Fine Wood and opens up several important recipes.
- Finewood Bow: A large improvement over the Crude Bow. Ranged combat stays useful against Trolls throughout this zone.
- Troll Armor: Lighter than Bronze Armor with less raw protection, but the mobility difference is significant. Strong choice if you prefer movement over defense.
- Bear Armor and Bear Claws: The full Bear Set sits between Troll and Bronze in protection and provides a set bonus. Combined with Bear Claws, this is one of the strongest early melee setups available.
- Bronze Buckler: If you're comfortable with parrying, this is one of the best defensive upgrades at this stage. Successful parries stagger enemies and open them up for heavy damage.
- Cultivator: Not a weapon, but essential. Plant Carrot Seeds found in the Black Forest to start farming, which improves your food and Cauldron recipes.
How to beat The Elder
The Elder requires 3 Ancient Seeds offered at the Ancient Bowl. His location is revealed by Vegvisir runestones inside Burial Chambers.
He fires vine projectiles at range and summons roots from the ground around you. The stone pillars at his altar block his vine barrages entirely; use them as cover rather than trying to dodge every shot. When roots appear around your position, reposition rather than trying to kill them all.
Fire damage is particularly effective against The Elder. Fire Arrows are the most accessible option and make the fight go significantly faster.
Defeating him drops the Swamp Key, which opens Sunken Crypts.
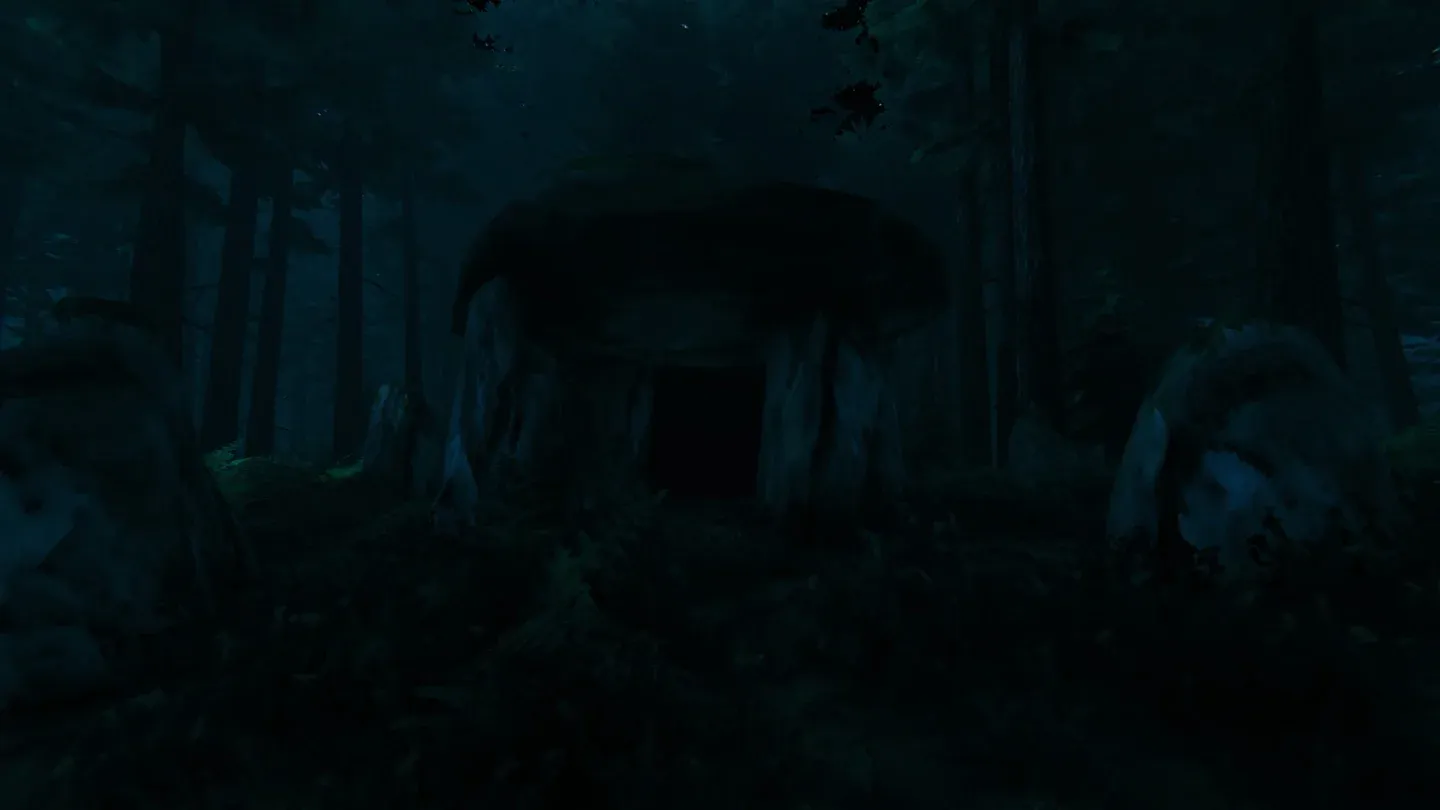
Black Forest biomes dungeon entry
Swamp: midgame begins here
The Swamp is where Valheim stops being forgiving. You're almost constantly Wet, which reduces Stamina regeneration. Visibility is poor, enemies hit harder, and Poison is everywhere.
Before entering seriously, prepare Poison Resistance Mead. Blobs, Oozers, and Leeches all apply Poison, and without resistance it becomes nearly unmanageable. Place a Portal at the biome's edge before pushing deeper, and plan for moving Iron by boat since it cannot go through Portals.
Key Swamp enemies to know
- Draugr Archers: Prioritize them in group fights. Their ranged attacks punish you while you're focused on melee enemies.
- Blobs and Oozers: Slow but dangerous. Oozers split into Blobs on death. Poison Resistance Mead makes these trivial.
- Wraiths: Night-only enemies that approach from above and deal heavy damage fast. Avoid night exploration early.
- Abominations: Emerge from the ground, hit extremely hard, but drop Roots for the Root Armor set. Fire damage works well against them.
The most important gear upgrades here:
- Iron Mace: Blunt damage performs well against Swamp enemies and is specifically strong against Bonemass.
- Root Armor: Useful for Bow builds. The Root Harnesk provides Pierce resistance that remains relevant well beyond the Swamp.
- Huntsman Bow: Stronger than the Finewood Bow and quieter when firing.
Mark every Surtling Geyser you find. Lowering the terrain around one until water covers it causes Surtlings to die on spawn, giving you a renewable source of Surtling Cores and Coal.
How to beat Bonemass
Bonemass requires 10 Withered Bones offered at the Boiling Death Altar. He is highly resistant to most damage types, but Blunt damage cuts through his resistances, making the Iron Mace the obvious weapon choice.
His Poison cloud is the most dangerous part of the fight. Have Poison Resistance Mead active for the entire encounter. He also throws a mass that spawns adds; deal with Blobs and Skeletons before they overwhelm you.
The Swamp's constant Wet debuff reduces your Stamina regeneration, so do not spend your entire bar attacking. Bait an attack, dodge or reposition, land a few Mace hits, then back off.
Defeating Bonemass drops the Wishbone, which locates hidden Silver deposits in the Mountains.
Mountains: cold is the real enemy
The Mountains introduce a new environmental threat: freezing temperatures. Without Frost protection, you take continuous damage while exposed. Prepare Frost Resistance Mead before your first serious Mountain expedition, or farm enough Wolf Hide for a Wolf Fur Cape once you can.
Equip the Wishbone from Bonemass and explore high-altitude areas. It pulses when you're near a hidden Silver deposit. Dig into the mountain with an Iron Pickaxe to mine it.
Silver is heavy and cannot go through Portals, so plan your transport route before mining large amounts.
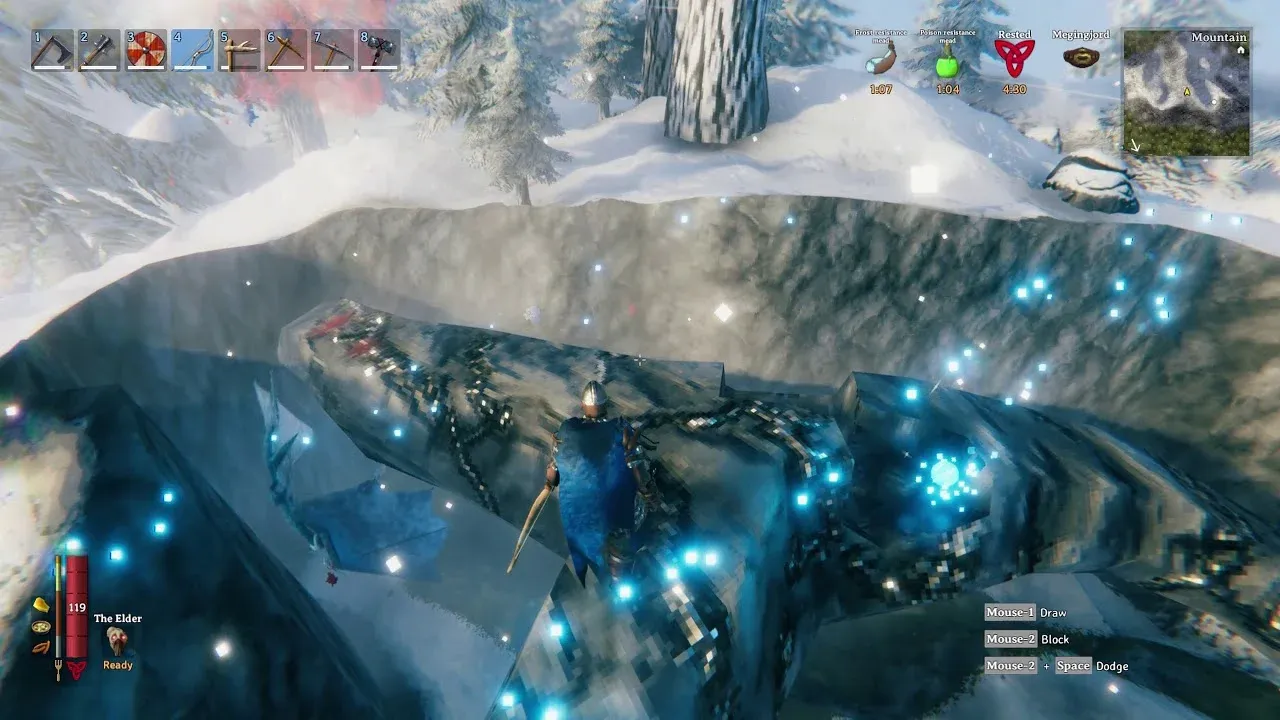
Mountain biomes Silver mining
Best Mountain gear picks
- Wolf Armor: Provides Frost protection, meaning you no longer need to rely on Mead every trip. Solid defensive upgrade over Iron.
- Frostner: Deals Blunt, Frost, and Spirit damage. The Frost component slows enemies, making it excellent for controlling aggressive melee threats. Requires materials from multiple sources but stays useful well past the Mountains.
- Draugr Fang: One of the best Bow upgrades in the game. Adds Poison damage on top of strong base damage. If you use a Bow regularly, prioritize this.
- Fenris Armor: Found via Frost Caves. Less raw armor than Wolf Armor, but provides movement speed bonuses and Fire resistance. Strong for faster playstyles.
To summon Moder, you need 3 Dragon Eggs offered at her Sacrificial Altar. Dragon Eggs weigh 200 each and cannot go through Portals. Find her altar first using Vegvisir runestones, then move Dragon Eggs to nearby storage before the fight.
How to beat Moder
Moder alternates between flying and landing. While airborne, she fires Frost projectiles; use uneven terrain and rocks as cover and fire your Bow when you have a clear shot. Once she lands, switch to melee and attack from her sides rather than standing directly in front.
Bring both a Bow and a melee weapon. The fight goes much faster when you can deal damage during both phases.
Defeating Moder drops Dragon Tears, which build the Artisan Table and unlock Plains crafting structures.
Plains: the most punishing open biome
The Plains are wide open, which means ranged enemies have long sightlines and Deathsquitos can kill an underprepared character in one hit. Listen for their distinctive sound and deal with them immediately.
Your first Plains trips should be pure scouting. Mark Fuling Villages, Tar Pits, and Yagluth Vegvisirs before engaging anything serious. Place a Portal somewhere safe, not directly beside a village.
Black Metal Scrap drops from Fulings and cannot go through Portals. Plan for ship transport.
What to farm and build in the Plains
The Artisan Table (built with Dragon Tears from Moder) is required for the Blast Furnace, Spinning Wheel, and Windmill. You can collect Black Metal, Barley, and Flax before building these, but you cannot process most of it without the Artisan infrastructure.
Barley and Flax must be grown in the Plains biome. Plant your first batch immediately rather than consuming it, since the crops need time to multiply.
For weapons, Blackmetal Sword, Blackmetal Atgeir, and Blackmetal Axe all become available. The Porcupine mace deals both Blunt and Pierce damage and is a strong choice if you've been using Maces throughout the game. Your Draugr Fang from the Mountains remains effective here for pulling enemies and handling Deathsquitos.
How to beat Yagluth
Yagluth requires 5 Fuling Totems offered at the Mystical Altar. Fire Resistance Barley Wine is not optional here; treat it as core equipment for the fight.
His attacks are readable once you know the cues. When he raises one hand, a meteor barrage follows; keep moving and use the altar stones as cover. He also creates a Fire area around himself and fires a long-range beam; move sideways to avoid the beam, and don't stand beside him for extended periods.
For melee, wait for large attacks to finish, move in for damage, then create distance before the next area attack. Never drain your Stamina bar just to land extra hits.
Mistlands: visibility is a mechanic now
The Mistlands change how Valheim plays. Dense mist limits visibility significantly, terrain is difficult to navigate, and enemies are among the most dangerous in the game. Defeating Yagluth gives you access to the item needed to craft a Wisplight, which clears mist around your character. Entering without one is possible but considerably harder.
Before going deep, establish a Portal on the biome's edge. The terrain can kill you as easily as enemies here.
Infested Mines are your primary objective. They contain Black Cores, which are required to build Mistlands crafting stations. Mark every mine you find.
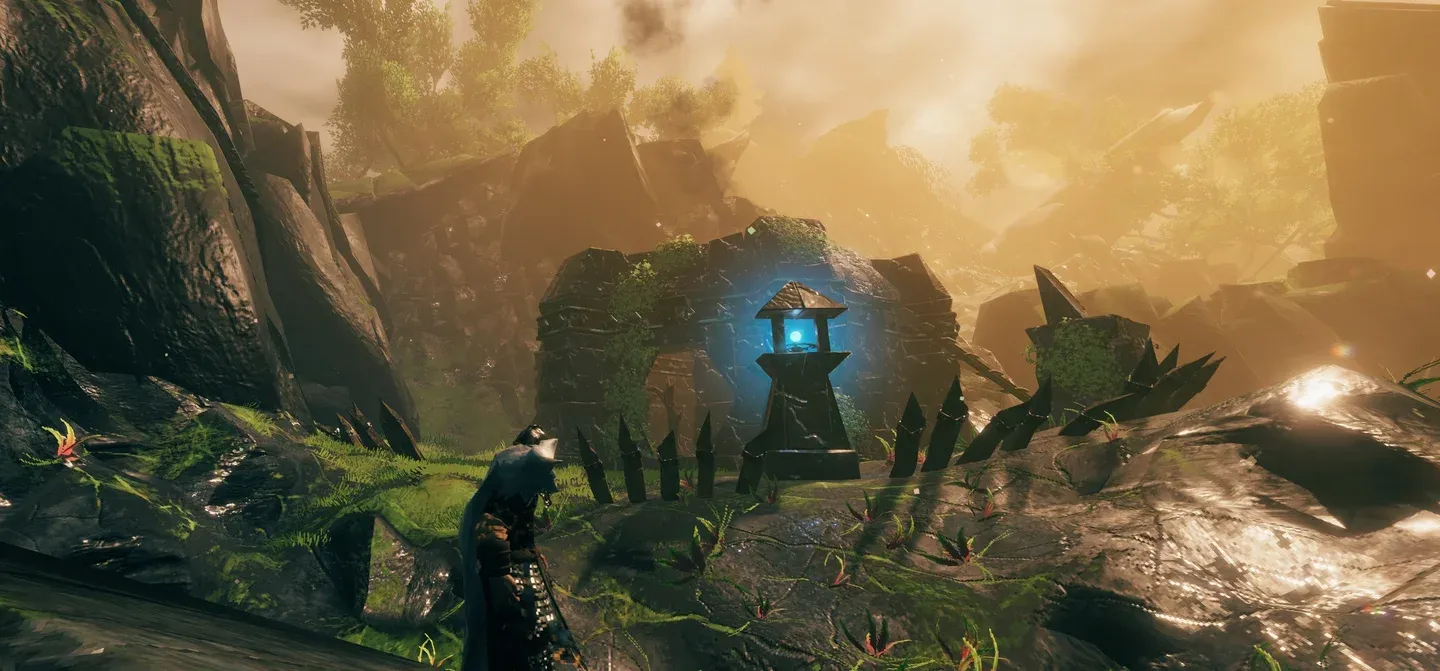
Mistlands biomes mine entrance
Key Mistlands systems
- Black Forge: Crafts Mistlands weapons including Mistwalker, Krom, and the Arbalest.
- Mistwalker: One of the strongest general weapons in the biome. Deals multiple damage types and passively clears a small amount of mist.
- Arbalest: A Crossbow that reloads slowly but hits extremely hard. Excellent for opening fights and targeting weak points on enemies like Gjalls, which have a vulnerable underside.
- Carapace Armor: Main heavy armor for the biome. Significant upgrade over Padded Armor.
- Eitr and magic: Certain foods increase your Eitr pool, unlocking magical weapons and staffs. You don't have to switch to magic, but it becomes a powerful alternative build path.
To reach The Queen, collect Sealbreaker Fragments from Infested Mines and craft the Sealbreaker. This is the main reason to keep exploring mines even after you have enough Black Cores.
Set up Sap extraction from Ancient Roots using equipment found during Dvergr-related progression. Sap processes into Refined Eitr, which is required for many of the biome's best items. Build the Eitr Refinery in a separate area from your main base; it fires dangerous magical projectiles while operating.
How to beat The Queen
The Queen is a long, demanding fight inside an enclosed arena. She summons Seekers throughout the encounter; do not ignore the adds. If several Seekers are active at once, deal with them before refocusing on the boss, or the fight will spiral out of control.
Use the arena's pillars to create space when you need to heal or recover Stamina. Ranged and magic builds can maintain distance effectively. Melee builds should attack during clear openings after her larger attacks.
Ashlands: the hardest biome to reach
Getting to the Ashlands is already part of the challenge. The surrounding waters are extremely hot, so you need a Drakkar to survive the journey. Bring your strongest Mistlands gear, healing items, Portal materials, and the Rested buff.
Land carefully. Enemy density in the Ashlands is higher than anywhere else in the game. Find a relatively quiet section of coast, clear the immediate area, and establish your Portal before pushing inland. Losing your Portal here means another dangerous sea journey to recover.
Flametal is the primary progression resource. It is used for the biome's strongest weapons and armor, so collecting it becomes your main long-term goal.
Ashlands gear overview
- Flametal Weapons: A wide selection of endgame options supporting different builds. The gemstone upgrade system lets you add elemental effects to certain weapons. Think carefully before committing gemstones; they require valuable resources.
- Ask Set: Lighter armor focused on mobility. Strong for ranged or fast melee builds where Stamina efficiency matters more than raw defense.
- Flametal Armor: Heavier, more defensive option. Better choice if you're playing primarily melee and expect to take hits.
- Ashlands magic staffs: New Staff options mean Eitr builds don't need to transition back to conventional melee. Keep your food setup supporting enough Eitr if magic is part of your build.
Charred Fortresses are the most important locations in the Ashlands. They're heavily defended but contain resources tied to the biome's strongest weapon upgrades. Clear exterior enemies and handle ranged threats before entering.
How to beat Fader
Fader is an aggressive fight centered on Fire damage, area denial, and positioning. The biggest mistake you can make is staying stationary. Several of his attacks make parts of the arena unsafe, so constantly track your escape routes before committing to damage.
For melee, wait for clear recovery windows rather than staying underneath him and attacking continuously. Get damage in, then create distance before his next major attack.
Ranged builds maintain damage from further back but still need careful positioning. Avoid getting trapped between hazards.
Stamina management is especially important here. Never drain your bar for a few extra hits when you might need to sprint or dodge immediately after.
Deep North: Valheim's final biome
The Deep North is the final biome added in Valheim 1.0. It introduces new resources including Timberwood, Flamemetal variants, and Frostcore, along with new enemies and two dungeon types.
Hidden Tunnels are found beneath large two-story buildings in village ruins. They contain moulds for crafting Intricate Keys. With an Intricate Key, you can unlock Morkhalla dungeons. Completing Morkhalla three times generates enough Jotun raids to collect Malicious Blood, the summon item for the final boss.
Kall Fimbulbringer requires 3 Malicious Blood offered at the Strange Bowl. Defeating him drops the Sacrificial Blood and Crown Jewel.
Boss summon requirements at a glance
For a full list of every boss location and what you earn for winning, check out our Valheim boss locations and rewards guide. If you want to knock out every challenge while progressing, the Valheim achievements guide covers all 53 unlockable achievements with tips for the hardest ones. You can also find every Valheim console command and cheat code if you want to test builds or skip resource grinding. Browse the full Valheim strategy guides collection for everything else you need.