


The Past Never Dies is the fourth challenge-heavy mission in 007 First Light, and it's one of the most demanding. With 23 total challenges spread across the market, the Scorpius hideout, the Fight Pit, the crane section, and 009's boat, there's a lot to track. Some of these are straightforward; others require specific routes, precise timing, or multiple playthroughs of individual checkpoints. This guide covers every single one.
What rewards do you get for completing all challenges?
Finishing all 23 challenges in The Past Never Dies unlocks the Mauritania outfit for use in TacSim. Even if cosmetics aren't your priority, completing every challenge is required for 100% mission mastery.
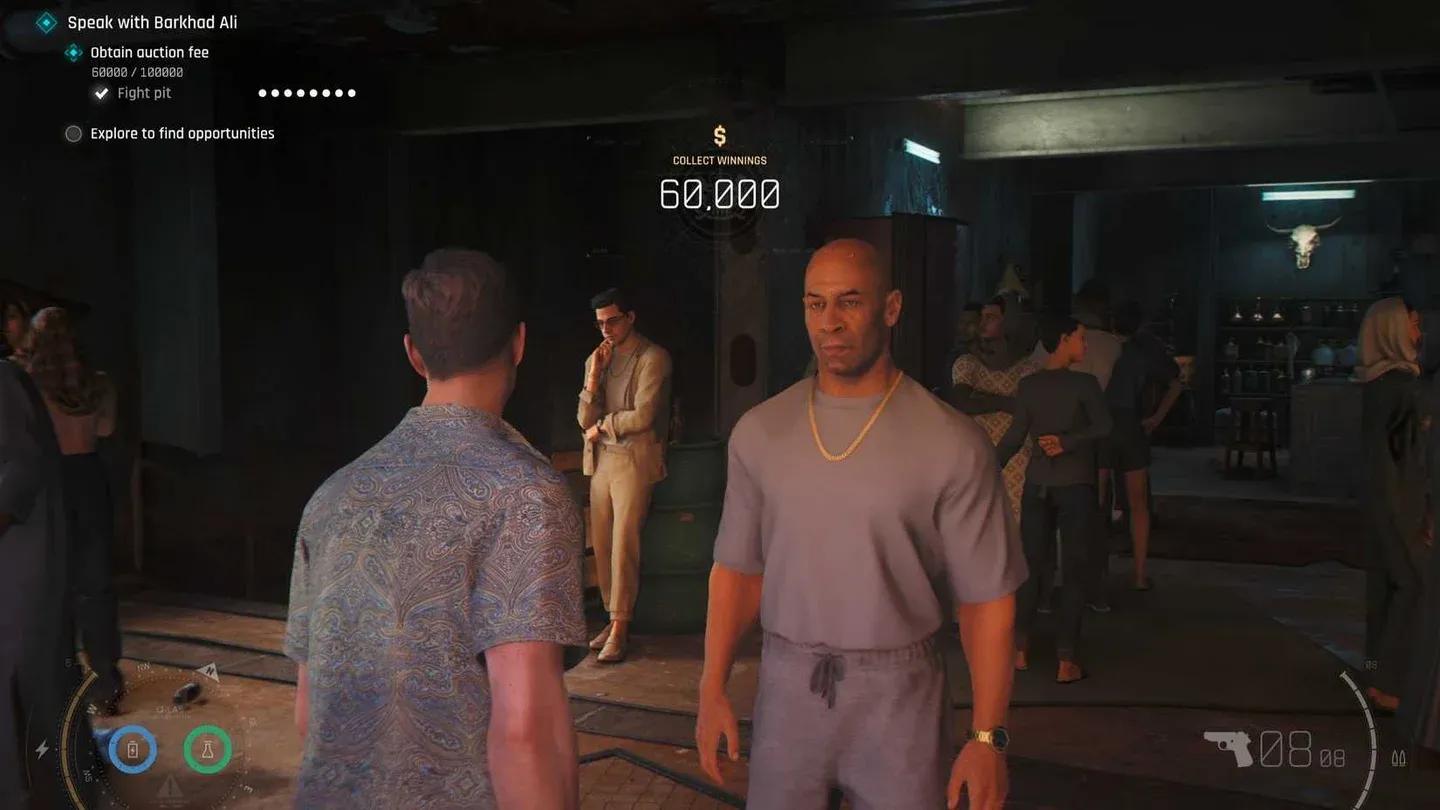
Fight Pit challenge tracker
All Challenges in The Past Never Dies
The challenges fall into three meta-categories that each require completing a specific trio of objectives: Pacifist, Ghost, and Assault. Finishing those three groups counts as three challenges on their own, on top of the 20 individual objectives.
How to complete the Fight Pit challenges
Fall Guy
When you volunteer for the Fight Pit, your first opponent is Omar. The moment the fight starts, hold R2 (RT on Xbox) to charge him directly toward the railing and throw him over the edge. Don't waste time trading punches.
Bottled It!
There are 4 enemies total in the Fight Pit. Glass bottles are scattered around the arena. Before finishing each opponent, make sure you land a hit with one of those bottles. Save enough bottles for each enemy or you'll have to replay the checkpoint.
Hammer Time
The Hammer is the final opponent in the Fight Pit sequence. Simply beat every opponent before him and you'll reach this fight naturally. There's no special condition beyond winning.
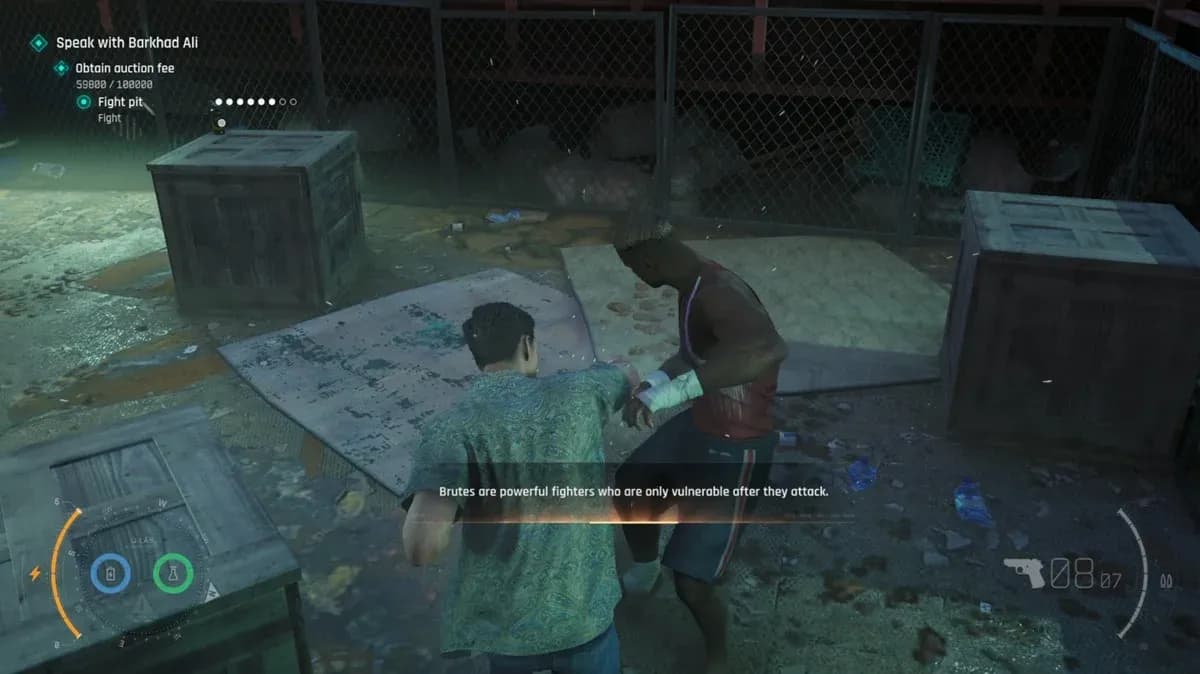
Fall Guy challenge execution
How to complete the Silent Line challenge
After your conversation with Moneypenny, head down the stairs and turn immediately right. Two guards are stationed near a door. You can distract both of them by using the Q-Lens on the nearby TV or by cutting the generator power to the right of the entrance.
Once they're occupied, slip inside the Scorpius hideout. Climb the box on the left, go up the stairs, then move right toward the objective. The key is staying off the ground floor where guards cluster. No eliminations, no knockouts, just the phone.
Soldier Boy
While you're inside the Scorpius hideout, look for a disguise hat on a table on the left side of the shipwreck's ground floor. Equip it to tick off this challenge during the same run.
How to complete the market challenges
Sightseeing
From the market entrance, head east through the yellow container and take a left. Eavesdrop on the man on the phone to start the Crypto Wallet sub-objective (which also progresses Secure Transaction). The guards in the antenna area follow scripted patrol routes you can exploit to reach the antenna without triggering a single fight.
Secure Transaction
Start this side mission by heading through the yellow container in the market and eavesdropping on the man's conversation on the left. Follow the resulting objective chain to hack the crypto hardware wallet.
Shoot 'Em Up and Gunslinger
The shooting range is in the back area past the yellow container. Entry costs $3,000. For Gunslinger, you need to hit all 10 targets during the challenge, so don't rush your shots.
Cupped
The cup game is on the right side inside the market and costs $3,500 to play. You can only win consistently by activating the Q-Lens (L1/LB) to track the jewel under the cups. Without it, the game is designed to beat you.
Show Me the Money
To collect $140,000, complete the Fight Pit, then either the cup game or the shooting range, then the Scorpius deal. Each activity contributes to the total. Trying to hit the threshold with just one or two activities won't work.
Tech Support
After collecting enough funds, you'll find Rogue Decoder, a DJ in distress. Turn around from him to find the soundbar, then follow the yellow wire from it to the fuse box and then the generator. Fix both and the challenge is done.
How to complete Easy Does It and No Trouble At All
Both of these challenges cover the section after the auction, where you need to reach 009's boat via the crane. Easy Does It requires no knockouts or eliminations. No Trouble At All means zero confrontations triggered by trespassing.
This is a two-area section and one of the longer stealth stretches in the mission. Guard positions are consistent, so once you learn the patrol timing, you can ghost through cleanly. These two challenges are best completed together in one run since the conditions overlap almost entirely.
For a full breakdown of stealth routing in this mission, the 007 First Light trap detection guide covers related awareness mechanics that help you read guard sightlines faster.
How to complete the Ghost challenges
Silence is Violence
The crane section is the best place to stack silent takedowns. There are well over 10 guards in this area, and their patrol patterns create natural isolation opportunities. Focus on pulling single guards away from groups before taking them down.
The Big Bang
Red barrels appear in both the crane section and the final encounter. The most reliable method is baiting a group of enemies toward a barrel cluster in the crane area, then shooting the barrel when 3 or more are close together. The final encounter also works if you prefer to save this for the end.
Laser Show
This challenge is on 009's boat specifically. To reveal the lasers in every possible way, you need to use the sprinklers, the Smoke Pod gadget, and either the Phone Dart or Laser Strap on the hanging pots. Missing any one of these methods means the challenge won't complete.
How to complete Wheels Up
After the crane section, you'll drive a Land Rover toward the shipwreck. The ramps along the route to your objective will naturally launch the car if you hit them at full speed. Don't slow down, and you'll get the challenge without any detours.
How to complete Make Them Count
At the final stand, exhaust your AR ammunition and your ally will hand you a pistol. One magazine holds 8 bullets. You need 6 kills from that single mag, so accuracy matters. Use Focus to slow time and line up headshots. Six headshots from eight bullets is very achievable with Focus active.
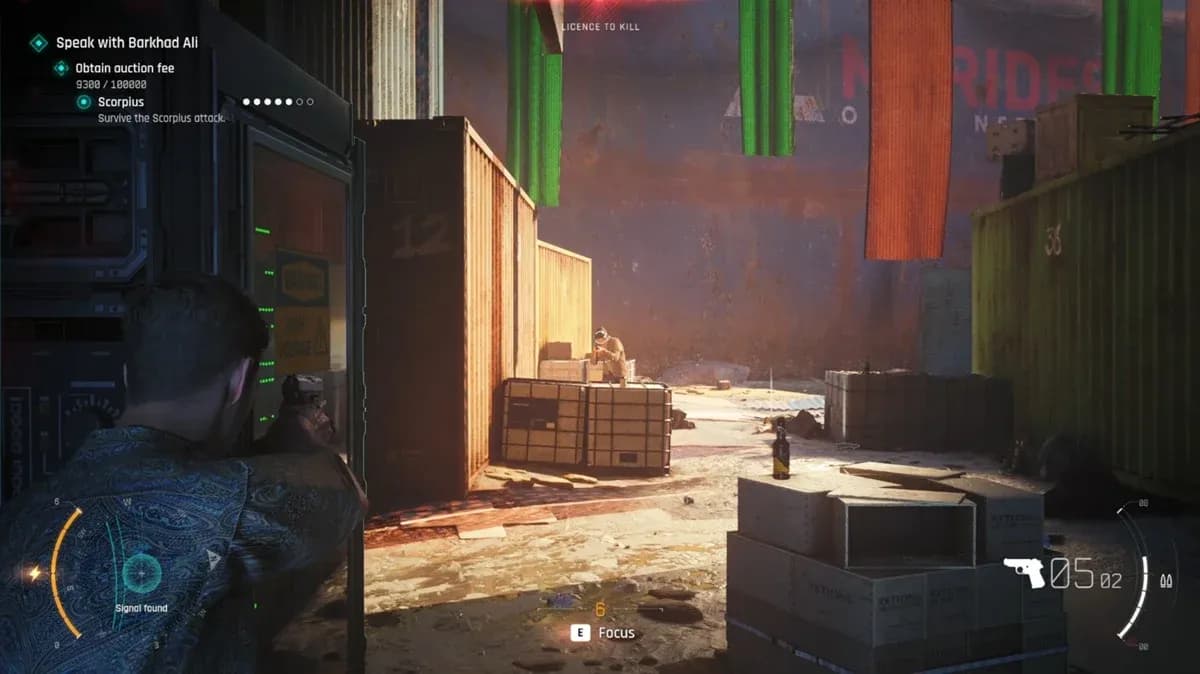
Focus mode for Make Them Count
What order should you tackle these challenges in?
Most players will need at least two full runs of the mission plus a few checkpoint replays. A practical approach:
- Run 1: Focus on the market challenges (all five), Sightseeing, Silent Line, Soldier Boy, Art Lover, and the Fight Pit trio. This covers the majority of the mission's content.
- Run 2: Focus on Easy Does It and No Trouble At All together through the crane section, then Wheels Up and Make Them Count at the end.
- Checkpoint replays: Use these specifically for Silence is Violence (10 silent takedowns in the crane section) and The Big Bang if you didn't land the barrel kill on your combat run. Laser Show on 009's boat can also be isolated via checkpoint.
For context on how The Past Never Dies fits into the full game, the 007 First Light all missions list has every mission's challenge and collectible counts laid out, which helps with planning your overall completion run.
For more help across the full game, the 007 First Light guides collection has walkthroughs for every mission including the All the Time in the World walkthrough if you're working through missions in order.