
007 First Light spreads 10 postcards across its 17 chapters, and collecting all of them earns you the World Is Not Enough achievement. None of them are locked behind side content or missable in a permanent sense — the game's Chapter Select lets you jump to specific checkpoints and grab anything you skipped. That said, a few of these are genuinely easy to walk right past, especially the ones tucked behind locked doors or hidden in off-path rooms. This guide covers every postcard in order, with the exact checkpoint to load and clear directions to the collectible.
What do postcards unlock in 007 First Light?
Postcards are purely a collectible category tied to the game's achievement list. Grabbing all 10 does not reward you with in-game currency, unlockable suits, or gameplay bonuses. The only reward is the World Is Not Enough achievement. There is exactly one postcard per chapter that contains one, and not every chapter has one, so you are looking at 10 total across the full game.
For players going for the full completion run, check out the 007 First Light all 92 collectible locations guide which covers Cards, Intel, Mementos, and Legacy Items alongside postcards.


All Postcard locations
| # | Postcard | Chapter | Checkpoint |
|---|---|---|---|
| 1 | Iceland | Ch. 1: Against the Odds | 06 Central Camp |
| 2 | Malta | Ch. 3: The Needle's Eye | 01 Basic Training |
| 3 | Slovakia | Ch. 8: All the Time in the World | 07 Accessing Room 206 |
| 4 | Mauritania | Ch. 10: The Past Never Dies | 03 Black Market |
| 5 | Kensington | Ch. 11: Uninvited | 06 Security Office |
| 6 | City of London | Ch. 12: Knightfall | 02 Executive 1st Floor |
| 7 | Vietnam | Ch. 14: Time to Die | 05 Three Targets |
| 8 | Q-Lab | Ch. 15: Man of the Hour | 04 The Betrayal |
| 9 | Antarctica | Ch. 16: Wave of the Future | 16 Safety Off |
| 10 | MI6 | Ch. 17: For England | 06 Backstairs |
Chapter 1: Against the Odds (Iceland Postcard)
Load checkpoint 06 Central Camp. After dropping down into the enemy camp, look right and head into the container marked B2. A guard is sitting at the desk inside. Take him down silently, and the Iceland Postcard is sitting right on the desk next to the computer.
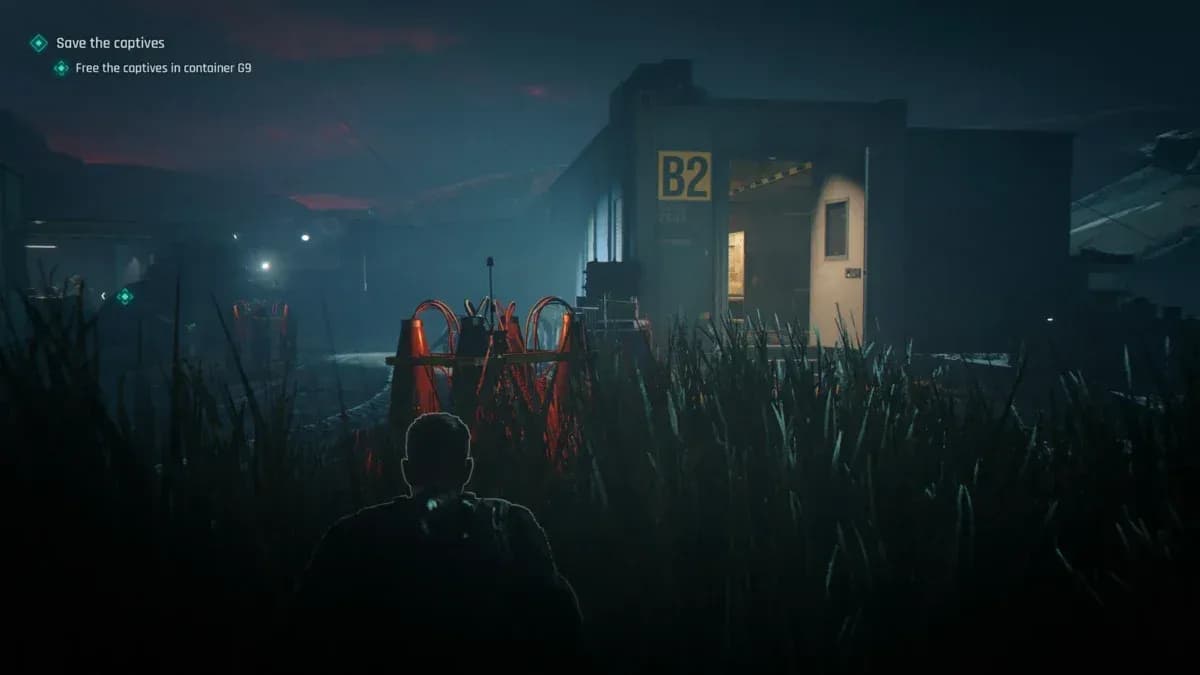
Iceland Postcard in B2 container
Chapter 3: The Needle's Eye (Malta Postcard)
Load checkpoint 01 Basic Training. After the car ride with Greenway to the training camp, you regain control and are told to follow him toward the other recruits. Do not follow him all the way, or a cutscene will trigger. Instead, look to your right for a small fold-out table with water bottles on it. The Malta Postcard is sitting on that table.
Chapter 8: All the Time in the World (Slovakia Postcard)
This one requires a bit of setup. Load checkpoint 07 Accessing Room 206. Your objective points you to Room 206, but the postcard is in Room 205 next door.
In the hallway, there is a maid near the entrance to Room 205. You need her keycard. Either activate the nearby vacuum to distract her, or use the dart phone to incapacitate her, then pickpocket the Room 205 keycard. Enter Room 205 and grab the Slovakia Postcard from the nightstand next to the bed.
Chapter 10: The Past Never Dies (Mauritania Postcard)
Load checkpoint 03 Black Market. You need the Laser Strap gadget for this one, which you pick up during Chapter 9 as part of the story. If you skipped Chapter 9 via Chapter Select, make sure you have it equipped.
From the market entrance, head left toward the area with a large red anchor in the ground. There is a fenced-off section with a padlocked gate. Use the Laser Strap to destroy the padlock, go inside, and pick up the Mauritania Postcard from the table.
Chapter 11: Uninvited (Kensington Postcard)
Load checkpoint 06 Security Office. This one is the least likely to be missed since the CCTV room is a mandatory story location. Enter the room and immediately look left. The Kensington Postcard is on a table near the shelving unit with printers and routers.
Chapter 12: Knightfall (City of London Postcard)
Load checkpoint 02 Executive 1st Floor. After Greenway boosts you up to the statue, jump across to the next balcony and follow it to the railing at the far end. Climb over the railing, select the hang option, and shimmy along the ledge until you reach an open window. Climb through it. The City of London Postcard is on the counter to your left.
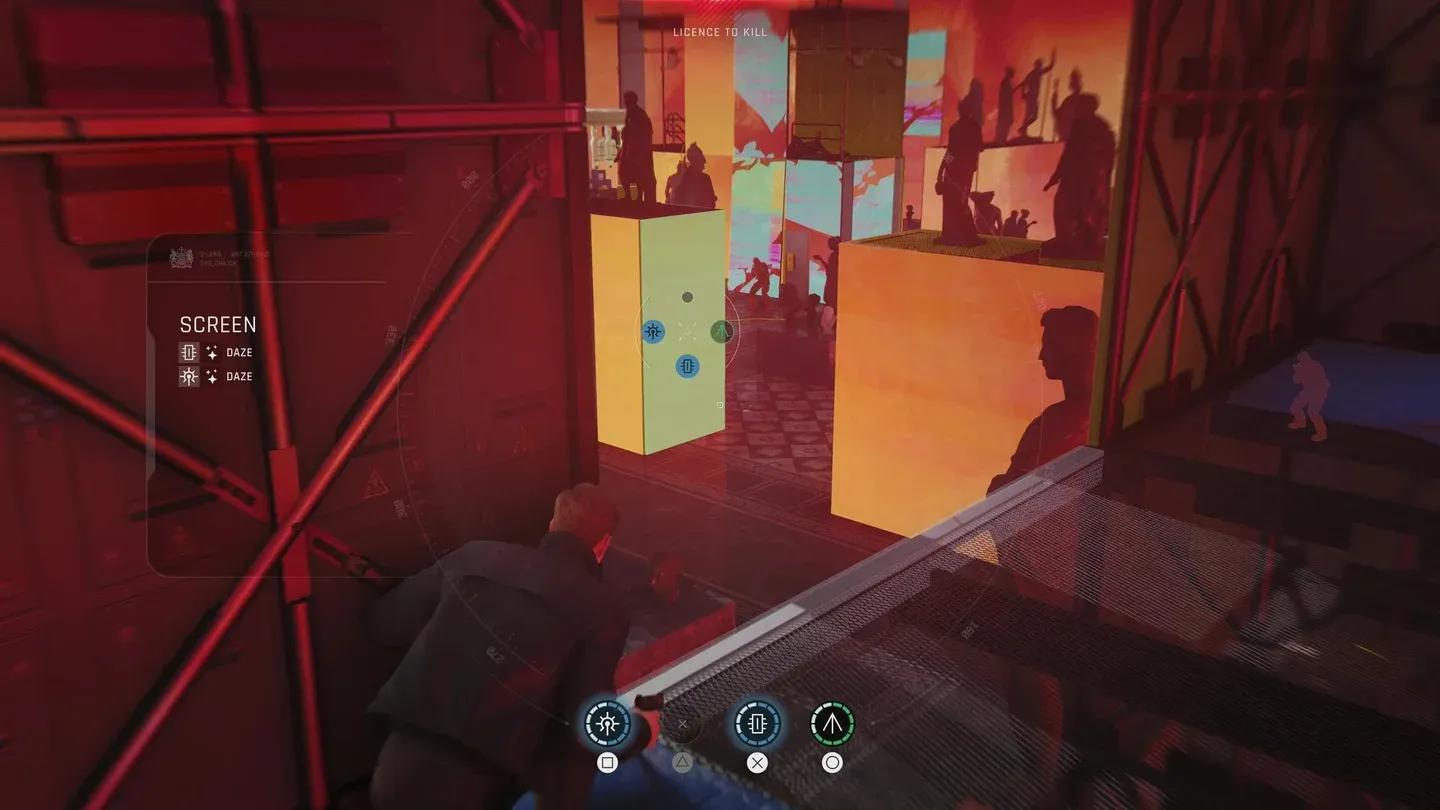
City of London Postcard route
Chapter 14: Time to Die (Vietnam Postcard)
Load checkpoint 05 Three Targets. Head to the Ocean View Bar on the west side of the resort. Your story objective brings you here to speak with Ellis White. The Vietnam Postcard is on one of the tables to the right of the bar, near the water and the lounging chairs. You can reach the bar area by climbing over the railing to the left of the guards, or by pickpocketing a Party Flyer from nearby guests.
Chapter 15: Man of the Hour (Q-Lab Postcard)
Load checkpoint 04 The Betrayal. Your objective is to steal field equipment. Head into the section labeled Q-01 Gym and climb up the lockers on the right side. From the top of the lockers, jump across to the large filing cabinet, then jump again into the opening of the maintenance tunnel above. Follow the tunnel to the end and pick up the Q-Lab Postcard from the table there.
Chapter 16: Wave of the Future (Antarctica Postcard)
Load checkpoint 16 Safety Off. Take the lift all the way down, then deal with the android that attacks when you retrieve the Override Key. Use gadgets to handle it efficiently. After the android is down, use the Override Key on the door marked as the main objective, pass through, and cross the metal beam in the next room. The Antarctica Postcard is on a rolling cart against the large window at the far end of the room.
Chapter 17: For England (MI6 Postcard)
Load checkpoint 06 Backstairs. Progress until the red phone rings and you answer it. After picking up the earpiece from the enemy on the ground, go through the door ahead and squeeze past the bookshelves to the right. The MI6 Postcard is on the floor immediately on the other side of the shelves. Collecting this final one triggers the World Is Not Enough achievement.
Tips for efficient postcard hunting
- Load the specific checkpoint listed for each postcard rather than replaying the full chapter. The game lets you start from individual checkpoints, which cuts cleanup time significantly.
- Collectibles save the moment you pick them up. You do not need to reach the next checkpoint or finish the chapter.
- The Slovakia Postcard in Chapter 8 is the trickiest because it requires interacting with an NPC (the maid) before progressing the main objective. Do not rush past her.
- The Mauritania Postcard in Chapter 10 requires the Laser Strap. If you are doing cleanup via Chapter Select, verify the gadget is in your loadout before loading in.
For players going for the full achievement list, the 007 First Light trophy and achievement guide breaks down every unlock condition alongside tips for the harder ones. If you want to keep expanding your knowledge of the game, the full 007 First Light strategy guide collection covers everything from combat mechanics to suit unlocks.