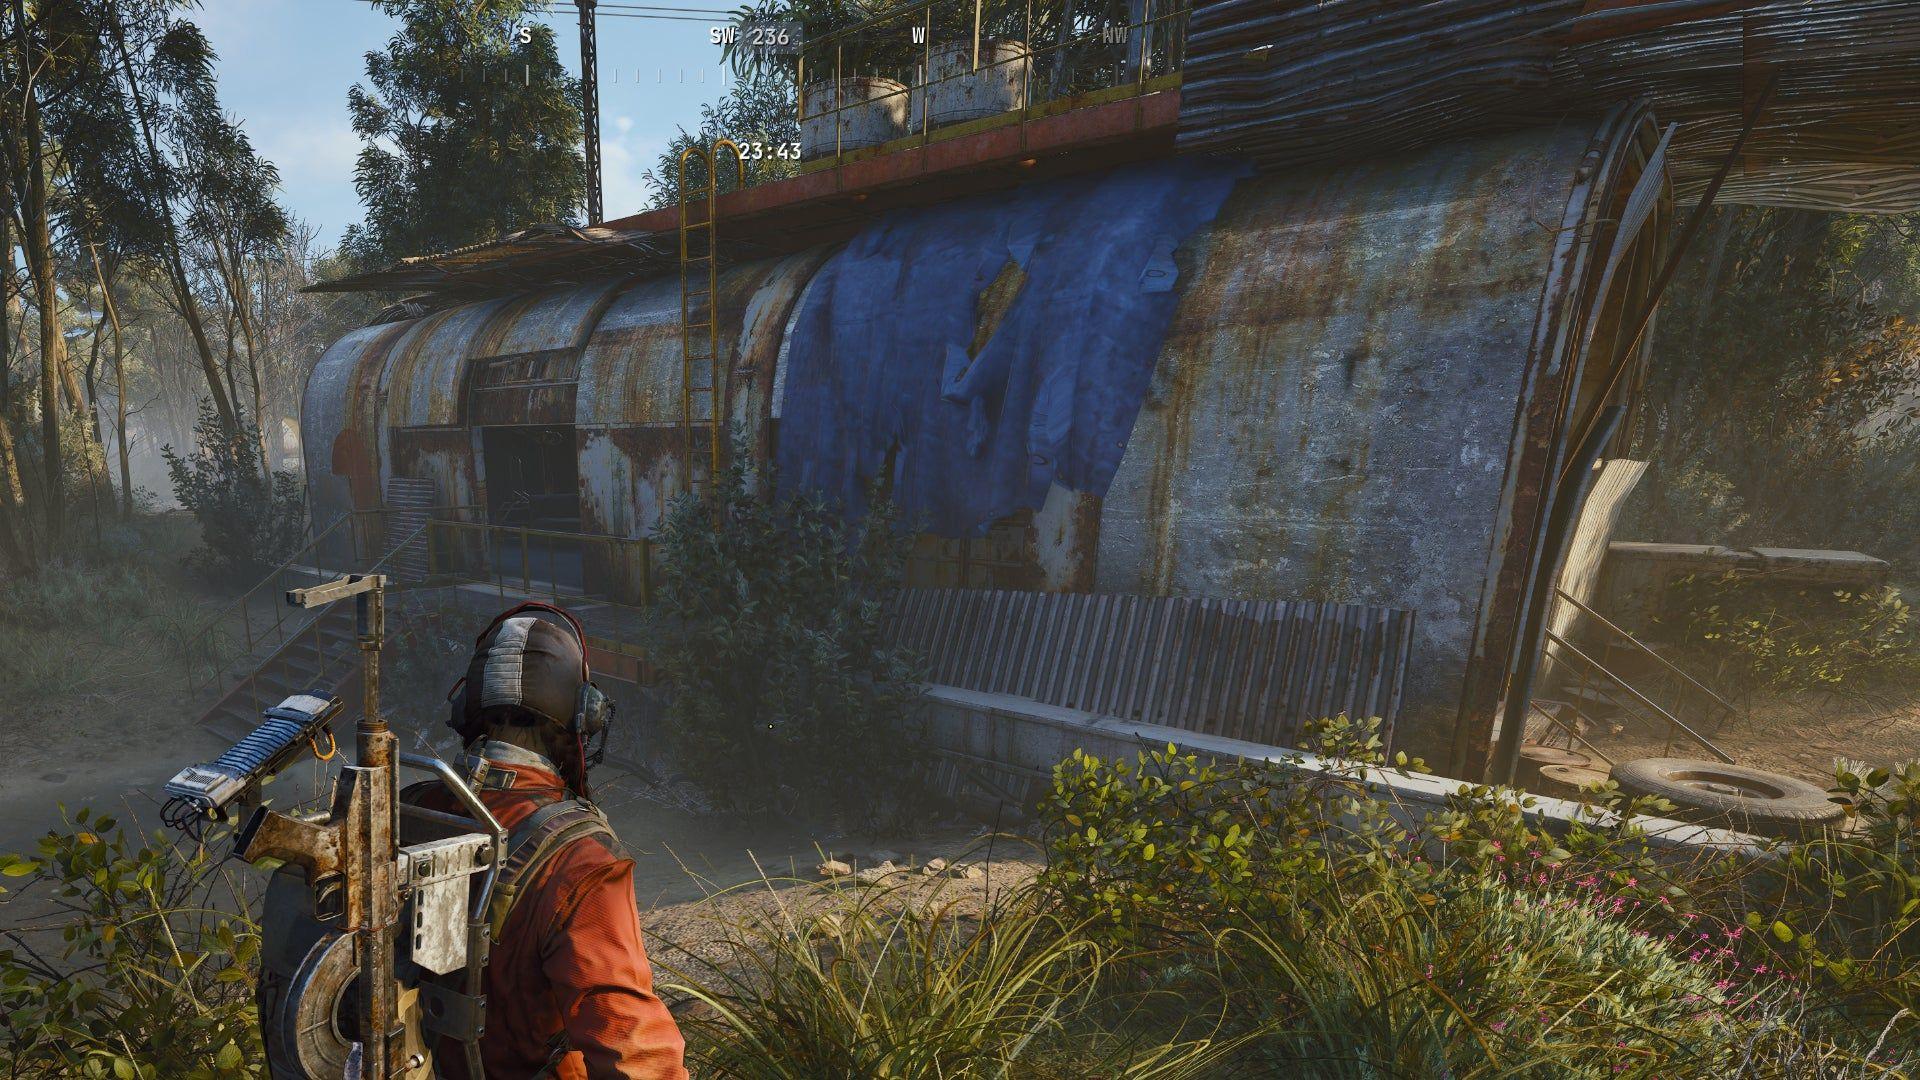


Field Depots represent critical resource hubs in Arc Raiders, though plenty of raiders ignore them entirely. These installations deliver reliable gear, quest completions, and positioning advantages that directly impact your survival odds and extraction success.
Below is a complete breakdown of Field Depot mechanics: how to spot them, farm them efficiently, finish related objectives, and leverage them during firefights.
Field Depot fundamentals
Field Depots operate as hybrid structures serving both mission objectives and continuous supply gathering. You can identify them by the radar tower antennas jutting from their roofs and the blue tarps stretched across the top, visible from significant range.

Antenna repair interface at a Field Depot
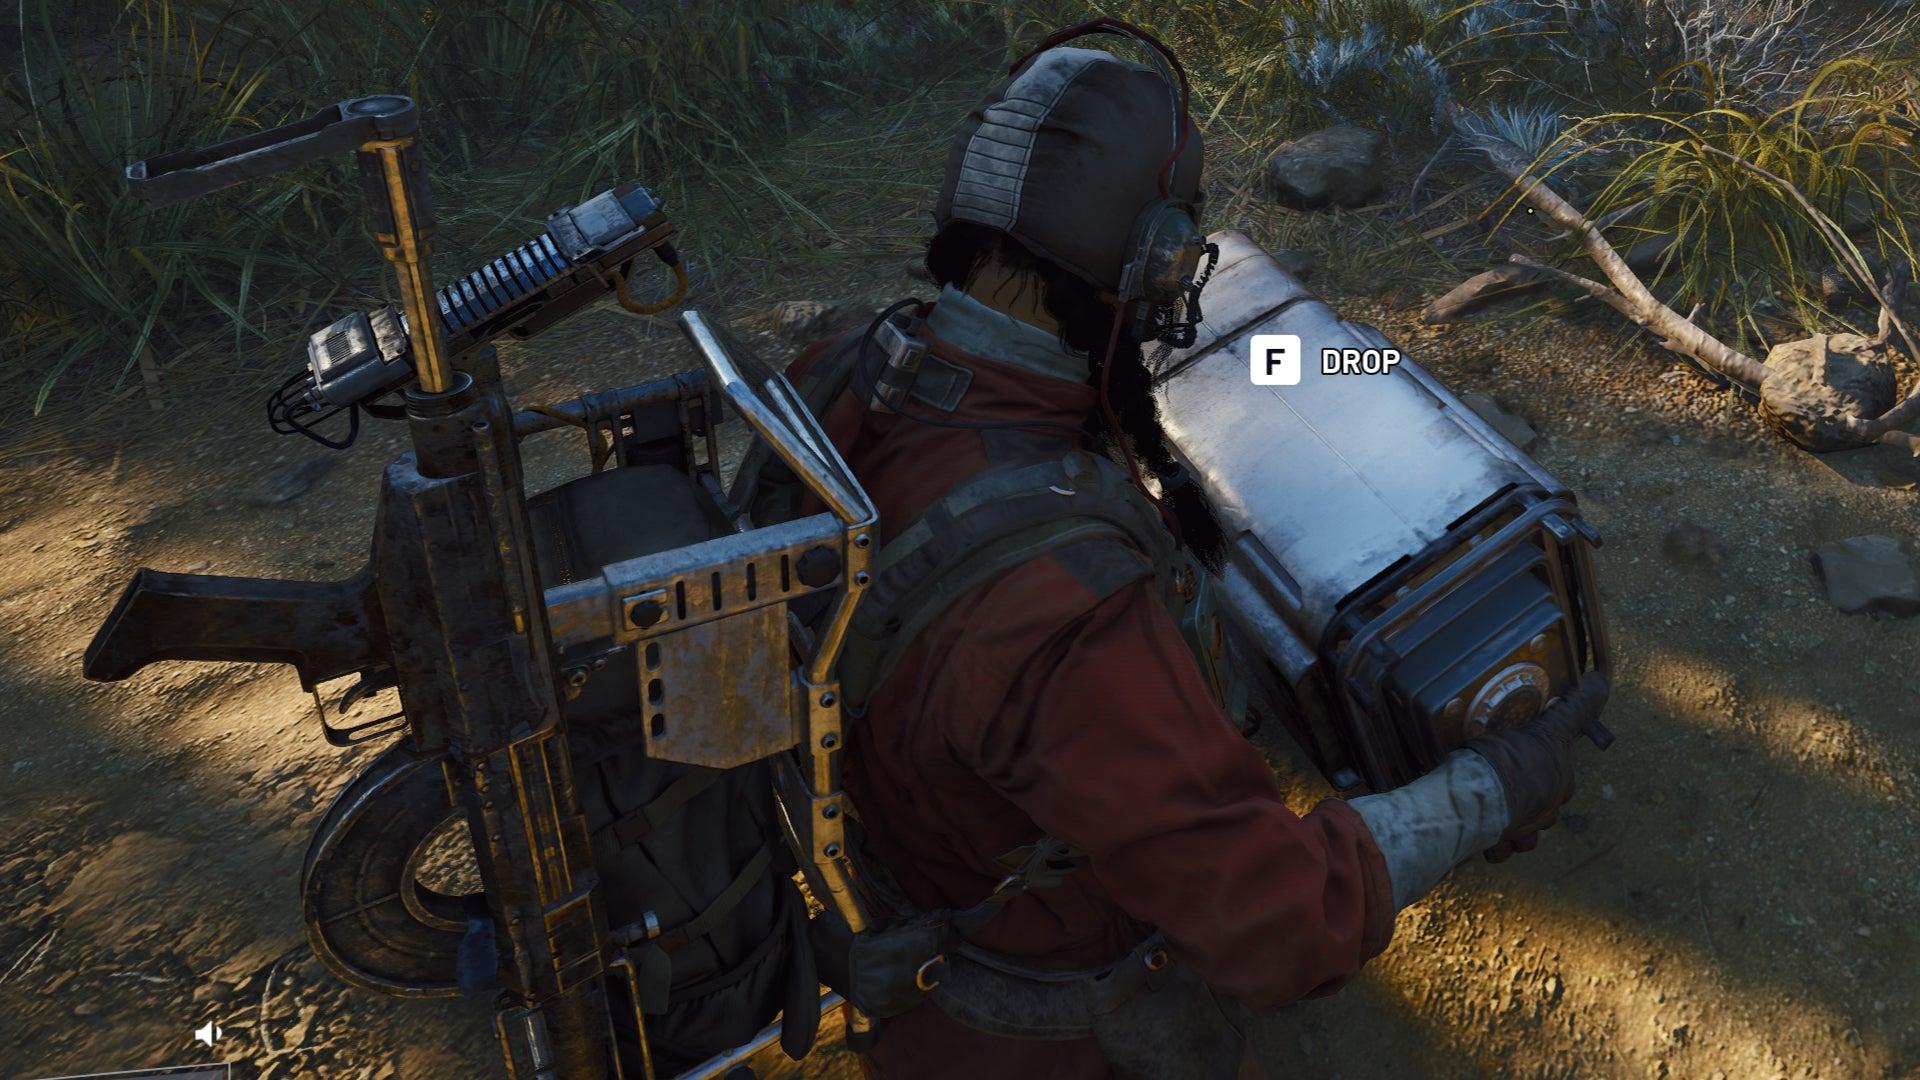
Inside each depot sits a loot conversion machine that processes Field Crates into usable equipment. The workflow is straightforward: find Field Crates scattered nearby, haul them to the depot's internal processor, and claim the contents immediately.
Core depot functions
Recognizing and finding Field Depots
Learning depot identification starts with their consistent visual design. Every depot shares the same basic profile: single-story rectangular buildings that resemble reinforced shipping containers or weathered trailers. Look for blue tarps covering the roof, a yellow access ladder leading to the antenna mount, and the radar tower protruding from the top. The ladders serve double duty for quest interactions and combat positioning. Depots typically stand taller than surrounding structures, making them easier to spot once you recognize their silhouette.
Depots only register on your map within approximately 75 meters of your position. You cannot scan the full map for depot icons from spawn. Effective depot navigation requires memorizing landmark positions, understanding map geography, and training your eye to catch their distinctive features. Route planning becomes essential in contested zones where rival squads compete for the same supplies.

Field Depot distribution across the map
Dam Battlegrounds depot positions
Dam Battlegrounds hosts six confirmed Field Depot sites, making it the most efficient map for quest runs and supply farming. Each site presents distinct tactical considerations and threat levels.
Field Crate mechanics explained
Field Crates justify the entire depot system. Efficient farming requires clearing the immediate area first. Gather multiple crates before approaching the processing machine. Calculate the shortest path between crate spawn points and the depot interior, then deposit rapidly to minimize exposure time. Sound generation and slow movement while carrying crates make you vulnerable, so prioritize speed and timing.
Expected crate loot distribution:
Off The Radar mission walkthrough
The Off The Radar mission teaches depot interaction mechanics. Completion requires repairing the radar antenna mounted on a depot roof. Rewards include a black variant hiker backpack plus Remote Raider Flares for extraction assistance.
Mission completion steps:
Route Planning: Identify your target depot and approach from low-traffic angles to avoid premature engagements.
Depot Approach: Advance cautiously using terrain cover while scanning for hostile raiders.
Antenna Repair: Scale the yellow ladder and activate the radar dish. The repair interaction lasts several seconds and exposes your position.
Reward Collection: Mission completes instantly after antenna repair. Return to Shani to claim your backpack variant.
Situational awareness during this process matters significantly. Attempting repairs without area clearance risks losing progress to enemy interference.
Mission rewards breakdown:
- Black color variant for hiker backpack
- Two Remote Raider Flares upon quest acceptance
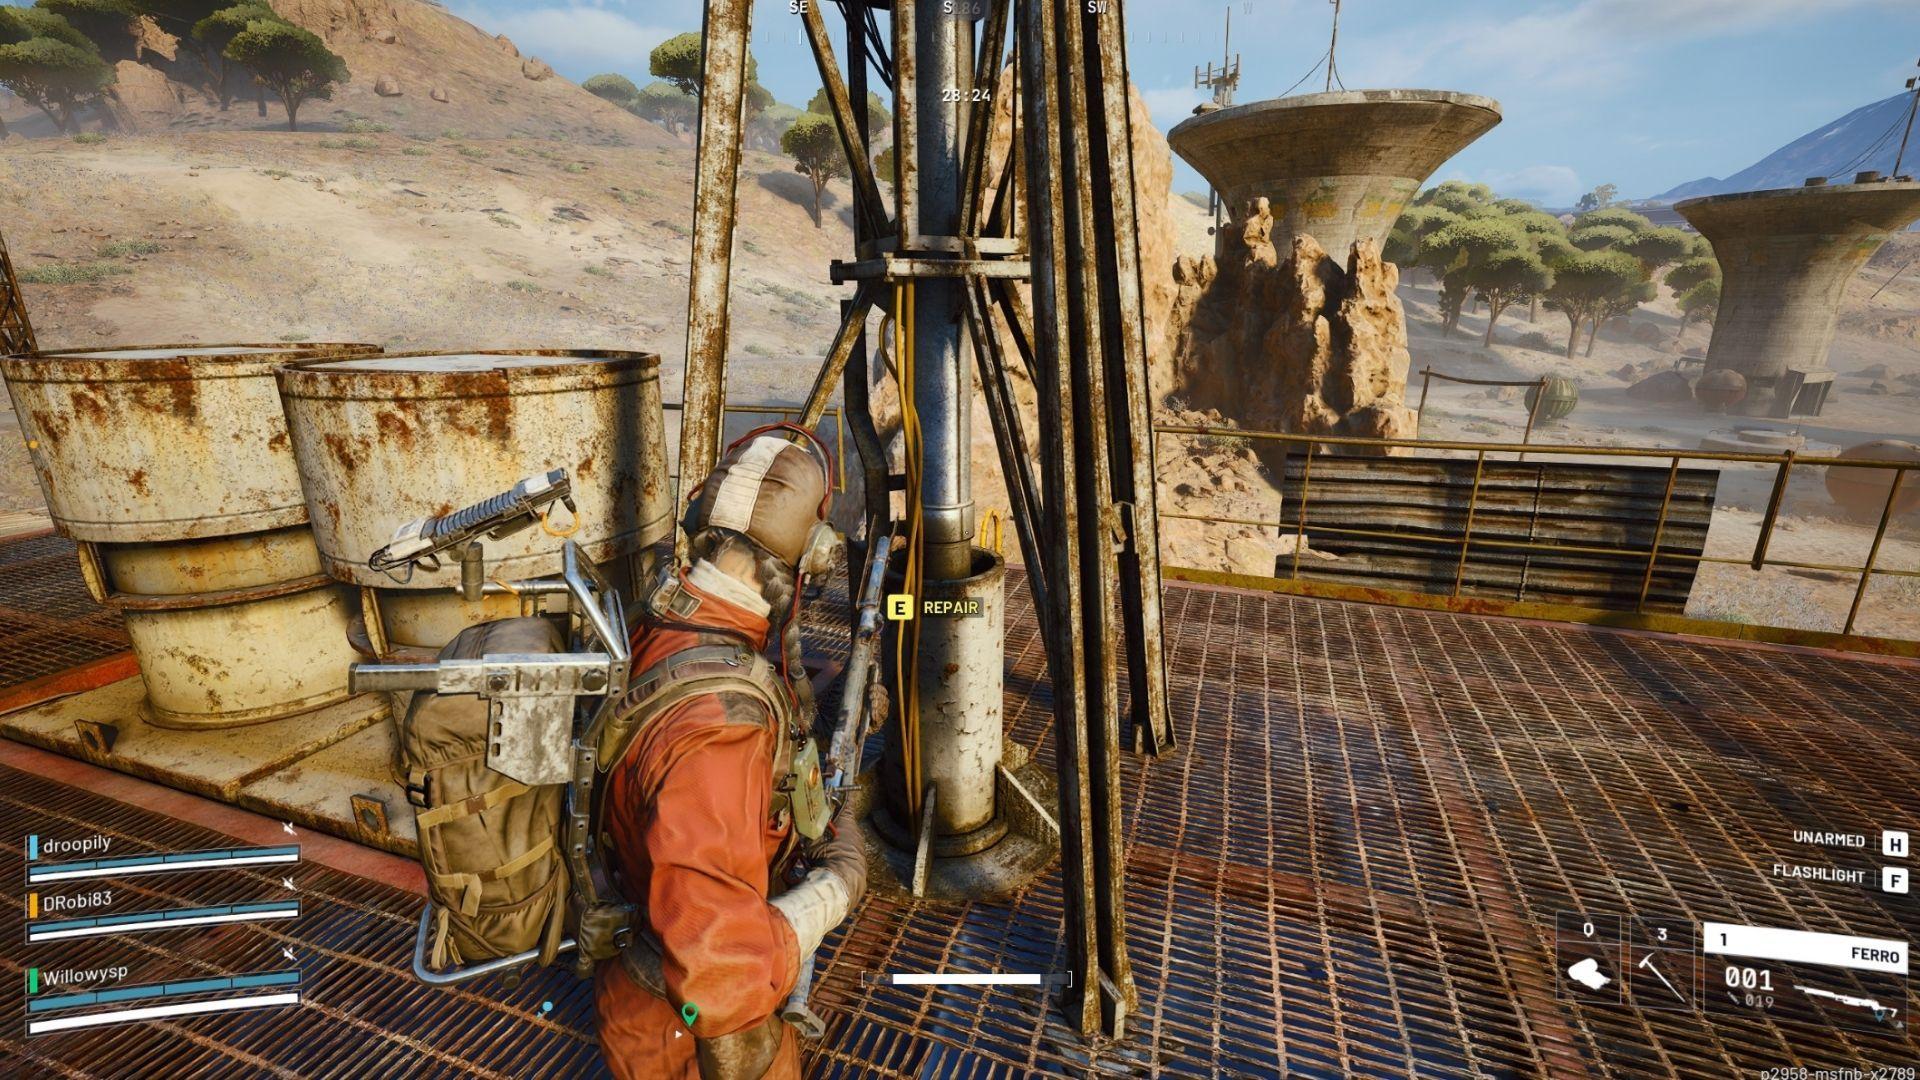
Antenna repair in progress
Advanced combat applications
Field Depots function beyond simple loot collection. Skilled raiders exploit them as tactical strongpoints. Rooftop access grants 360-degree sightlines and long-range engagement capability. Entry points create predictable choke zones perfect for ambushing opponents during crate transport. Machinery noise inside depots masks footsteps and repositioning sounds, complicating enemy tracking.
Before entering any depot, evaluate escape routes and crate deposit timing. Depots transform into death traps without proper planning. Success requires balancing timing precision, positional awareness, and tactical discipline to convert depots from vulnerabilities into force multipliers.
Depots on alternative maps
Dam Battlegrounds provides the most accessible depot network, but every map features depots with varying concentration and danger profiles. Buried City places depots within dense urban sectors that complicate approaches but offer superior vertical positioning for combat. Spaceport scatters depots across exposed terrain with minimal cover, demanding precise movement timing and careful exposure management for safe crate operations. Understanding map-specific challenges lets you optimize routes and maximize supply acquisition while minimizing unnecessary risk exposure.
Mastering Field Depot exploitation converts these underutilized structures into consistent operational advantages. Whether completing mission objectives or securing critical supplies, depots deliver reliable returns for prepared raiders who understand their systems and inherent risks.