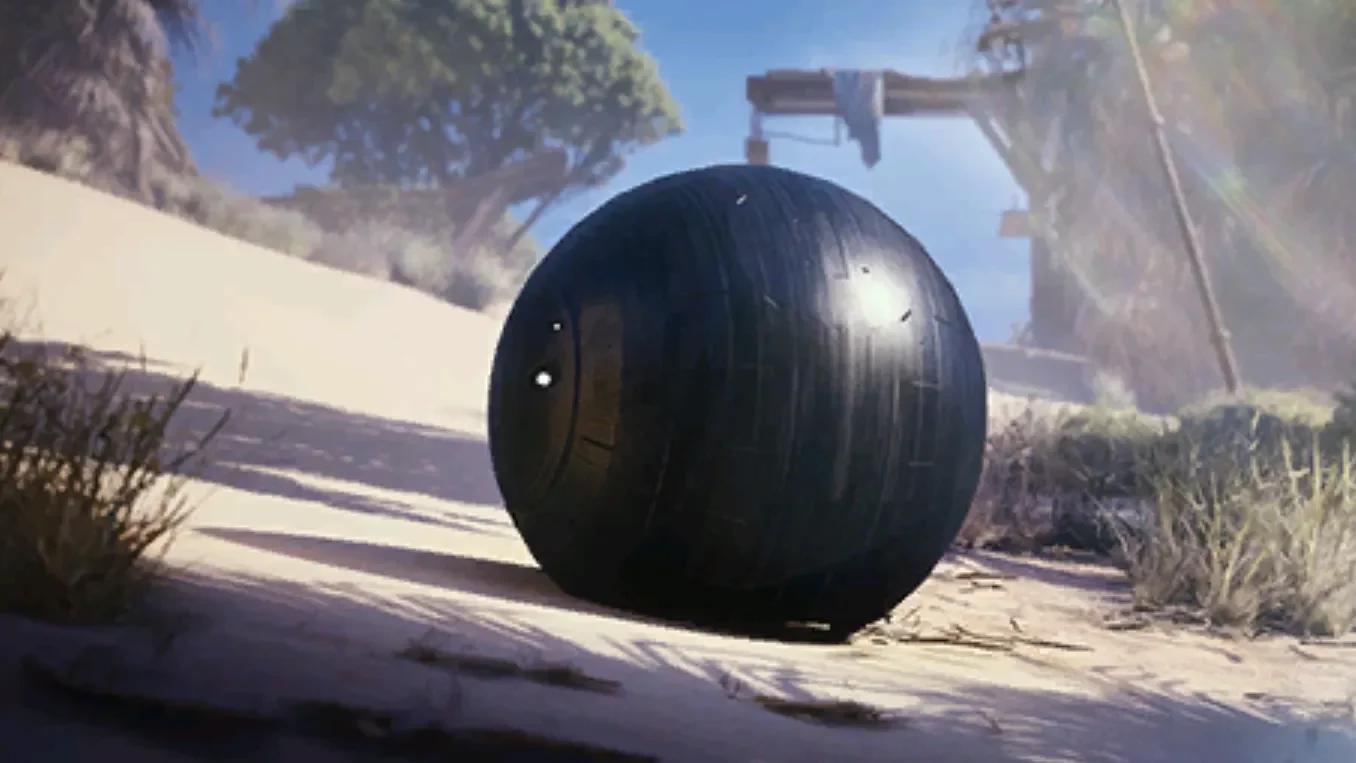

Find Surveyors in ARC Raiders by scanning open map outskirts for a blue skyward beam, starting on The Blue Gate or Dam Battlegrounds. These heavily armored spheres roll along the ground and usually flee when threatened.
Their positions vary between raids, so a location that worked previously can be empty on your next visit. Bring a Heavy Ammo weapon and a stun option for a direct hunt. If you only need the Surveyor Vault material, ARC Couriers provide another way to get it without chasing a Surveyor.
Surveyor locations by map
The Blue Gate is the best starting map for a dedicated Surveyor hunt. Its open terrain makes the transmission beam easier to spot. Dam Battlegrounds also offers good visibility, while the other maps below give you search options when you are already deployed there.
These are places to check, not guaranteed enemy positions.
| Map | Surveyor search areas | When to choose it |
|---|---|---|
| The Blue Gate | Broken Earth, Maintenance Wing, Highway Collapse, Gate Approach, and Trapper’s Glade | First choice for spotting beams across open terrain |
| Dam Battlegrounds | Dam Breakage, Ben Welder’s Sunroof, Swamp, Small Creek, and South Swamp Outpost | Another good option for a visibility-focused hunt |
| Buried City | Red Tower, West Village, Buried Properties, Piazza Arbusto, and Main Street | Useful when you also want to check ARC Couriers |
| Spaceport | Rocket Assembly, Control Tower A6, West Container Yard, South Trench Tower, and Staff Parking | An alternative if your other objectives already take you here |
| Riven Tides | Seabed, Poolside, Mulatierra Hill, Dried Riverbed, and Special Handling Tunnel | Check these areas during an existing Riven Tides run |
On The Blue Gate, Village in the northwest is another useful starting area. Find a clear view of the surrounding open ground before walking between named locations. If you spot a beam elsewhere, follow that sighting instead of finishing a preset route.
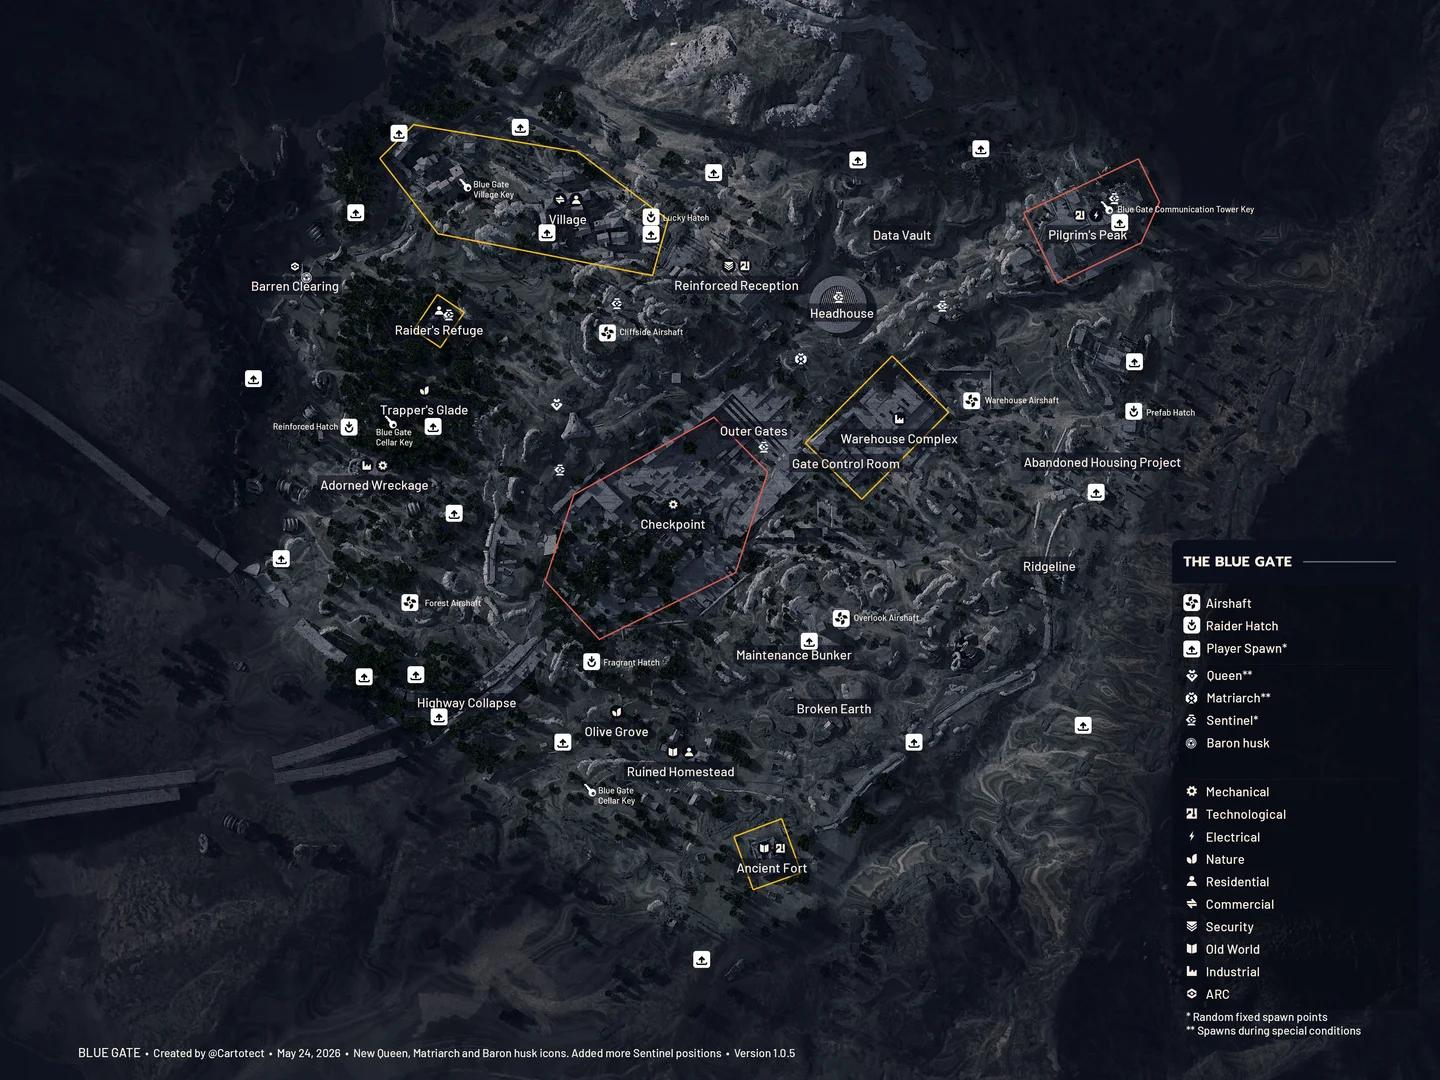
Northwest Surveyor search area
Buried City can support a mixed material run between beam checks. The ARC Raiders Cooling Fan farming routes cover a separate stop in the Space Travel building if you need that upgrade material too.

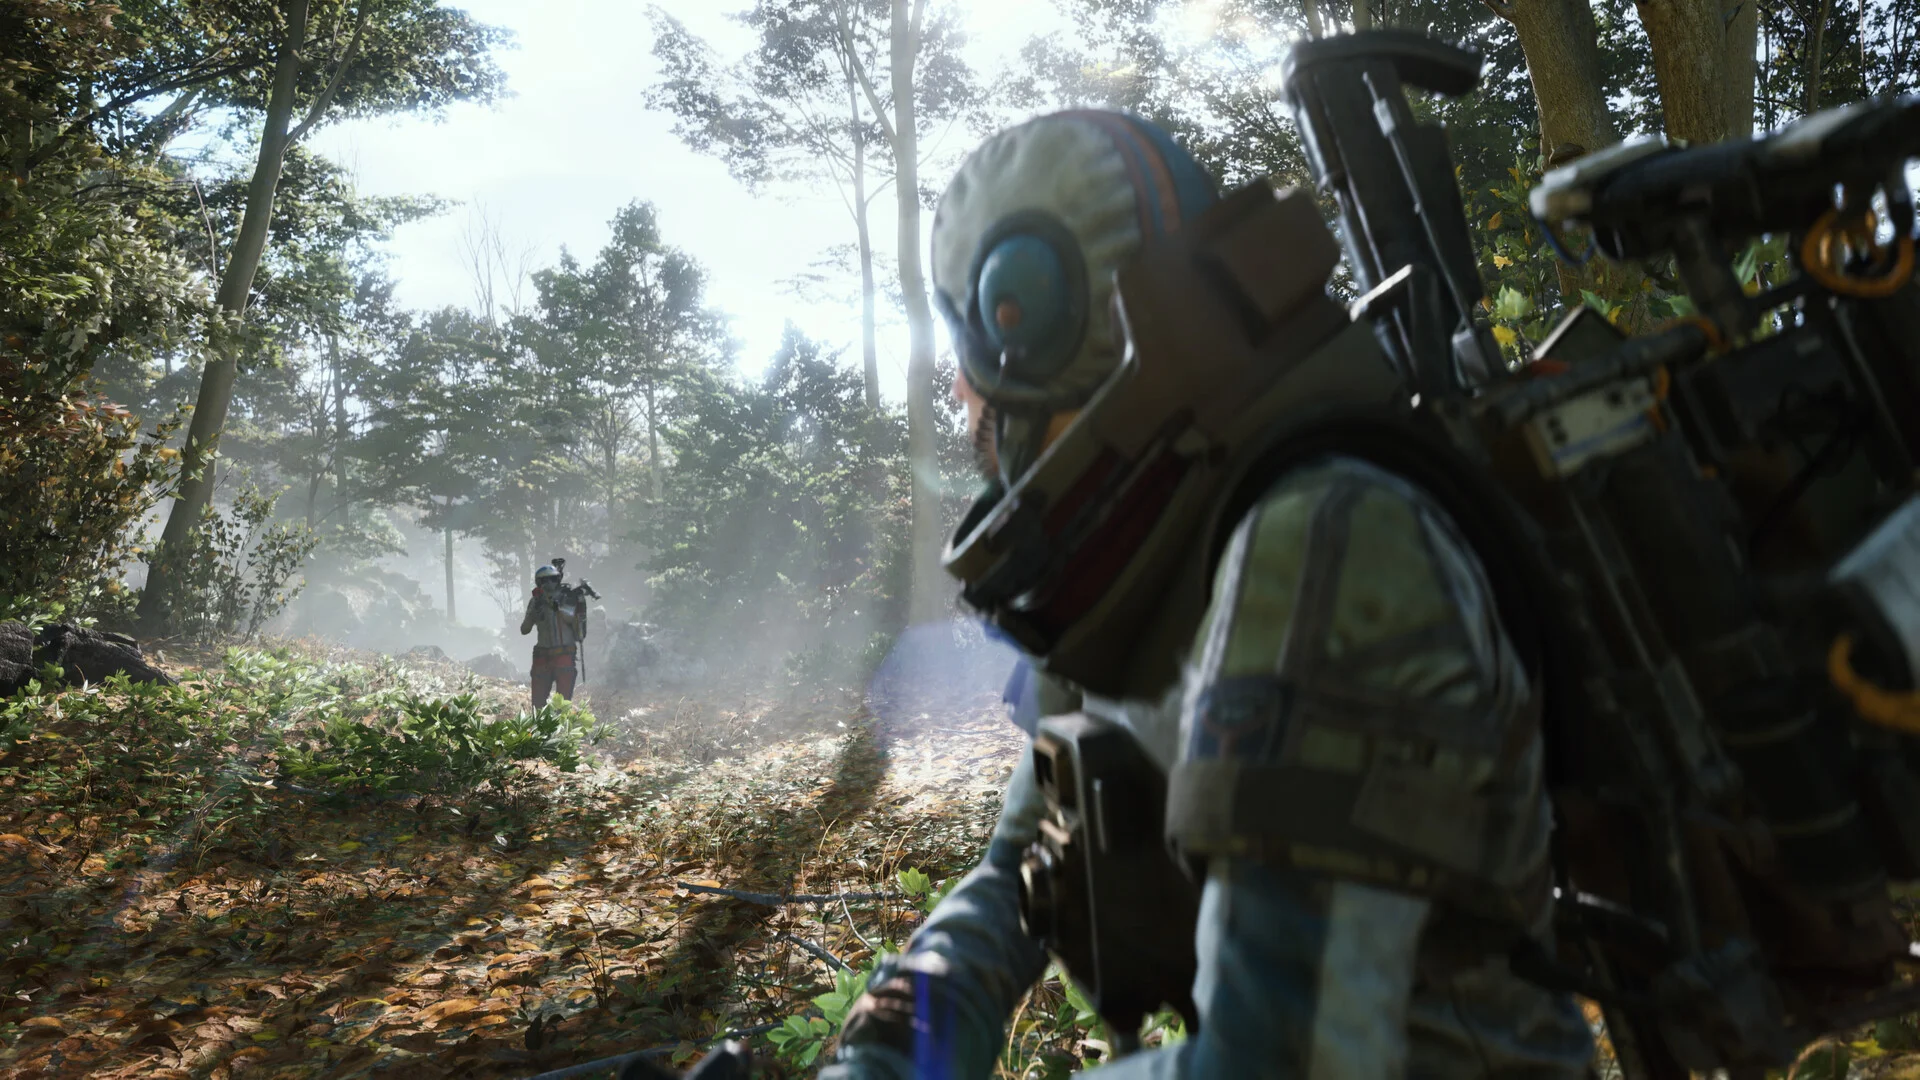
How to spot and track a Surveyor
Follow the blue transmission beam
The vertical blue beam is easier to find at distance than the machine beneath it. Use this search sequence:
- Reach high ground. Choose a position with a clear view across the surrounding area.
- Scan the horizon for blue light. The beam flickers between transmissions, so give the area another look before moving on.
- Trace the beam to ground level. Its base identifies the Surveyor’s position when it transmits.
- Approach with your opening attack ready. Avoid arriving within detection range while still deciding which grenade to equip.
If the opening search is empty, check again around 25 minutes remaining. Surveyors appear to have an approximately five-minute delay before spawning after a raid begins. Treat that timing as an estimated search window, not a fixed spawn rule.
A stationary Surveyor transmitting into the sky is also your best attack opportunity. Its shell opens during transmission, exposing the core. You can use the same cue to locate the target and time your first damage.
Check the Close Scrutiny condition
Close Scrutiny spawns groups of Surveyors, making it an option when you want several targets in one area. Choose a normal map condition if you want to avoid the additional enemies attached to those groups.
How to stop a Surveyor from escaping
Prepare a stun and damage loadout
The Anvil is a practical primary weapon for this hunt. Heavy Ammo strips the Surveyor’s shell plates, and the weapon can finish a target that survives your explosives. The Ferro and Hullcracker are other effective options.
A light weapon makes the fight harder because of the Surveyor’s heavy protection. Carry a suitable firearm even when grenades are your planned opener, so a surviving target does not force you into an underpowered chase.
| Equipment | Purpose | How to use it |
|---|---|---|
| Anvil | Armor damage and finishing shots | Break shell plates or shoot the exposed core |
| Showstopper Grenade | Movement control | Immobilize the Surveyor for approximately two seconds, then attack |
| Trigger Grenades | Burst damage | Throw while the Surveyor is stationary, using the landing indicator to judge placement |
| Heavy Fuze Grenade | Explosive damage | Use after a stun creates an attack window |
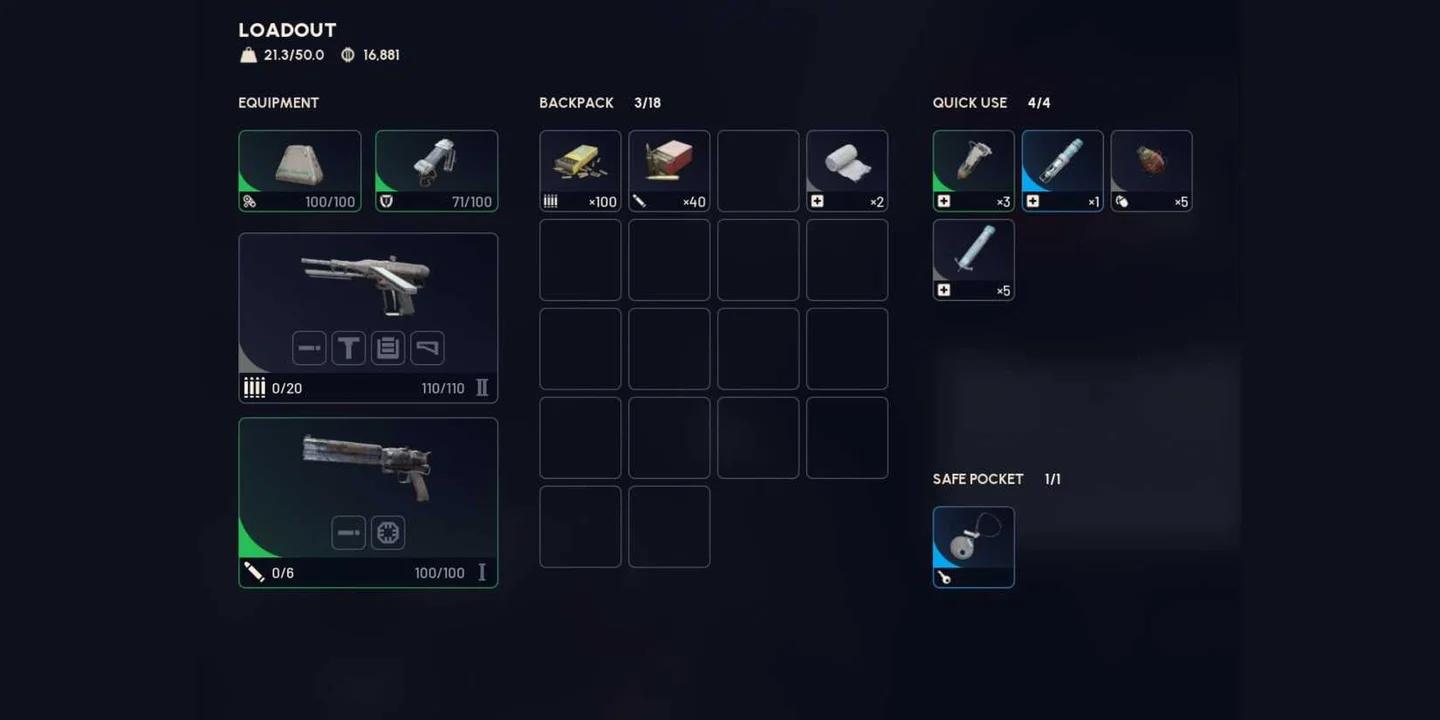
Prepare a stun-and-damage kit
For the opening, aim at the exposed core while the Surveyor transmits. If it starts moving before you can attack, use your stun first, then commit damage during the immobilization. Avoid throwing your main explosive at a fast-moving target when you can wait for a controlled window.
Surveyors are unarmed, but they can ram when cornered. Keep some distance when a wall or obstacle stops one from rolling away.
Recover the trail when it gets away
A fleeing Surveyor can roll faster than you can sprint. Follow its last visible direction, then look for its next transmission instead of trying to win a straight footrace.
Do not spend every grenade while pursuing it. Save enough damage for the next stationary window, especially if your first attack already removed some armor.
Search the shell pieces, not just the final wreckage
Surveyors shed lootable shell pieces as they take damage. Check those panels as well as the remains at the kill location. If you only search where the machine finally stopped, you can miss loot scattered along the fight’s path.
A Surveyor can yield one to five Surveyor Vaults, with one or two being more common. A single kill is therefore not a reliable way to finish an entire upgrade requirement.
Surveyors can also drop ARC Motion Cores and random blueprints. If Motion Cores become your main objective, the best ways to get Motion Cores in ARC Raiders include other enemies, ARC Probes, and crafting routes.
Each Surveyor Vault weighs 1 kg and stacks up to 3. Put it in a safe pocket when you have room, so it survives even if you die before extraction.
Reserve five Vaults for Medical Lab Level 3. The first stage of the Trophy Display project needs another five, so completing both requirements takes 10 before any other uses.
How to get Surveyor Vaults from ARC Couriers
Find smoke, then breach the Courier
ARC Couriers are crashed drones marked by black smoke. Their ARC Courier markers appear on the map when you are nearby. Approach, breach the container, and search its contents.
Buried City is a good choice for a Courier-focused search because of its high concentration of Couriers. Their contents are random, so finding a crash site does not guarantee a Surveyor Vault. This route avoids the Surveyor fight, but you still need to watch for nearby ARC and Raiders.
ARC Couriers can also contain Sentinel Firing Cores for Gunsmith Level 3. The ARC Raiders Sentinel Firing Core guide covers their other sources if Courier runs do not supply enough.
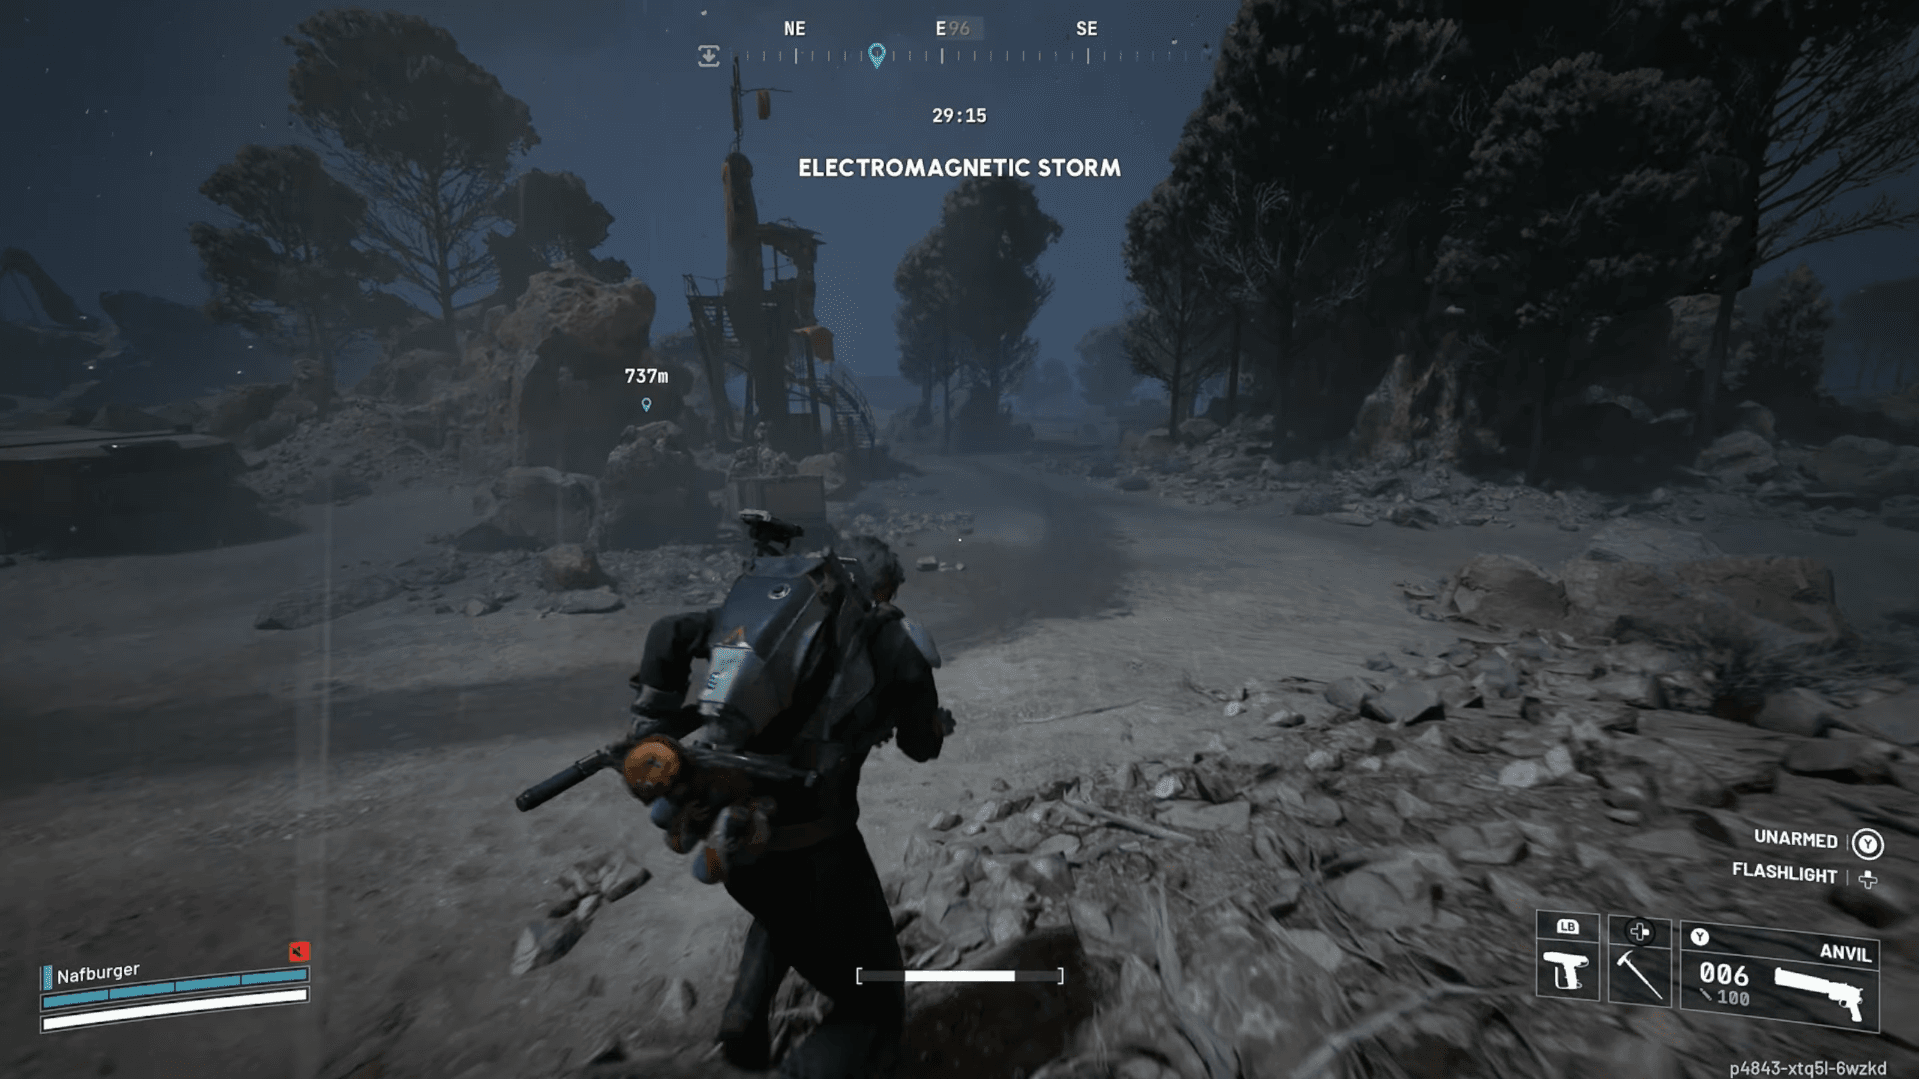
Breach Couriers for another chance
Use the storm route on Dam Battlegrounds
The Electromagnetic Storm increases ARC Courier spawns, providing another opportunity to collect Vaults without hunting the rolling machines directly. On Dam Battlegrounds, focus on the lower-left area around Scrapyard and Old Battleground.
Use a lightweight setup if your plan is to avoid combat, then follow this sequence:
- Move through the Scrapyard and Old Battleground area while checking for Courier markers and smoke.
- Breach unlooted Couriers and take any Surveyor Vaults you find.
- Reopen the map after each stop to check for another nearby Courier.
- Keep moving between sites while watching for the storm’s electrical shocks.
Extract once you secure the Vaults you came for. Extending the run to search every crash site adds exposure to the storm and other Raiders without guaranteeing another drop.