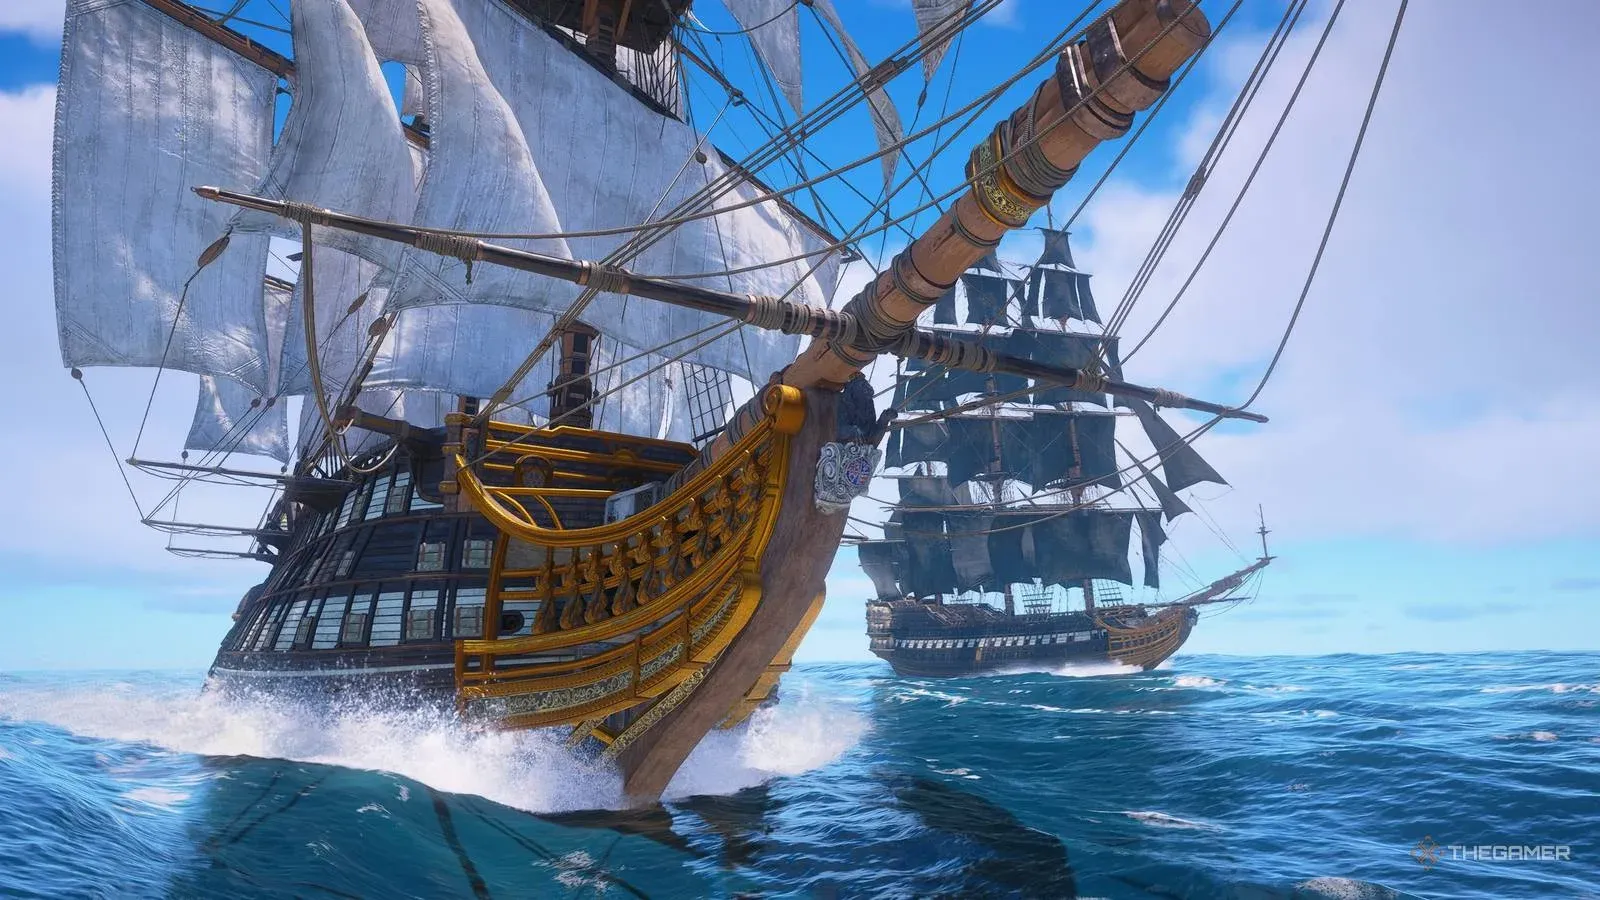


The legendary ships are the hardest naval bosses in Assassin's Creed Black Flag Resynced, and the HMS Fearless and Royal Sovereign are a cut above the rest. Unlike every other ship encounter in the game, this one throws two heavily armed warships at you simultaneously, and they coordinate their attacks in ways that can shred an under-prepared Jackdaw in seconds. The good news? Their predictable attack loop is the key to beating them, and once you understand the anchor strategy, this fight becomes far more manageable than it looks.
What makes the HMS Fearless and Royal Sovereign so dangerous?
The HMS Fearless (Black Sails) and Royal Sovereign (White Sails) are tougher than any Man O' War you've faced before. The real threat isn't raw firepower from a single ship; it's the coordinated broadsides from both vessels at once. If you're sailing around trying to engage them dynamically, you'll constantly find yourself caught between two walls of cannon fire with no clean escape.
Both ships also deploy Fire Barrels once they drop below a third of their health, adding another layer of danger to an already punishing fight. The damage output if you fail to brace is extreme, so this encounter punishes reactive play more than almost anything else in the game.
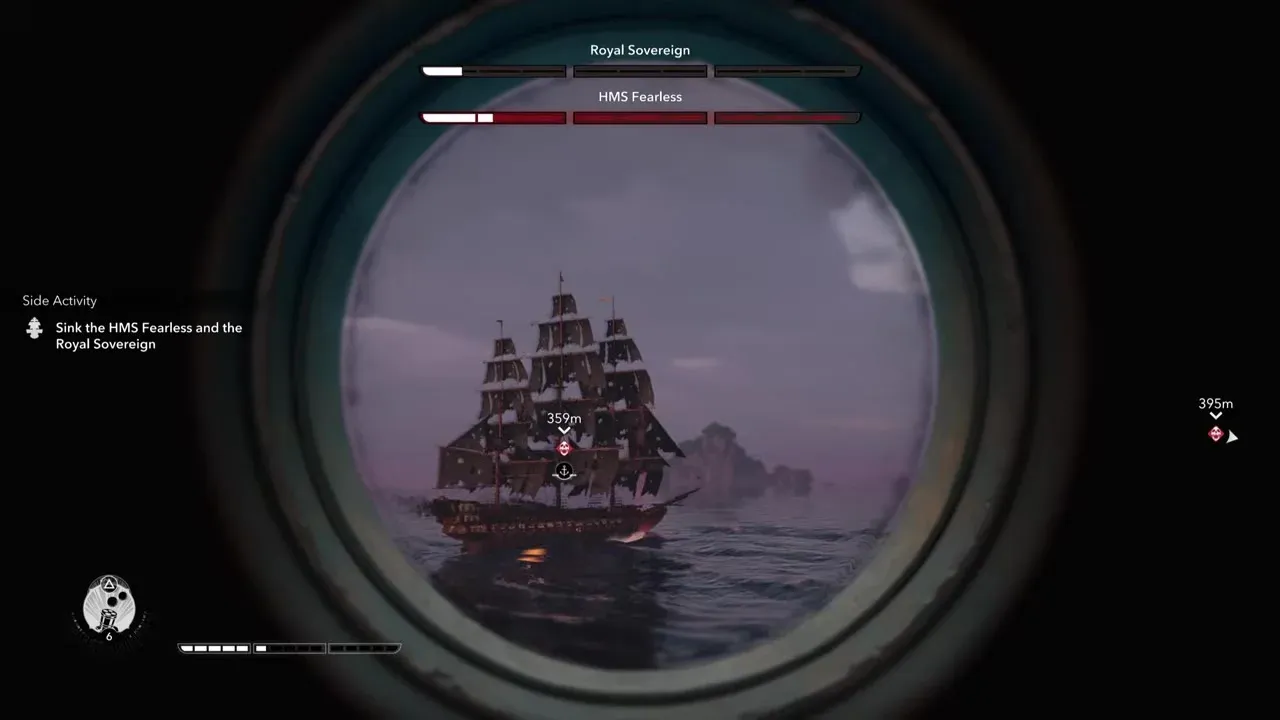
Upgrade hull before this fight
How should you prepare before the fight?
Don't attempt this encounter with a stock or lightly upgraded Jackdaw. These ships demand a near-maxed vessel. Focus your upgrade resources in this order:
If you haven't already unlocked the Shipwright, check out the guide on how to unlock the Shipwright since the Perfect Brace ability she enables is non-negotiable for this fight. Mastering that defensive maneuver is the difference between winning cleanly and watching the Jackdaw sink.
How to beat the HMS Fearless and Royal Sovereign: the anchor strategy
Here's where this fight gets unconventional. The single most effective approach is to drop anchor and stay stationary for the entire battle. It sounds passive, but it completely neutralizes the most dangerous aspect of the encounter: being caught in crossfire while moving.
Step 1: Get into position
When the fight begins, move the Jackdaw to either the left or right flank of the two ships to avoid their initial broadside. Once you're clear, drop anchor. From this point, you're not sailing anywhere.
Step 2: Understand their attack loop
With you anchored, both ships follow a fixed pattern every single time. They sail toward you from opposite sides, attempting to trap you between them for a simultaneous broadside. After firing, they continue past and loop around to repeat the same approach. This pattern holds until one of them is destroyed.
Because their path is so predictable, you can plan every action around it rather than reacting on the fly.
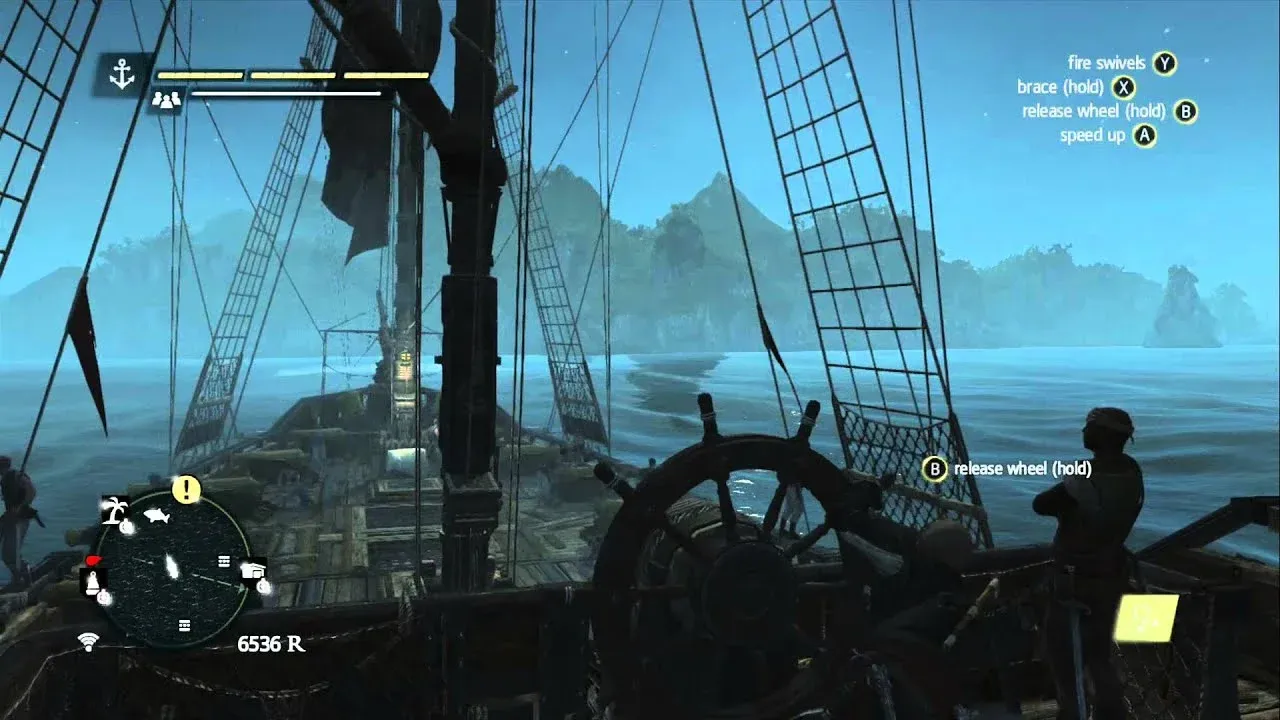
Stay anchored, track their loop
Step 3: Rotate to face each pass
Even though you're stationary, you still need to rotate the Jackdaw to track the ships. As they approach, turn so your broadside faces them. This gives you two additional options beyond the broadside itself:
- Front cannons with Heavy Shot: After a broadside pass, the ships sail away from you. Fire your frontal Heavy Shot into their stern as they retreat. This deals significant damage and is easy to land consistently.
- Fire Barrel placement: As you rotate, your stern faces whichever ship is coming from behind. Drop Fire Barrels in their path. They'll sail right through them, taking heavy damage.
You can also fire both sides of your cannons in a single pass by looking to one side, firing, then quickly swinging the camera to the opposite side and firing again. The timing is tight, but landing both broadsides in one pass accelerates the fight considerably. Follow it immediately with a perfect brace.
Step 4: Use mortars between passes
Because the ships follow such a consistent route, mortars are unusually effective here. Once you've tracked their speed and arc a few times, you can land mortar shots almost every pass. Use them during the gaps between broadside opportunities to keep damage ticking up.
Step 5: Master the perfect brace
This is the most important skill in the entire fight. When either ship lines up for a broadside, execute a perfect brace right before the cannonballs connect. A successful perfect brace negates most of the incoming damage.
Both ships fire at roughly the same time during their passes. If you can time the brace to cover both volleys, you'll take minimal damage across the entire encounter.
For a deeper look at the mechanics involved, the naval combat guide for AC Black Flag Resynced covers bracing, U-turns, and boarding in detail.
What happens when they drop below one-third health?
Once both ships lose roughly a third of their health, they begin dropping Fire Barrels as they pass. If you stayed stationary, this is almost irrelevant since you'll never be in the barrel's path. Better still, use your Swivel Gun to shoot the barrels as the ships sail past them. The explosion damages whichever ship is nearby, turning their own tactic against them.
Should you focus one ship or damage them equally?
Damage them equally. This is the part most players get wrong.
When one ship sinks, the survivor immediately abandons the predictable loop and goes straight for a ram. It becomes far more aggressive and erratic, making the clean, controlled fight you've been running suddenly chaotic. The more health the surviving ship has when its partner goes down, the longer you're stuck dealing with that aggressive phase.
The goal is to bring both ships to low health simultaneously, then sink one and immediately finish the other with a concentrated cannon volley before it can fully shift into ram mode. Pulling this off keeps the fight's final moments as controlled as everything that came before.
What rewards do you get for sinking both ships?
Defeating the HMS Fearless and Royal Sovereign earns you a full set of unique cosmetic rewards for the Jackdaw: their sails, figurehead, hull, and wheel, plus 12,000 Reales. The cosmetics are exclusive to this encounter, so there's no other way to get them.
For everything else you should be doing early in the game alongside hunting legendary ships, the AC Black Flag Resynced essential starter tips are worth reading before you push into harder content. There's a full AC Black Flag Resynced guide collection covering every major system if you want to keep building on your progress.