Beast of Reincarnation has a cooking loop that quietly becomes one of the more rewarding systems in the game, and Fertilized Eggs are the starting point for all of it. Hatch one in the Cleanse Walker's incubator, raise a chicken, and you have a steady supply of regular eggs feeding into Kagura's recipes for permanent stat bonuses. The trick is knowing where to find eggs early, how the incubator actually unlocks, and which eggs are worth hatching versus selling.
Where are the Fertilized Eggs in Beast of Reincarnation?
Fertilized Eggs show up on the map as Valuables, not as food or crafting materials. That marker type is easy to overlook early on, so keep an eye on Valuables icons whenever you clear a new region. Every egg is found inside a bird nest, usually near roaming chickens.
The game holds around 11 Fertilized Eggs in total across all chapters, but the Cleanse Walker only has confirmed slots for 6 chickens. That gap matters: you do not need to hunt every egg immediately, and early incubator space is limited anyway.

Valuables marker for egg nests

Chapter 1 eggs
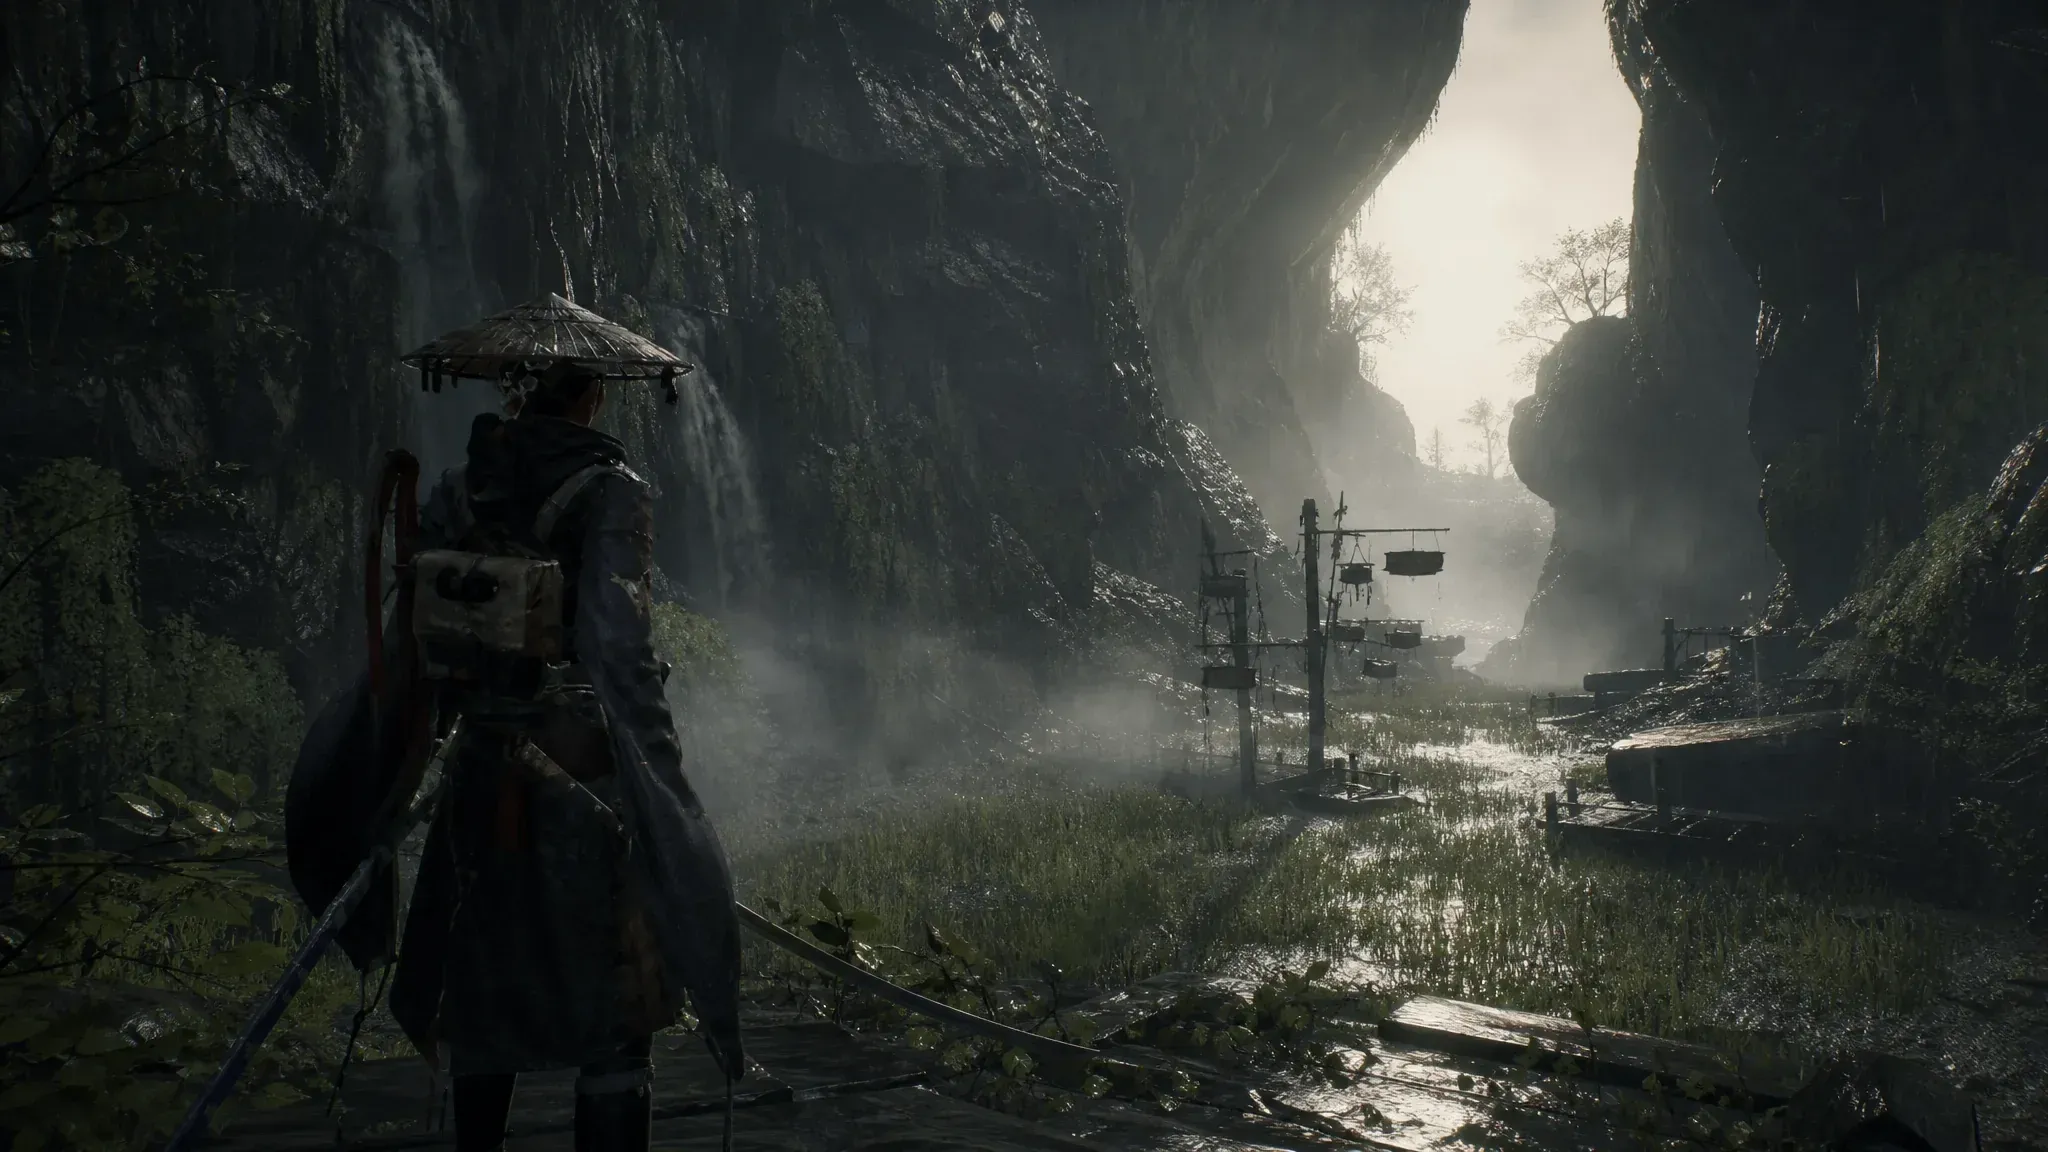
The first egg most players find is in the Ogouchi Buffer Zone (also called Subcity 03 in some areas), tucked inside a hidden underground cave northwest of the Cleanse Walker. The entrance is easy to miss because it sits near a suspicious pile of items on a platform in the rice field, just northwest of the Village Surroundings Campsite. Drop underground, follow the Valuables marker past the chickens, and interact with the bird nest to collect it.
A second Chapter 1 egg sits in a bird nest inside a house on the northeast corner of the map. It is a much more straightforward pickup once you reach that area.
Chapter 2 eggs
Two more Fertilized Eggs appear in Chapter 2. One is found in a nest, and a second is inside a broken house in the region. The Oguchi Buffer Zone / Subcity 03 also holds an egg tied to the Blue Key path: after getting the Blue Key, clear the bear-like enemy near the red smoke, defeat the Golem, then search the back room. That room contains Rice, a Rice Seedling, the Normal Recipe: Fried Egg, and a Fertilized Egg.

Oguchi cave egg location
Chapter 3 and Chapter 4 eggs
Chapter 3 has an egg found near the Giant Statue in its region. Chapter 4 contributes one more near the Camp entrance of the Belfry. Both follow the same rule: look for Valuables markers and bird nests in the area.

Chickens produce eggs passively
How does the Cleanse Walker incubator work?
The incubator room is locked behind story progress. It does not open the moment you return to the walker with an egg in your pocket. The egg-growing function becomes available once Chapter 2 begins, so keep pushing the main story if the incubator slot is missing.
Once the room opens, head to the left-side egg room inside the walker and interact with the incubator. Select an empty nest slot, place a Fertilized Egg, then use the bed to rest until morning. Resting passes time and advances the hatching process. When the egg finishes incubating, it becomes a live chicken inside the walker.
To open more slots, raise the Cleanse Walker's Power rank using Generator Devices, then spend Facility Modules to unlock additional nests. Tracking down all the ways to earn more Amber helps fund those upgrades faster.
What do chickens and regular eggs actually do?
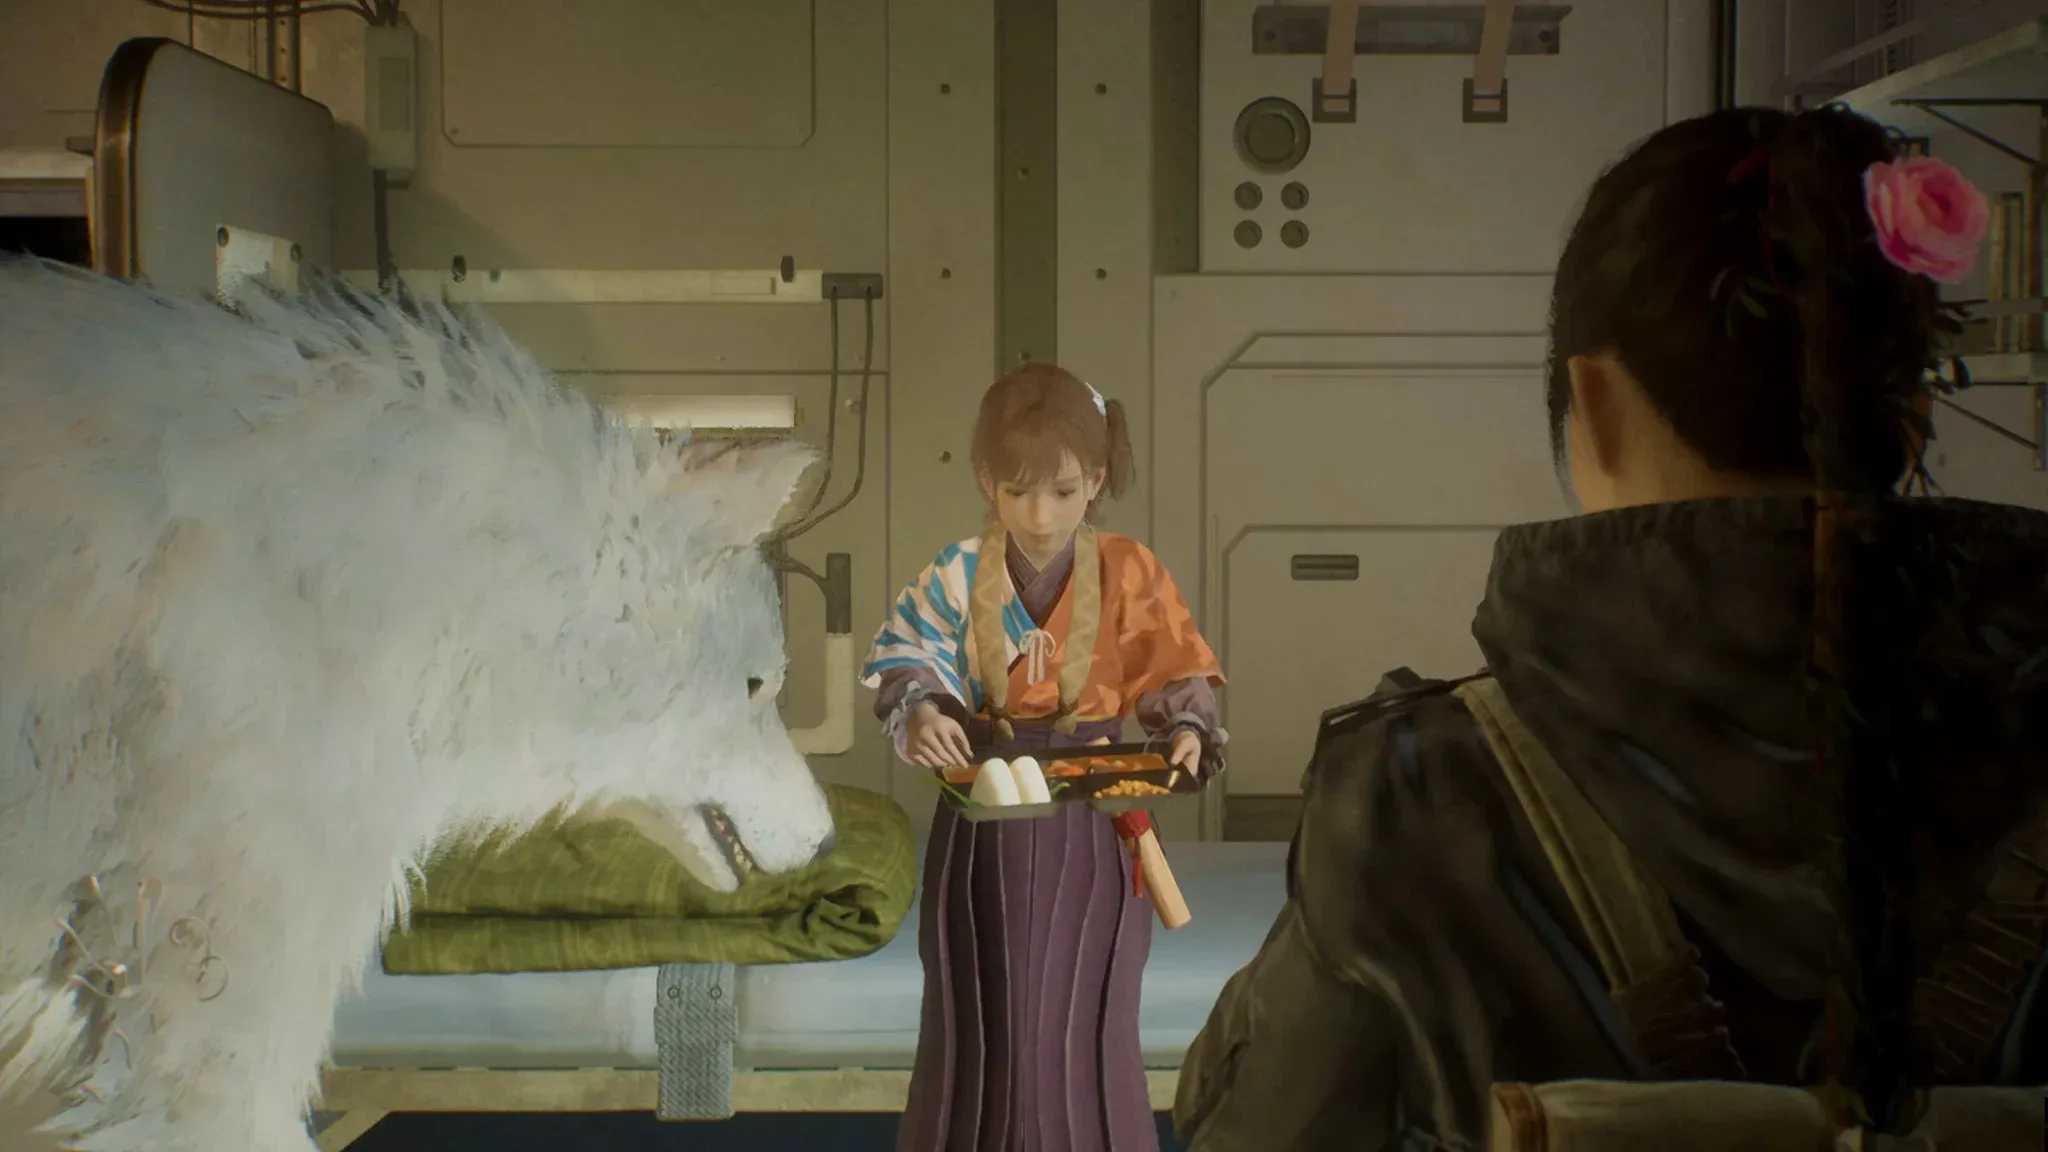
Once a chicken is hatched, it produces regular eggs automatically over time. You collect them when you return to the walker from exploration. Those eggs go directly into Kagura's cooking recipes, which grant permanent stat bonuses rather than temporary buffs. That makes the chicken loop one of the better passive systems in the game for long-term character growth.
The cooking connection also means the Fertilized Egg grind ties directly into keeping your food supply healthy. More chickens means more eggs, which means more meals, which means more permanent bonuses stacking up over time.
Should you sell the Golden Egg?
Yes. The Golden Egg is a sale item, not a hatching resource. Sell it for 600 Amber and move on. Placing it in an incubator slot wastes space that a real Fertilized Egg should occupy.
Setting up your incubator efficiently
The practical priority is simple: grab the Ogouchi Buffer Zone cave egg in Chapter 1, hold it in your inventory, and place it the moment Chapter 2 unlocks the incubator. That gets your first chicken running as early as possible.
From there, expand slots by farming Generator Devices and Facility Modules as you progress. If you want to speed that process up, it also helps to understand how research projects work since they feed into unlocking more walker functionality over time.
One or two chickens will cover most of your egg needs through the first half of the game. The full 6-slot setup is a late-game goal, not an early requirement. For everything else the game throws at you, the full Beast of Reincarnation strategy guide collection has you covered.