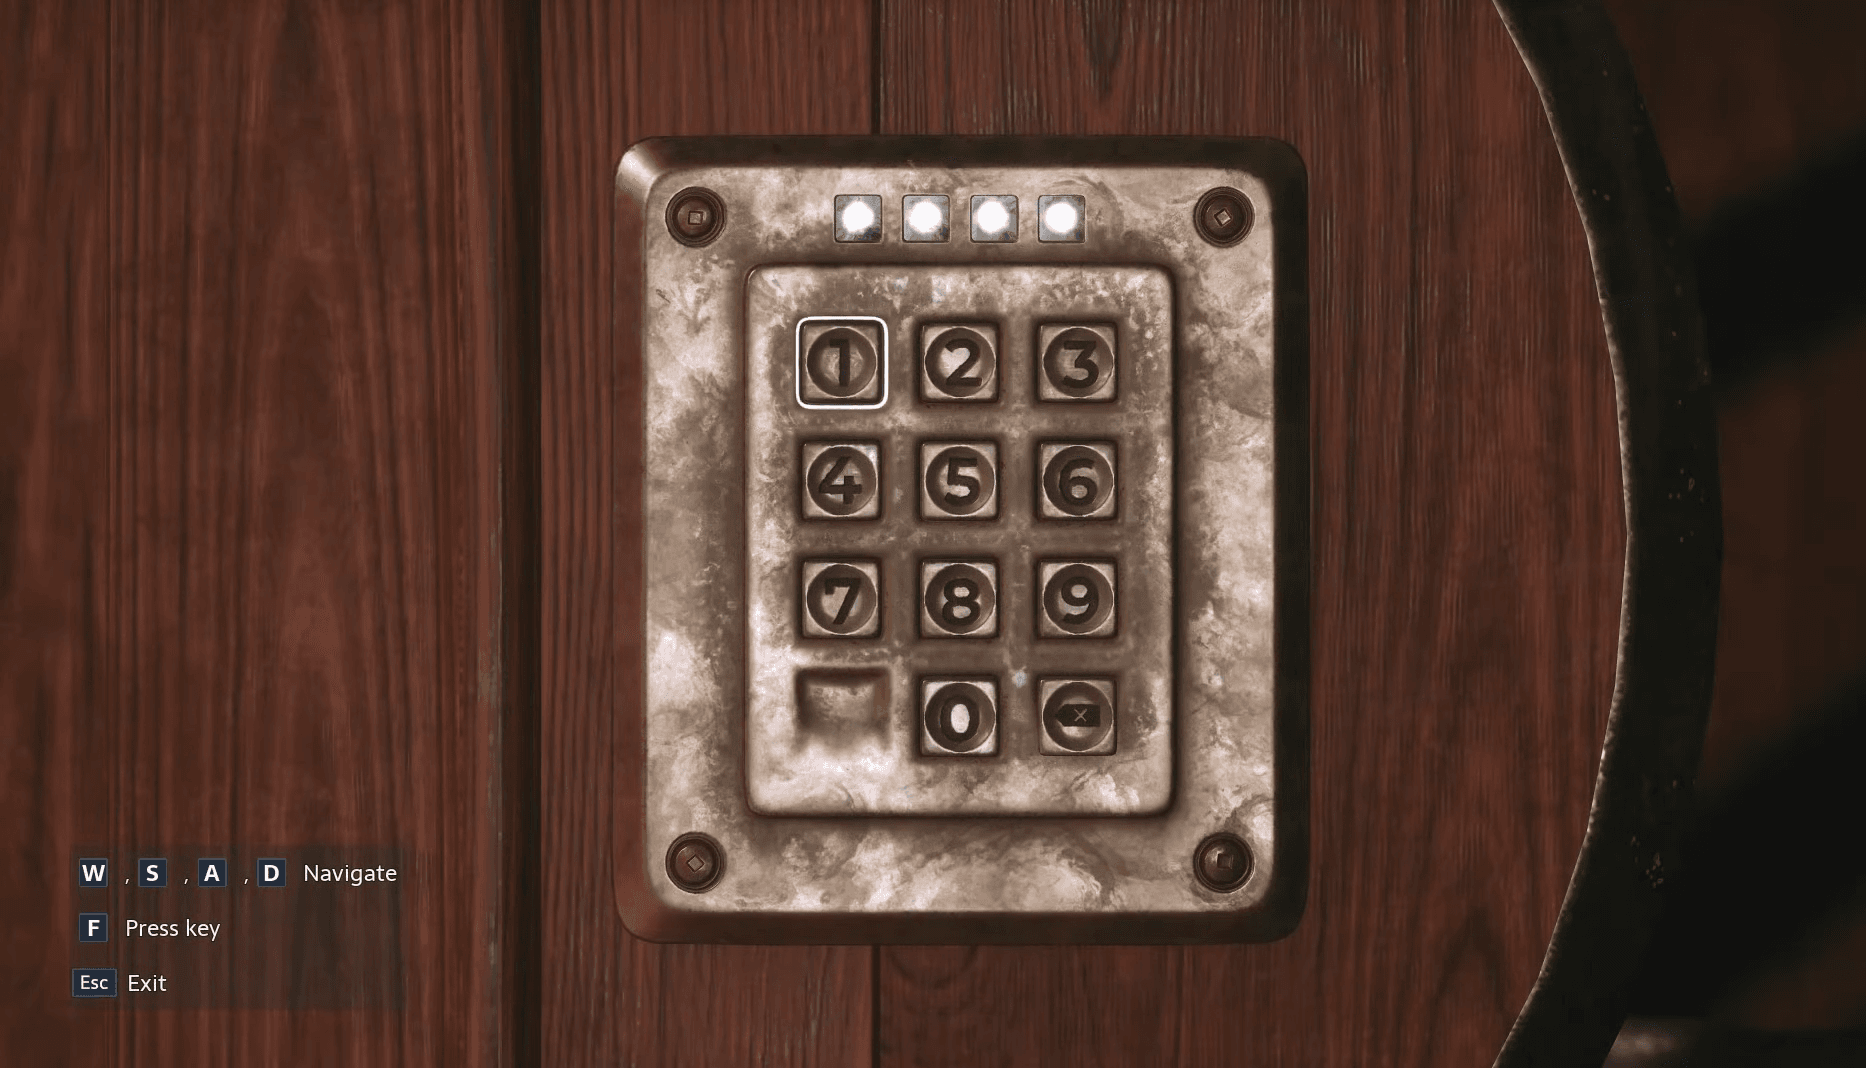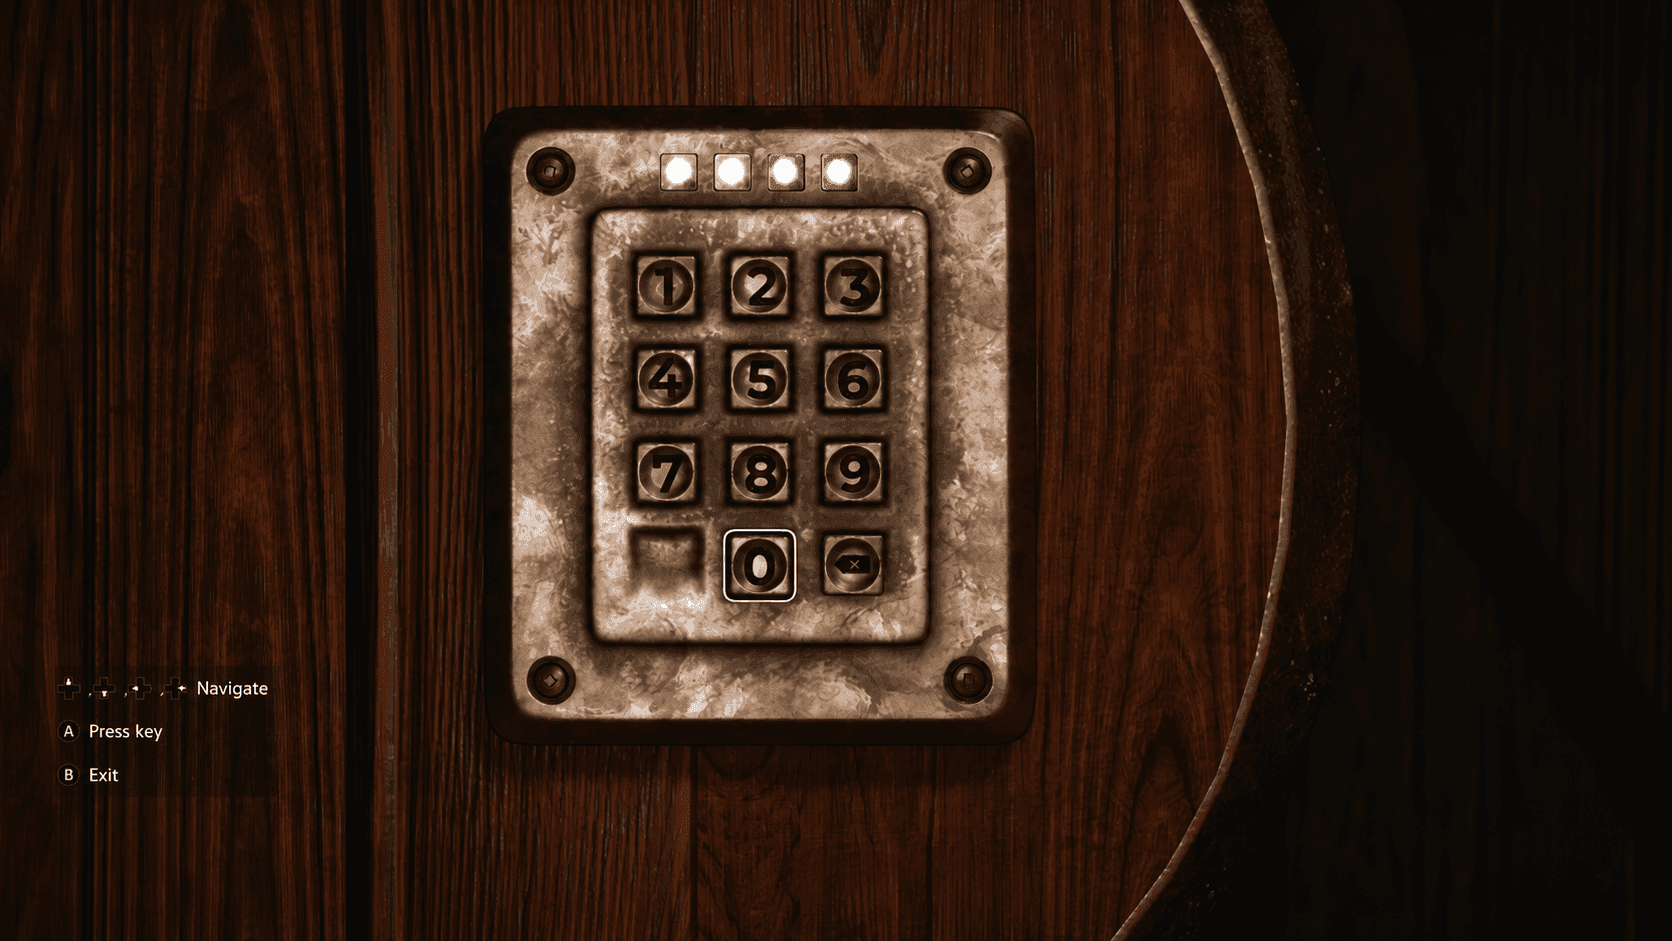

Clive Barker's Hellraiser: Revival doesn't lean hard on puzzle design, but its 10 keypad locks are scattered across every major area of the game and a few of them are genuinely easy to miss. The codes are always hidden somewhere nearby, but the game rarely makes it obvious exactly what you're looking for. This guide lists every code in order of appearance, explains where the clue lives, and flags the one or two locks that trip players up most.
What are all the keypad codes in Hellraiser: Revival?
Here's the full list at a glance. If you just need the number and nothing else, this table has you covered.
| # | Location | Code |
|---|---|---|
| 1 | Hallway cabinet | 9901 |
| 2 | Basement cabinet | 9891 |
| 3 | Cabin safe | 9606 |
| 4 | Bruno's music room cabinet | 1966 |
| 5 | Snake room cabinet | 1952 |
| 6 | Private rooms cabinet | 1923 |
| 7 | Cult compound locked door | 1362 |
| 8 | Videotape cabinet | 8571 |
| 9 | Operating room cabinet | 2342 |
| 10 | Sewer cabinet | 1512 |

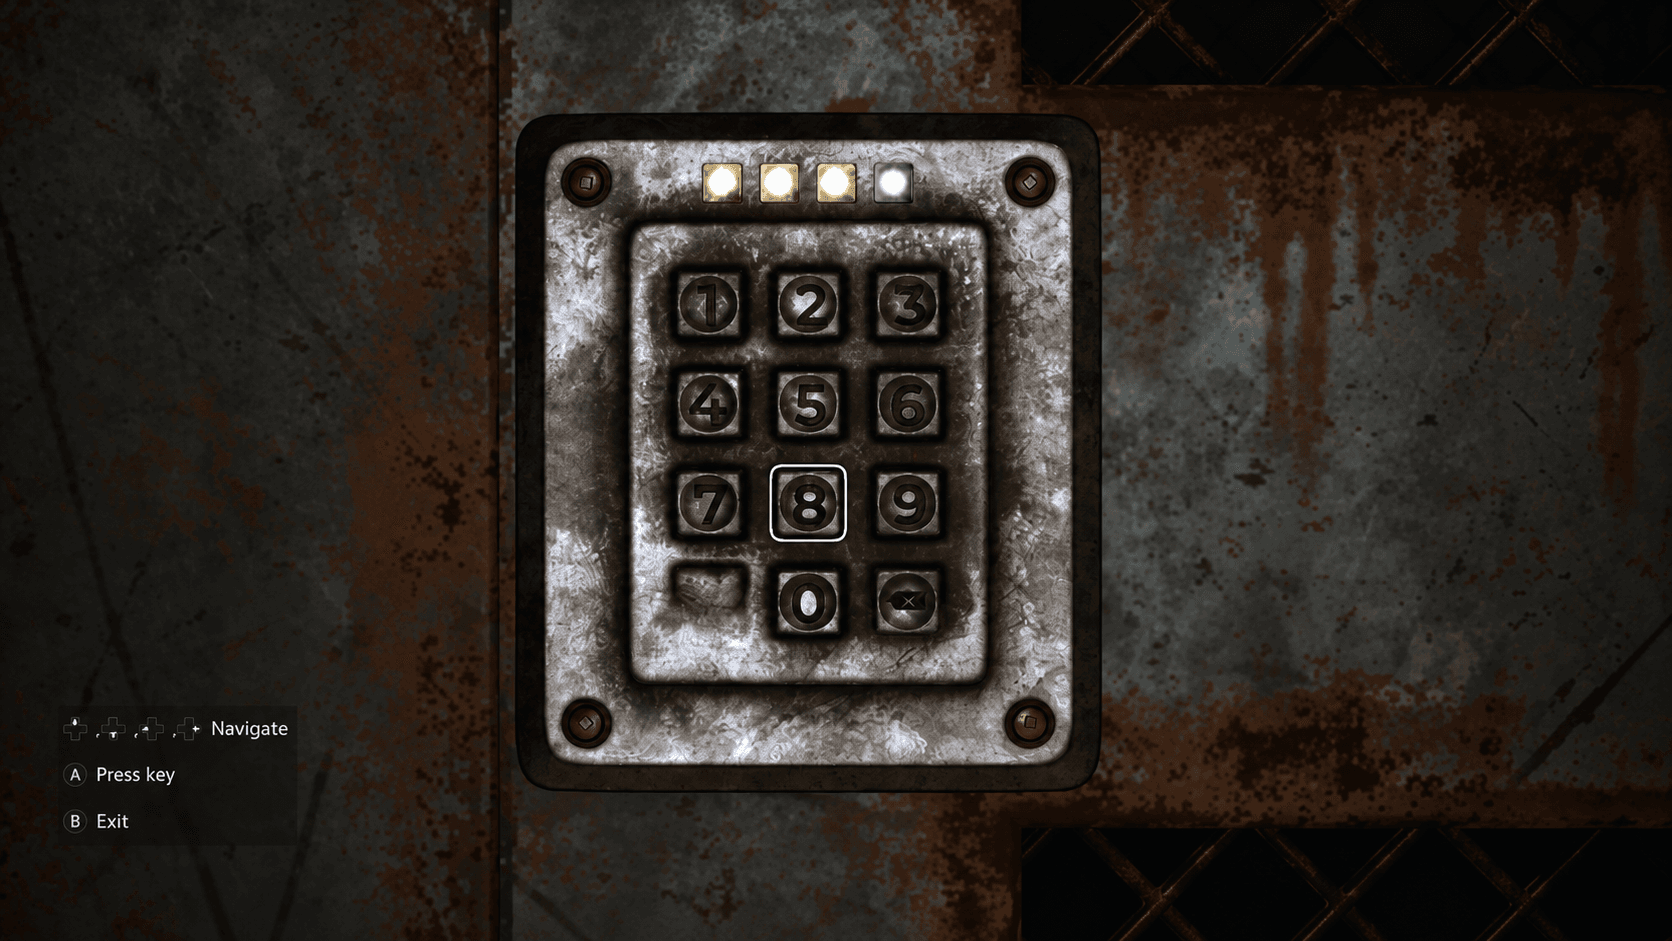
Codes 1-3
Hallway cabinet: 9901
This is the first keypad you'll encounter. The cult has just kidnapped you and you're pushing toward the exit. The locked cabinet sits to the left of a corridor lined with large oil paintings. Each painting has a plaque with a year on it. Read the plaques in order and the four-digit code comes together. For a full breakdown of exactly how the paintings reveal the number, the painting puzzle and first keypad code guide walks through every step.
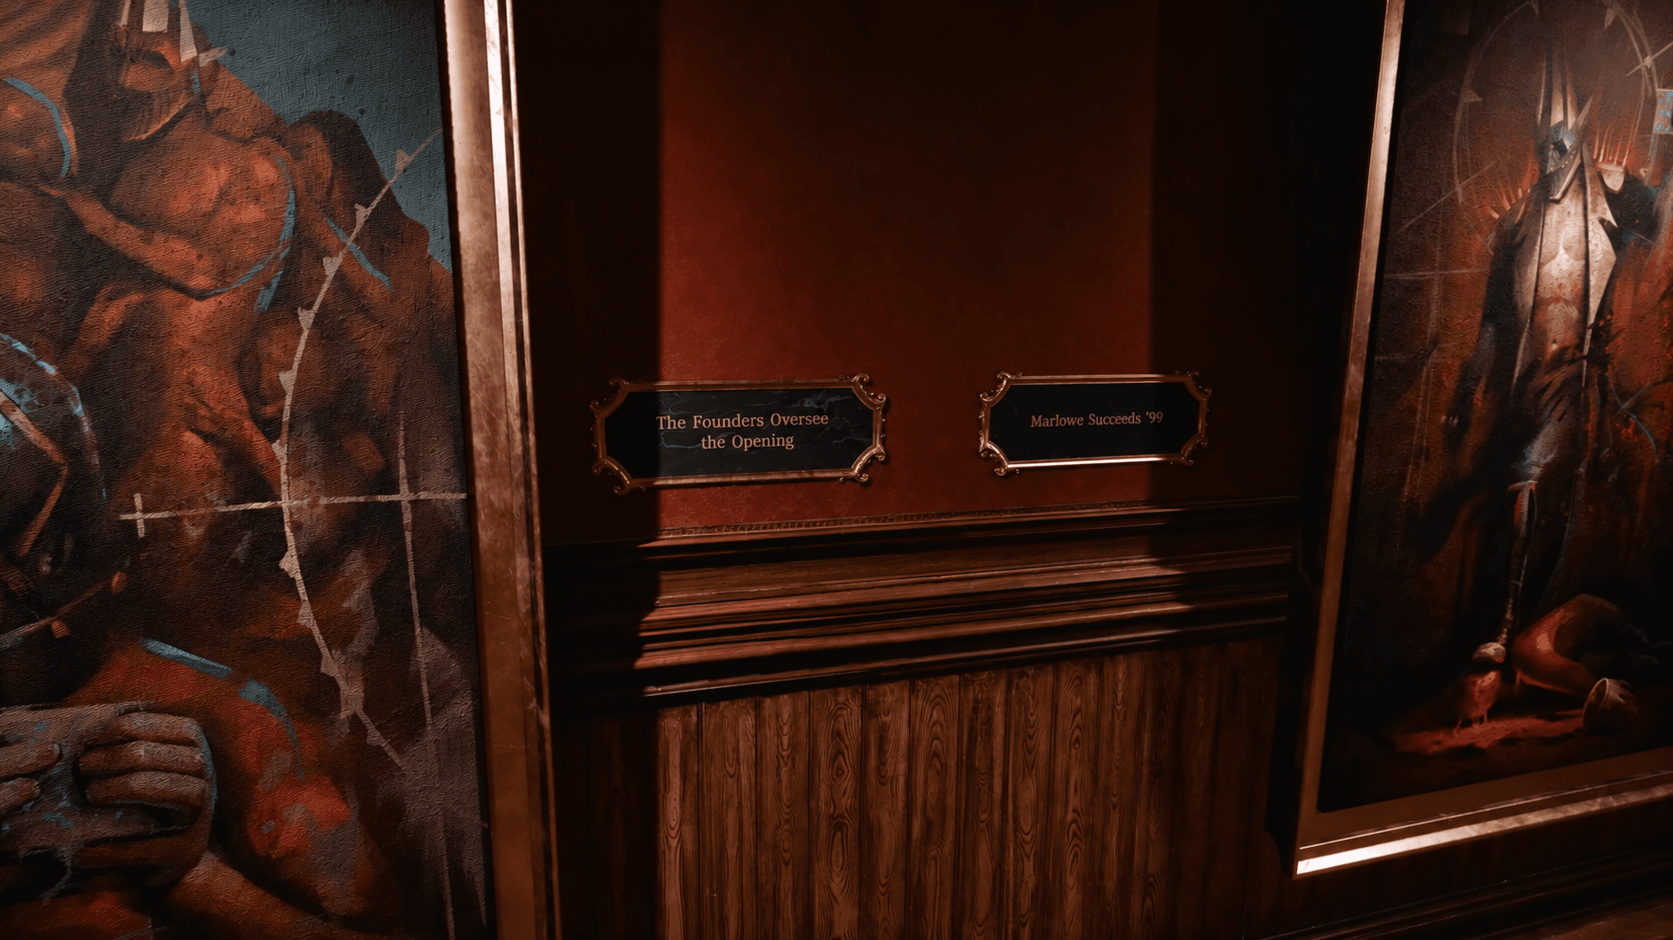
Hellraiser Revival Guide: Painting Puzzle 1st Keypad Lock Code
Basement cabinet: 9891
After dealing with the woman kneeling by the bathtub, move into the next room and you'll find the second cabinet along the wall. The code is tattooed on the back of the corpse in the tub you just passed. Turn around and look before moving on. The bathroom second keypad code guide has the exact location if you missed the body.
Cabin safe: 9606
You reach this one after navigating the graveyard full of cultists. Inside the cabin, there's a small safe sitting on a table. The code splits across two sources: the back of a picture frame and a note you pick up after grabbing the shed key. You need both halves to construct the full number.
Codes 4-6
Bruno's music room cabinet: 1966
This one has an extra step that catches people off guard. Head to the music room on the second floor of Bruno's house, back right corner. There's a note beside the cabinet explaining that the code equals 300 plus the date on the painting in his office. Find the large painting of buildings on fire in that office and check the back. The date reads 1666, the year of the Great Fire of London. Add 300 and you get 1966. The mansion Great Fire keypad code solution explains the math and where to find the painting.
Snake room cabinet: 1952
This cabinet sits in the room adjacent to where you pick up the Peep Show ticket. There's a bear trap in front of it, so disarm that first. The photo on the wall has the date scratched out on the banner. The same photo appears intact in the locker rooms near the Peep Show door, and there the date 1952 is clearly visible.
Private rooms cabinet: 1923
Once you unlock the Private Rooms wing of the cult's base, look for a door with "Try everything you who enter" painted in white on the left side. The cabinet is inside. The clue is in the next room over: a photo of four businessmen with numbers written across them. You only care about the two men wearing Leviathan pins on their lapels. Combine those two numbers and you get 1923.
Codes 7-10
Cult compound locked door: 1362
This is the easiest lock to walk straight past. After escaping the Leviathan's gaze and returning to kill Bruno and Marlowe, clear the guards patrolling outside and talk to the vendor. When you're done, go right and find the hole in the wall. Inside is the locked room. The code comes from two small carved statuettes in the area. Interact with them and check the backs and bottoms for the numbers.
Videotape cabinet: 8571
This safe appears right after Bruno escapes with the Genesis Configuration. Chase him into the painting room. Near the door is a TV with a VHS player. Insert the tape and the screen displays 85. Move into the next room, turn right, and insert the second tape into the VHS player there to get 71. The cabinet is to the right of the final health upgrade pillar.
Operating room cabinet: 2342
After Marlowe transforms and starts smashing through the cult's base, follow him into the operating theater and go into the small break room. The cabinet is in the back left corner below a TV showing the surgical table. Face the cabinet, then turn around and look at the holes Marlowe punched through the walls. Numbers are painted on the walls inside each hole. The order runs from the farthest wall to the closest, not left to right as you'd naturally read them. Get that order wrong and the code won't work.
Sewer cabinet: 1512
Deep in the sewers chasing Marlowe, you'll reach a large pool of electrified water where you can toggle the power. Through the barred door to the right of the save point is the final cabinet. The code is written on the wall of the electrified room: someone has scrawled a boast about beating their own high score, and the two numbers combined give you 1512.
Does the order of codes matter for the Codebreaker trophy?
No. The Codebreaker achievement or trophy just requires successfully opening 5 keypads, and the first five in this list all appear before the midpoint of the game. There's no specific combination required, so simply playing through in order and opening each cabinet as you encounter it will unlock it naturally.
For everything else you can unlock across the full playthrough, the complete trophy and achievement list for Hellraiser: Revival covers every missable moment, both story endings, and the stealth kills you'll need to track. The full Hellraiser: Revival guides collection has solutions for every puzzle in the game if you get stuck anywhere else.