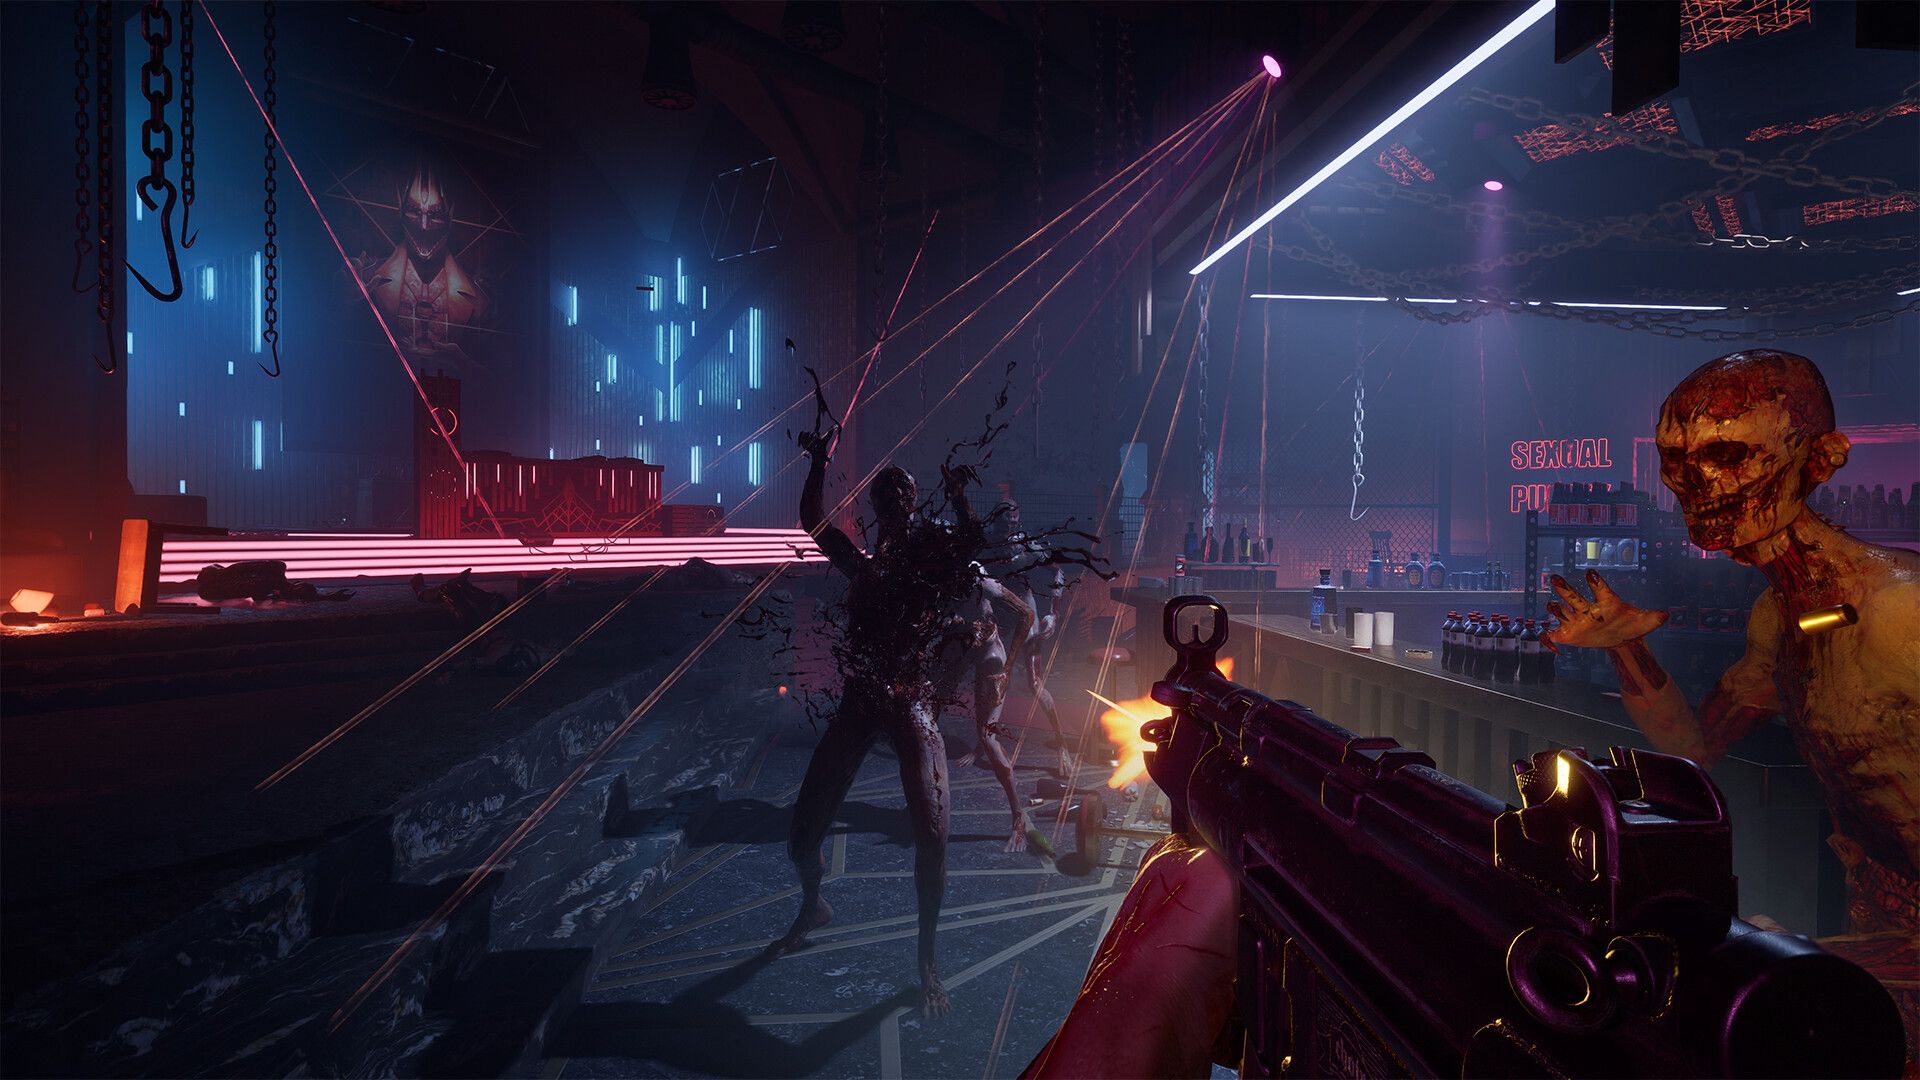
Clive Barker's Hellraiser: Revival is a first-person survival horror game developed by Boss Team Games and published by Saber Interactive. You play as Aidan Lynch, a man who opens the Genesis Configuration puzzle box and inadvertently traps his girlfriend Sunny in the Cenobites' dimension. The campaign runs 8 to 12 hours depending on your difficulty and how thoroughly you explore, and every area is a one-way trip. There is no chapter select. Miss a crafting recipe or a Pain Pillar and it stays missed.
What do you actually need to know before starting?
Here's the short answer: this game punishes players who treat it like a shooter. Ammo is finite, coins cannot be farmed, and melee weapons break. The knife you pick up early on is the only melee weapon that never degrades, which makes it your best friend for stealth kills against Cultists and the zombie-like Unworthy enemies. Save your firearms for situations where stealth genuinely fails you.

Genesis Configuration in use
The Suffering bar in the lower left of the HUD tracks your supernatural energy. You spend it to activate Telekinesis (unlocked after the sewer section) and later Hellchains (unlocked after the third Labyrinth segment). You refill it by damaging enemies or by finishing off flashing blue Unworthy enemies with the Genesis Configuration. That second method is far more efficient, so always watch for the blue flash before wasting a melee weapon on a zombie.

How do resources and crafting work?
Crafting materials are randomized inside breakable crates, which means reloading a save to farm a specific item will not work the same way twice. The game tracks which Crafting Recipes you have collected, but it does not track how many times you have crafted each item. There are 12 recipes total, and you need all 12 for the relevant trophy.
Here is the short list of which recipes to prioritize buying from Zora (the shopkeeper) at your first opportunity:
- Lockpick (120 coins) — 3 Scraps + 3 Coils. Locked cabinets often hold weapon upgrades.
- Basic Repair Kit (120 coins) — 1 Scraps + 1 Cloth + 2 Coils. Keeps your knife and other weapons functional.
- Medkit (200 coins) — 2 Cloth + 4 Herbs + 1 Chemicals. The most expensive recipe at first shop but the most important for harder encounters.
- Pistol Ammo — Obtained automatically when you pick up the pistol. Free.
All keypad codes: what are they and where do you find them?
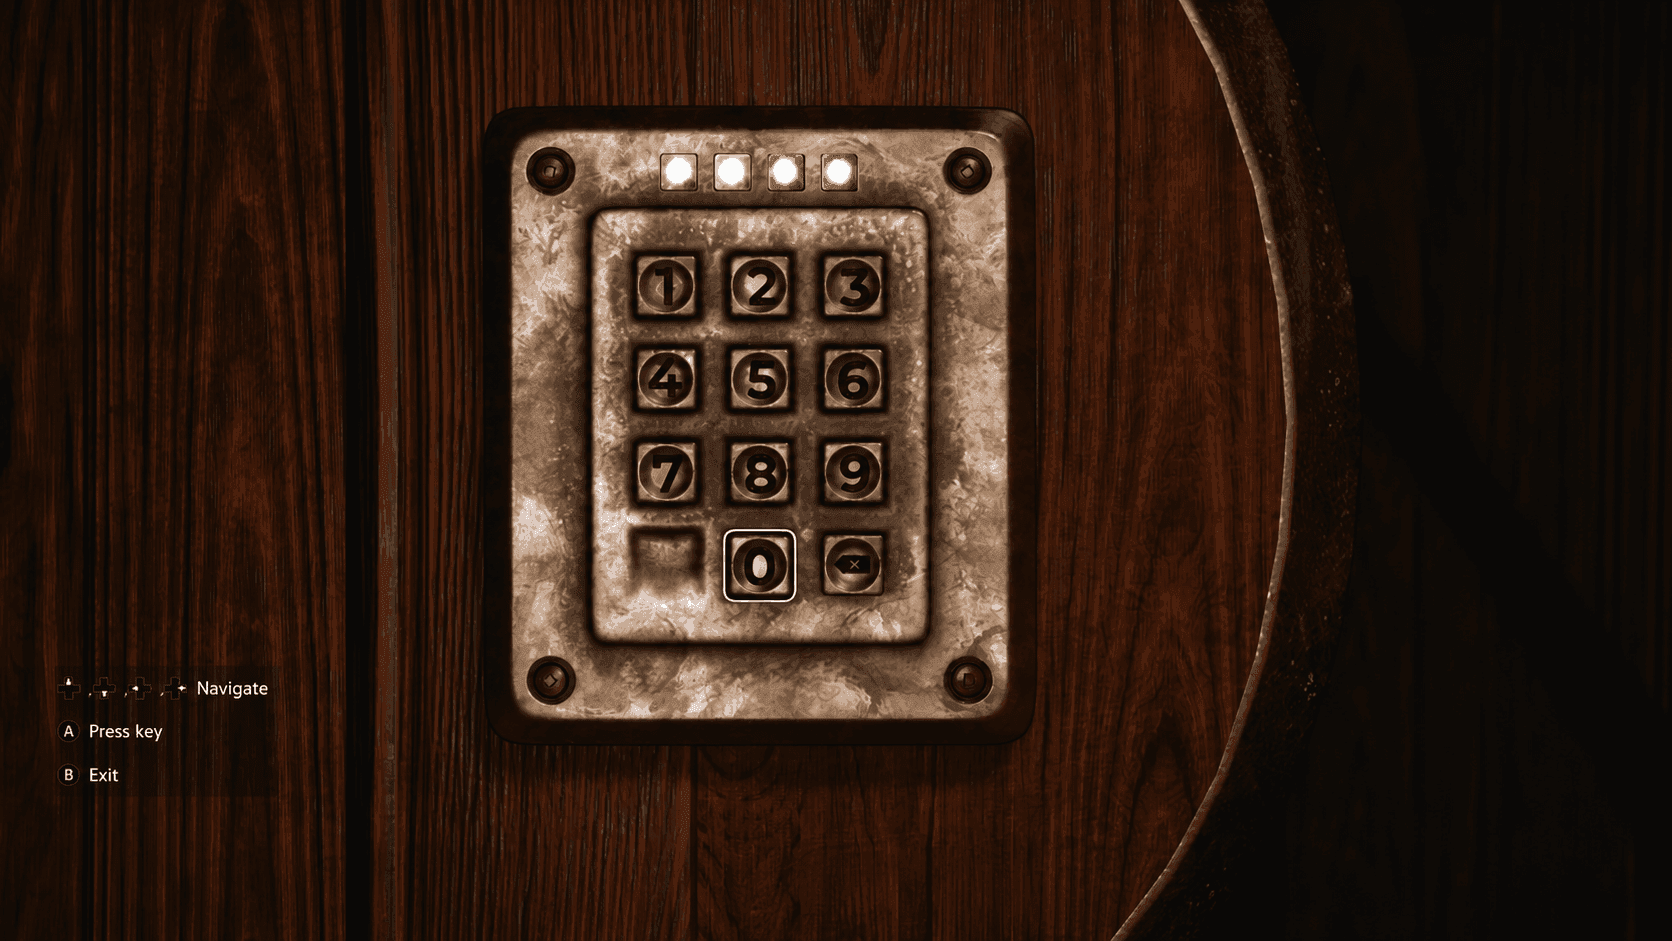
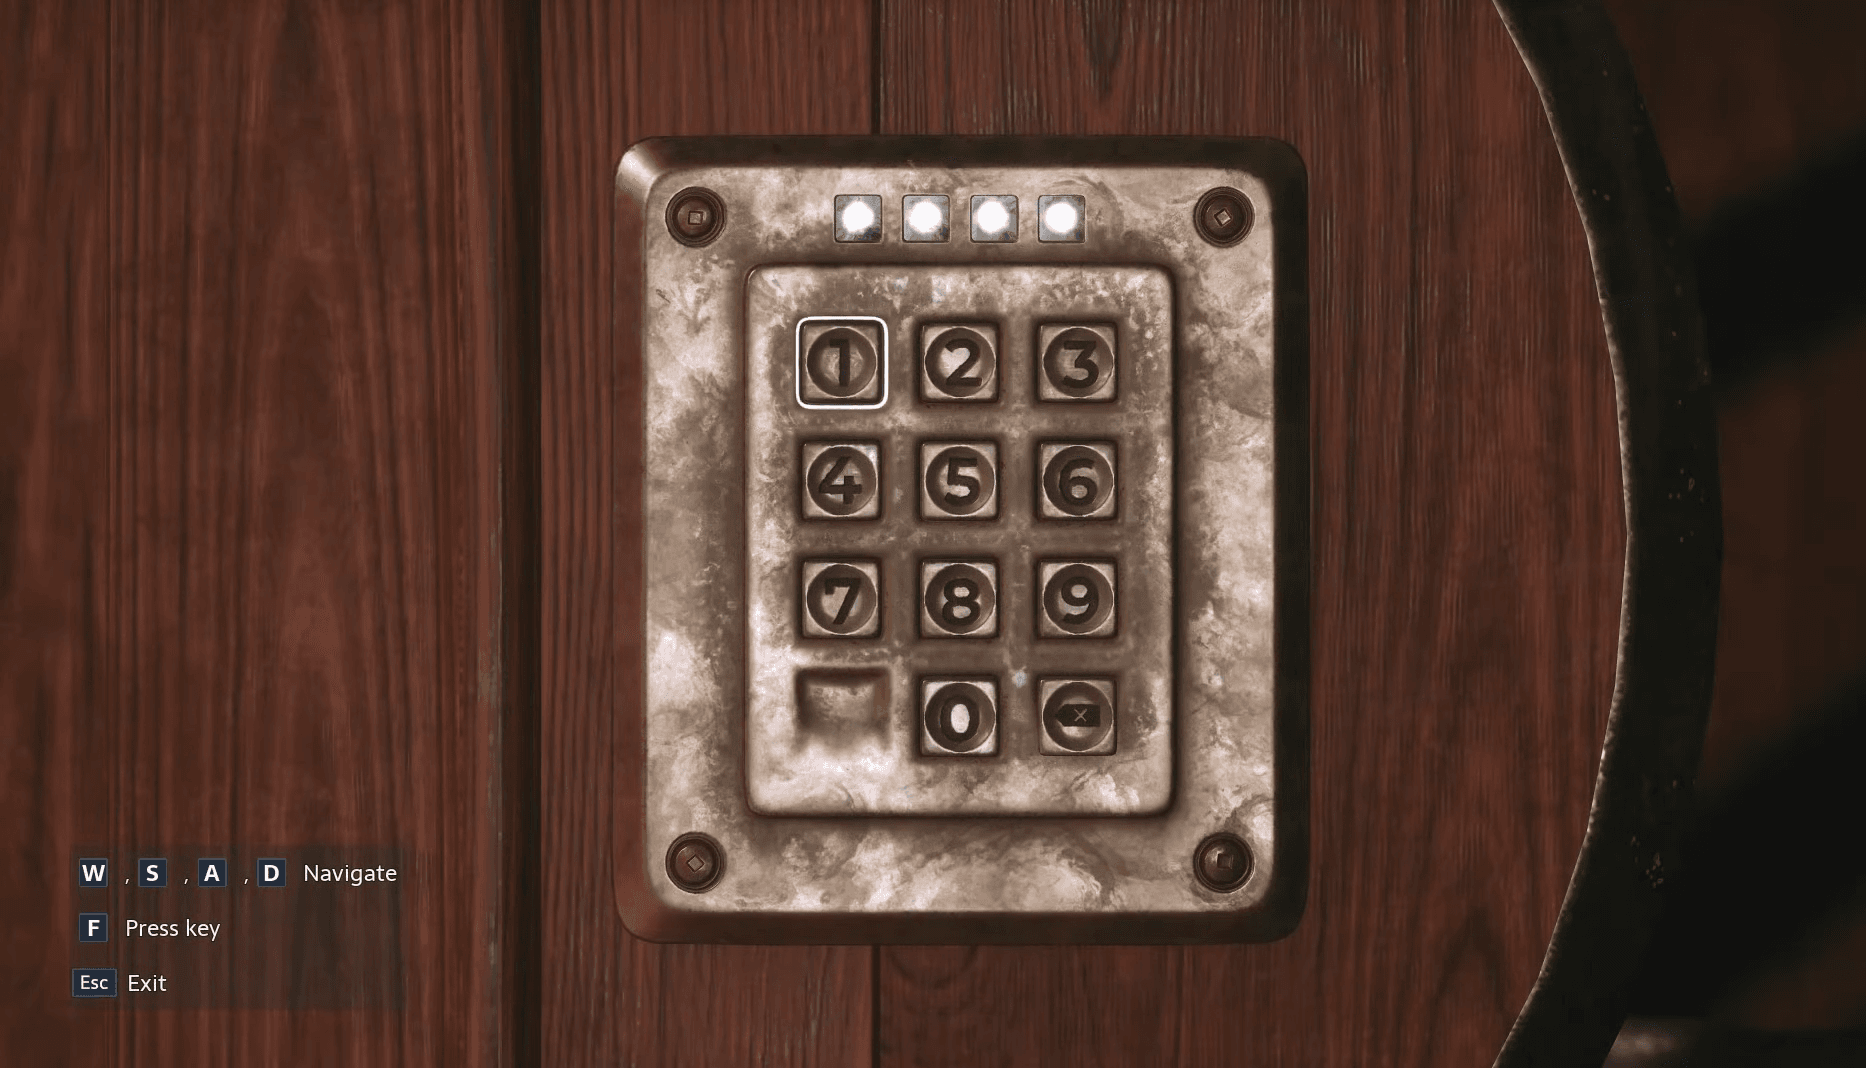
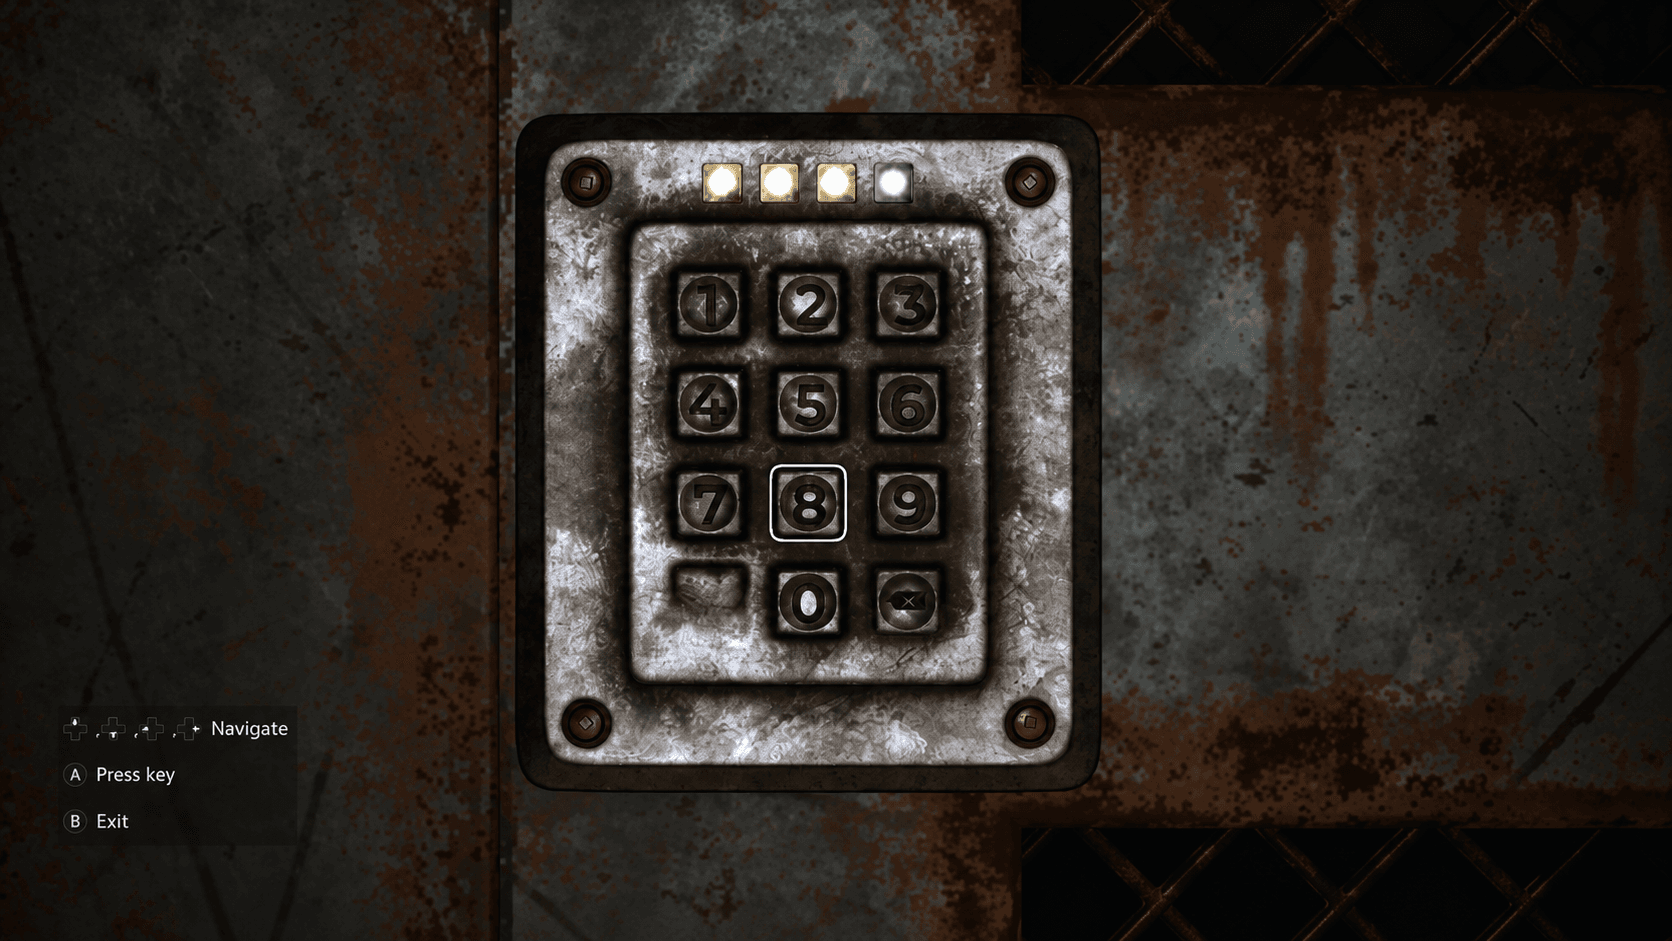
Keypad locks are scattered throughout the game, and the codes are always hidden somewhere in the nearby environment. If you want to find them yourself, look at paintings, tattoos on bodies, notes beside cabinets, and numbers on statues. If you just want the answers, the full list is below.
| Location | Code | Clue source |
|---|---|---|
| Hallway cabinet after sneaking past Bruno | 0199 or 9901 | Plaques beside paintings in the hallway |
| Cabinet after the bookshelf room | 9891 | Tattoo on body in nearby bathtub |
| Cemetery house safe | 9606 | Found inside the southeast house |
| Mansion top floor cabinet | 1966 | Painting date + 300 from adjacent note |
| Voyeur Room cabinet | 1952 | Pictures located around the area |
| Cabinet after Bruno fight area | 1923 | Picture in adjacent room |
| Dead end near fourth shop | 1362 | Numbers on statues in the next area |
| Cabinet after spinning trap | 8571 | Numbers from two TVs in the area |
| Sewer area cabinet | 2342 | Numbers on walls facing away from cabinet |
The first two codes trip up a lot of players. For a detailed breakdown of how the painting clues work for the very first lock, check out the painting puzzle keypad code guide. The second lock's code (9891) is tattooed directly on a body in the bathtub nearby — easy to miss if you are sprinting past it.
How do you beat each boss?
Bruno
Bruno is the first major boss fight and hits much harder than anything you have faced before. Use throwable objects in the room first to soften him up, then switch to the Shotgun once you have depleted the environment. The Shotgun does the most damage to bosses in this game. After you defeat him, pick up Bruno's Scalpel from the floor — it sells for coins at the next shop.
Bruno returns for a rematch later in the game. The second fight plays out similarly but you have more weapons available. Set him on fire, then close the distance with the Shotgun.
Charlotte
Charlotte is primarily a chase and avoidance encounter rather than a straight fight. During the graveyard section, stay crouched and use the bushes to break her line of sight. A crossed-out eye icon in the lower right confirms you are properly hidden. When you reach the church, shoot the lantern to escape. During the actual boss fight later, police who drive into the area will handle most of the standard enemies — focus on Charlotte directly.
Sister of Mercy
The Sister of Mercy flies, so ranged weapons are your primary tool. She throws knives in bursts; stop shooting and dodge when she winds up, then resume damage when she stops. At roughly two-thirds and one-third health she charges across the room to grab you. Attack her during the charge to knock her down, then use Hellchains when prompted. Pick up her Whip after the fight.
Marlowe
Marlowe is the final boss and easier than the Sister of Mercy. Shoot the three bodies on his back with the Revolver, SMG, or Assault Rifle to stun him. Once all three are destroyed, use Hellchains to open the creature's mouth and expose his real body. Unload Shotgun rounds into the exposed body for maximum damage. The sequence repeats once at half health, then you finish him with the Genesis Configuration.
Where are the Pain Pillars and Suffering Pillars?
There are 5 Pain Pillars (each grants a health increase) and 5 Suffering Pillars (each increases your Suffering bar capacity). All 10 are missable. A rough location list:
Pain Pillars:
- Turn right at the first intersection with a bloody hole in the wall after the first spinning diamond obstacle in the Labyrinth.
- Main path during the Labyrinth segment after defeating Charlotte. Turn left at the intersection past the wall spikes.
- Room with moving staircases after climbing a ladder — requires moving two Labyrinth Cubes and using fire on a pillar.
- On the main path immediately after defeating the Sister of Mercy.
- Behind a painted door puzzle in the late-game area — flip wall spots to complete the picture.
Suffering Pillars:
- After the spikey wall section in the Labyrinth, turn left at the red-lit intersection.
- During the Leviathan-visible Labyrinth section — turn around when you see arches ahead. If you see the arch with two blue flames, you passed it.
- Directly on the path after the save point in the Labyrinth segment following Charlotte's defeat.
- In the octagonal spinning section — on the third piece. Spin sections two and three to reach it before progressing.
- In the open Leviathan beam area — pick up fire, shoot it to a block on the right, move the block to reveal the Pillar.
Which edition should you buy?
The Standard Edition at $39.99 gets you the complete game. The Digital Deluxe at $49.99 adds The Nailer melee weapon, the Cenobite shotgun skin, the Punisher baseball bat skin, the Leviathan weapon charm, a digital art book, digital soundtrack, the Bleeding Hearts digital novella, and an '80s Horror Movie Filter. That $10 difference is reasonable if you want the extras.
The three physical Collector's Editions (Genesis at $129.99, Cenobite at $199.99, Leviathan at $249.99) all include the Digital Deluxe content and stack physical collectibles on top. The Genesis adds an LED puzzle box replica. Cenobite adds the Pillar of Souls polystone statue, four enamel pins, a hardcover art book, poster, and Pinhead art print. Leviathan swaps the standard print for one hand-signed by Clive Barker and adds an exclusive SteelBook, with production limited to 1,000 copies across all platforms.
Preorder bonuses (the Labyrinth pistol skin and Martyr sawblade skin) are separate from all editions and are not included in any package by default.
Common mistakes that will hurt your run
- Skipping stealth kills. The knife never breaks. Normal melee weapons do. Every Cultist you stealth kill is ammo and weapon durability you save for harder enemies.
- Spending coins on low-priority upgrades early. The SMG's Supersonic Bullets and the Pistol's Heavy Grain Bullets matter. Cosmetic or situational upgrades can wait.
- Not tracking crafting recipes yourself. The game has no internal counter for which recipes you have crafted. Keep a mental note or you risk missing the trophy.
- Grabbing bottles or stones in the graveyard before earning the stealth trophy. If you pick up a throwable in the graveyard section, you lock yourself out of the "A Quiet Place" trophy for that run. Save immediately when you drop in and do not touch any distractibles.
- Ignoring the two glitched shop trophies. The trophies for spending 666+ coins and earning 999+ coins from sales can break if you do not trigger them at the very first shop encounter with Zora. Make a manual save, sell everything, buy and rebuy items until both unlock.
FAQ
How long does Hellraiser: Revival take to beat? A standard playthrough runs roughly 8 to 10 hours. A full completionist run targeting all trophies, collectibles, and both endings takes closer to 10 to 15 hours. For a detailed chapter-by-chapter breakdown, see the how long to beat Hellraiser: Revival guide.
Are there two endings? Yes. At the very end, walking through the hole in the wall after the Cenobites unlocks the Experience Beyond Limits ending. Staying in the room until the wall closes unlocks Human After All. The final autosave puts you right before the choice, so you can reload and get both in one sitting. Full details are in the trophy list and achievement guide.
Can I go back to collect missed items? No. There is no chapter select and no backtracking past area transitions. Pick up everything before moving on.
What is the Suffering bar? The blue bar in the lower left. It powers Telekinesis and Hellchains. Refill it by dealing damage or by executing flashing blue Unworthy enemies with the Genesis Configuration.
Is the Assault Rifle worth buying? Yes, but specifically for the AP Rounds upgrade. Two enemies lined up while both are flashing blue can be killed with a single AP Rounds shot, which is the only practical way to earn the Trickshot trophy. Buy it from Zora at the third shop for 450 coins and attach AP Rounds immediately.
For a complete list of every keypad code in the game with exact clue explanations, the all keypad codes guide covers every door from the hallway cabinet to the sewer. For more walkthroughs and collectible guides, browse the full Hellraiser: Revival guide collection.