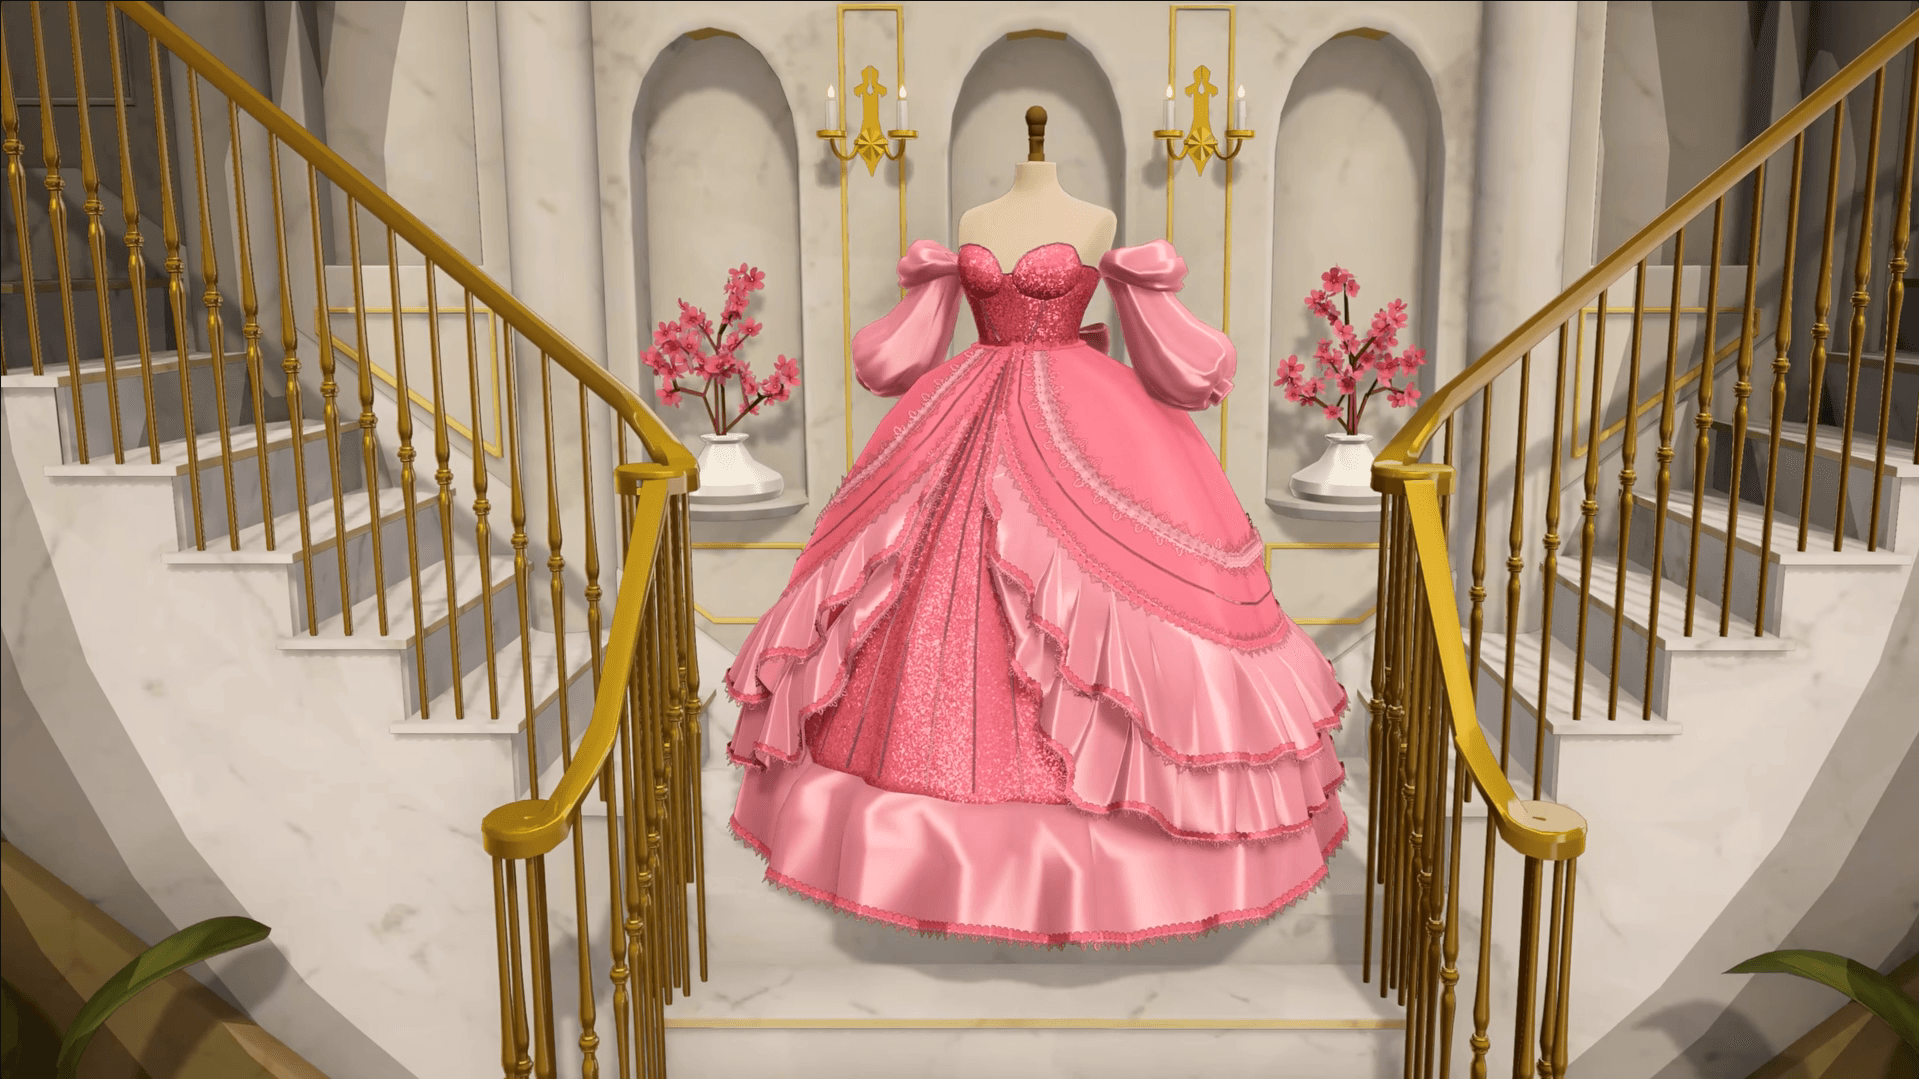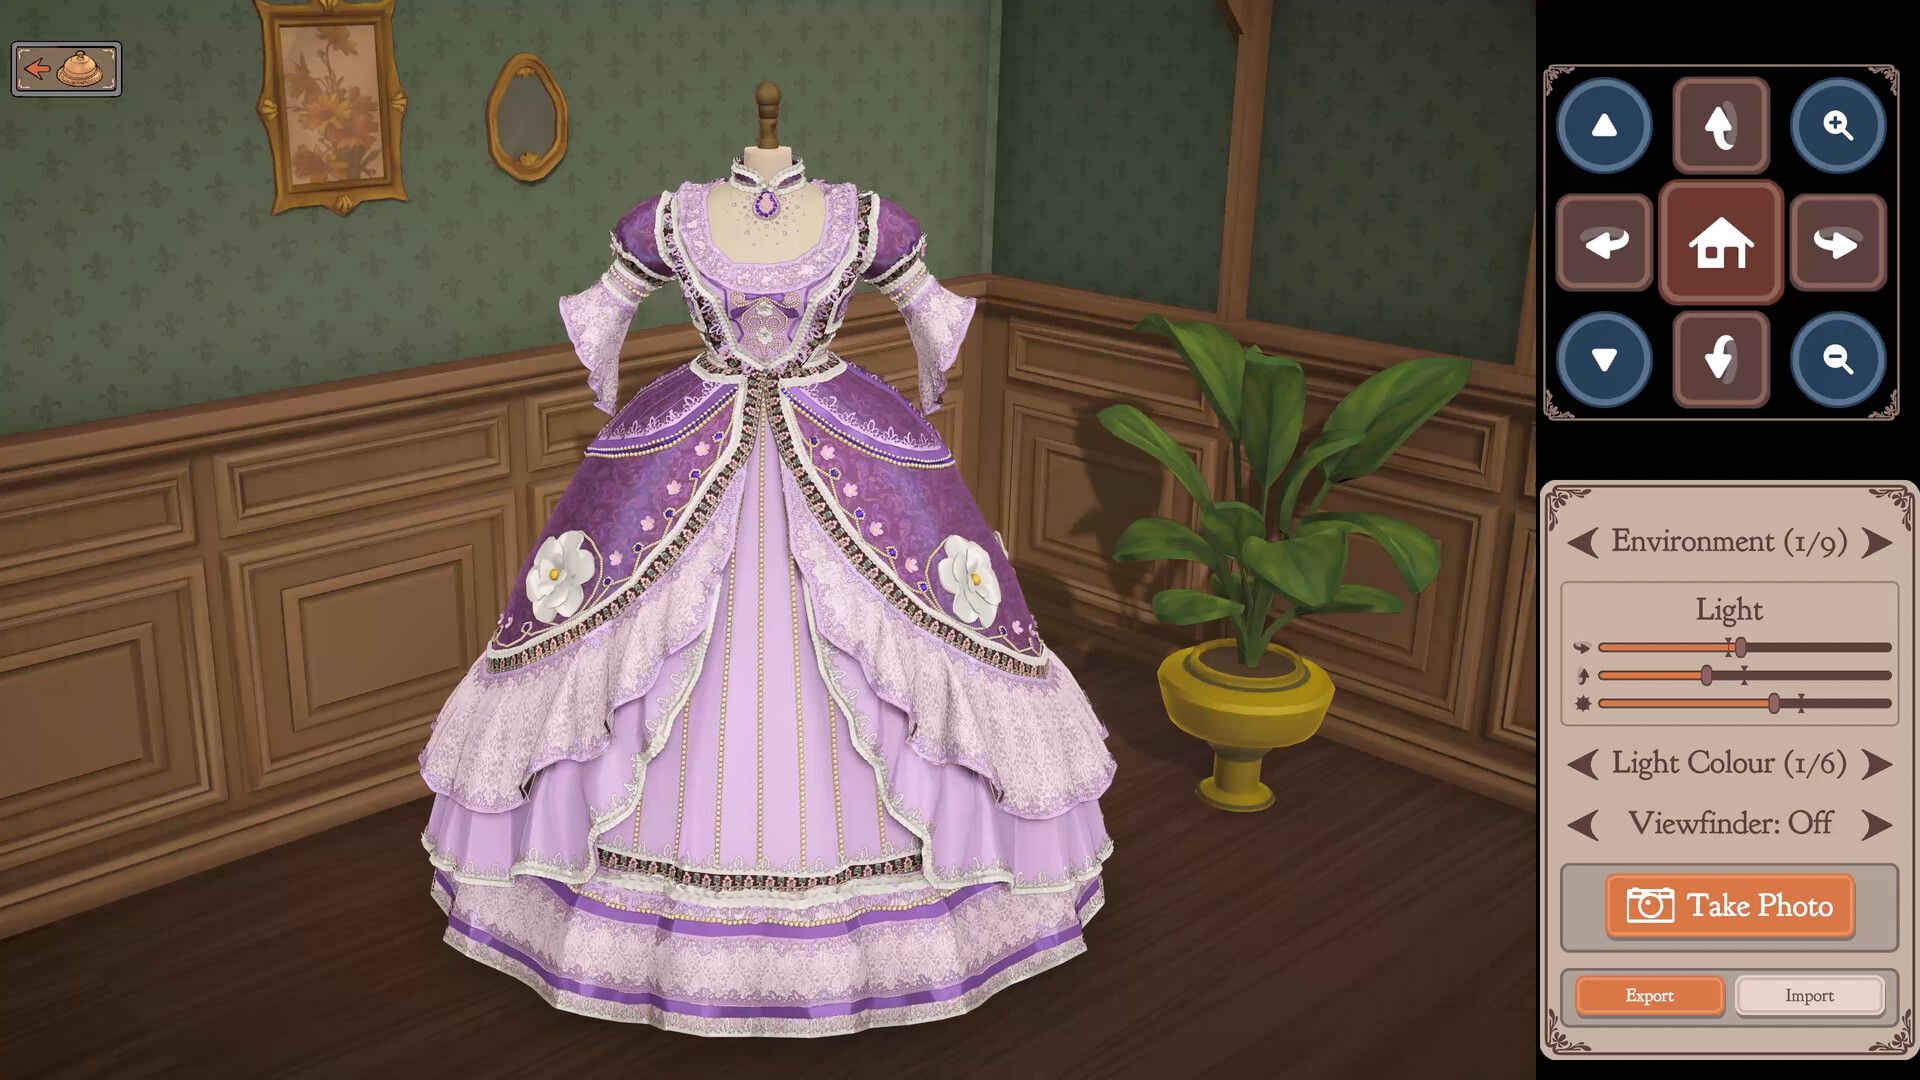

Dressmaker dropped on Steam on September 21, 2026, and it is not a typical fashion game. Developed by Cozy Lives and published by Free Lives, it puts you in charge of a small atelier where every dress requires real production decisions: reading a customer brief, sketching a design, buying fabric, cutting pattern pieces on the correct grain, guiding fabric through a sewing machine seam by seam, and pressing the finished garment before delivery. The learning curve is steeper than it looks, but once the workflow clicks, it becomes one of the most satisfying loops in casual games right now.
What is the core loop in Dressmaker?
Every commission in Dressmaker follows the same sequence: accept a brief, design in the sketchbook, buy fabric, cut pattern pieces, sew seams, add decorations, press the garment, then deliver. Skipping or rushing any single phase drags the final score down. A misaligned grain line during cutting caps your quality score no matter how clean your sewing is. A wrinkled hem costs points even if every seam is perfect. The game rewards players who treat each phase as its own task rather than a blur of clicks to get through.
The full story mode contains roughly 35 hours of commissions, so there is no need to rush the early days. Treat your first week as a training run.
How to read a customer brief
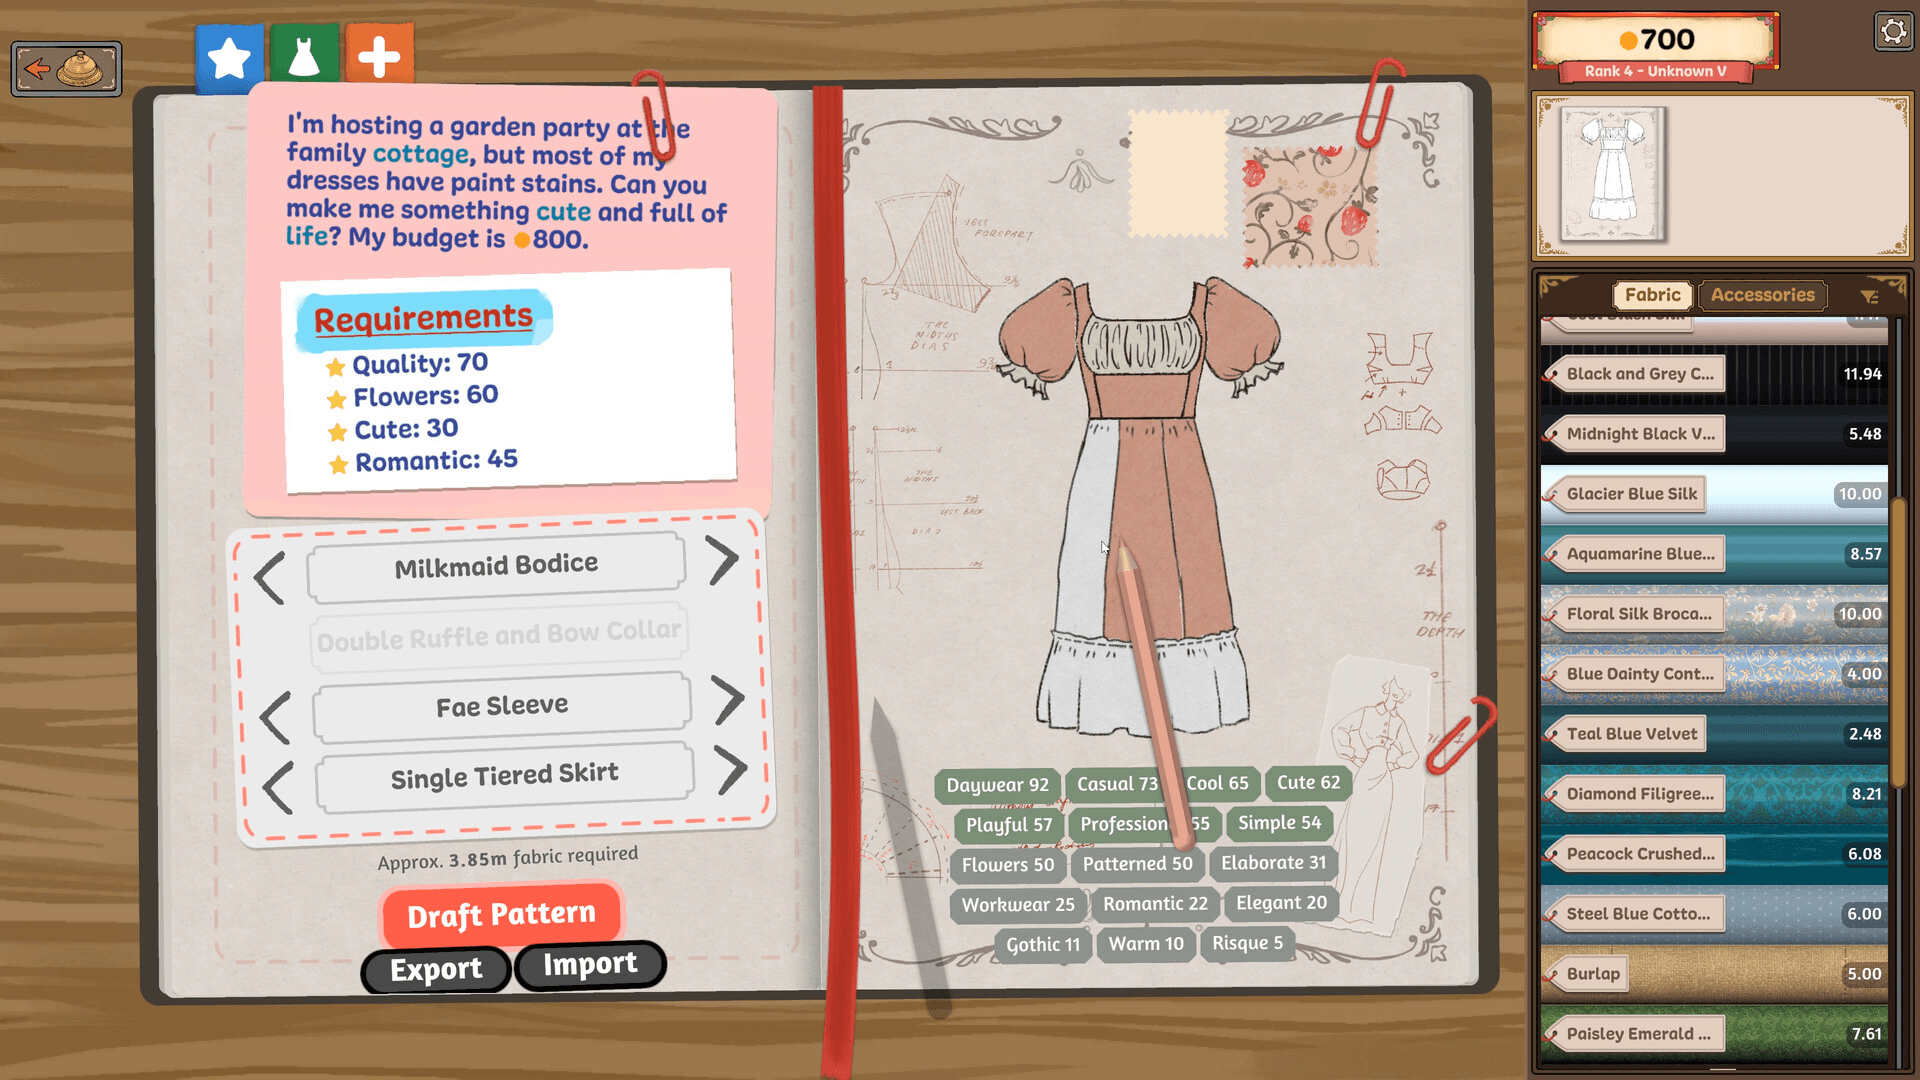
Each customer arrives with a request card showing three things: the occasion (garden party, opera, work), the style preference (professional, cute, elegant, relaxed), and a budget. All three matter independently. A maximum budget is not a target to hit; it is a ceiling. A prohibited style detail does not get cancelled out by strong performance elsewhere.
Read the brief twice before touching the sketchbook. Players who skim the style line and design by instinct produce the most common early failure: a dress that looks great but scores poorly because it does not match what the customer actually asked for.
Customer requests fall into three categories that signal how strictly you will be graded:
- Brief Match — checks color, silhouette, and one decoration cue. Most forgiving.
- Mood Match — checks overall vibe (casual, formal, romantic). Mid-difficulty.
- Detail Match — checks trim placement, button count, and stitching quality. Strictest.
The mood board's color palette signals which type you are dealing with: muted tones indicate Detail Match, a single-hue palette indicates Brief Match. Recognizing the type before you start sewing is the fastest way to maximize your payout per commission.
How to design in the sketchbook
After accepting a commission, the sketchbook opens for design. Here you choose a bodice style, sleeve type, skirt design, and optional collar. The key feature to use immediately is the style tag display: tags like "Cute," "Elegant," and "Professional" appear as you build the design, letting you confirm you are matching the brief before spending a single coin on fabric.
You can also drag fabric samples into the sketchbook to preview how materials will look together on the finished dress. Do this before heading to the fabric shop. A design that looks sharp in cotton might read completely differently in silk, and catching that mismatch at the sketch stage costs nothing.
Keep your first few designs simple. Fewer pattern pieces mean fewer variables if something goes wrong during cutting or sewing.
Which fabric should you buy?
Fabric is the most important resource in the game, and the choice affects both the final score and your remaining budget for accessories. The shop stocks bolts organized by material and color, with stock refreshing daily.
| Fabric | Cost (coins/bolt) | Drape | Best For |
|---|---|---|---|
| Cotton | 40 | Stiff, structured | Practice cuts, casual dresses, 1-star commissions |
| Linen | 50 | Crisp, breathable | Casual daywear, customer-favorite requests |
| Denim | 70 | Heavy, rigid | Skirts, off-the-rack stock |
| Satin | 100 | Glossy, slippery | Formal events, decoration-friendly base |
| Silk | 120 | Flowing, soft | Evening gowns, high-difficulty commissions |
| Wool | Dense, warm | Professional, winter wear | 2-star and above |
| Velvet | Rich texture | Operas, balls | High-society commissions |
During your first week, stay on cotton until your scrap rate drops below 10 percent. A well-cut cotton dress consistently outscores a sloppily sewn silk gown, and the coin saved on cheaper fabric keeps your accessory budget intact.
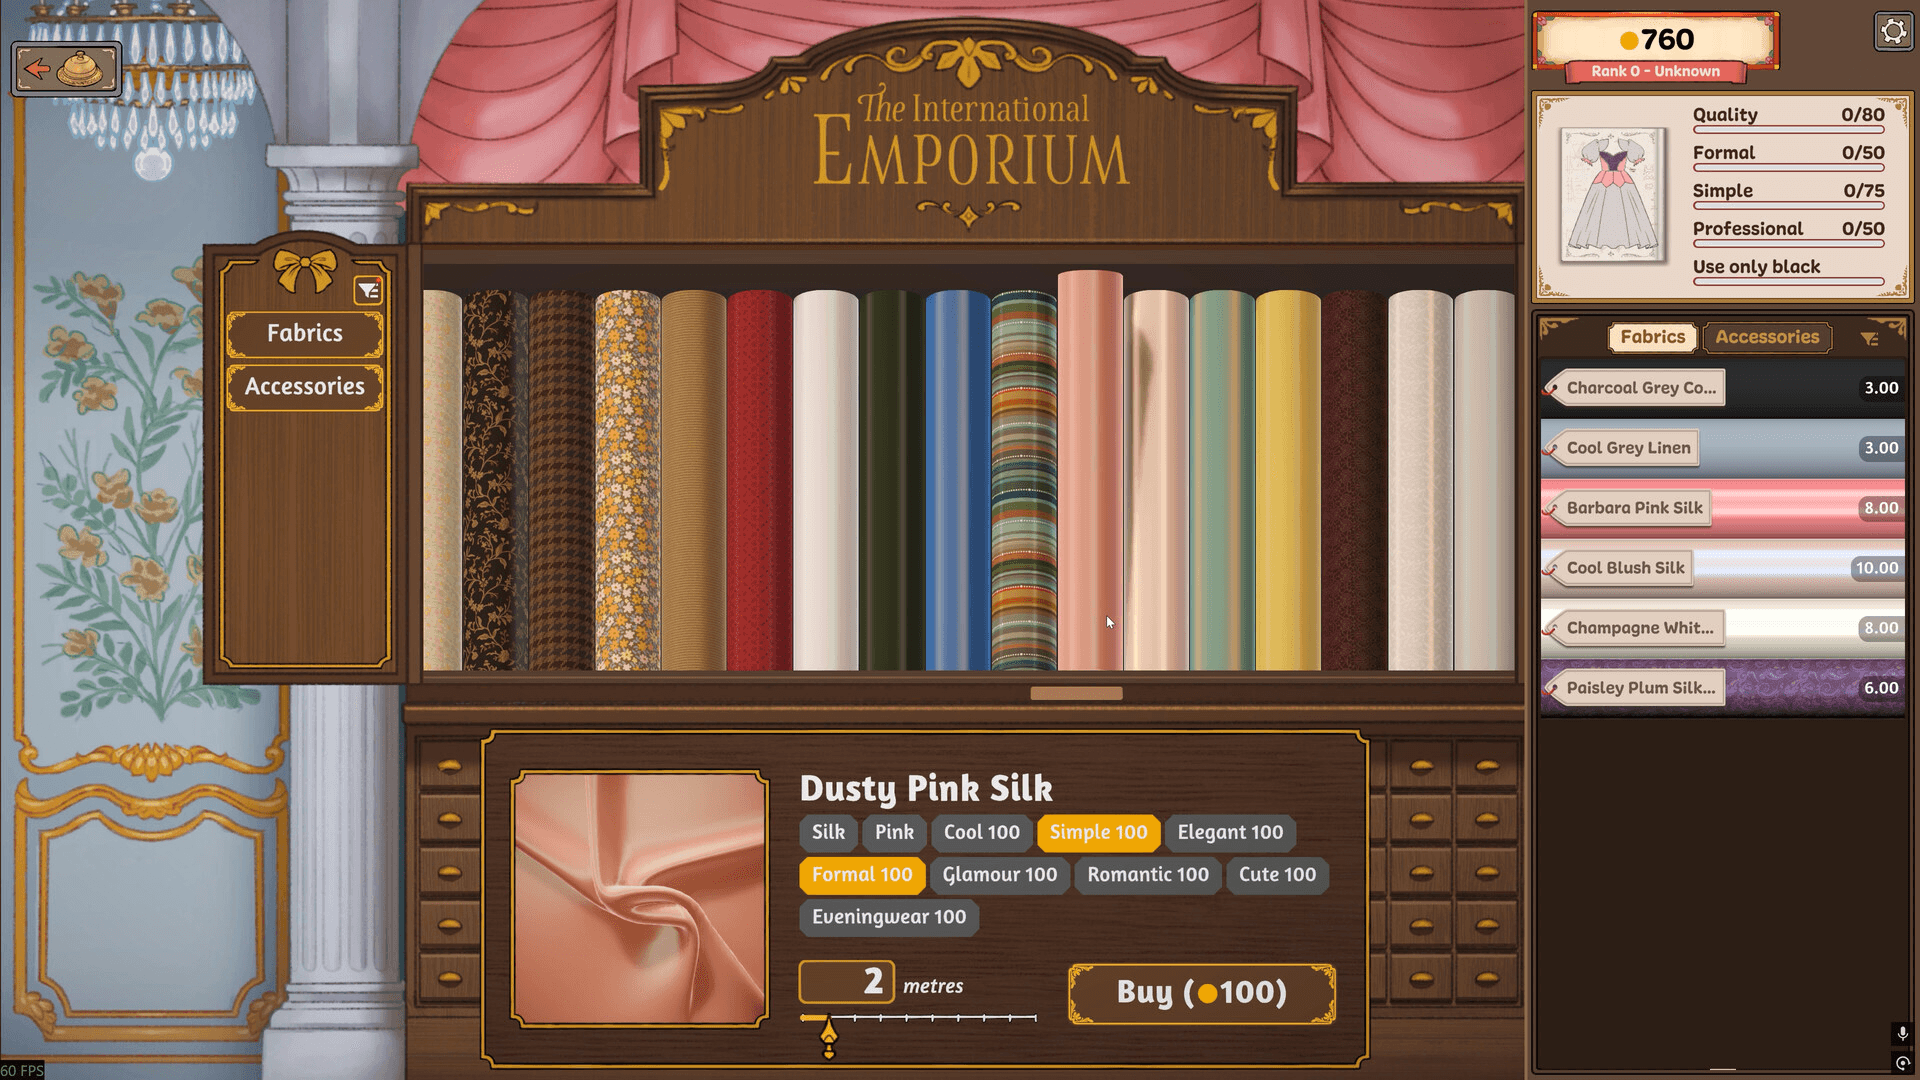
Leftover fabric from previous commissions carries over to your inventory. Reusing scraps from earlier orders is one of the cleanest ways to stretch your early-game budget.
How does grain line alignment work?
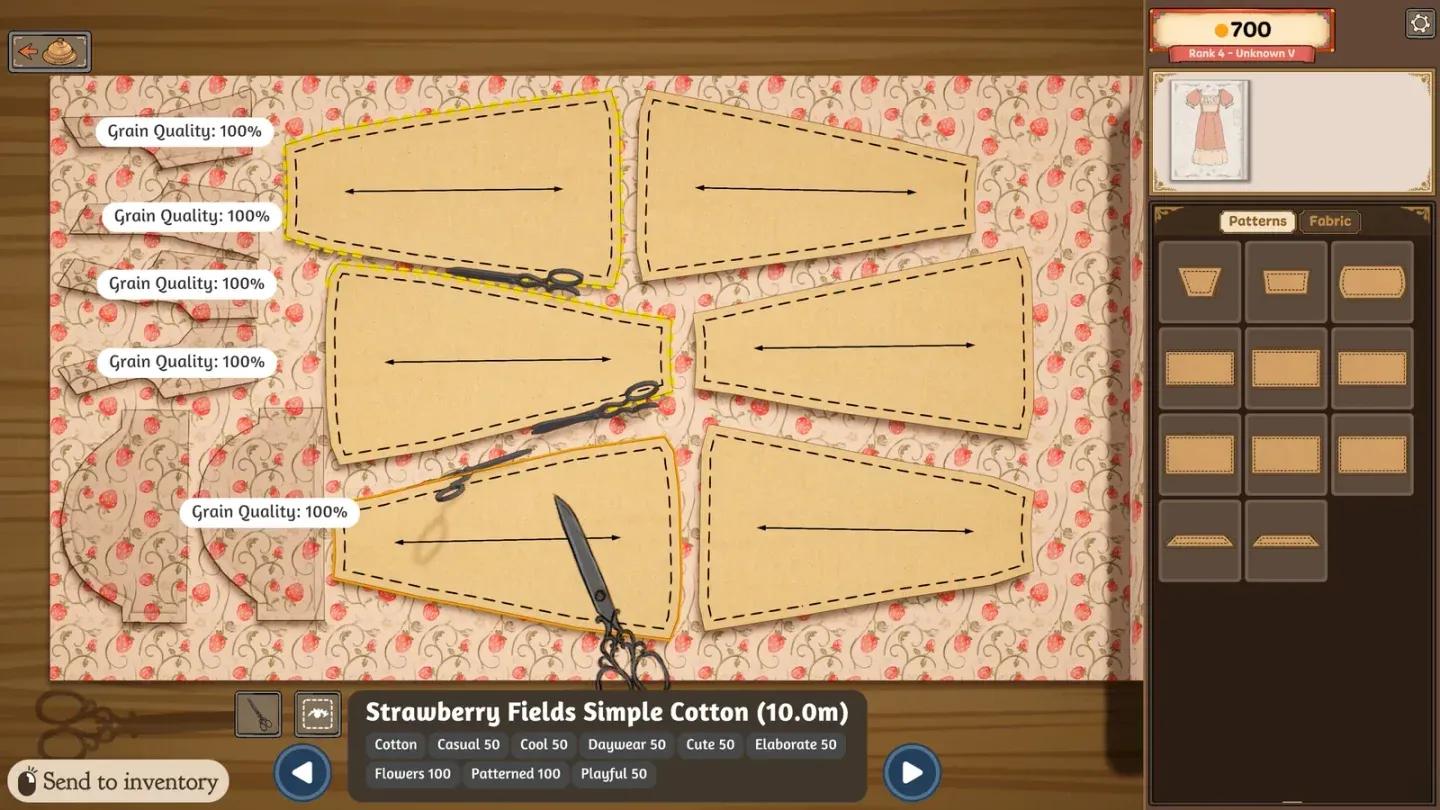
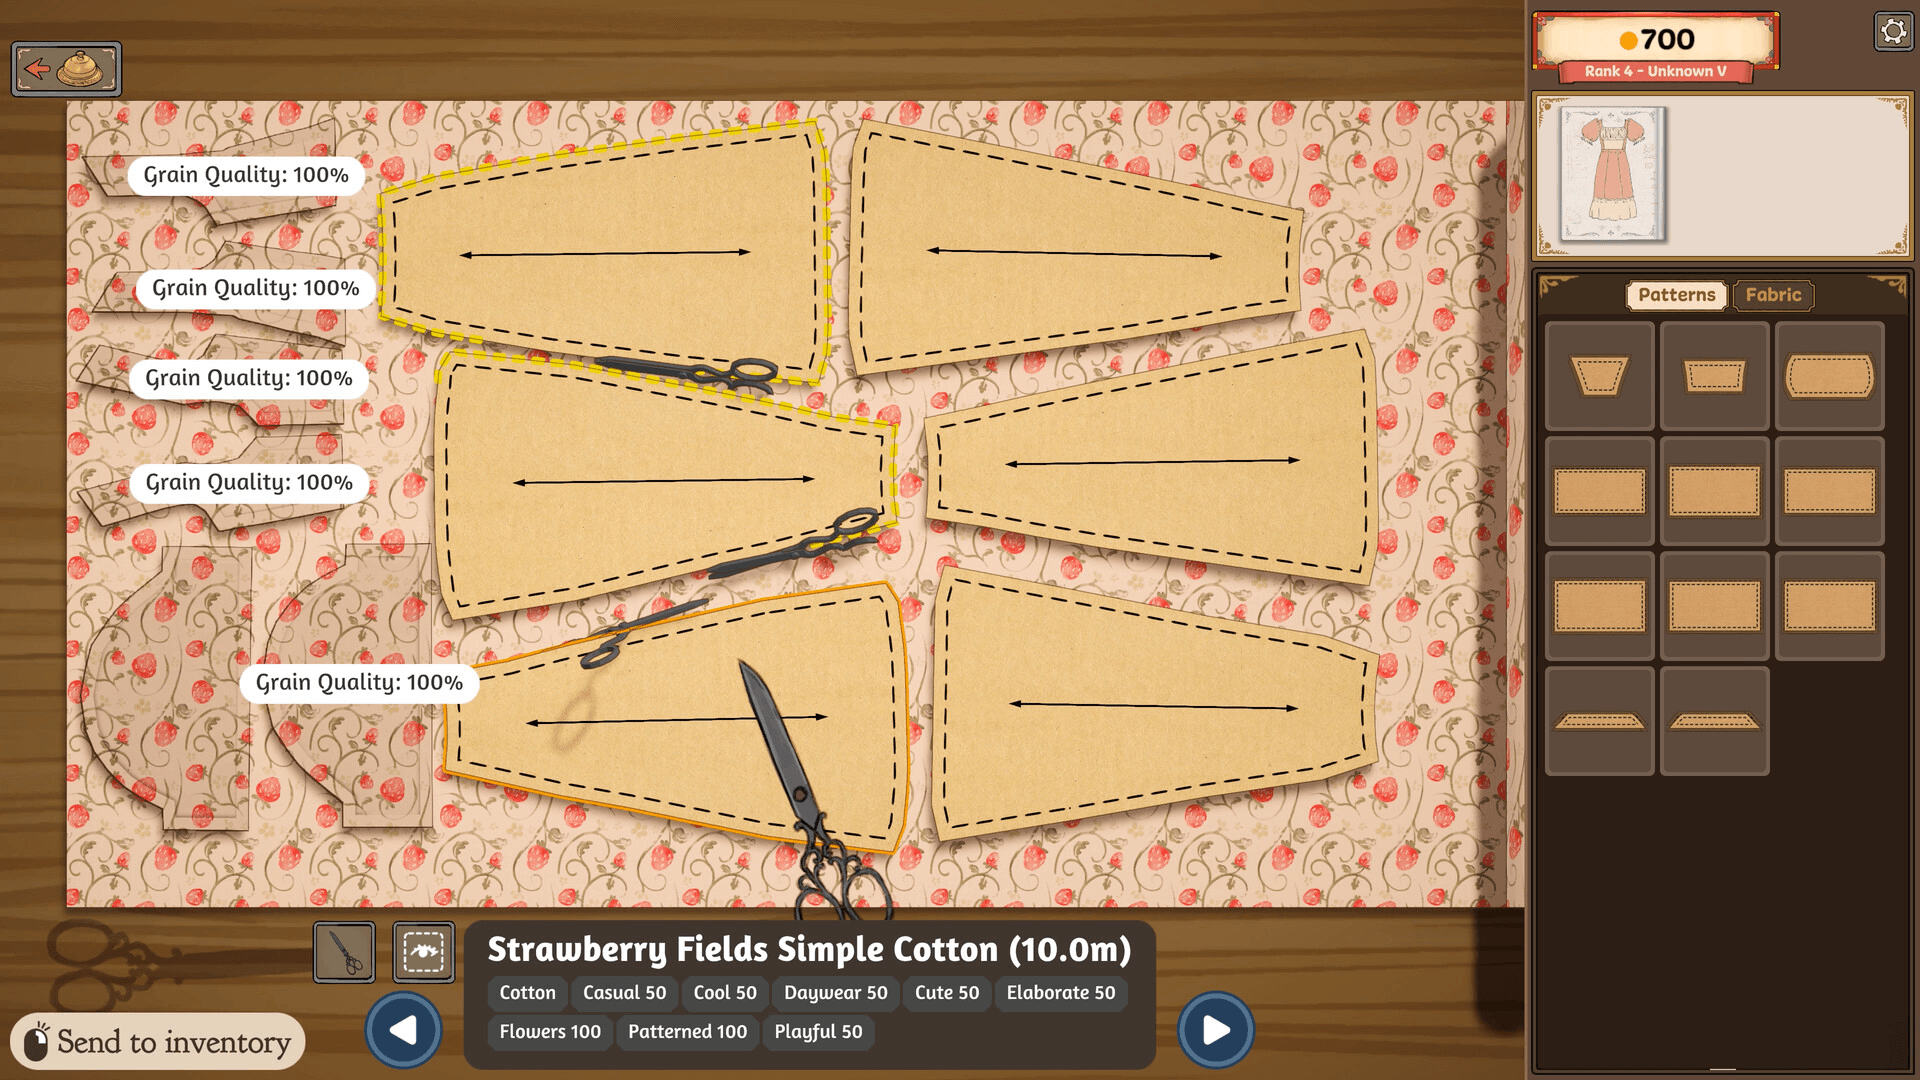
Grain alignment is the single mechanic that trips up most beginners, and it directly caps your quality score if you get it wrong. Every pattern piece has a printed arrow indicating the grain line, the direction of the fabric threads. That arrow must point horizontally (left or right) when the piece is placed on the bolt. A correctly aligned piece shows a green outline. No green outline means the piece is misaligned, and a misaligned cut piece permanently limits the quality ceiling for that commission, regardless of how precisely you sew afterward.
The process for every piece:
- Drag the pattern piece onto the fabric bolt.
- Rotate it until the grain arrow points left or right.
- Wait for the green outline confirmation.
- Click to place and cut.
Arrange pieces on the bolt efficiently before cutting, treating it like a Tetris layout. The game shows how much fabric each piece consumes before you commit, so use that information to minimize waste. Stacking pieces before cutting recovers roughly 10 to 15 percent of fabric per commission.
Grain line alignment check
How does sewing work in Dressmaker?
Sewing is the most interactive phase of the production loop. Each seam is highlighted, and you guide the fabric through the machine by following a dotted path. Quality is tracked live: perfect stitching along the line scores 100 percent, and straying from the path drops the score rapidly. Veering severely off-track forces a seam restart.
Controls vary by build. The released Steam version displays on-screen prompts showing Space to sew, A/D to rotate, and W/S to change speed. Follow whatever your current version shows rather than relying on older prototype notes.
Common sewing problems and their fixes:
| Problem | Cause | Fix |
|---|---|---|
| Quality stuck below 100% | Grain line was misaligned during cutting | Check green outlines before every cut |
| Twitchy hand movement | Known control issue on some setups | Switch to keyboard controls or adjust input sensitivity |
| Machine keeps running while adjusting | Intended behavior (mirrors real sewing) | Release the sew input before repositioning fabric |
| Can't see the seam line on light fabric | Low contrast between guide and material | Slow down and follow the pattern edge carefully |
The sewing machine has momentum. Do not try to snap quickly to the next section of a seam. Slow and steady on curves and corners is faster in the long run because a restart costs more time than a careful first pass.
Thread color is changeable in the sewing scene by selecting the spools directly (added in Build 410). Match thread to visible seams for the cleanest finish.
How do decorations and layering work?
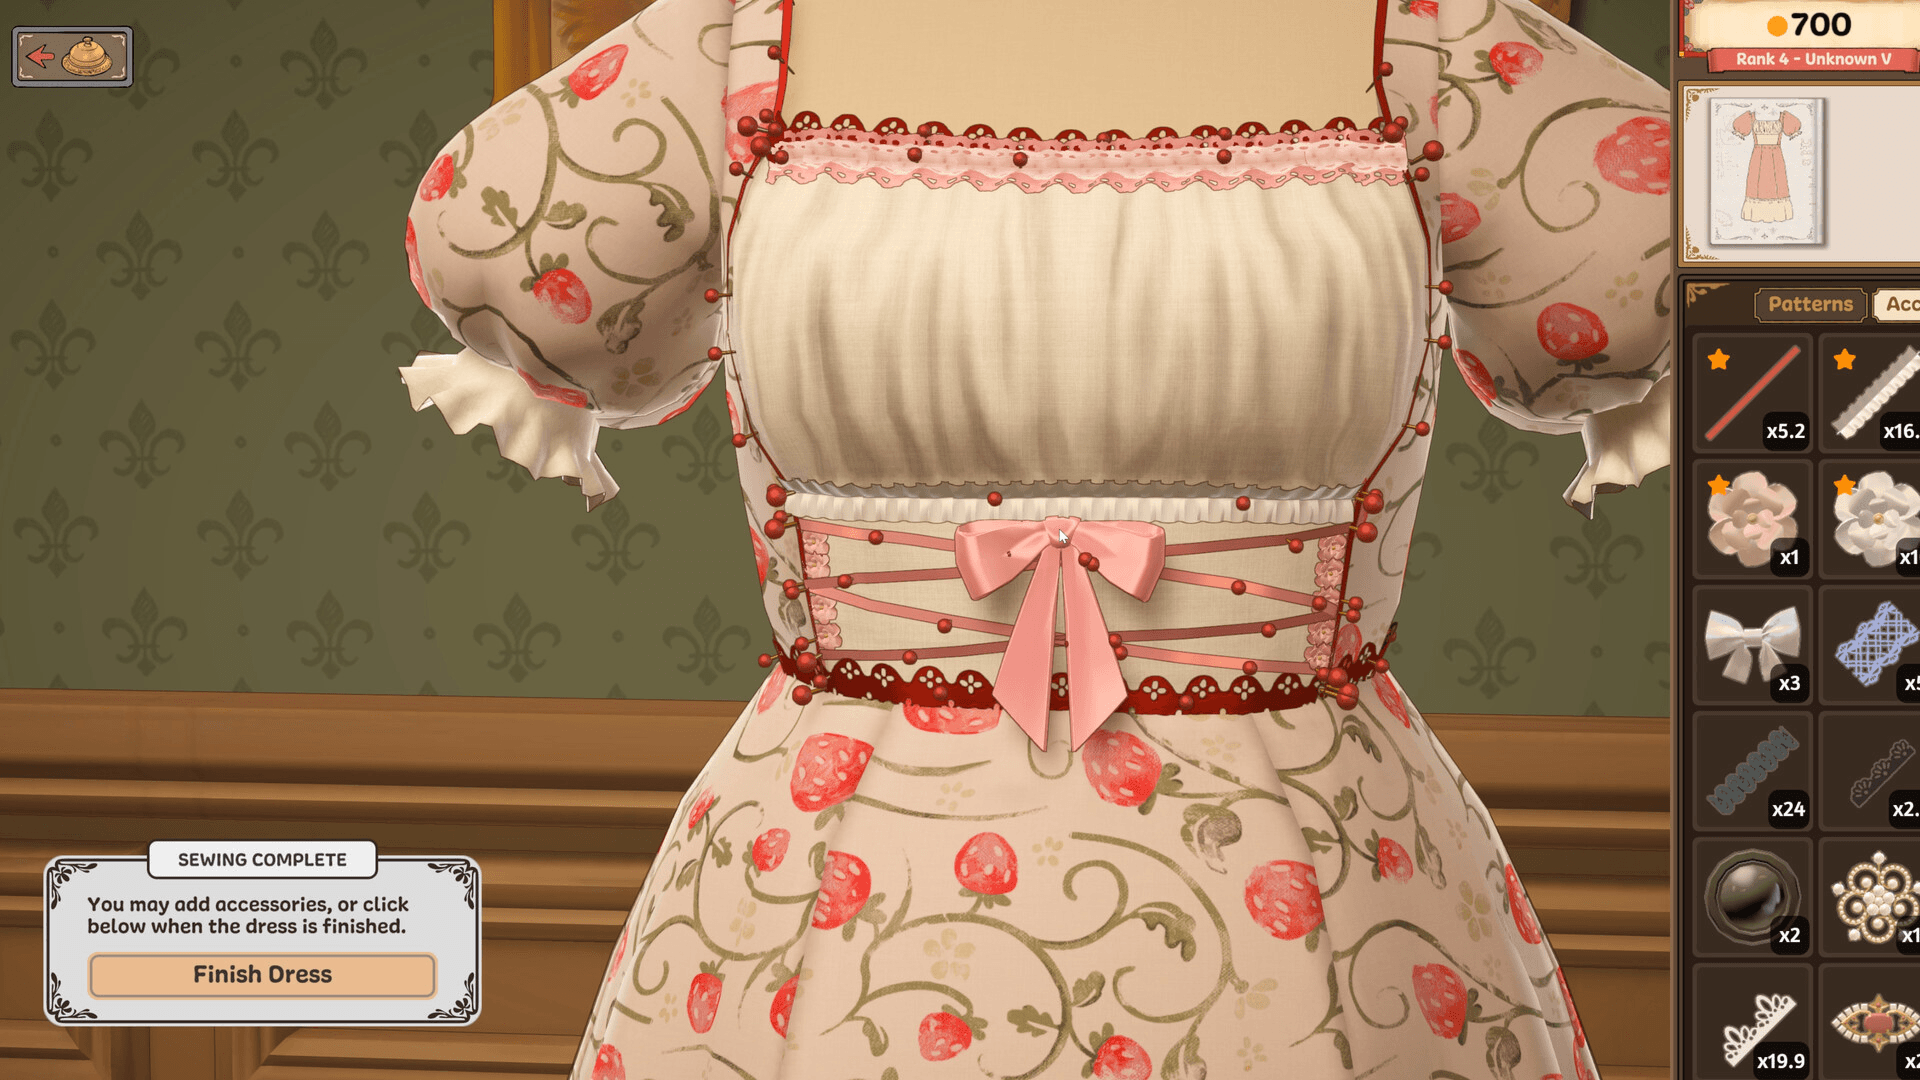
Once a dress is sewn and pressed, the Decoration Tray opens for finishing. Available decoration types include trim, lace, buttons, embroidery patches, appliqués, and painted accents. Each garment has between 6 and 12 decoration slots, so every choice involves a trade-off.
The layering order matters for both appearance and scoring:
- Trim goes on hems and necklines first as the structural anchor.
- Buttons and appliqués sit on top of trim, never under it.
- Embroidery and painted accents go last as surface details.
Stay within the color palette shown on the customer's mood board. The board displays a hex strip, and staying within roughly 10 percent of any swatch avoids the off-brief color penalty.
Decorations should support the brief, not compensate for it. A dress that misses the style requirement does not recover its score by adding more bows.
How does reputation and progression work?
Reputation runs on a hidden 0 to 1000 scale per neighborhood and controls which commission tiers you can access. Delivering dresses that match or exceed the brief raises it; delivering late or off-brief shrinks it.
| Reputation Range | Commission Tier | Average Payout | New Unlocks |
|---|---|---|---|
| 0 to 249 | 1-star | 80 to 120 coins | Cotton, linen, basic trims |
| 250 to 499 | 2-star | 200 to 350 coins | Satin, lace, fitted patterns |
| 500 to 749 | 3-star | 400 to 600 coins | Silk, embroidery, layered decorations |
| 750 to 1000 | 4 to 5-star | 800 to 1500 coins | Royal commissions, custom dye, couture fabrics |
Hitting 250 reputation unlocks 2-star commissions, which introduce fitted bodices and lined skirts. The fastest path to 250 is consistent Brief Match completions on 1-star work, not chasing higher-difficulty orders before the cutting and sewing loop feels automatic.
New fabric patterns and colors unlock as reputation climbs, and higher-tier customers with larger budgets begin appearing. The game also autosaves at each pipeline step, so a botched seam only costs you that single stage rather than the full commission.
First-week checklist for new players
- Days 1 to 2: Accept only 1-star commissions. Cut on cotton. Finish two orders per day.
- Days 3 to 4: Move to linen. Try one bias-cut skirt on a practice piece before delivering it.
- Days 5 to 6: Unlock 2-star commissions. Buy your first satin bolt. Deliver one fitted bodice.
- Day 7: Restock fabric, sell any off-the-rack rejects (20 coins beats 0 coins), and find the cat in the shop for the mood buff.
Selling ugly practice pieces to the off-the-rack boutique instead of trashing them is a small habit that adds up. Even a 20-coin sale funds a thread spool or keeps the daily mood meter out of the penalty zone.
For more strategies across the full game, the Dressmaker guides collection covers advanced commission types, fabric unlocks, and reputation scaling in detail.