FINAL FANTASY RESONANCE brings back turn-based combat with a progression system built around Visions, which function as a Job-like layer on top of each character's existing strengths. Every party member arrives with a distinct kit, and Visions simply amplify what they already do well. The result is a game where team composition matters enormously, and swapping one character or Vision can completely change how a boss fight plays out. This guide breaks down every character by their innate value, then maps out the best party setups across all six chapters.
Who are the best characters in Final Fantasy Resonance?
Ranking characters by their base kits, before Vision assignments, reveals a clear hierarchy. Some characters carry skills so strong they define entire team strategies. Others are situationally useful but rarely worth a permanent slot.


Rain: the best overall character
Rain sits at the top for one reason: The Power Within. This single buff raises every one of Rain's stats by 25% for the entire duration of combat, with no drawbacks and no expiration. Because base stats are balanced across the roster, that 25% lift makes Rain statistically the strongest character in the game from a pure numbers standpoint. His role then depends on equipment. His second-to-last weapon reduces incoming damage by 20%, pointing toward a dedicated tank build, while his ultimate weapon boosts damage and stagger output by 25% on non-elemental attacks, opening a fully offensive path instead.
Lasswell: the best physical attacker
Lasswell is the most reliable damage dealer in the game thanks to his natural speed, high base critical strike chance, and strong stagger potential as a Breaker. His passives Hone Senses and Placidity stack to increase damage, stagger output, and critical hit frequency simultaneously. His active skills hit hard without requiring complex setup. Absolving Hailstorm deals area-of-effect Ice damage to all targets, and Tranquility in Quietus punishes single targets with massive burst, especially with an elemental accessory equipped to exploit a weakness. For sustained single-target output, Tranquility in Tumult hits 5 times per use, which lets it surpass the default damage cap of 99,999 in total without needing Terra's passive or the knight's ultimate weapon.
Nichol: the ultimate support unit
Nichol starts slow. His Formations provide excellent party-wide buffs, but setting them up costs multiple turns even with Tactic: Fluid Warfare active, which makes early use feel clunky. Everything changes once Arms Akimbo becomes available. This skill grants two actions in a single turn, and combined with Tactic: Fluid Warfare, Nichol can act four times in one turn. That combination lets him maintain his full buff suite while still attacking, healing, or throwing items in the same round. His Limit Burst Mirroring Prism makes every party member execute their chosen action twice, meaning any burst combo you set up fires double, and with proper turn optimization, the multiplier can reach sixteen total actions across the party.
Fina: the only dedicated healer
Fina learns virtually every restorative spell in the game, with only Esunaga and Protect as exceptions. No other character matches her healing output without assigning a dedicated Medic Vision to someone else. When the party is at full health, she contributes through Light Veil to block status ailments and debuffs, Arcane Guard to halve incoming magical damage for one hit, and Cheer to boost an ally's defense. She also carries the Summon Esper command natively, though running both Fina and Archwitch Fina in the same active party makes that feature redundant since only one Esper can be on the field at a time.
Sakura: the best offensive spellcaster
Sakura covers more elemental ground than any other magic user. Her kit spans Dark, Light, and Lightning, and she learns Flare and Meteor for non-elemental burst that bypasses resistances entirely. Her active buffs Concentrate and Sage's Eyes dramatically increase spell damage when hitting an elemental weakness, making her setup turn worth the investment. Her Limit Burst Eternal Veil completely nullifies incoming damage for all allies once, which is the single most valuable defensive tool for surviving endgame wipe mechanics.
Lid: the stagger specialist
Lid has no dominant stat, and many of her best skills require completing optional subquests to unlock. Despite that, two abilities make her worth a permanent endgame slot. Overclock boosts damage and stagger output of Mechabo skills by 150%. Overclock Zero pushes that to 300%, and her next three Mechabo skills strip an enemy's stagger bar regardless of which ability you select. The two-turn cooldown before using Mechabo skills again is the only real cost. Mechamog Scan is the backup plan: it applies a random elemental weakness to any target, ignoring existing resistances or immunities entirely. You can reapply it until you land the exact weakness your party needs.
Archwitch Fina: situational at best
Archwitch Fina focuses on debuffs and Dark elemental attacks, which works well until you hit an enemy immune to debuffs or resistant to Dark. She eventually learns some of the strongest Black Magic spells in the game, but the unlock timeline is slow enough that most players will have already built effective Vision combinations to handle endgame content before her kit comes fully online. Her innate Summon Esper command becomes redundant if you already run standard Fina. In Chapter 6, she can function as a secondary magic attacker using the same strategies as Sakura, and Witching Hour helps her damage output, but she rarely earns a permanent slot over more versatile options.
Jake: high ceiling, frustrating floor
Jake is theoretically the strongest physical attacker in the game, but his Luck mechanic creates constant friction. Many of his best skills only execute when his Luck counter is high, forcing a choice between building Luck conservatively with weaker skills or spending a full turn to spike it in one burst. Even at maximum Luck, building a smooth rotation around him is difficult. Camouflage has niche uses, but better support options exist. His Gamble Shot pairs well with an elemental accessory to exploit weaknesses, but any character using the same accessory would produce comparable results. Jake is worth developing for specific boss matchups, particularly with Amelia's Aim mastery guaranteeing hits for a limited window, but he belongs in the reserve slot for most of the game.
Character tier summary
| Character | Primary Role | Standout Skill | Endgame Value |
|---|---|---|---|
| Rain | Tank / Attacker | The Power Within (+25% all stats) | S |
| Lasswell | Attacker / Breaker | Tranquility in Quietus, 5-hit Tumult | S |
| Nichol | Support | Arms Akimbo + Mirroring Prism | S |
| Fina | Healer | Full restoration suite, Arcane Guard | A |
| Sakura | Magic Attacker | Eternal Veil, Flare, Meteor | A |
| Lid | Breaker / Attacker | Overclock Zero (300% stagger boost) | A |
| Archwitch Fina | Magic Attacker | Witching Hour, Black Magic | B |
| Jake | Attacker | Gamble Shot (Luck-dependent) | B |
What is the best party setup for each chapter?
Chapter 1 and 2: the core three
The starting lineup of Rain, Lasswell, and Fina covers all the bases early. Rain with the Warrior of Light Vision tanks with Provoke and retaliates with physical counterattacks. Lasswell with Cloud deals damage and reduces enemy stagger gauges while building the Limit Burst gauge. Fina uses Leah for story progression healing and switches to Terra for boss fights where her magic damage output becomes more valuable.
Lid joins in Chapter 2 and slots in as a magic attacker immediately. Equip the Dreadwing Mallet (obtained from Tablet Shards) and pair her with Terra for the magic attack bonus and Magic Boost mastery. Against bosses with status ailment vulnerabilities, swap Fina to Tronn to apply Poison and Blind.
Chapter 3: Nichol enters the picture
Nichol joins in Chapter 3 with low HP and physical defense, making him difficult to keep alive in the active party early on. Keep him in reserve while developing his support and debuffing abilities. For the active party, continue with Rain using Warrior of Light for tanking and Lasswell using Cloud for breaking. Firion is a strong alternative for Lasswell against lightning-weak enemies. Fina can rotate between Tronn, Onion Knight, and Leah depending on whether you need utility, extra healing, or status tools.
Chapter 4: Rain, Lid, Nichol, Fina
Chapter 4 features many enemies weak to Water, so give Rain Cloud or Tidus to lean into an offensive role. Without a dedicated Sentinel, compensate using Nichol's Formations alongside Protectga to shore up Rain's defenses. Lid handles primary magic damage, Fina covers healing and secondary magic, and Nichol provides party-wide buffs. Equip better armor and accessories on Nichol to offset his low defenses.
Jake joins partway through Chapter 4. Keep him in reserve and farm EXP and Mastery Rank outside of main quests rather than forcing him into the active lineup. Lasswell also sits in reserve here and can swap in for Fina if you want a more damage-focused party.
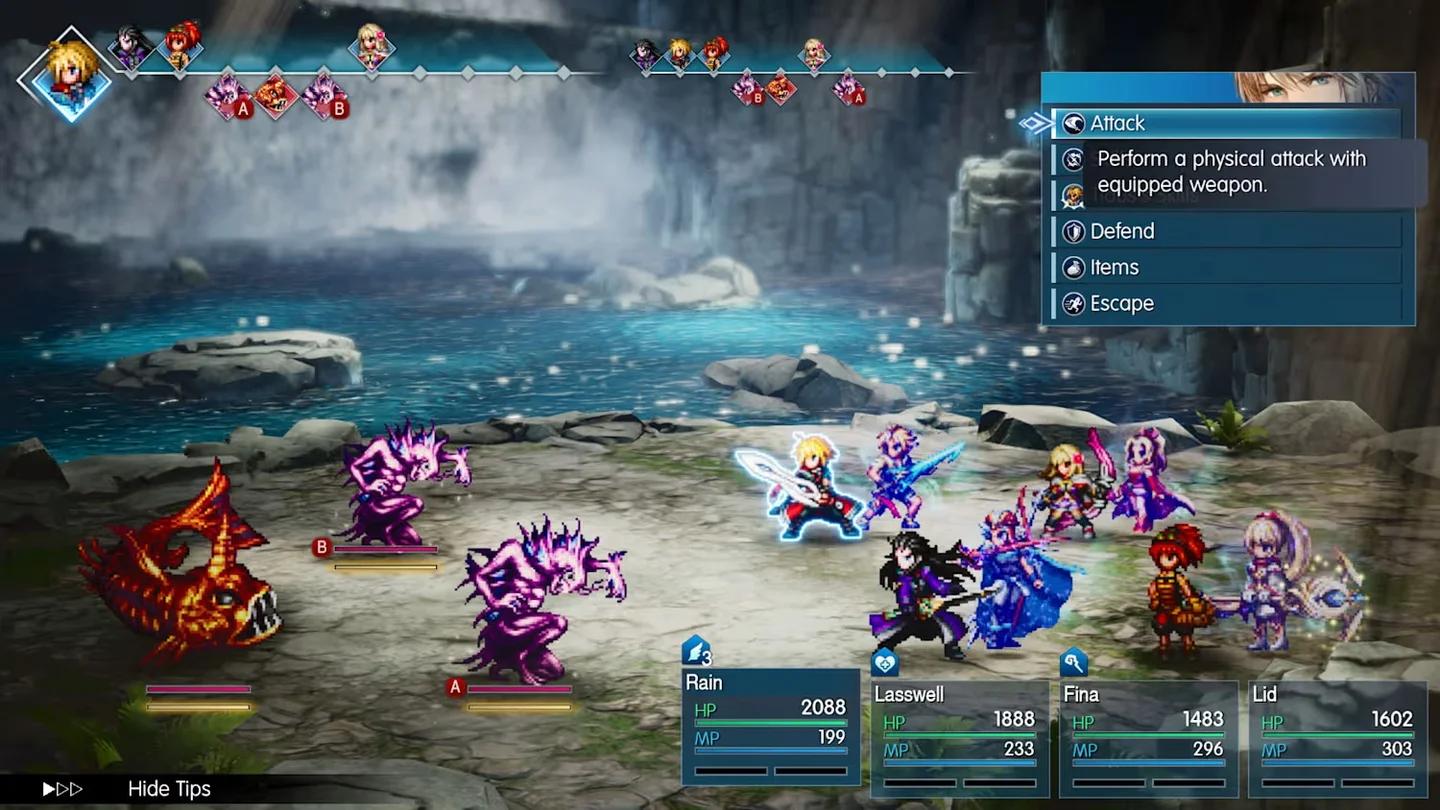
Nichol's Formations buff everyone
Chapter 5: Sakura joins, magic dominates
Sakura joins in Chapter 5 and immediately becomes one of the two primary damage dealers alongside Lid. The recommended active party is Rain, Nichol, Sakura, and Fina, with Lid as a flexible fifth option. Rain and Nichol stay as permanent members. Many enemies in Chapter 5 are weak to Fire or Wind, so equip Clive or Bartz on Rain. Clive's Vigorous Staggerer and Power Stagger masteries improve stagger capability, and his Level 3 Awakening ability Fire Immunity helps against fire-based bosses when combined with Warrior of Light's Multi-Cover mastery.
Sakura's low physical defense is a real vulnerability. Use her against magic-focused bosses and rotate her out when facing enemies that rely on physical attacks. Nichol's Level 34 attack buff amplifies the entire party's multi-hit magic output against Staggered targets.
Chapter 6: the endgame lineup
The best Chapter 6 party is Rain, Nichol, Sakura, and Archwitch Fina (who joins at the end of Chapter 5). Rain's combo of Arms Akimbo, Multi-Cover, and Guard lets him absorb every incoming attack for the team without taking excessive damage. Nichol keeps buffs flowing, and the Codex Providentiae Adamantite weapon gives him Tactic: Fluid Warfare at battle start automatically.
Sakura benefits from the Roselia Adamantite weapon, which grants Concentrate and Sage's Eye at the start of each turn. Combined with Y'shtola's Magic Barrage and Firion's Arms Akimbo, she can cast 8 magic spells in a single turn. Adamantite weapons become craftable in Chapter 6 from Aileen, so prioritize crafting the pieces for Rain, Nichol, and Sakura first.

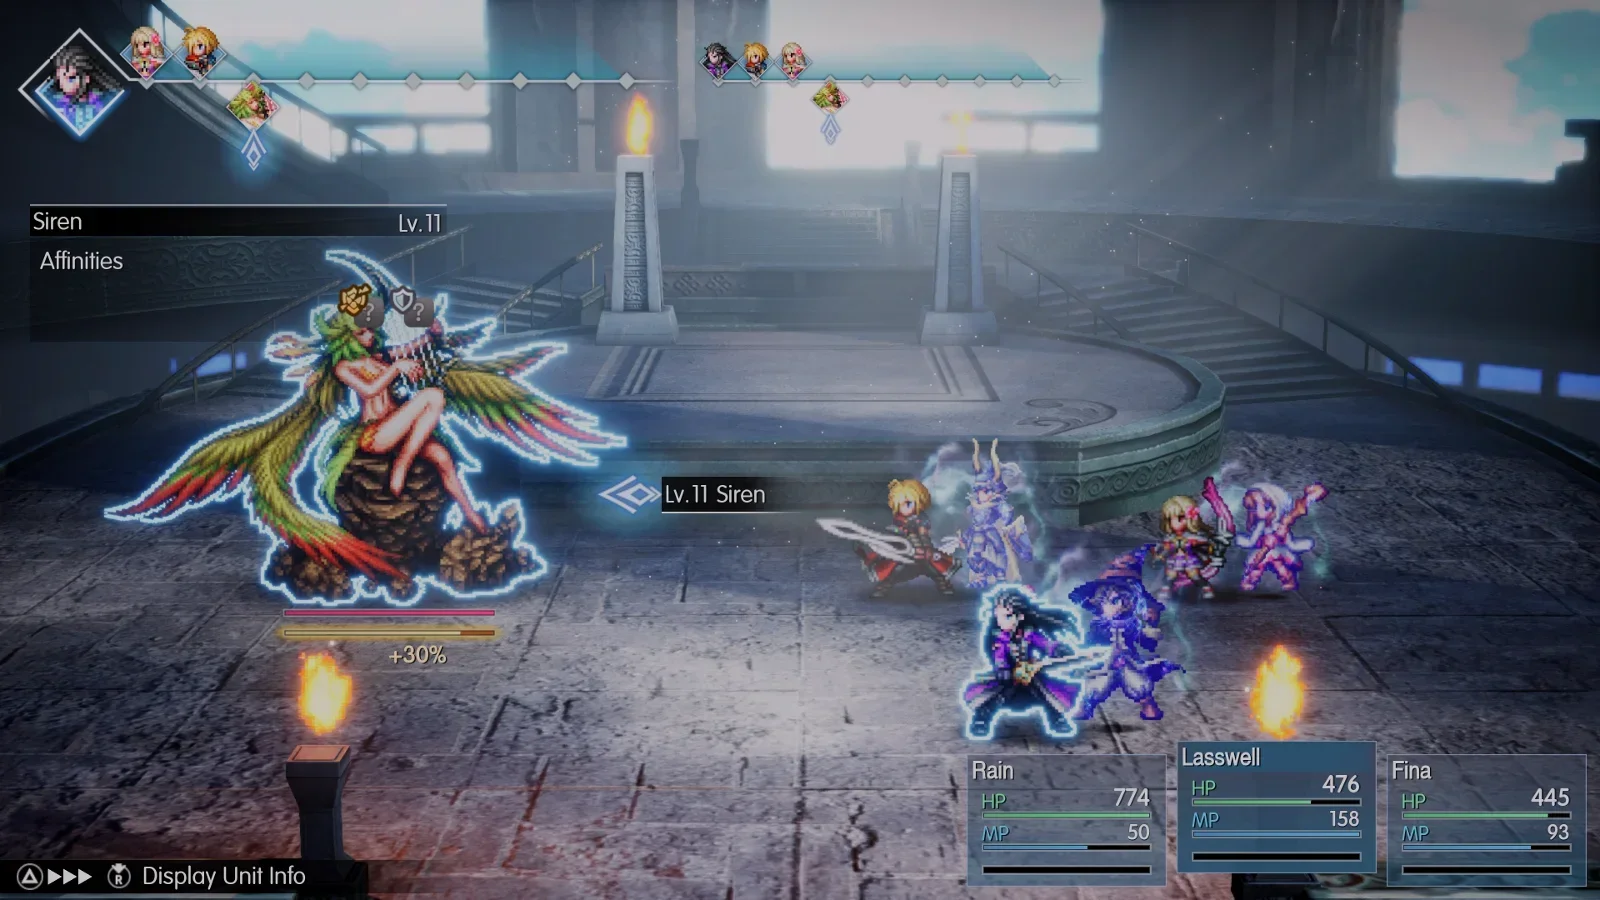
Lasswell's AoE stagger output
How to build the best party in Final Fantasy Resonance
Assign roles before assigning Visions
Decide which characters fill tank, attacker, breaker, healer, and support slots before picking Visions. Visions should reinforce the role you've already chosen, not define it from scratch. A defensive Vision on Rain makes him harder to kill; the same Vision on Sakura wastes her magic damage ceiling.
Match elemental weaknesses chapter by chapter
Boss weaknesses shift with every chapter. Chapter 4 leans on Water, Chapter 5 rotates between Fire and Wind, and Chapter 6 requires flexible Vision swaps mid-chapter. Always check the boss's element before locking in your Vision loadout for a major fight.
Raise Mastery Rank to unlock cross-Vision abilities
Abilities from Visions you are not currently equipping remain available as long as you stay within the AP limit. Raising Mastery Rank unlocks higher-tier abilities and lets you carry powerful passives like Terra's damage cap-breaking passive into any build. This is the core of the customization system and the main reason to farm MRP consistently throughout the game.
For more strategies across every system in the game, the FINAL FANTASY RESONANCE strategy guides cover Visions, weapons, bosses, and everything in between. If you are looking for more JRPG games with deep party-building systems, the genre page has plenty of options worth exploring.