
You can turn off traffic in Forza Horizon 6 through an EventLab custom event, but there is no direct free-roam traffic toggle.
The workaround runs inside a custom race instead of changing your regular free-roam session. You can start driving during validation or publish a reusable event for later. Both methods use the same route setup, and neither requires building a long course or placing props. The main choice is whether you want a quick driving session or an event you can reopen.
Choose your traffic-free driving option
EventLab offers two ways to use your custom route. Start with the same creation steps below, then choose how to launch it.
| Option | Setup required | Best reason to choose it |
|---|---|---|
| Stay in validation | Create the route, adjust its settings, and start validation | Get straight into a one-off driving session |
| Publish a reusable event | Complete validation, publish, and launch the event solo | Reopen your saved event without creating another route |
Validation is the test run used to check that a route can be completed. You can drive during that test, but publishing requires successfully finishing it first.


Create a short EventLab route
Open route creation
Use the pause-menu route to reach the creator:
- Open the pause menu and select Creative Hub.
- Open EventLab.
- Select Create, then Route.
- Choose Create New and select a car.
The game loads you into World Builder, where you can place props. Leave the props alone for this setup. Use the back or exit action to leave World Builder, then confirm with Yes to enter Route Creator.
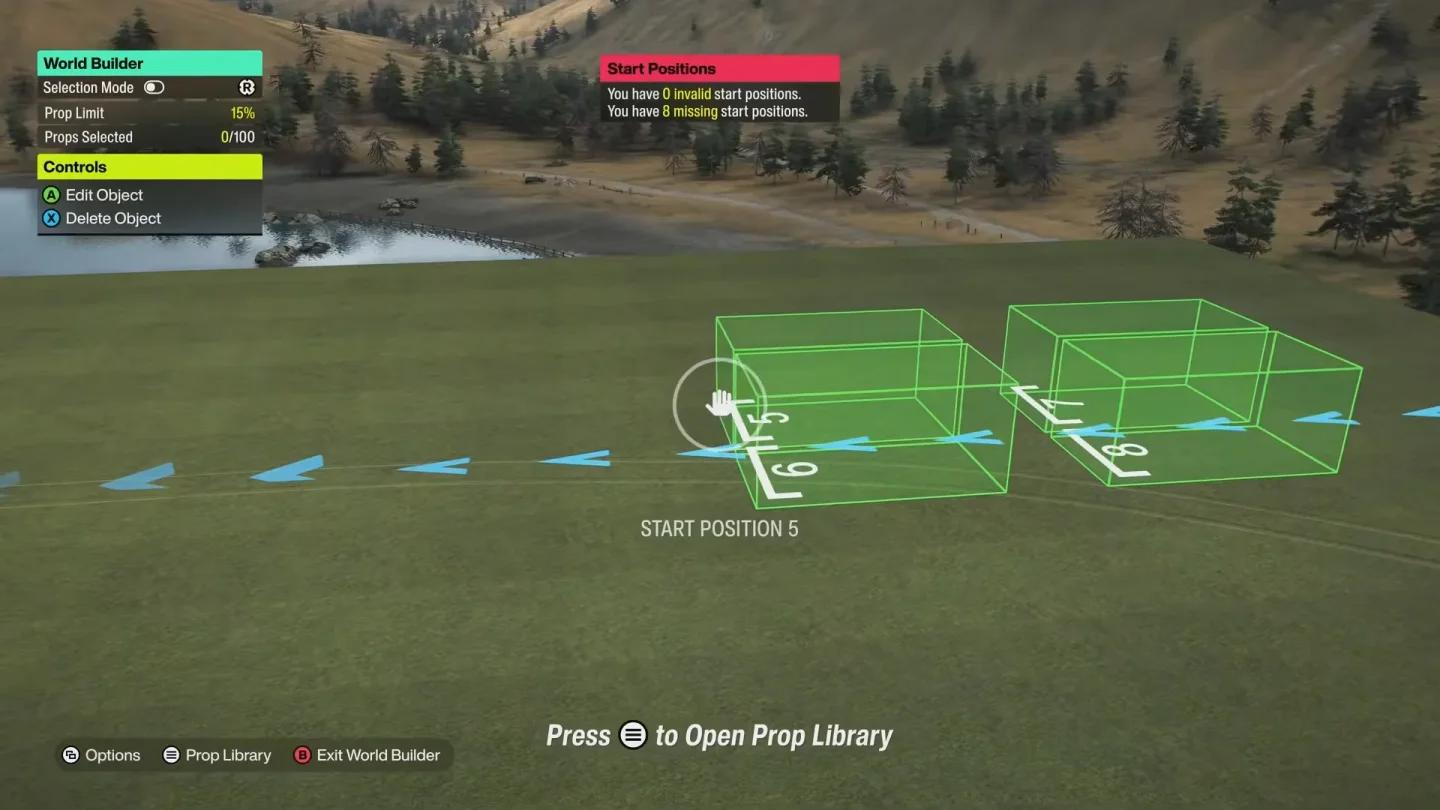
Create a custom EventLab route
Put the finish line somewhere out of the way
Drive a short distance to a location outside the roads you intend to use. A nearby side street works well: it keeps the setup short without placing the finish directly on your planned driving route.
Open the Route Creator placement options and choose Place Finish Line. Confirm its position, then save the route as a new file through Create New. Give it a name you can recognize later.
Once the route is saved, select Create Event With This Route. You can edit the event name and description from the next screen, but the traffic controls are under Event Settings.
Disable traffic and AI opponents
Change both vehicle settings
Open Event Settings and adjust these two controls independently:
| Setting | Required value | What it controls |
|---|---|---|
| Traffic | Off | Ordinary road traffic within the event |
| Max Number Of Drivatars | Off | AI race opponents entered into the event |
Turning off road traffic does not replace the opponent setting. Set both controls before confirming your changes if you want the event to contain neither civilian traffic nor AI racers.
Next, open Car Themes and choose Anything Goes. This removes the car-theme restriction so you can select the car you want for the session.
Choose the weather and time
The same event settings let you select the season, weather, and time of day. These are optional adjustments, not requirements for removing traffic.
For a session that stays at the same time of day, change Time Progression to Fixed. You can then select night for nighttime driving without waiting for the regular day cycle. Leave time progression rolling if you want the time to advance during the event.
Fixed conditions are useful when comparing handling changes. The Forza Horizon 6 tuning guide explains the tuning controls if your next task is adjusting how the car drives.
Start driving or save the event
Use validation for a quick session
From the event editor, select Validate, choose your car, and select Start Validation. This launches the test run using the event settings you just configured.
You can use that active validation session for your drive without completing the publishing process. Leave the event running while you practice on the roads you chose.
Publish an event you can reopen
Choose this route if you want a saved event for future drives. During setup, complete the short validation course deliberately, then follow these steps:
- On the Validation Complete screen, select Return to Event Settings.
- Select Publish in the EventLab editor.
- Open the pause menu and go to Creative Hub, then EventLab and My Events.
- Select the event you created and launch it solo.
- Choose your car and start the event.
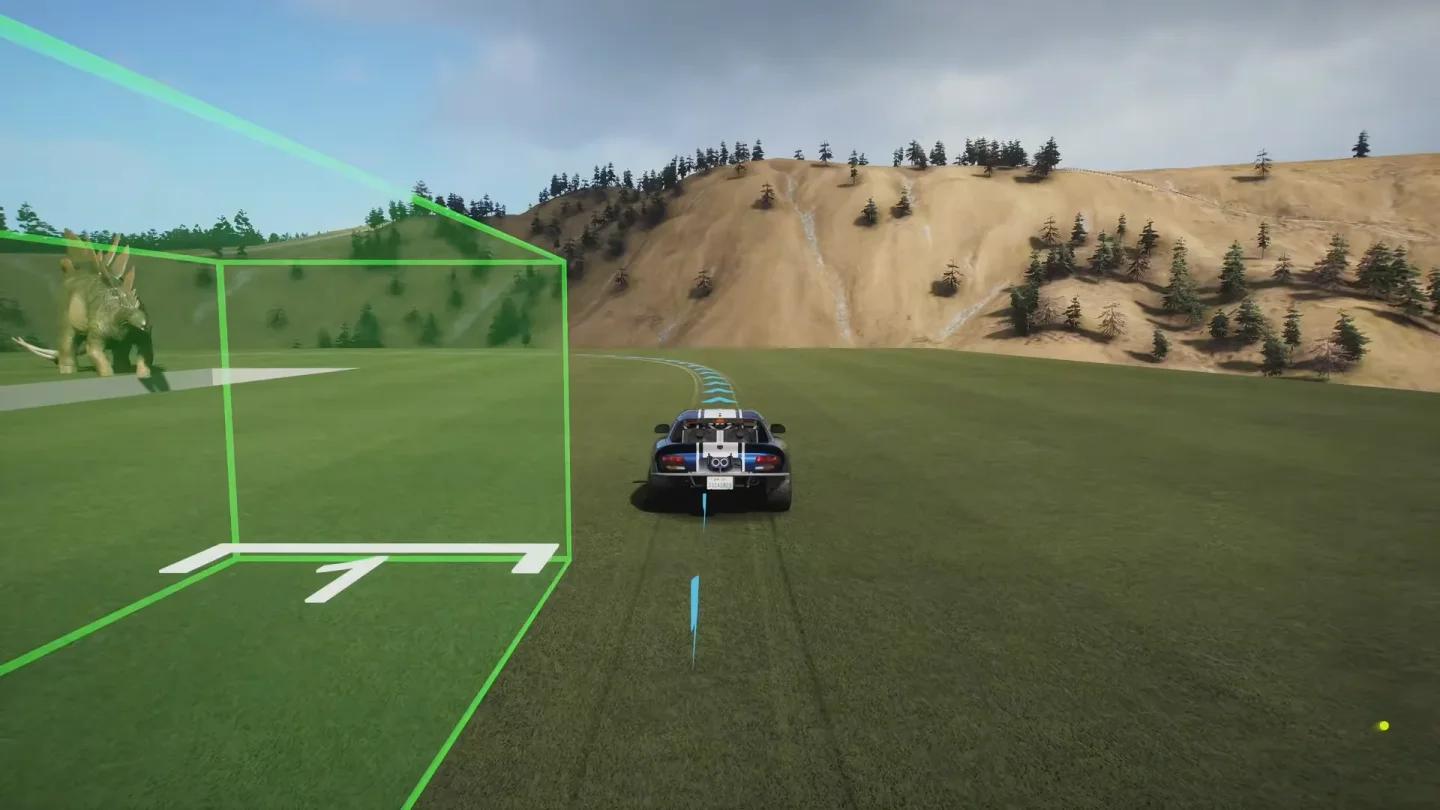
Validate before publishing
The published-event method has no time limit. You do not need to create a long course to get a long driving session; the short route is there to make validation quick.
Publishing is optional for the validation method. It is the extra step that makes the reusable version ready to select from your events list.
If you also want to change collision damage or cosmetic wear, use the Forza Horizon 6 damage settings guide. Damage settings are a separate adjustment from removing traffic and opponents.
Hide the event progress display
Turn off lap time and position
Your traffic-free drive is still an event, so its progress display can remain in the upper-left corner. You can hide that overlay through the HUD settings:
- Pause the event and open Settings.
- Select HUD & Gameplay.
- Scroll to the HUD options.
- Set Lap Time and Position to Off.
- Back out and select Save and Continue.
This adjustment hides the event information; it does not change your route or event settings. You can keep the normal HUD if you prefer seeing the timer and progress while driving.
Music also has its own controls. Use the Forza Horizon 6 radio settings guide if you want to change or silence the soundtrack during your session.
Return to normal free roam
Pause the game, select Quit Event, and confirm with Yes when you are finished. The traffic-free setup belongs to the custom event, so leaving it returns you to regular play.
If you hid the event display, return to Settings → HUD & Gameplay and switch Lap Time and Position back to On before your next race. For another clear-road drive, reopen the published event through My Events.