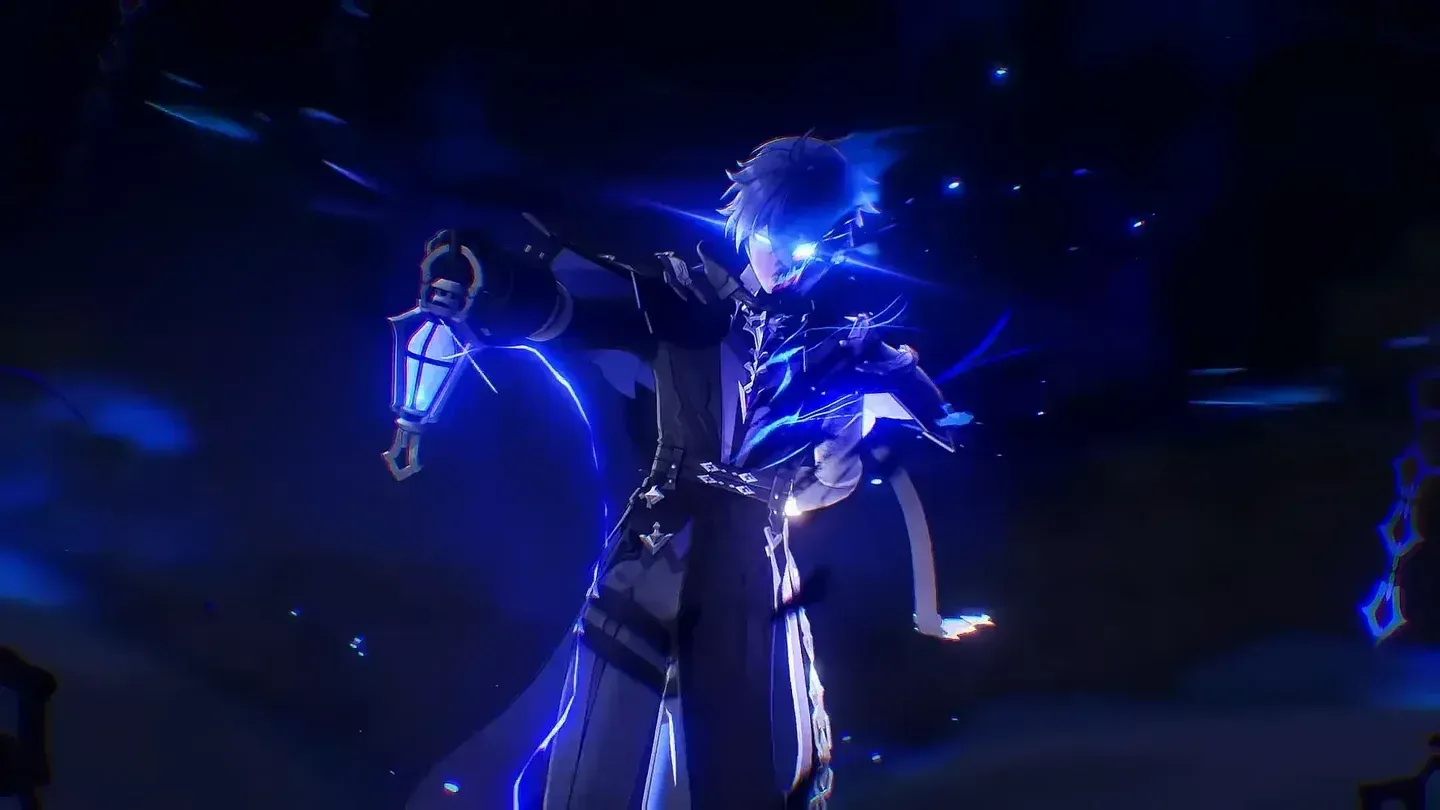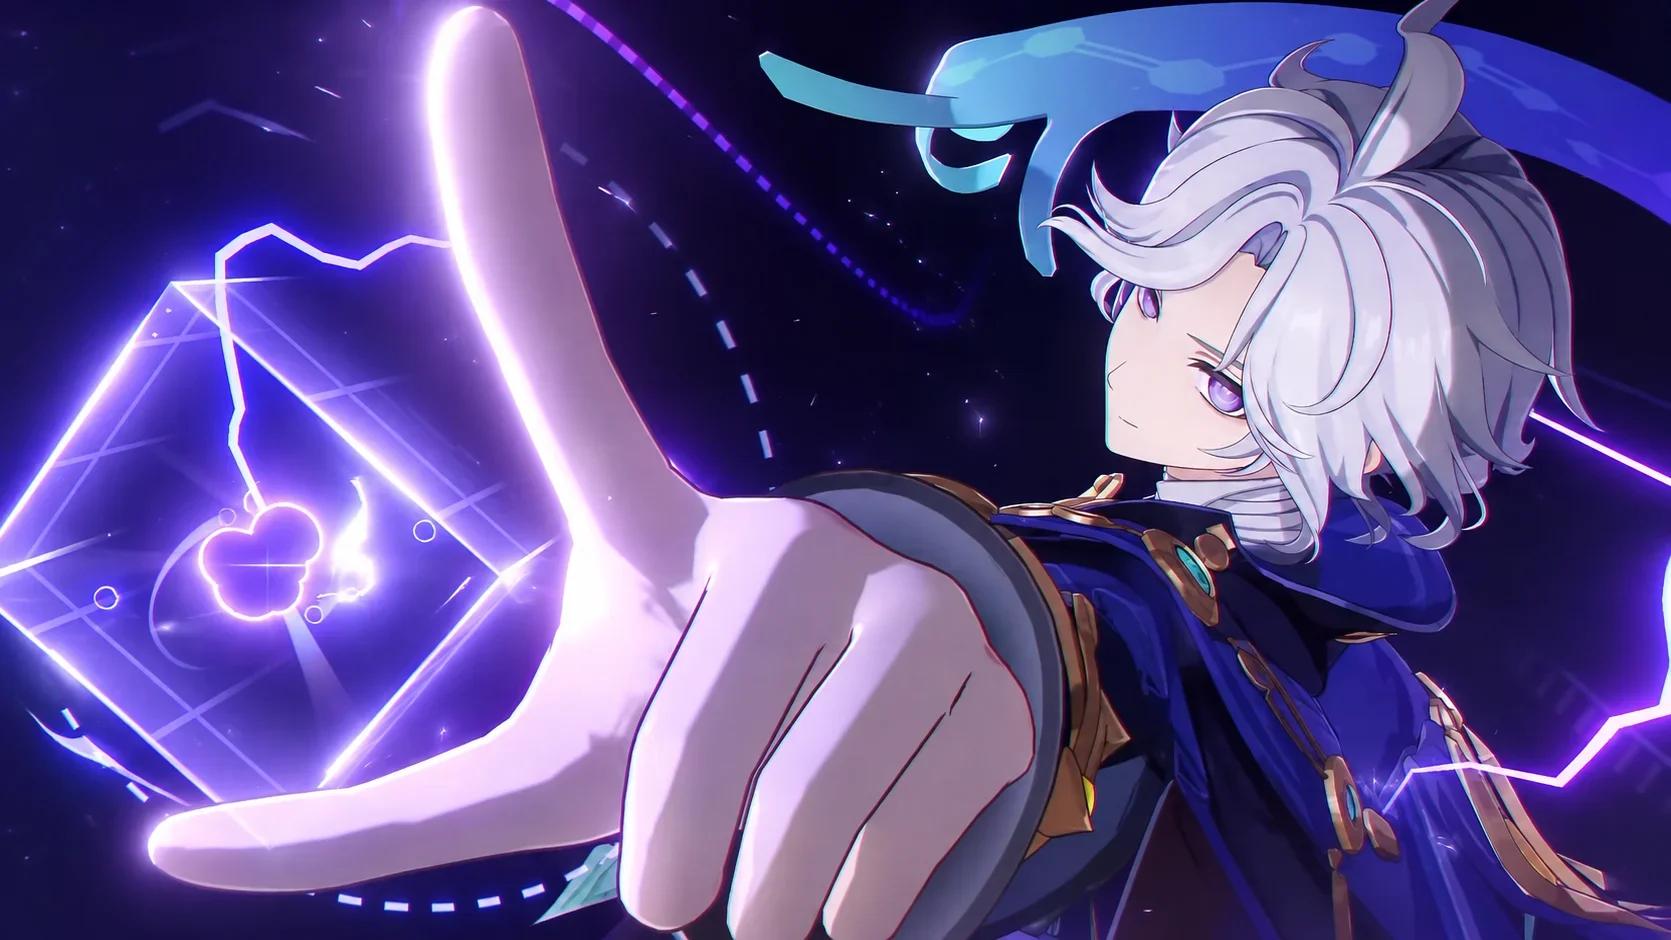

Mitya's build starts with Elemental Mastery, but his role decides where the rest of your investment goes. For on-field damage, use an Overloaded Detection Core and spend Gradient Beacons through special Charged Attacks. For off-field support, tap his Skill, leave a Steady State Core behind, and let another damage dealer take over. This five-star Electro Catalyst character in Genshin Impact can handle either job, but equipment that improves his own reaction damage serves a different purpose than gear chosen to buff Wriothesley or Cyno.
How does Mitya's build change between roles?
Mitya converts Superconduct into Stellar-Conduct, replacing Starlight Prisms with Gradient Beacons. Those Beacons follow the active character and create a moving Polestar Field. Your team needs consistent Cryo application, ideally at least once every 3s, to keep the reaction and Beacon supply running.
His Elemental Skill, Principle: Variable Detection, determines how you spend those Beacons:
| Role | Skill input | Core state | What you do next |
|---|---|---|---|
| On-field damage dealer | Hold Skill | Overloaded | Hold Charged Attack to consume Beacons through Gradient Detonation |
| Off-field support or sub-DPS | Tap Skill | Steady State | Switch out while the Core attacks and consumes excess Beacons |
The Detection Core lasts 25s, and the Skill has an 18s cooldown. You can change its state by tapping Skill again within 6s of the original cast, with 1.5s between state changes. Overloaded is the Core's stance name here, not a requirement to trigger the Pyro-Electro reaction.
At C0, Mitya carries up to 4 Beacons. His passives extend their duration to 10s and grant 5% CRIT Rate for 15s whenever he creates one, stacking up to 4 times. His Burst, Analysis: Gradient Theory, costs 60 Energy, has a 15s cooldown, and supplies 3 Beacons.

Gradient Detonation in combat

What does the Steady State Core provide?
With Baseline Stress Test unlocked, every carried Beacon grants nearby party members 30 Elemental Mastery. That reaches 120 EM with 4 Beacons at C0. Once Mitya reaches his Beacon limit, the Steady State Core consumes newly generated Beacons to deal Stellar-Conduct damage. It also consumes stored Beacons when it expires or is replaced.
The Overloaded Core instead enables Gradient Detonation, a stamina-free special Charged Attack available while Mitya has at least 1 Beacon. Its passive also extends reaction-driven Beacon generation to 6s, helping feed his on-field damage window.
Which stats should you prioritize on Mitya?
Use EM Sands, EM Goblet, and a CRIT or EM Circlet. Mitya's main Stellar-Conduct damage scales with Elemental Mastery and can CRIT. Standard Electro DMG bonuses do not directly increase that reaction component, which makes an EM Goblet the appropriate default.
| Slot or stat | On-field Mitya | Off-field Mitya |
|---|---|---|
| Sands | Elemental Mastery | Elemental Mastery |
| Goblet | Elemental Mastery | Elemental Mastery |
| Circlet | Usually CRIT Rate or CRIT DMG | EM or CRIT, depending on support and damage priorities |
| Substats | Enough ER for your rotation, then CRIT and EM | EM and CRIT; ER only if your rotation needs Burst |
500 EM caps Mitya's teamwide Base Stellar-Conduct DMG increase at 14%. That is a cap on this particular passive, not a stopping point for his build. Additional EM still improves his EM-scaling damage.
Energy Recharge depends on your team and Burst schedule. On-field Mitya values Burst for extra Beacons, while an off-field tap-Skill rotation can leave it optional. A second or third Electro character helps with Energy, but you still need to check whether Burst is ready when your rotation reaches it.
What are Mitya's best weapons and artifacts?
Which weapon fits your role?
Starsealed Edict is Mitya's best weapon for personal damage. Its combination of CRIT DMG, EM, and Stellar-Conduct CRIT DMG matches his kit directly. Support builds have a different decision: improving the active carry can be more useful than maximizing Mitya's own numbers.
| Weapon | Best use | Practical details |
|---|---|---|
| Starsealed Edict | Highest personal damage | At R1, Skill grants 48 EM; nearby reactions add up to 3 stacks of 24 EM. Each stack also grants 12% Stellar-Conduct CRIT DMG in Radiance: Stellar-Conduct |
| A Thousand Floating Dreams | EM-focused damage and support | EM secondary stat, plus 40 EM for other nearby party members at R1 |
| Etherlight Spindlelute | Accessible on-field option if owned | Provides ER and 200 EM at R5, helping fund Burst without abandoning EM |
| Sacrificial Fragments | Four-star EM option | At R1, Skill damage has a 40% chance to reset Skill cooldown, with a 30s cooldown |
| Wandering Evenstar | Off-field team support | Gives Mitya EM and provides an ATK buff to the party |
| Thrilling Tales of Dragon Slayers | Supporting an ATK-scaling carry | At R5, the next character gains 48% ATK for 10s, with a 20s cooldown |
| Favonius Codex | Team Energy support | At R1, on-field CRIT hits have a 60% trigger chance, with a 12s cooldown |
Dawning Frost, Winter's Heavy Heart, and Clash of Kings are other on-field options. Refinement matters: their R1 performance is close to R5 Etherlight Spindlelute, while higher refinements improve their standing. Starsealed Edict remains the personal-damage choice, but an existing weapon can save you an expensive upgrade.
Sacrificial Fragments deserves particular attention with Cryo Traveler, where a reset can shorten the rotation. R5 is especially useful for that setup, but a failed reset still needs a fallback. Keep Burst available to fill the gap rather than assuming every Skill will reset.
Which artifact set should you farm?
For a flexible starting build, use two 2-piece EM sets with strong substats. This works across Mitya's roles and avoids forcing a four-piece set with weaker pieces. On-field Mitya generally favors this approach; off-field choices depend more heavily on team composition and buff assignments.
| Artifact setup | Recommended use | Main limitation |
|---|---|---|
| Two 2-piece EM sets | Flexible personal-damage build | Provides stats rather than a dedicated team buff |
| Disenchantment in Deep Shadow | Reaction-damage alternative | Its four-piece grants 40% Stellar-Conduct damage and conditional 16% CRIT Rate, but its ATK bonus does little for the main reaction component |
| Gilded Dreams | Off-field personal damage, especially as the sole Electro unit | Its reaction-triggered buff changes with your teammates' elements |
| Tenacity of the Millelith | Buffing an ATK-scaling carry | Sacrifices Mitya's personal damage for team support |
| Heart of the Furnace | Off-field support configurations | Needs coordination with the rest of your team's artifact assignments |
Gilded Dreams gives 50 EM per different-element teammate and 14% ATK per same-element teammate after its wearer triggers a reaction, counting up to three teammates. That makes it more appealing when off-field Mitya is the only Electro character than in a triple-Electro lineup.
Coordinate Heart of the Furnace with Odette rather than choosing both characters' sets independently. Her buffs and off-field damage are a major part of the pairing, so use the Odette build guide to plan her equipment alongside Mitya's.
What teams should you use with Mitya?
An on-field Mitya team needs off-field Cryo application and benefits heavily from shielding and another Electro character. Off-field Mitya mainly needs a carry who can keep Stellar-Conduct reactions happening while his Steady State Core remains active.
| Team | Mitya's role | Why it works |
|---|---|---|
| Mitya / Yae Miko / Odette / Valeriy | On-field DPS | Cryo application, off-field damage, Electro Energy generation, buffs, and shielding |
| Mitya / Sucrose / Odette / Valeriy | On-field DPS | Sucrose replaces Yae with EM sharing, while Valeriy keeps the shield |
| Mitya / Qiqi / Yae Miko / Sucrose | On-field DPS | Qiqi supplies Cryo and healing, Yae adds off-field damage, and Sucrose shares EM |
| Wriothesley / Mitya / Odette / Yae Miko | Off-field support | A damage-focused lineup without a dedicated healer or shielder |
| Wriothesley / Mitya / Qiqi / Sucrose | Off-field support | Healing, Cryo application, EM sharing, and a direct Thrilling Tales handoff |
| Cyno / Mitya / Odette / Alyosha | Off-field support | Stellar-Conduct support with Alyosha providing healing and active-character buffs |
Valeriy is particularly valuable because Mitya's on-field attacks are vulnerable to interruption. Valeriy provides shielding, Energy support, and stronger buffs through constellations. Replacing him with another damage buffer can raise your exposure to enemy attacks, so comfort is a real team-building consideration.
Qiqi is a useful Cryo alternative, but positioning matters. Stay close enough for Herald of Frost to connect with enemies, since healing alone does not maintain your reaction supply. The Qiqi build guide covers her weapons, artifacts, and Stellar-Conduct support setup.
How should you play Mitya's rotations?
Start with one on-field damage window
The simplest on-field sequence keeps Mitya active for one damage window after his teammates establish their buffs and elemental application. It also involves fewer swaps than split-field rotations, making it less sensitive to high ping.
- Set up your Cryo application, off-field damage, and defensive support.
- Hold Mitya's Skill to create the Overloaded Core.
- Hold Charged Attack to spend your Beacons.
- Use Burst, then hold Charged Attack again.
- Perform two Normal Attacks, then use another Charged Attack to spend the remaining Beacons.
At C0, a Charged Attack beginning with 4 Beacons can fire 4 or 5, depending on when another Beacon generates. The last Charged Attack in this sequence usually spends only 1 or 2. Plan around the available Beacons rather than expecting every attack window to look identical.
Keep off-field rotations short
For off-field Mitya, tap Skill and switch to your carry. Use Burst when its extra Beacons justify the added field time; it does not need to appear in every rotation. With Thrilling Tales, switch directly from Mitya to the intended ATK-scaling carry so the correct character receives the buff.
Split-field rotations let Mitya attack between teammates' setup windows, but they add timing demands. Learn the single-window sequence first, then use the 6s stance-change window when your team benefits from a more involved rotation.
Which talents and constellations matter most?
Match talent spending to your role
For on-field Mitya, prioritize Chain Reaction, his Normal Attack talent, because Gradient Detonation belongs to it. Off-field Mitya prioritizes Principle: Variable Detection, his Skill. Upgrade both if you want to switch roles without rebuilding his talent investment.
Burst levels are a lower priority because its main practical job is generating 3 Beacons. A flexible investment target is level 10 Normal Attack and Skill, with Burst at level 6 initially.
What do the major constellations add?
- C1: Raises the Beacon limit to 5, creates a Beacon on Skill use, grants the active character 40% CRIT DMG while the Core exists, and restores 10 Energy when a Beacon is created, once every 8s.
- C2: Reduces enemy Cryo and Electro RES by 20% inside the Polestar Field while the Core exists, alongside a state-dependent EM buff.
- C6: Improves Steady State Core damage, gives Overloaded Beacon consumption a 34% chance to create another Beacon, and grants 20% teamwide Stellar-Conduct damage Elevation.
C1 improves Beacon handling and Energy comfort, while C2 is a substantial team upgrade. Neither changes the basic build decision: EM remains central, and you still choose equipment around personal damage or carry support.
Which Mitya materials can you prepare before Version 7.2?
You can prepare Charity talent books, Chimeric materials, Vajrada Amethyst, Mora, and Mask of the Virtuous Doctor before the new area opens. Mitya's field-boss material comes from Wavebinder, and his local specialty belongs to the Version 7.2 Snezhnaya expansion, available November 4, 2026.
| Material | Ascension total | One talent to level 10 | All three talents to level 10 |
|---|---|---|---|
| Chimeric Core | 18 | 6 | 18 |
| Symbiotic Chimeric Nucleus | 30 | 22 | 66 |
| Prime Chimeric Nexus | 36 | 31 | 93 |
| Teachings of Charity | Not required | 3 | 9 |
| Guide to Charity | Not required | 21 | 63 |
| Philosophies of Charity | Not required | 38 | 114 |
| Mask of the Virtuous Doctor | Not required | 6 | 18 |
| Crown of Insight | Not required | 1 | 3 |
| Mora | 420,000 | 1,652,500 | 4,957,500 |
Ascension also requires Vajrada Amethyst: 1 Sliver, 9 Fragments, 9 Chunks, and 6 Gemstones. Defeat Aberrant Chimeric Monsters in Snezhnaya for the Chimeric materials. Farm Charity books at Domain of Mastery: Contemplation, southwest of Svetloledovka, on Monday, Thursday, and Sunday.
For Mask of the Virtuous Doctor, challenge The Doctor weekly boss in Nod-Krai. The Adventurer Handbook's Quick Challenge feature provides access. Prioritize the materials for your chosen damage talent before committing resources to all three level-10 talents.
Start Mitya with strong EM pieces, choose the Core state your team needs, and keep Cryo application active throughout his damage window. Once that setup is planned, browse the Genshin Impact guide collection to finish building the teammates around him.