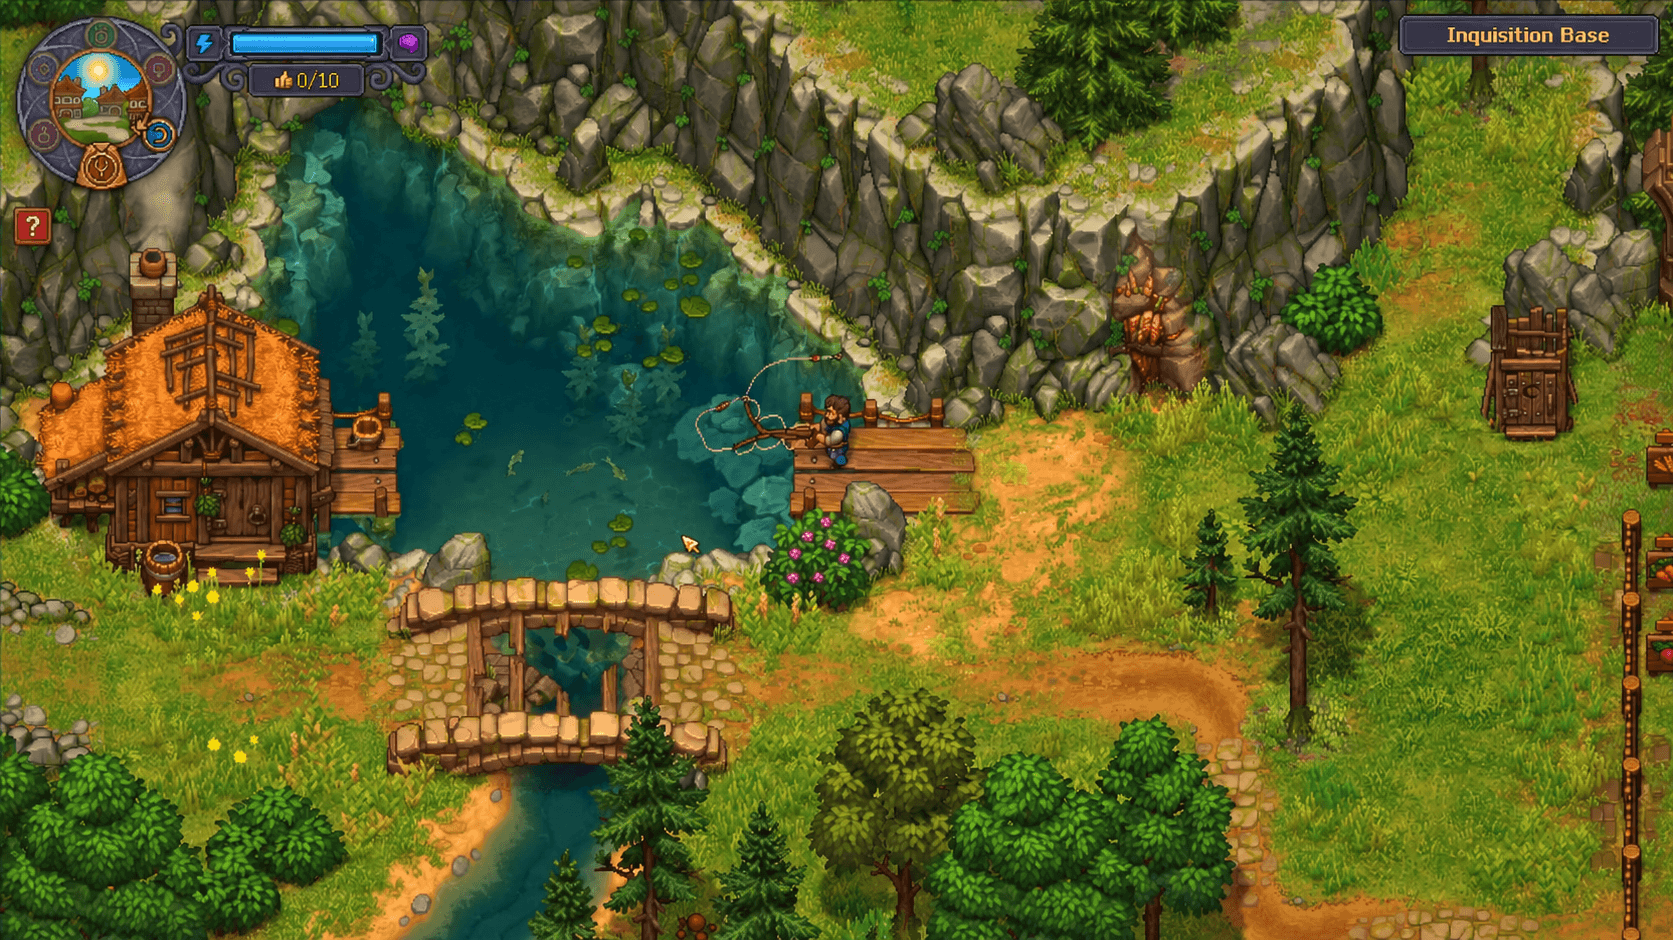


Fishing in Graveyard Keeper 2 looks simple until you're standing at a riverbank with a rod equipped and nothing happens. The system has four separate failure points: wrong location, missing rod, wrong bait, and bad reeling technique. Each one looks identical from the outside, which is why players spend time changing bait when they should be moving to a different spot. This guide covers every step from getting the rod to catching rare fish, with full bait and location tables so you always know exactly what to change.
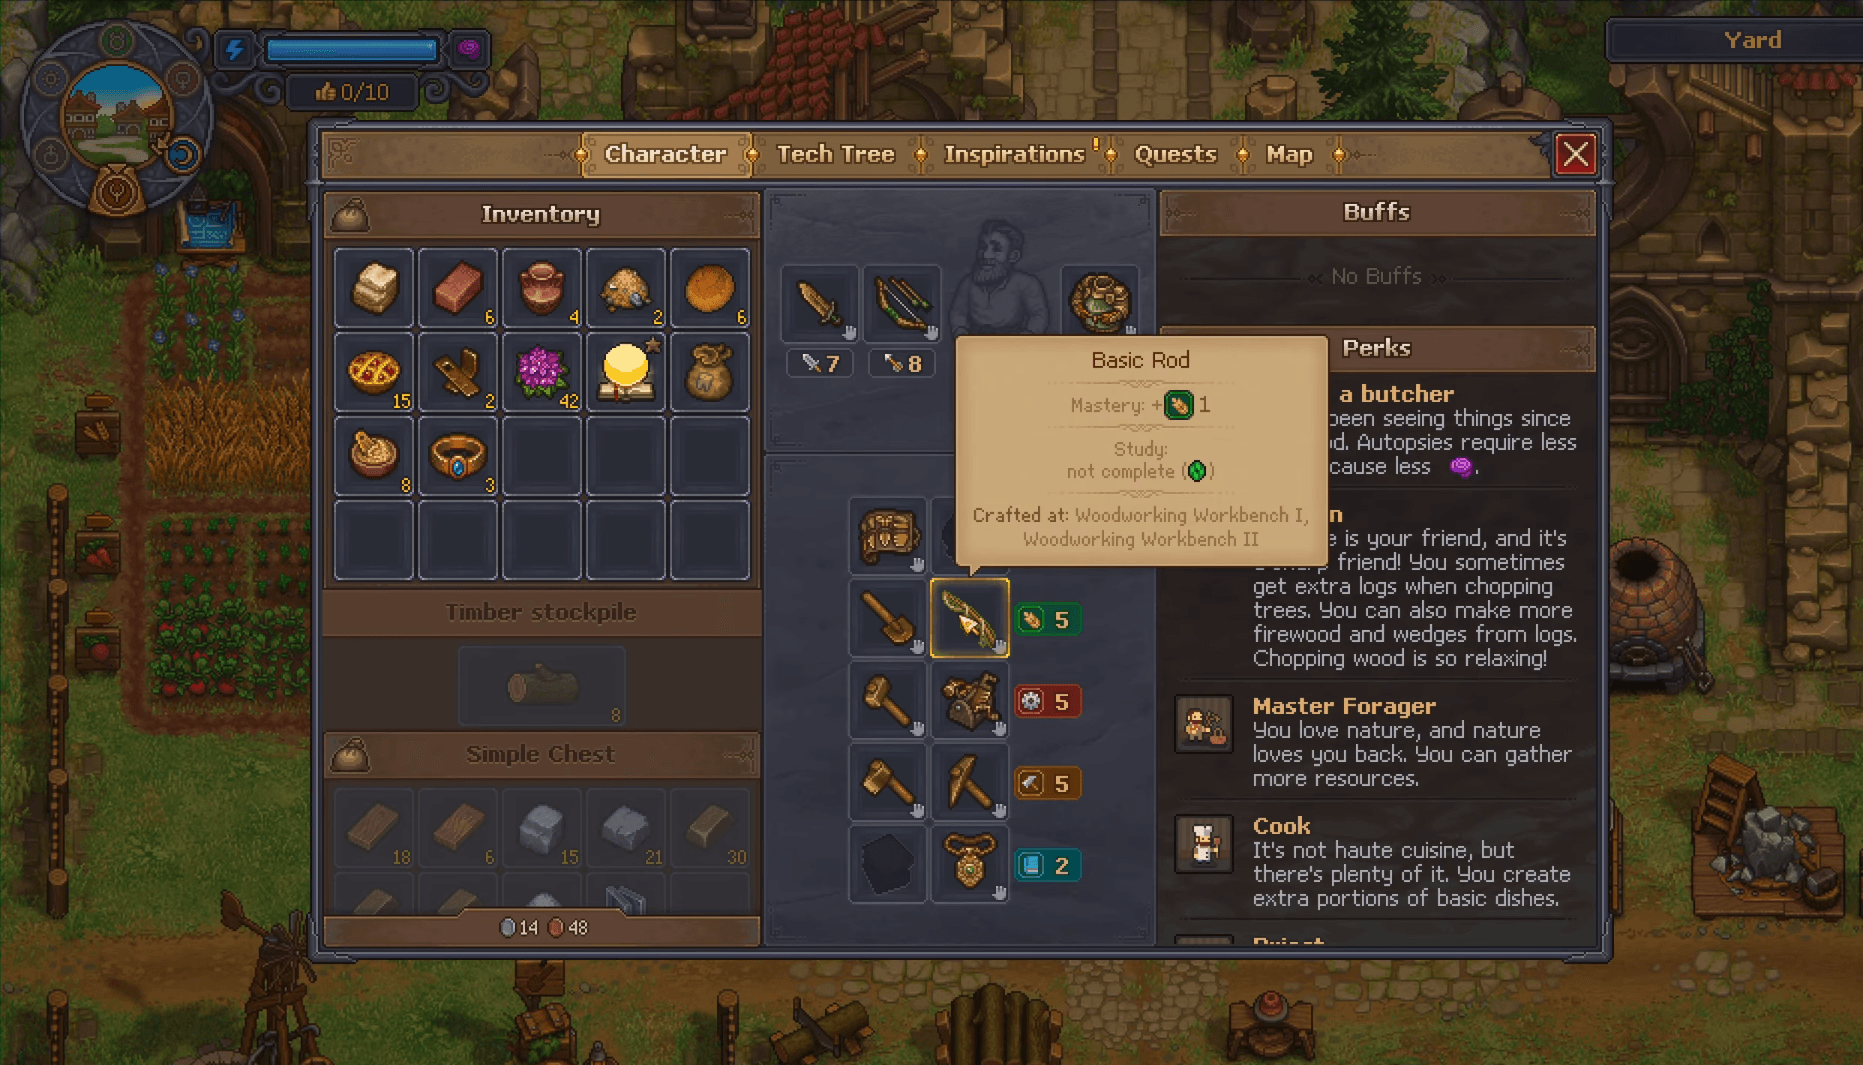
How do you get the Fishing Rod in Graveyard Keeper 2?
The rod is not sold directly. It comes through an NPC chain that starts with the Merchant once the village food recovery is underway. He mentions that his Fishing Rod was borrowed by the twins across the river, so buying a replacement is not an option here.
Cross the river and speak to the twins. They do not hand it back immediately. Their boat sank, and sorting out the consequences of that sends you to Jeffrey nearby. Jeffrey's actual request is straightforward: bring him Pottery. That is the real gate on this quest.
If the Pottery recipe or workstation is not ready yet, leave the twins alone and sort out the crafting chain at your base first. No amount of revisiting the conversation skips that requirement. Once the Pottery is made, return to the twins, hand it over, and they give you the Fishing Rod.
Equip the rod to your tool belt before heading to the water. Carrying it in your backpack is not enough to trigger fishing interactions.
Graveyard Keeper 2 Fishing Guide: Rod, Bait & All Fish Locations
Where are the fishing spots?
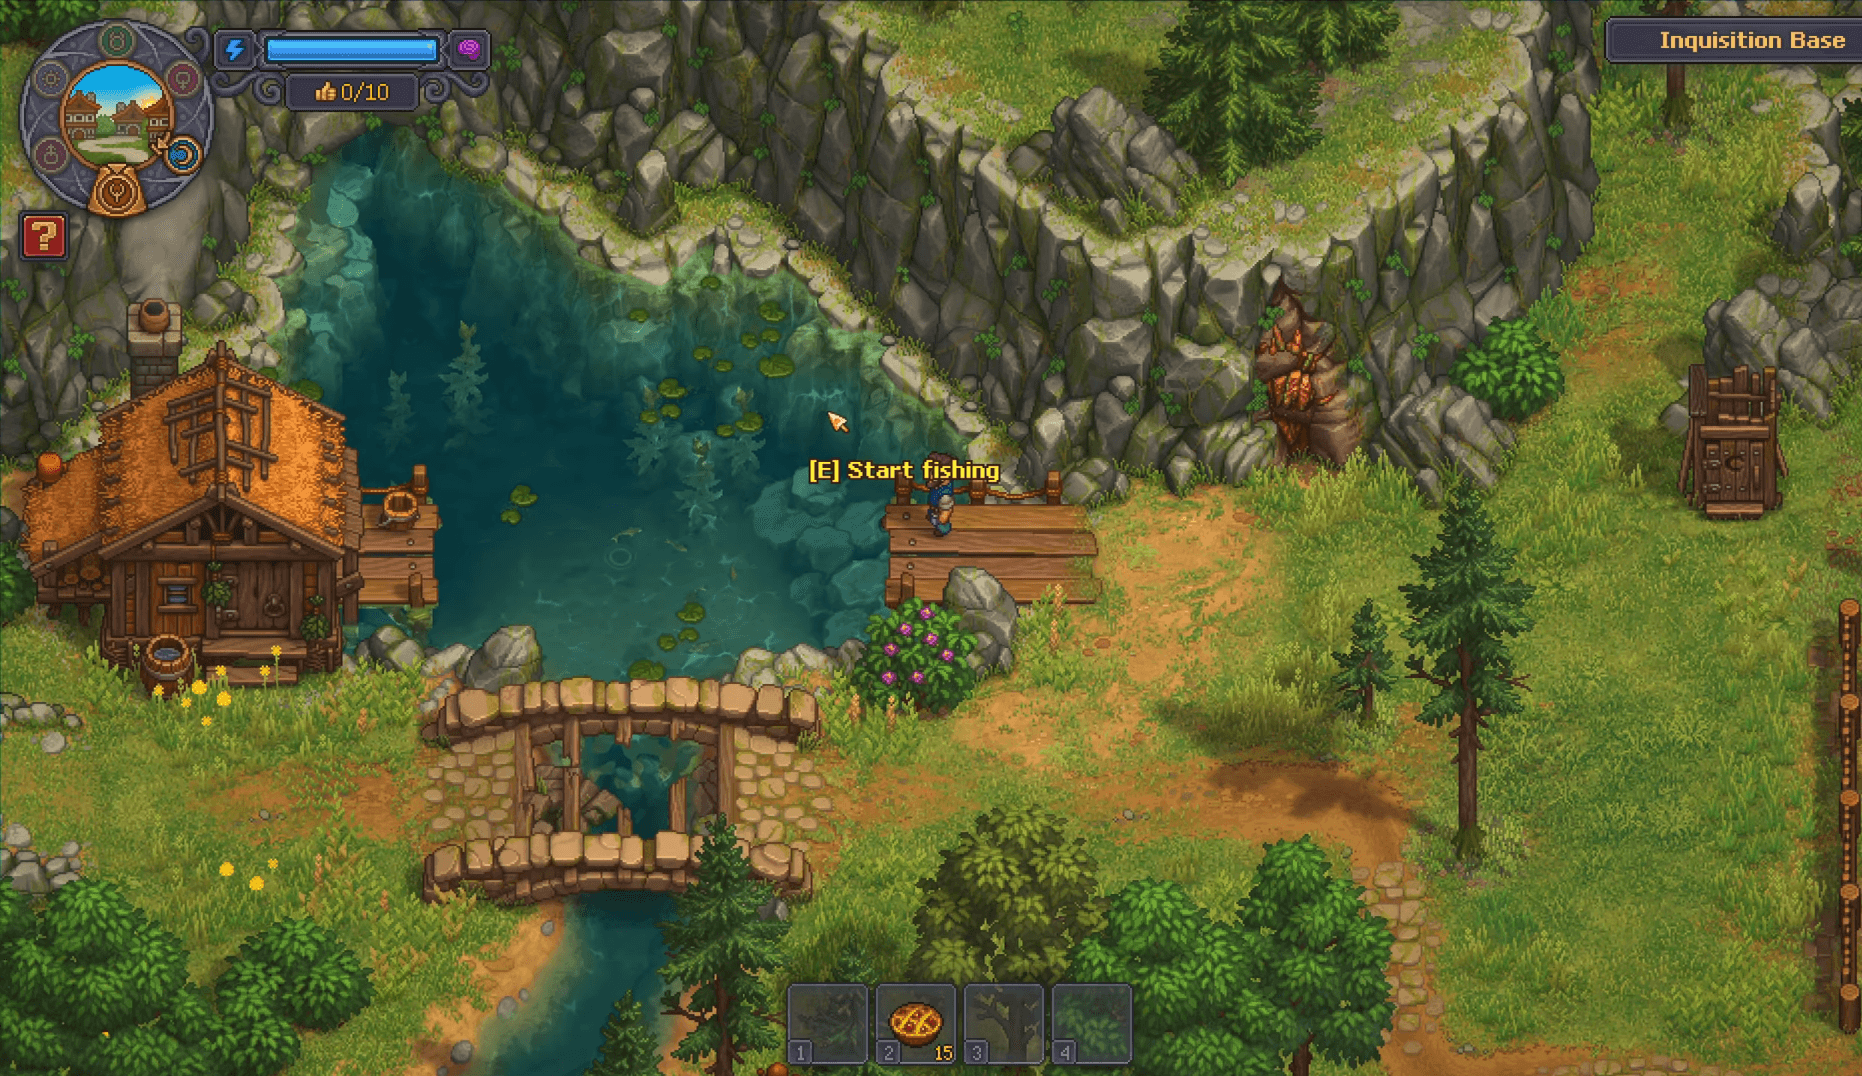
Fishing only works at designated locations shown on the map. Standing beside any random stretch of water with the rod equipped produces no interaction. If you have the rod equipped and nothing happens, the location is wrong before anything else is.
There are 5 fishing spots across the map, each with its own catch list:
A few catches are exclusive to specific spots. Mythic Carp only appears northwest of the Mailbox. Celestial Salmon is only at the Bandit Camp spot. Kraken Jr belongs to the far-east Crossroads location. If a quest or recipe calls for one of those, there is no substitute location.
Graveyard Keeper 2 Fishing Guide: Rod, Bait & All Fish Locations
What bait do you need for each fish?
Three bait types exist in Graveyard Keeper 2, all crafted at the Kitchen Table or Kitchen Table II. Each batch produces 4 units, and one bait is consumed per attempt regardless of whether you land the fish.
Breadcrumb Bait
Made from 1 Bread. Requires Farming mastery 2 and the Fishing II technology unlock. Bread can be bought from the Baker from tier 1 or baked yourself. This is the most broadly useful early bait, covering Anchovy, Bream, Carp, Catfish, Goldfish, Herring, Mackerel, Pike, Silverfin, and Frog.
Insect Bait
Made from 4 Fireflies. Requires Farming mastery 4 and Fishing III. Fireflies are available from Gunter from tier 1. Covers Eel, Goldfish, Salmon, Silverfin, Swamp Ghost, Trout, Tuna, and Frog.
Live Bait
Made from 1 Lacquer and 1 Flesh. Requires Farming mastery 6 and Fishing IV. Lacquer is sold by the Alchemist or Trademaster from tier 1; Flesh is available from the Baker from tier 2. Live Bait is needed for the rarer catches: Celestial Salmon, Elder Catfish, Kraken Jr, and Mythic Carp.
Graveyard Keeper 2 Fishing Guide: Rod, Bait & All Fish Locations
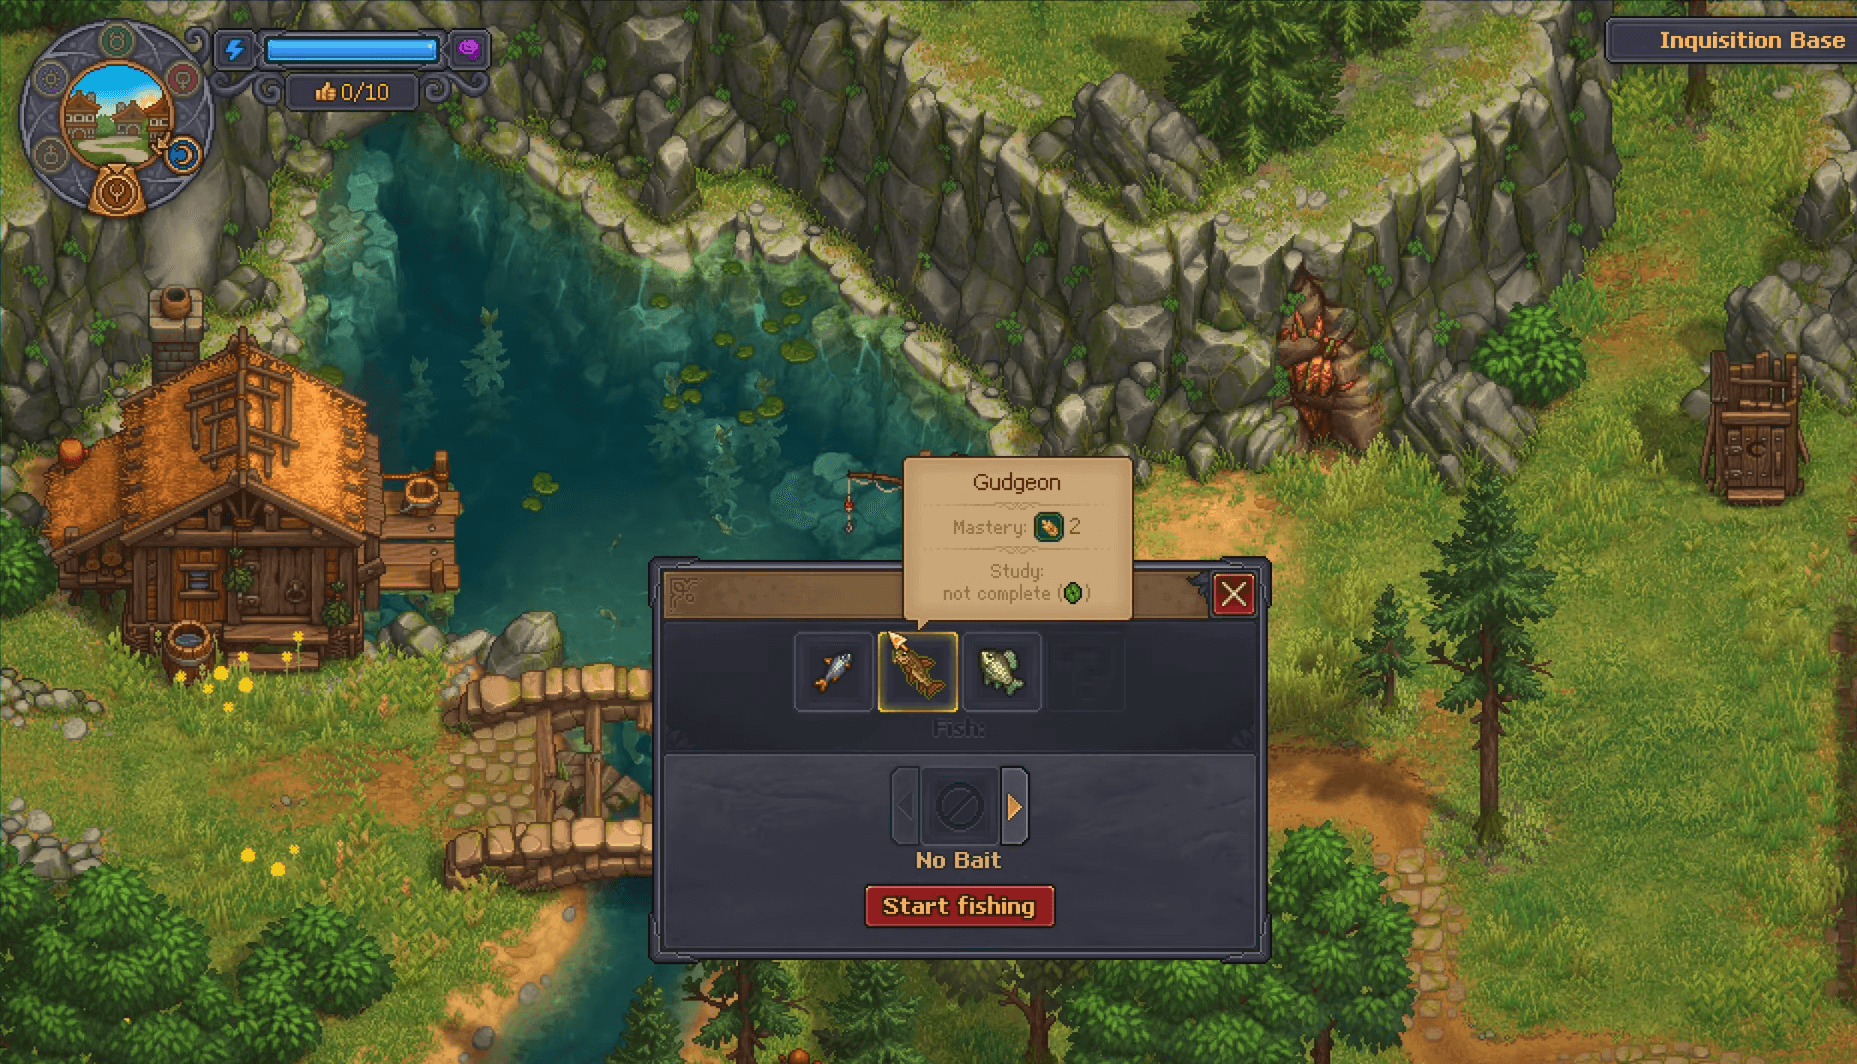
Here is the full bait and time reference for every fish:
Time preference reflects that fish's own day-versus-night weighting. Other fish at the same spot, the remaining population, and your bait all affect what bites. It is not a fixed percentage.
How does the reeling minigame work?
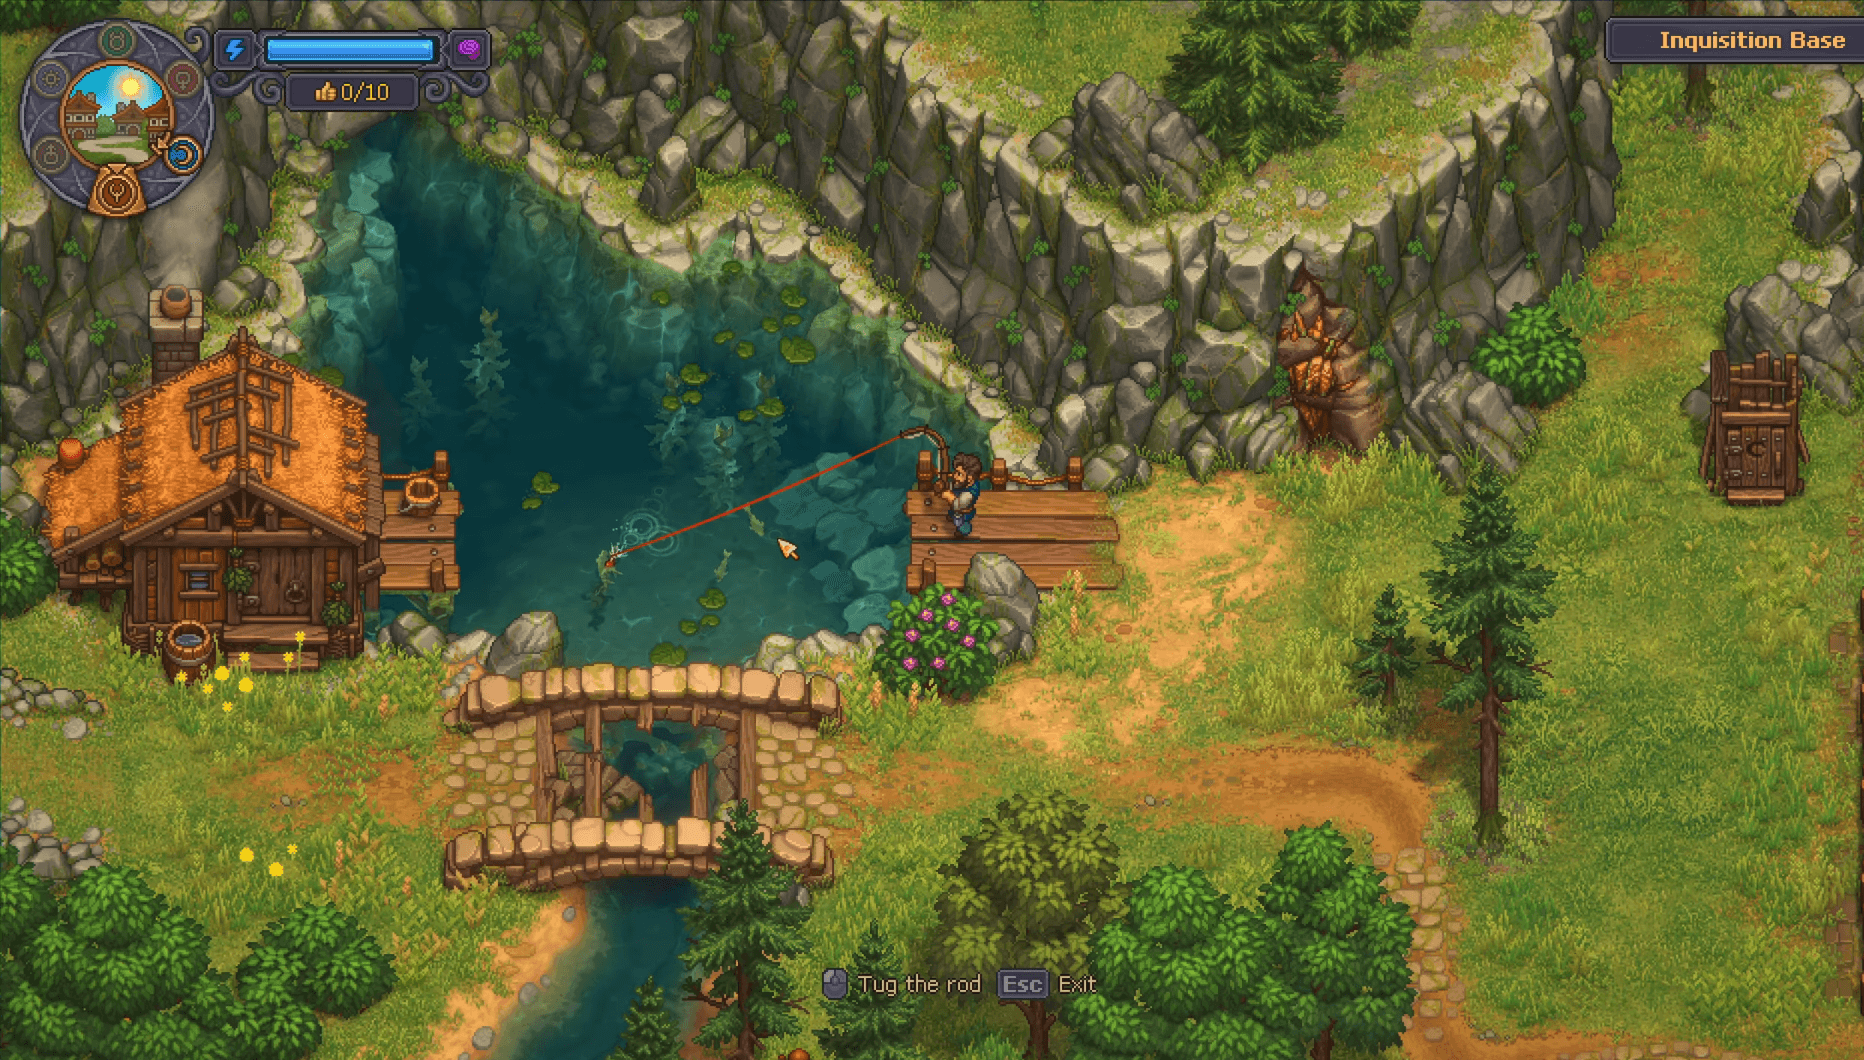
Once a cast is active, wait for the bite prompt. On keyboard the interaction key is E; on controller it is A. The sequence runs like this:
- Cast and wait for the fish to bite
- Press the interaction input to hook it when the prompt appears
- Hold the same input to reel
- Watch the line color as tension rises
- Release when the line moves toward red
- Let tension drop, then reel again
Graveyard Keeper 2 Fishing Guide: Rod, Bait & All Fish Locations
The line color is the only real feedback the game gives you. Green or yellow means you can keep pulling. As it shifts toward red, stop immediately. Holding through red snaps the line and loses the fish.
Harder fish give shorter safe windows between tension spikes. The rhythm becomes shorter bursts rather than long holds. Trying to power through in one continuous pull works on easy catches and fails on everything else.
What are the fishing rods and how do you craft them?
Four rods exist, each requiring Building mastery to craft. Fishing itself uses Farming mastery, so both skill tracks matter here. Rods can also be purchased from the Fish Stand once the relevant tier is available.
The Basic Rod unlocks with Fishing I, the Amateur Rod with Fishing II, the Advanced Rod with Fishing III, and the Pro Rod with Fishing IV.
How do the fishing quests progress?
The Fishing Rod itself is just the start. Several NPCs have ongoing fishing requests that unlock new rewards.
The Merchant's early request
The first quest asks for a Gudgeon and a Roach, both catchable at the spot west of the Garden with no bait. Hold onto those two fish rather than eating them for Energy. Completing the hand-in advances the village fishing sequence and opens fish-related cooking rewards.
The Fisherman's river-to-sea challenge
A later Fisherman NPC starts with a river fish request. Once you deliver it, he dismisses freshwater fishing and sends you to the pier for a sea fish. The pier is in the Port area, so this challenge is only accessible after that zone opens.
Bring back the sea fish and he rewards you with an old fisherman's recipe. The quest continues: he then asks for a mysterious fish, and a Goldfish can satisfy that request. Do not discard a Goldfish before reaching this stage.
The twins' stronger line request
The twins return later with a different problem: a huge catfish they nearly caught snapped their line. Their arrangement is worth pursuing: help them acquire a stronger fishing line and they teach you how to craft new bait types. That reward matters more once no-bait and Breadcrumb Bait stops covering the fish you need.
How do fish populations work?
Catching fish reduces the available population at that spot. A location that produced easy catches earlier may run low on those specific fish, which changes what bites on later visits. If a spot runs completely dry, no new attempt can start there.
This also explains why a bait that worked before suddenly stops producing results. The fish it was targeting may simply be depleted at that location. An unknown fish appears as a silhouette until caught, but that does not mean a special unlock is required; bait compatibility and remaining population still determine what bites.
Keep a stock of multiple bait types once fishing becomes a regular activity. There is no need to manufacture every option upfront, but running out of the right bait mid-session wastes time.
For more help getting the most out of Graveyard Keeper 2, check the full Graveyard Keeper 2 guides collection for walkthroughs covering zombies, alchemy, cooking, and more. If you are still working through the early game, the beginner tips and tricks guide covers crafting queues, food buffs, and automation basics that will make the fishing quests much smoother to complete.