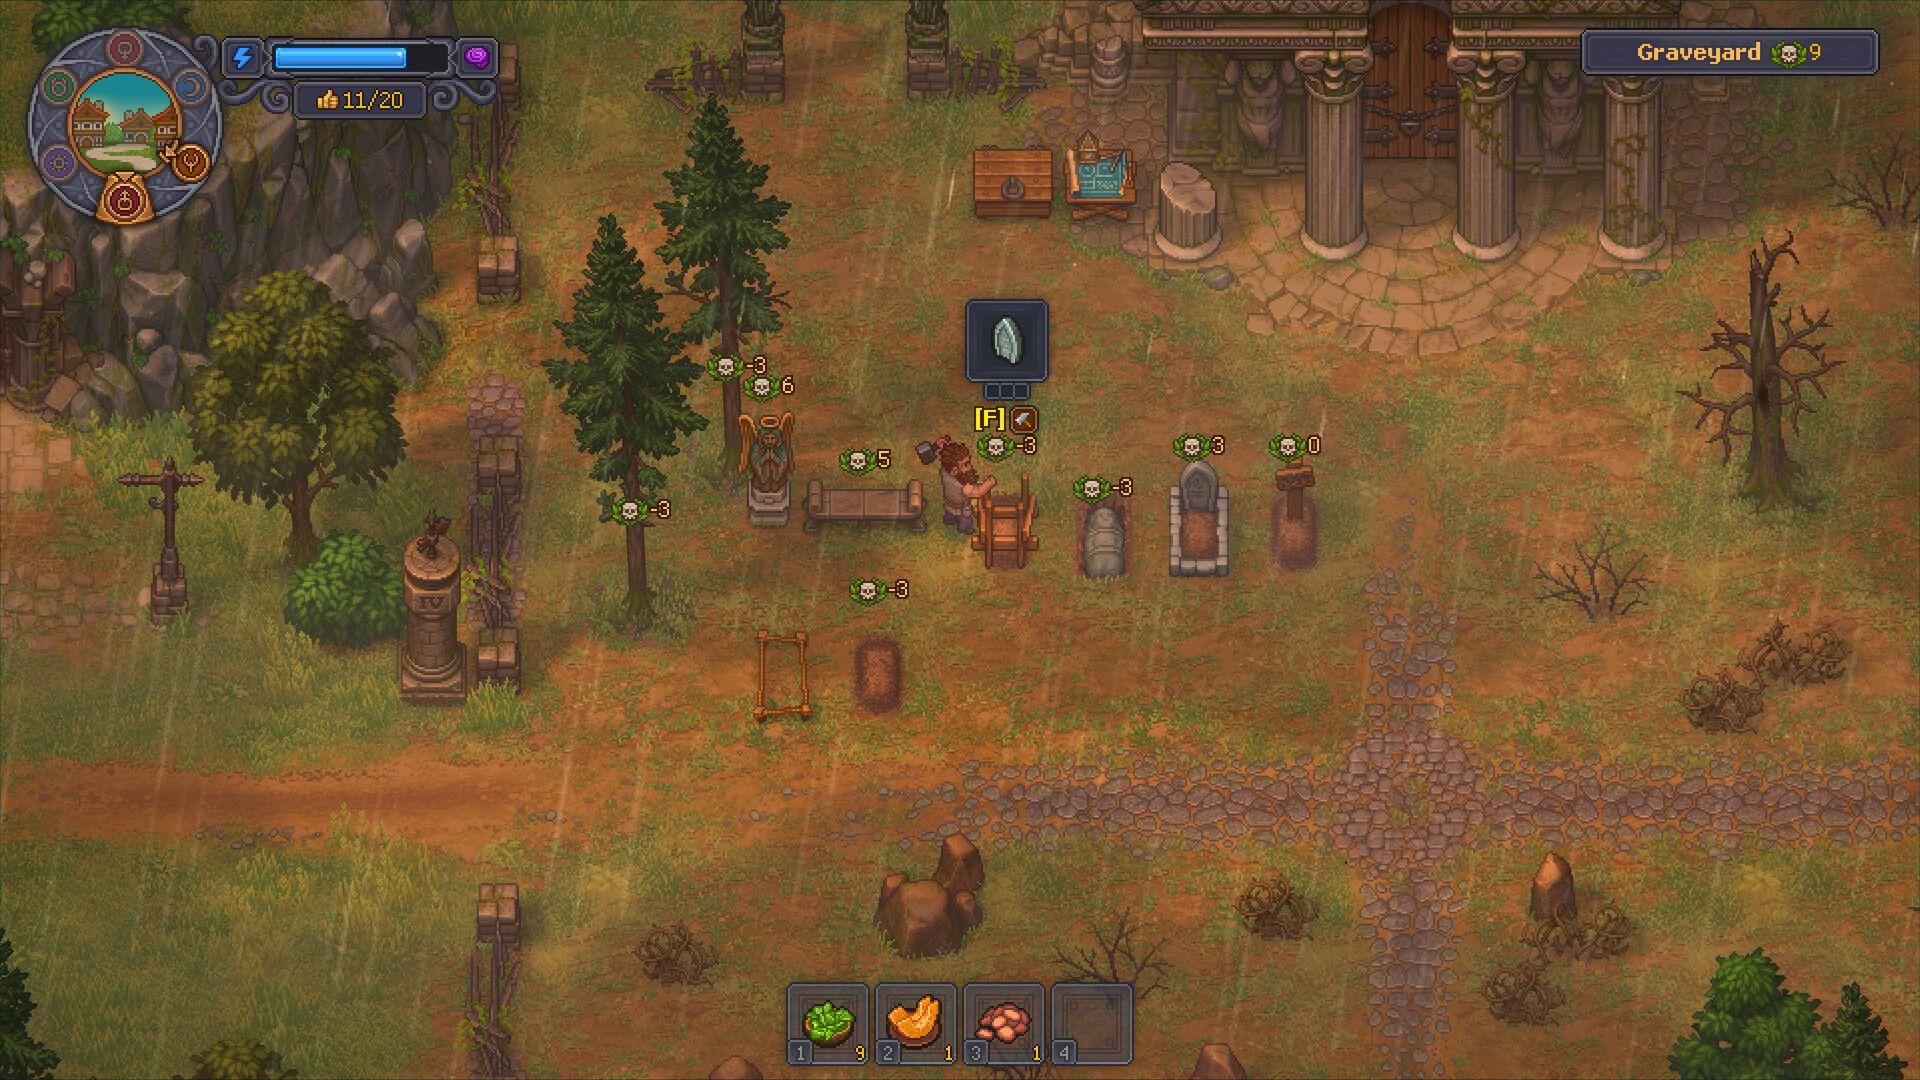


Running a graveyard solo gets old fast. Graveyard Keeper 2 lets you build out a full undead labor force that chops wood, hauls materials, farms crops, and runs crafting stations while you focus on the bigger picture. The catch is that zombies do absolutely nothing without the right setup. This guide covers every step: where your first zombies come from, how to resurrect and create more, and exactly how to get them producing without standing around staring at a workbench.
Where do your first zombies come from?
Your first two zombies arrive for free through the Dreamdust questline, which kicks off in your basement. The questline sends you to free a Plague Doctor who is trapped under rubble in a locked basement room at the back of your house. Once you clear the rubble, the Abandoned Tower unlocks above your base.
Inside the tower, head to the Study Table and research Water and Blood. Take both results to the Flask (Laboratory) Table and combine them to produce Dreamdust. Hand the Dreamdust to the Plague Doctor, and he walks you down to his laboratory and hands over two zombies at no cost.
After the first major battle, Gunter the Astrologer provides three more zombies once you complete several errands for him. Every zombie beyond those five must be one you resurrect yourself.
How to resurrect and create more zombies
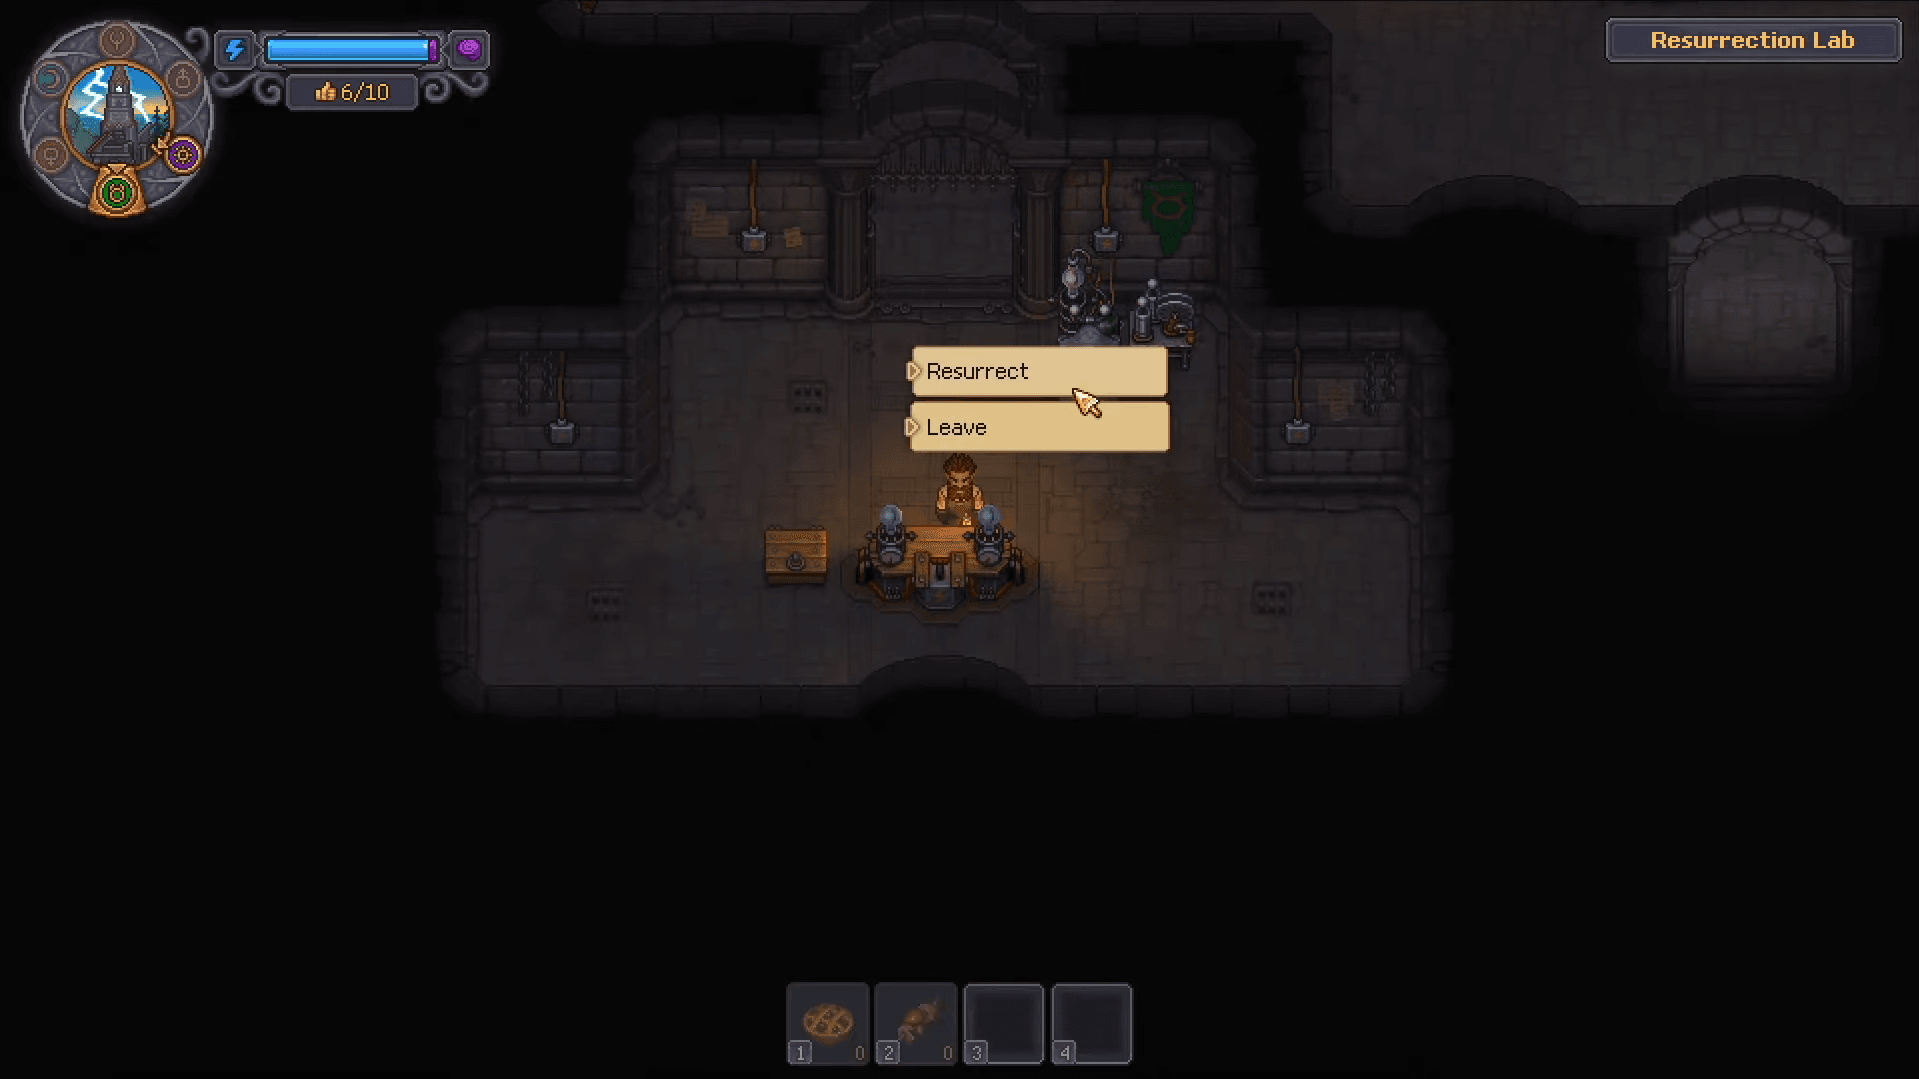
To go past the free bodies and resurrect and create your own zombies, unlock Reanimation under the Anatomy and Alchemy branch of the Tech Tree. Then break through the blockage on the western side of the Morgue to access the Resurrection Chamber. Build a Resurrection Table inside it, which costs 2 Oiled Planks, 4 Glass, and 4 Polished Stone.
Graveyard Keeper 2 Guide: How to Get Zombies & Put Them to Work
Preparing the corpse
Not every body qualifies. The corpse needs a complete set of vital organs: Brain, Heart, Guts, Skull, Bones, and Skin. A single missing organ stops the resurrection entirely. Old bodies require an Exhumation Certificate, purchased from Januarius at the Village tavern.
For the best results, target corpses with as many Red Skulls as possible. Red Skulls determine the maximum number of Perks your zombie can eventually unlock, which directly affects how useful it becomes long-term. White Skulls matter for your graveyard rating but have no bearing on zombie performance. You can harvest organs from other corpses and implant them at the Autopsy Table to raise the Red Skull count before resurrection.
Running the resurrection
Place the prepared corpse on the Resurrection Table, then add a Zombie Collar and Reanimation Liquid to the designated slots. The collar you choose sets the cap on how many Perks the zombie can eventually hold. Early Bronze Zombie Collars cap the total at five Red Skulls.
Resurrection only works during a storm, specifically when the snake icon appears on the in-game dial. Regular rain does not count. When the storm hits, operate the console at the center of the Resurrection Chamber and select Resurrect. If storms are not cooperating, craft a Prayer for Storms, though that requires Theology Mastery Level 8.
How to make zombies actually work
A zombie with no tool equipped will stand at a workbench indefinitely and produce nothing. Three requirements must all be met before any work starts: the right tool, enough Work Mastery from that tool, and the recipe's required materials queued at the station.
Graveyard Keeper 2 Guide: How to Get Zombies & Put Them to Work
Work Mastery explained
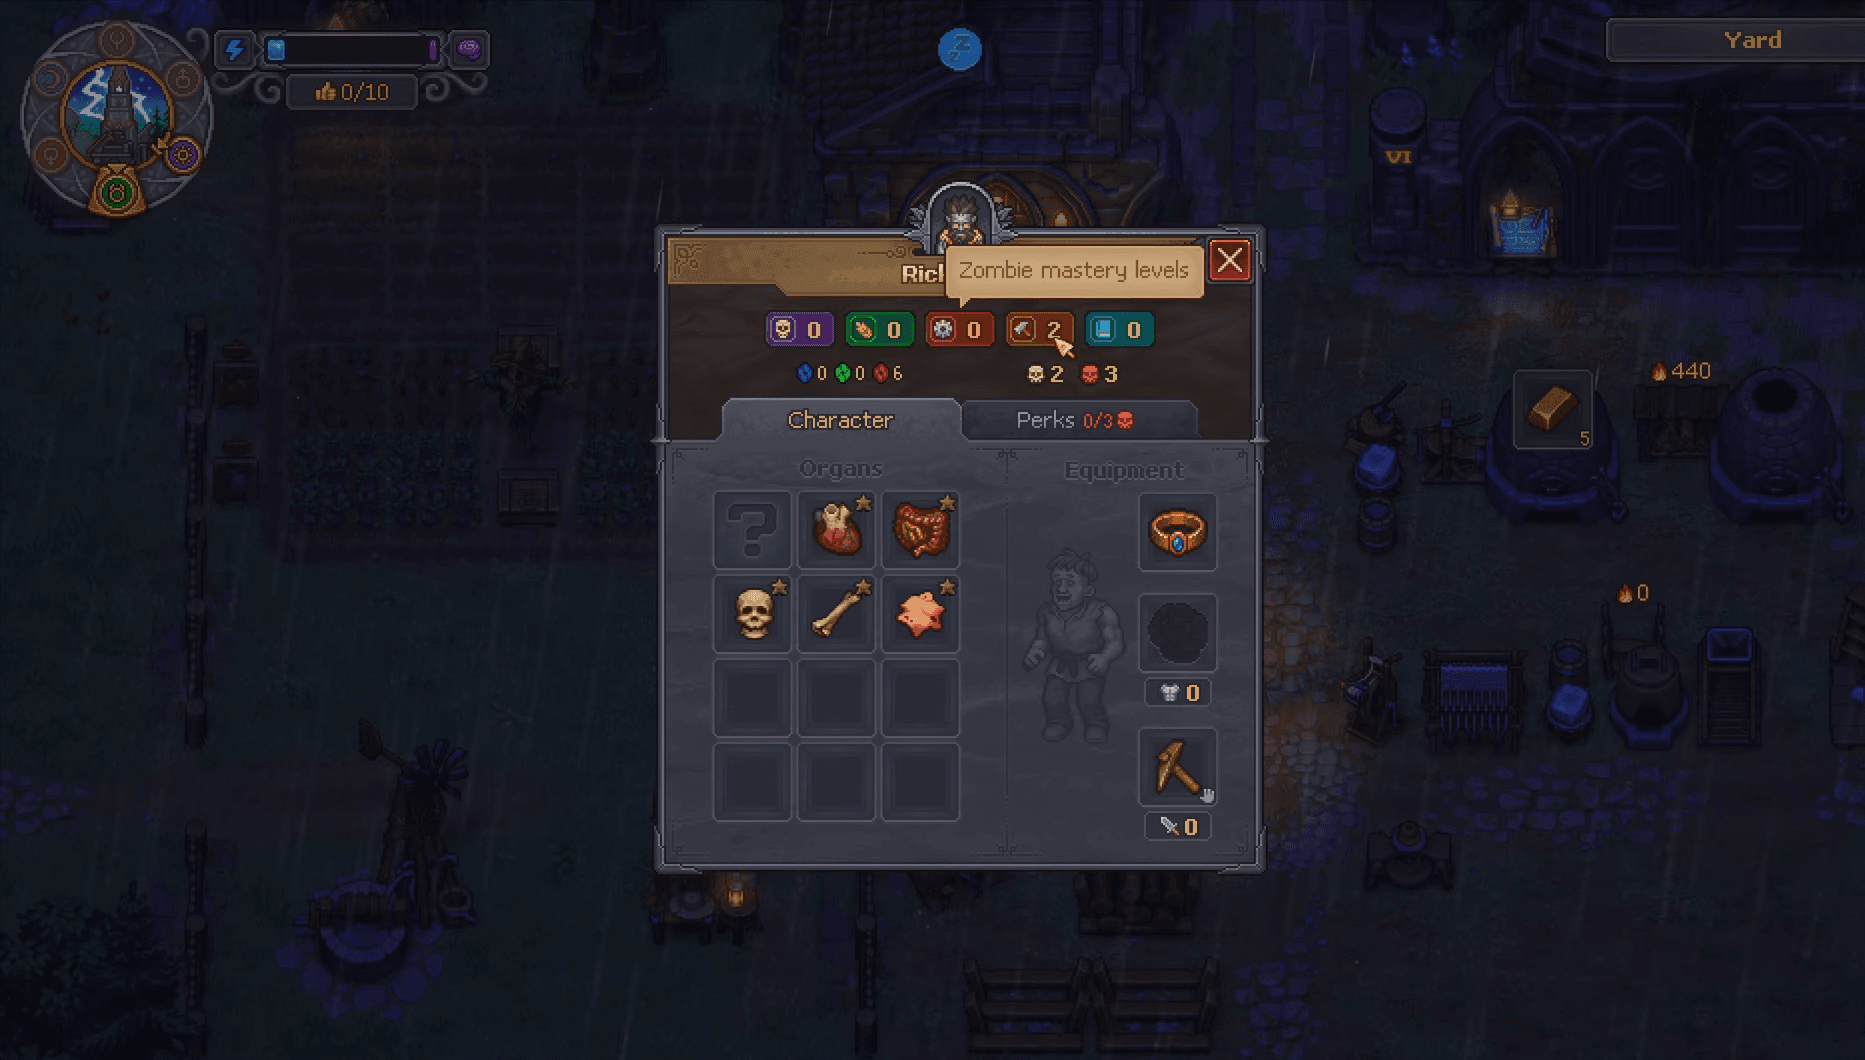
Every zombie starts at 0 Work Mastery. The only way to raise it is to equip a tool, and each tool type applies to a specific industry. A hammer cannot enable log sawing regardless of its stats; the tool must match the station. Each recipe lists a minimum mastery requirement. At a Woodworking Workbench 1, producing Wooden Planks requires mastery 2, which any bronze-tier tool covers.
Higher-tier tools grant more mastery, so upgrading to iron-tier opens up recipes that bronze cannot touch. Transporter zombies are the exception: they ignore tools and stats entirely, so courier duty is the right job for your weakest bodies.
Setting a zombie to work
First, build a Zombie Supplier Station through the yard construction menu. It costs 4 Wooden Planks and 4 Bronze Nails and serves as the hub for inspecting and re-equipping your workers.
- Approach a zombie and press F to inspect it. The equipment slot will be empty and all mastery values will show zero.
- Craft the appropriate tool at the Wooden Anvil. The listing shows each tool's mastery bonus so you can match it to the recipe you need covered.
- Place the tool in the zombie's equipment slot. Mastery updates immediately.
- Pick up the zombie, carry it to the target workstation, and set it down.
- Open the station and queue the items you want produced, exactly as you would for yourself.
Fast travel remains available while carrying a zombie, which saves a lot of walking. To switch a zombie between stations, pick it up, set it briefly on the ground, and then place it at the new bench.
Which stations accept zombie workers?
The list is long. Confirmed stations include the Kitchen Table, Millstone, Stonemason's Workbench, Woodworking Workbench, Sawhorse, Chopping Spot, Circular Saw, Anvil, Potter's Wheel, Sluice Box, Spinning Wheel, Weaving Loom, Sewing Table, Writing Desk, Printing Press, Jewelry Table, Formulation Bench, Gardener Stand, Vine Press, and Brewing Stand.
How to keep stations supplied automatically
A zombie at a workbench stops working the moment its input materials run out. The manual fix is to walk over and load the station yourself, but that defeats the purpose of having workers.
The better approach is to assign a second zombie to a Zombie Supplier Station with a hi-vis jacket. This porter zombie collects raw materials from nearby chests, delivers them to the workstation, and moves finished goods back to storage automatically.
Two limits apply here. A porter only operates within its assigned work zone, and the chests it can reach are confined to that same zone. The yard, garden, vineyard, brewery, science lab, and kitchen each require their own dedicated porter. A kitchen courier will not cross into the garden for crops. Keep chests from filling up completely and make sure the courier's path is clear, because a blocked route or a full chest stops the entire chain.
Farming with zombies: Gardener Stand and Tablets
Farm zombies run on the farming stat, so equip them with a Shovel. Unlock the Gardener Stand through the Tech Tree, then build it at the garden blueprint table for 4 Wooden Planks, 2 Bronze Details, and 6 Bronze Nails. Place a zombie on it and it puts on a straw hat, but it still will not plant anything until you configure the rows.
Use the garden blueprint table's second tab to craft Tablets. Each Tablet ties one garden row to a specific crop, such as carrots in one row and wheat in another. The farmer only tends the crop assigned by its Tablet. Tablets cost nothing and can be destroyed and rebuilt for a different crop, but harvest the existing row before swapping or the zombie will ignore it entirely.
The Vineyard to the west functions almost identically once the bridge is repaired. One zombie generally handles the vines, while the Vineyard Basement needs additional workers for pressing wine and brewing beer, plus a Porter Station to move grapes and hops inside.
Perks, organs, and the zombie allowance limit
A working zombie earns Red, Green, or Blue Gems depending on its assignment. Its first Perk unlocks at 50 gems. Some Perks raise a stat by +1, which can be the difference between a blacksmith zombie stuck at bronze items and one that handles iron. The woodworking Perk line can stack up to a +4 bonus for wood-related jobs.
The total number of Perks a zombie can hold depends on its Red Skull count and the collar it wears. To raise Red Skulls, remove high-skull organs from corpses you would otherwise bury, store them, and later implant them into your worker bodies at the Autopsy Table. The same table handles organ upgrades and collar swaps. Access it by inspecting the zombie and selecting the Character tab.
Having too many zombies at once applies a debuff introduced by the Astrologer. Raise your weekly zombie allowance at the PR Machine next to the Astrologer's house in the Port Area.
Why is my zombie not doing anything?
Before assuming the station is broken, run through this checklist:
- No tool equipped, or the tool belongs to a different industry than the station.
- The recipe requires higher Work Mastery than the current tool provides.
- The workstation has no input materials because no porter is assigned.
- The output chest is full or missing, leaving nowhere to put finished goods.
- No items are queued at the station at all.
Ninety percent of idle zombie problems come down to the wrong tool or an empty supply chain. Equip a stronger tool or assign a porter, and the station will start moving.
For more tips on building out your operation, browse the full Graveyard Keeper 2 strategy guides collection on GAMES.GG. If you enjoy this kind of management-heavy adventure games experience, there is plenty more worth exploring in the genre.