Search games, articles, guides...CtrlK
Sign InGet Started
Find all 3 Skulls in The Maw mission: Stowed Reload, Boom, and Thunderstorm with exact step-by-step locations.

Written by Larc
Content Writer
See more GAMES.GG guides on Google
Add us as a preferred source and our guides show up first in your results.
How to Play Halo: Campaign Evolved in 3rd Person
Unlock the Perspective Skull and switch Halo: Campaign Evolved to 3rd person view with this quick step-by-step guide.
Halo: Campaign Evolved Machinima Mode Guide
Learn how to activate Machinima Mode in Halo: Campaign Evolved on controller and keyboard, fix the Drop Weapon conflict, and use freecam.
Halo: Campaign Evolved How to Unlock the This Is My Ship Now Achievement
Unlock the This Is My Ship Now achievement in Halo: Campaign Evolved by eliminating Keyes and pushing Marines to the ship's bow.
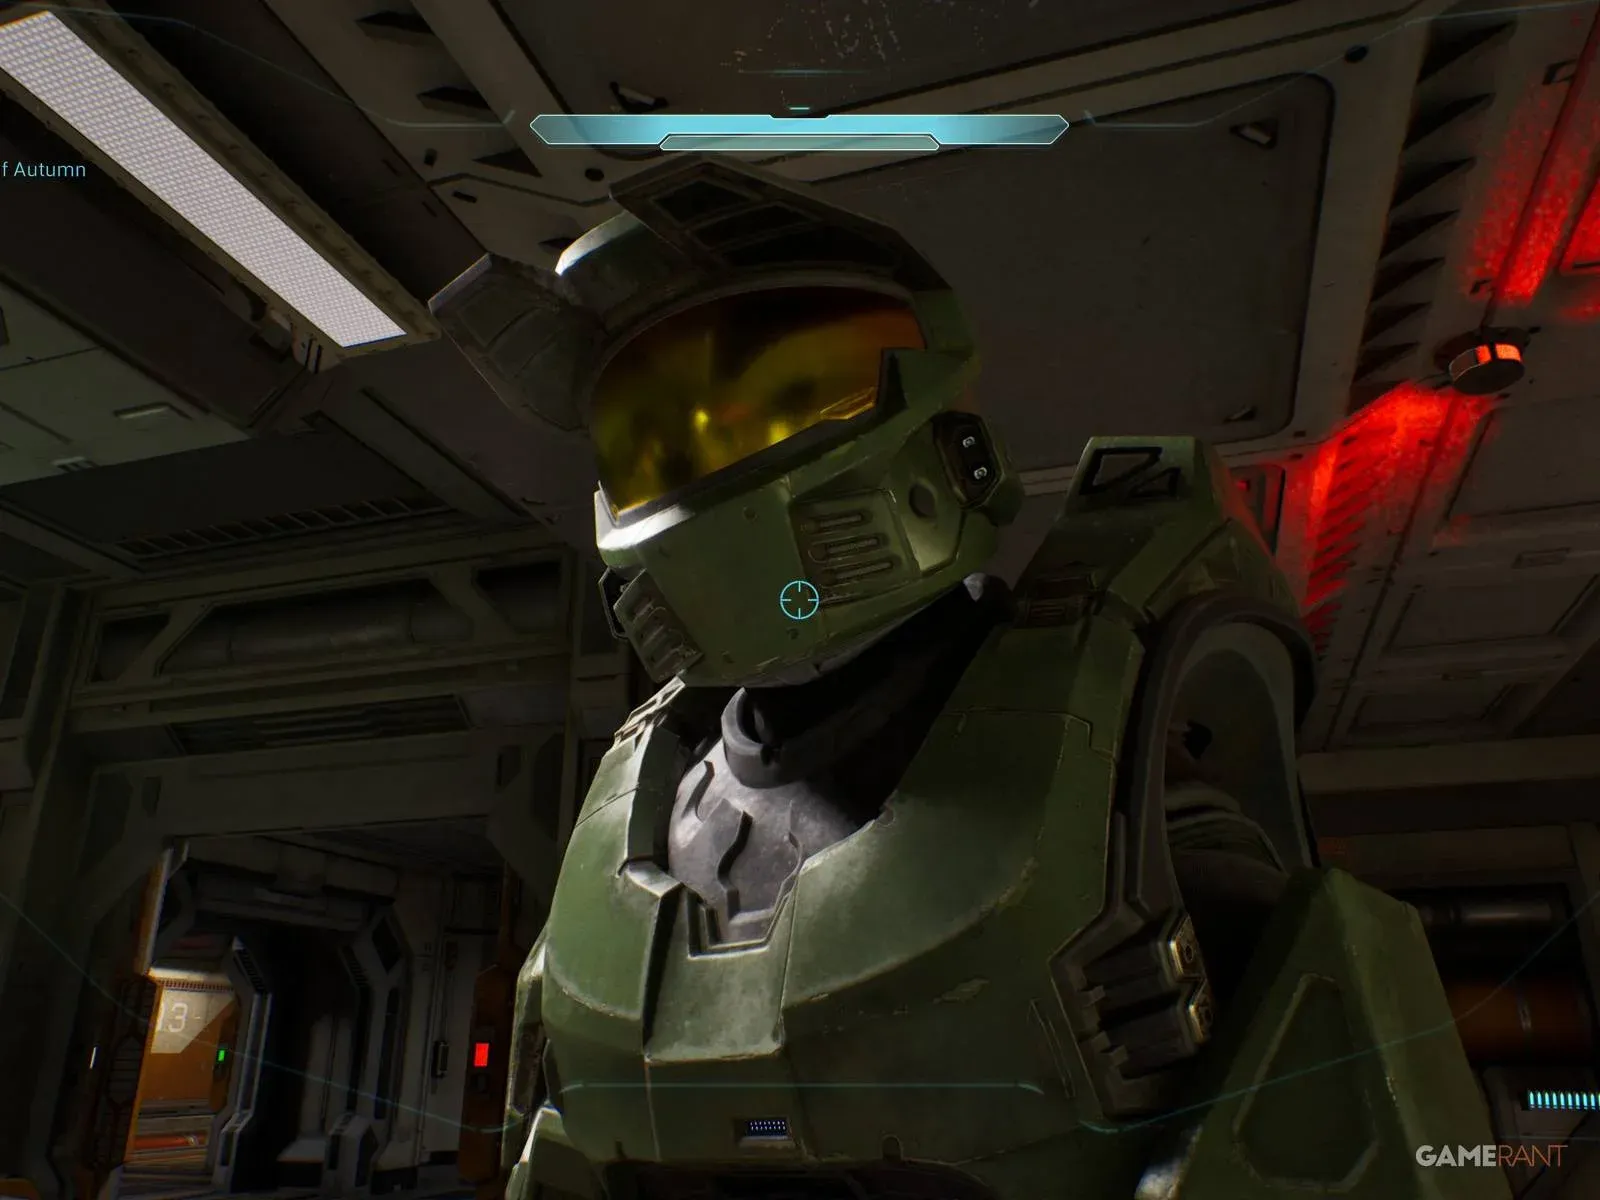
The Maw is Halo: Campaign Evolved's final mission, and it sends Master Chief back to the Pillar of Autumn for a desperate escape through Flood and Covenant forces before the ship blows. Good news for Skull hunters: this is probably the easiest mission in the game for collectibles. All three Skulls sit directly along the main path, and none of them require any serious detours.
The Maw has three Skulls to collect: Stowed Reload, Boom, and Thunderstorm. All three are accessible on any difficulty, and all three fall within the natural flow of the mission rather than in hidden side rooms or awkward geometry. If you've been working through the full Skull and Terminal collection across every mission, grabbing these three will push you over the finish line for the Headhunter and Collector's Addition trophies, plus the No Rush trophy.
Stowed Reload Skull location
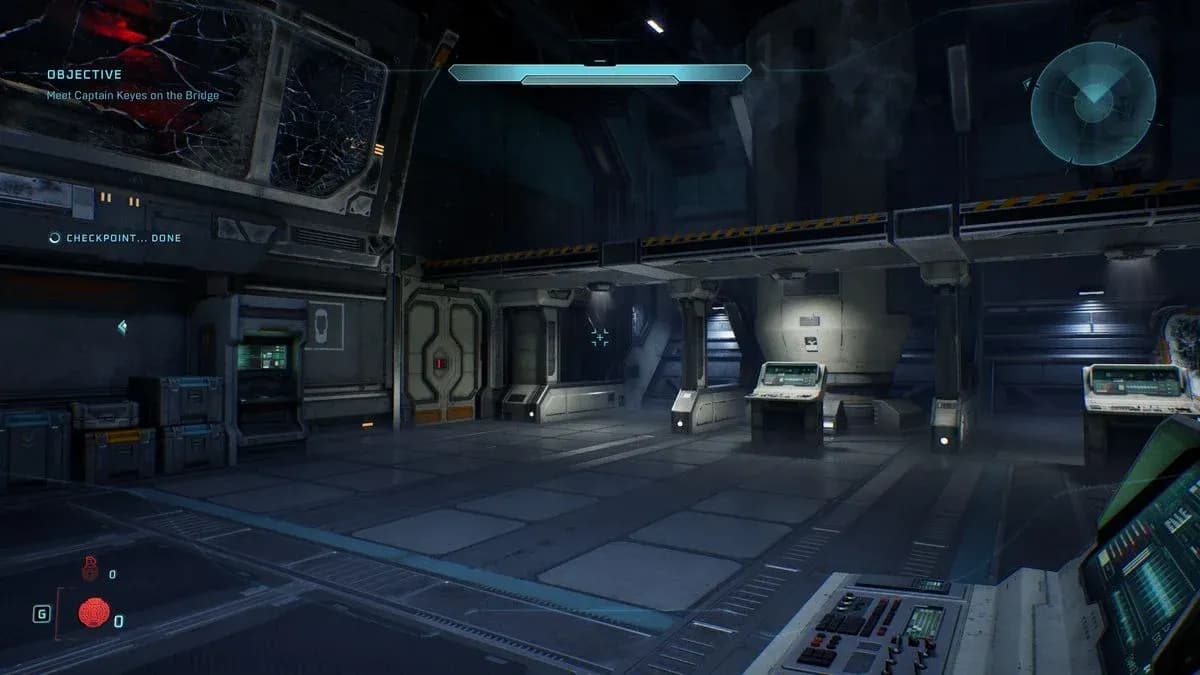
The first Skull appears as soon as you reach the Cryo Room. Head to the far left corner of the room, where a cluster of flames lights up the area. The Skull sits on a pedestal right there in that firelit corner. It's genuinely hard to miss given how well the flames illuminate it against the surrounding darkness.
The Boom Skull takes a little more patience. Once you climb to the top level of the Engine Room, you'll spot a console that's part of the mission's main objectives. Instead of activating it immediately, move to the left side of that console and drop down onto the small platform below. Crouch as soon as you land. The Skull is tucked in the shadows on that ledge, and if you stand up you'll slide off the edge entirely and fall to the floor below.
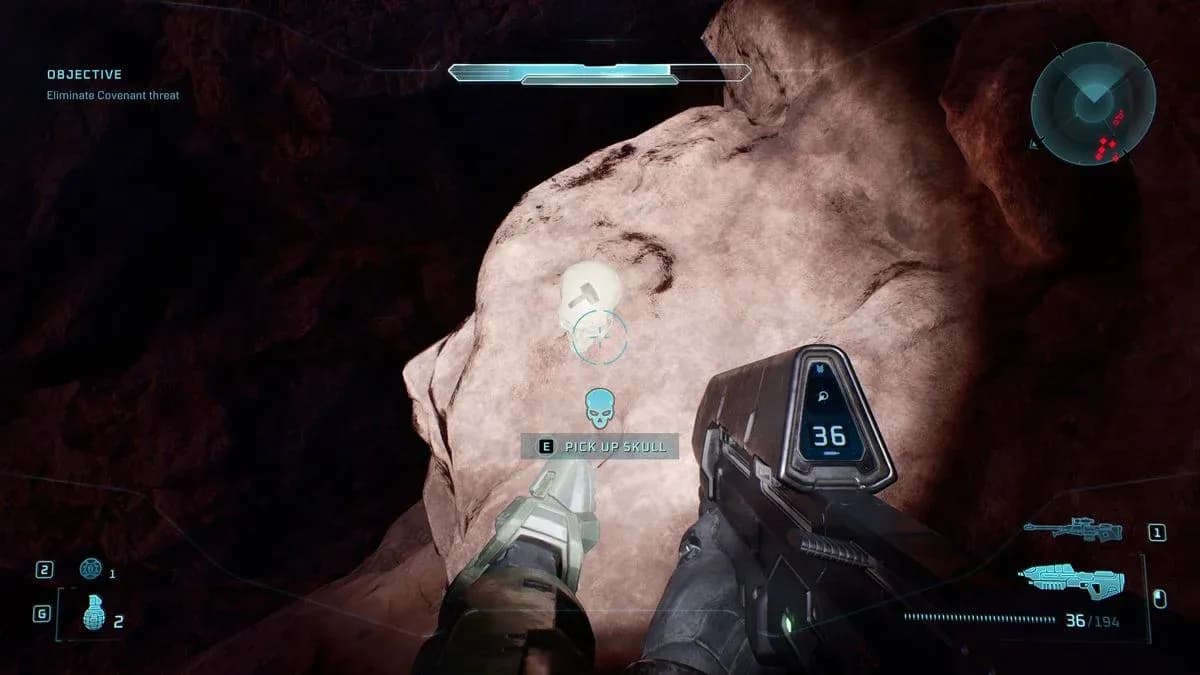
The final Skull is found during the timed Warthog escape sequence near the end of the mission. As you drive through the tunnel, count the hallways branching off to your right. When you reach the third cut-through, turn into it and drive about halfway down. Stop, get out of the Warthog, and look to your right. The Thunderstorm Skull is sitting right there.
| Skull | Rally Point | Difficulty | Location | Effect |
|---|---|---|---|---|
| Stowed Reload | Bravo | Any | Far left corner of the Cryo Room, lit by nearby flames | Holstered weapons continue reloading |
| Boom | Bravo | Any | Top level of the Engine Room, on a hidden ledge left of the objective console. Crouch required. | Explosion radius doubled |
| Thunderstorm | Charlie | Any | Third right cut-through in the Warthog escape tunnel, halfway along the shortcut | Enemies spawn at higher ranks |
The effects here range from a genuine tactical advantage to something that will get you killed if you're not careful.
Stowed Reload is the most straightforwardly useful of the three. Normally, switching weapons cancels any reload in progress. With this Skull active, your holstered weapon keeps reloading in the background, so you can swap to your secondary mid-fight and come back to a fully loaded primary. It's a small quality-of-life change that adds up across longer engagements.
Boom doubles the explosion radius on everything: your grenades, your rocket launcher, your fuel rod shots, and every enemy grenade and explosive too. The chaos potential is high, and it's a lot of fun in open areas. In tight corridors, though, you will absolutely blow yourself up. This Skull is also one of the requirements for unlocking LASO difficulty.
Thunderstorm Skull in tunnel
Thunderstorm pushes most enemies up to higher rank variants, which makes combat noticeably harder. Grunts become more aggressive, Elites become more dangerous, and encounters that felt manageable on Normal start to feel more like Heroic. Like Boom, Thunderstorm is required for LASO, and if you've already cleared the Bonus Missions and collected every other Skull up to this point, this is almost certainly the last piece you need to unlock that difficulty tier.
Stowed Reload is worth leaving on permanently. There's no real downside, and the passive reload benefit applies regardless of what you're doing. Thunderstorm is a harder sell for a casual playthrough since it makes every fight tougher, but it's worth activating if you're chasing LASO or just want a harder experience without bumping the difficulty slider. Boom is the wild card: genuinely fun in the right hands, genuinely dangerous in the wrong ones.
For a full breakdown of every Skull in the game and what each one does, the complete Skull effects reference covers all 42 entries with their exact modifiers.
With all three Maw Skulls collected, you've finished the hunt. Head over to the Halo: Campaign Evolved guides hub for trophy walkthroughs, ending breakdowns, and everything else you need to fully complete the game.