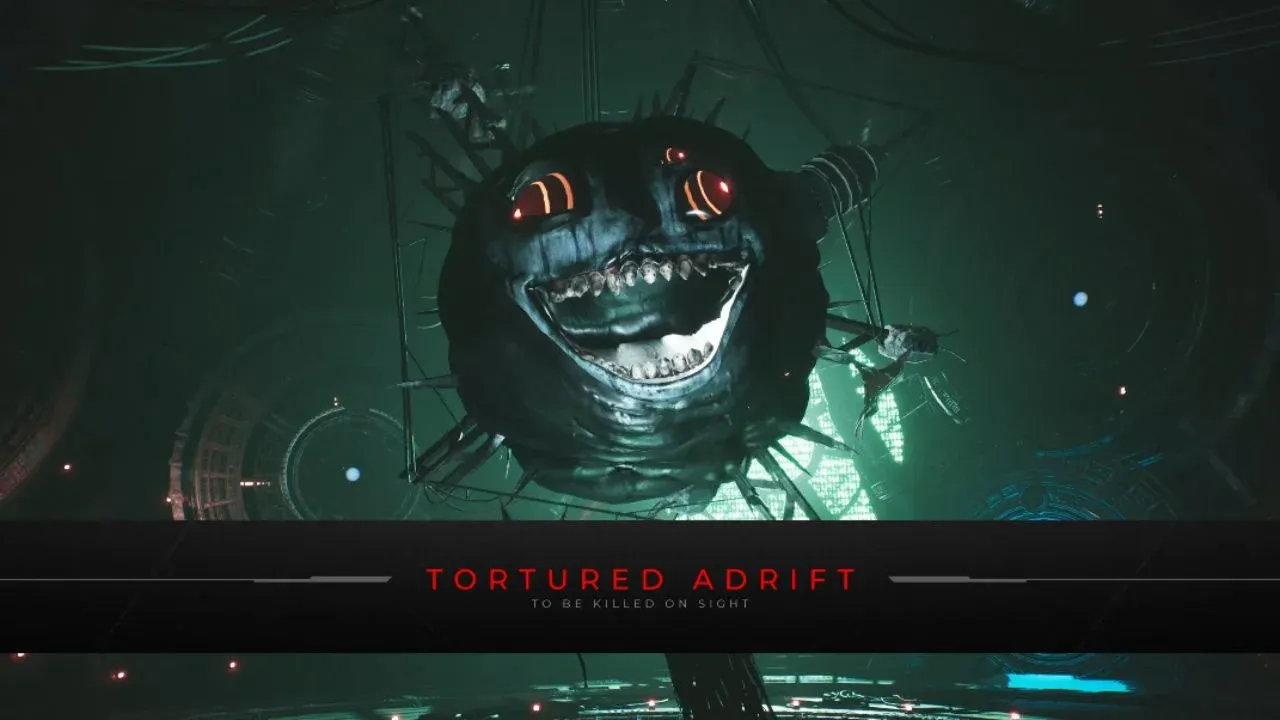


Tortured Adrift is the major boss capping Chapter 2 of Luna Abyss, and it earns that title. Every mechanic you've seen in the game up to this point gets thrown at you simultaneously: orb waves, shield mechanics, spawning enemies, and an arena that starts feeling very small very fast. The good news is that this fight is entirely readable once you stop trying to rush it.
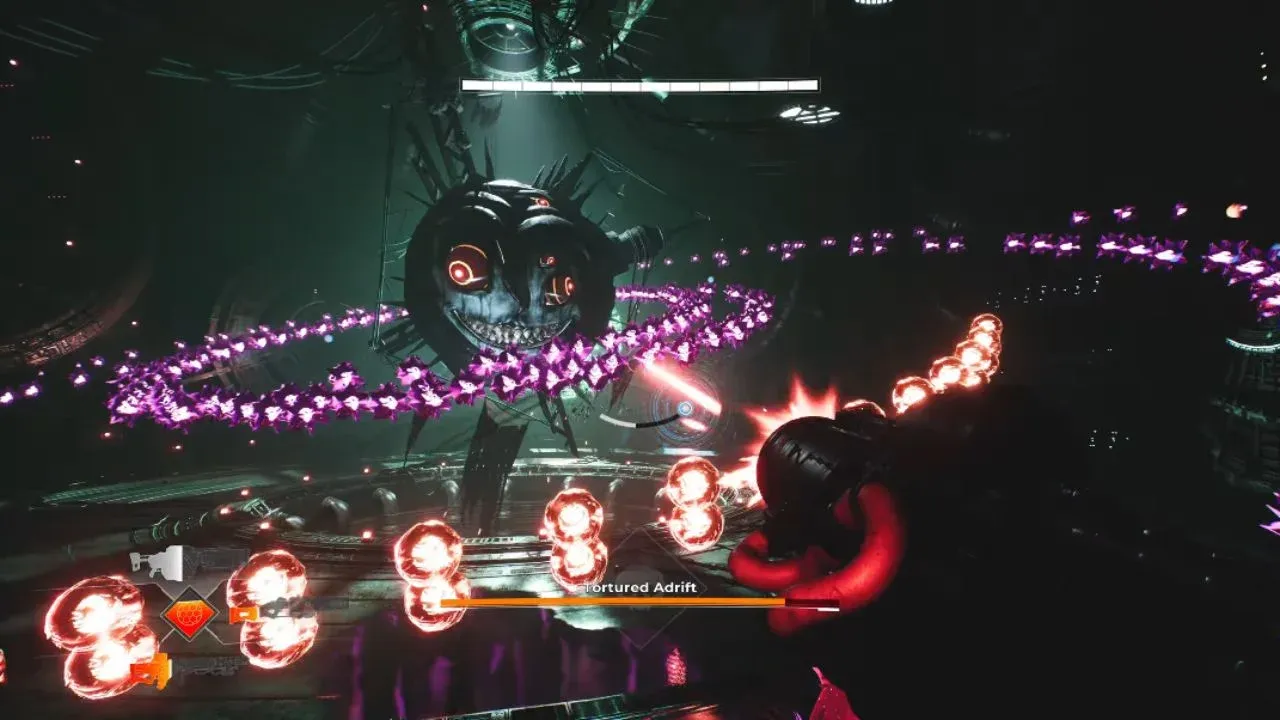
Tortured Adrift arena layout
What makes Tortured Adrift different from earlier bosses?
By the time you reach Tortured Adrift, you've already cleared the Celebrant of Mani, Absalom, and the Blessed Celebrant. Each of those fights taught you one thing in relative isolation: orb dodging, pressure management, shield breaking. Tortured Adrift stacks all three at once.
The boss fires waves of orbs while also maintaining shields that need to be destroyed before its weak points are exposed. On top of that, smaller enemies spawn mid-fight, which changes the resource math entirely. Those spawned enemies aren't just obstacles; they're potential healing sources if you play them correctly.
This is a bullet-hell fight at its most demanding within the game's first half. Patience is the actual skill being tested here.
What weapons should you use against Tortured Adrift?
Two weapons are worth keeping in your rotation for this fight:
The Scout Rifle is your default. It lets you maintain distance while still putting damage on the boss between pattern cycles, and distance is what keeps you alive here. The Shieldbreaker is for those brief moments when you get a clean close-range opening after a pattern ends. Hit it, then immediately create space before the next attack sequence starts.
Heavy weapons are a trap in this fight. Spending too long committed to a damage animation gets you caught in the next orb wave. Short bursts beat sustained fire every time.
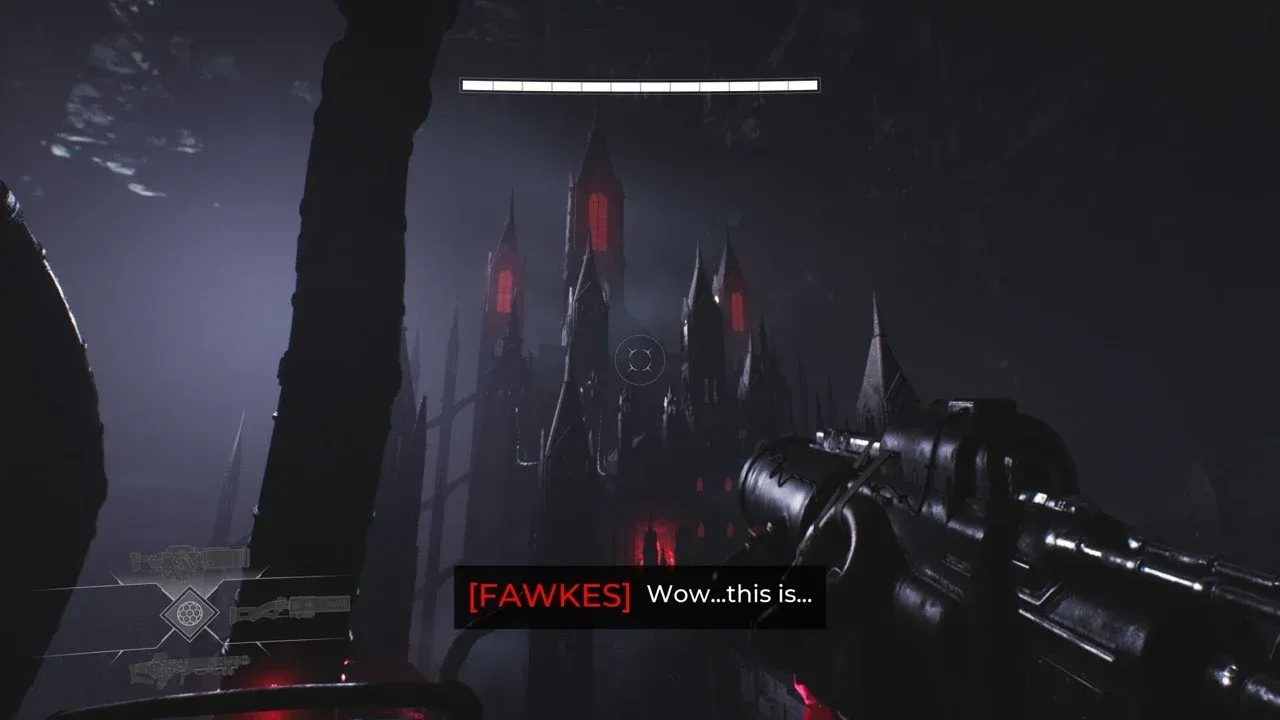
Scout Rifle loadout for boss fights
How to survive the orb patterns
The instinct when orbs fill the screen is to back straight up toward the arena wall. That's the wrong call. The wall cuts off your escape routes and forces you into corners where overlapping projectiles become unavoidable.
Instead, commit to a circular movement route around the arena's outer ring. Moving sideways relative to the orb patterns gives you more time to read the gaps. Focus on the spaces between projectiles rather than tracking each individual orb. That mental shift makes the patterns feel slower and gives you cleaner lines to dodge through.
Stay off the center of the arena. When projectiles from multiple attack sequences overlap, the center becomes the most dangerous spot on the map. Your circular route keeps you away from that overlap zone naturally.
How to handle the shield mechanics and weak points
Tortured Adrift's shields need to come down before you can deal meaningful damage. The Shieldbreaker is built for exactly this, but timing matters more than the weapon itself.
Only commit to shield-breaking when you already know your next dodge path. Destroying the shield and then standing there to capitalize on the exposed weak point is how players lose the most health in this fight. Break the shield, fire a controlled burst at the weak point, then move. Repeat that cycle rather than trying to maximize damage in a single window.
Melee attacks are also viable when the weak point is exposed at close range. Just treat every melee engagement as a quick strike followed by immediate repositioning, not a sustained combo.
How should you manage healing during the fight?
This is where most players make their biggest mistake. When smaller enemies spawn, the temptation is to clear them immediately with whatever weapon is in hand. Don't.
Weaken one of the spawned enemies and keep it alive as a healing reserve. If your health drops to a dangerous level, finish it off for the recovery. Destroying every enemy with heavy weapons the moment they appear removes your safety net for the rest of the fight.
The flip side: don't tunnel-vision on healing at the wrong moment. Committing to a heal while Tortured Adrift is mid-pattern still leaves you exposed. Wait for a lull in the attack cycle before cashing in that weakened enemy.
Common mistakes that extend the fight
After running through this encounter multiple times, the same errors show up repeatedly:
- Chasing damage when the pattern hasn't finished. Tortured Adrift punishes greedy play harder than most bosses in the game.
- Drifting toward the arena edge during intense orb sequences. The edge feels safe but cuts off your movement options.
- Firing before the next dodge path is clear. Every shot you take should happen only after you've already identified where you're moving next.
- Clearing all spawned enemies immediately with heavy weapons, which eliminates your healing options.
- Standing still to aim. Short bursts while moving beat stationary precision every time in this fight.
The fight gets dramatically easier once you stop thinking about ending it quickly. Tortured Adrift has a fixed pattern. Work through it methodically and the health bar takes care of itself.
How does Tortured Adrift compare to other Luna Abyss bosses?
For context, here's where Tortured Adrift sits in the full boss progression:
Tortured Adrift is the first fight that stops holding your hand. Every boss after it assumes you've internalized the movement discipline this fight demands. If you're struggling here, the patterns and spacing issues will compound in later chapters.
Luna Abyss sits firmly in the shooter games genre with bullet-hell DNA running through every boss encounter, and Tortured Adrift is the point where that identity fully crystallizes.
For more strategies on every encounter in the game, the Luna Abyss strategy guides collection covers the full roster from Celebrant of Mani through Hands of the Abyss.