Search games, articles, guides...CtrlK
Sign InGet Started
Master The Hood in Marvel Rivals with his full ability breakdown, Demonic Energy tips, best teammates, counters, and team-up combos.

Written by Larc
Content Writer
See more GAMES.GG guides on Google
Add us as a preferred source and our guides show up first in your results.
Marvel Rivals Season 10.5 Buffs and Nerfs: Every Hero Changes
Every buff and nerf hitting Marvel Rivals Season 10.5, from Iron Man's new auto-tracking missiles to Gorr and Scarlet Witch nerfs.

Marvel Rivals Season 10 Meta: Best Heroes to Pick
Wolverine, Emma Frost, Spider-Man, and more: the 10 best Marvel Rivals Season 10 heroes after the latest balance changes.

Marvel Rivals Ultimate Gorr Guide: Best Tips & Combos
Master Gorr the God Butcher in Marvel Rivals with ability breakdowns, combo setups, and summon management tips.
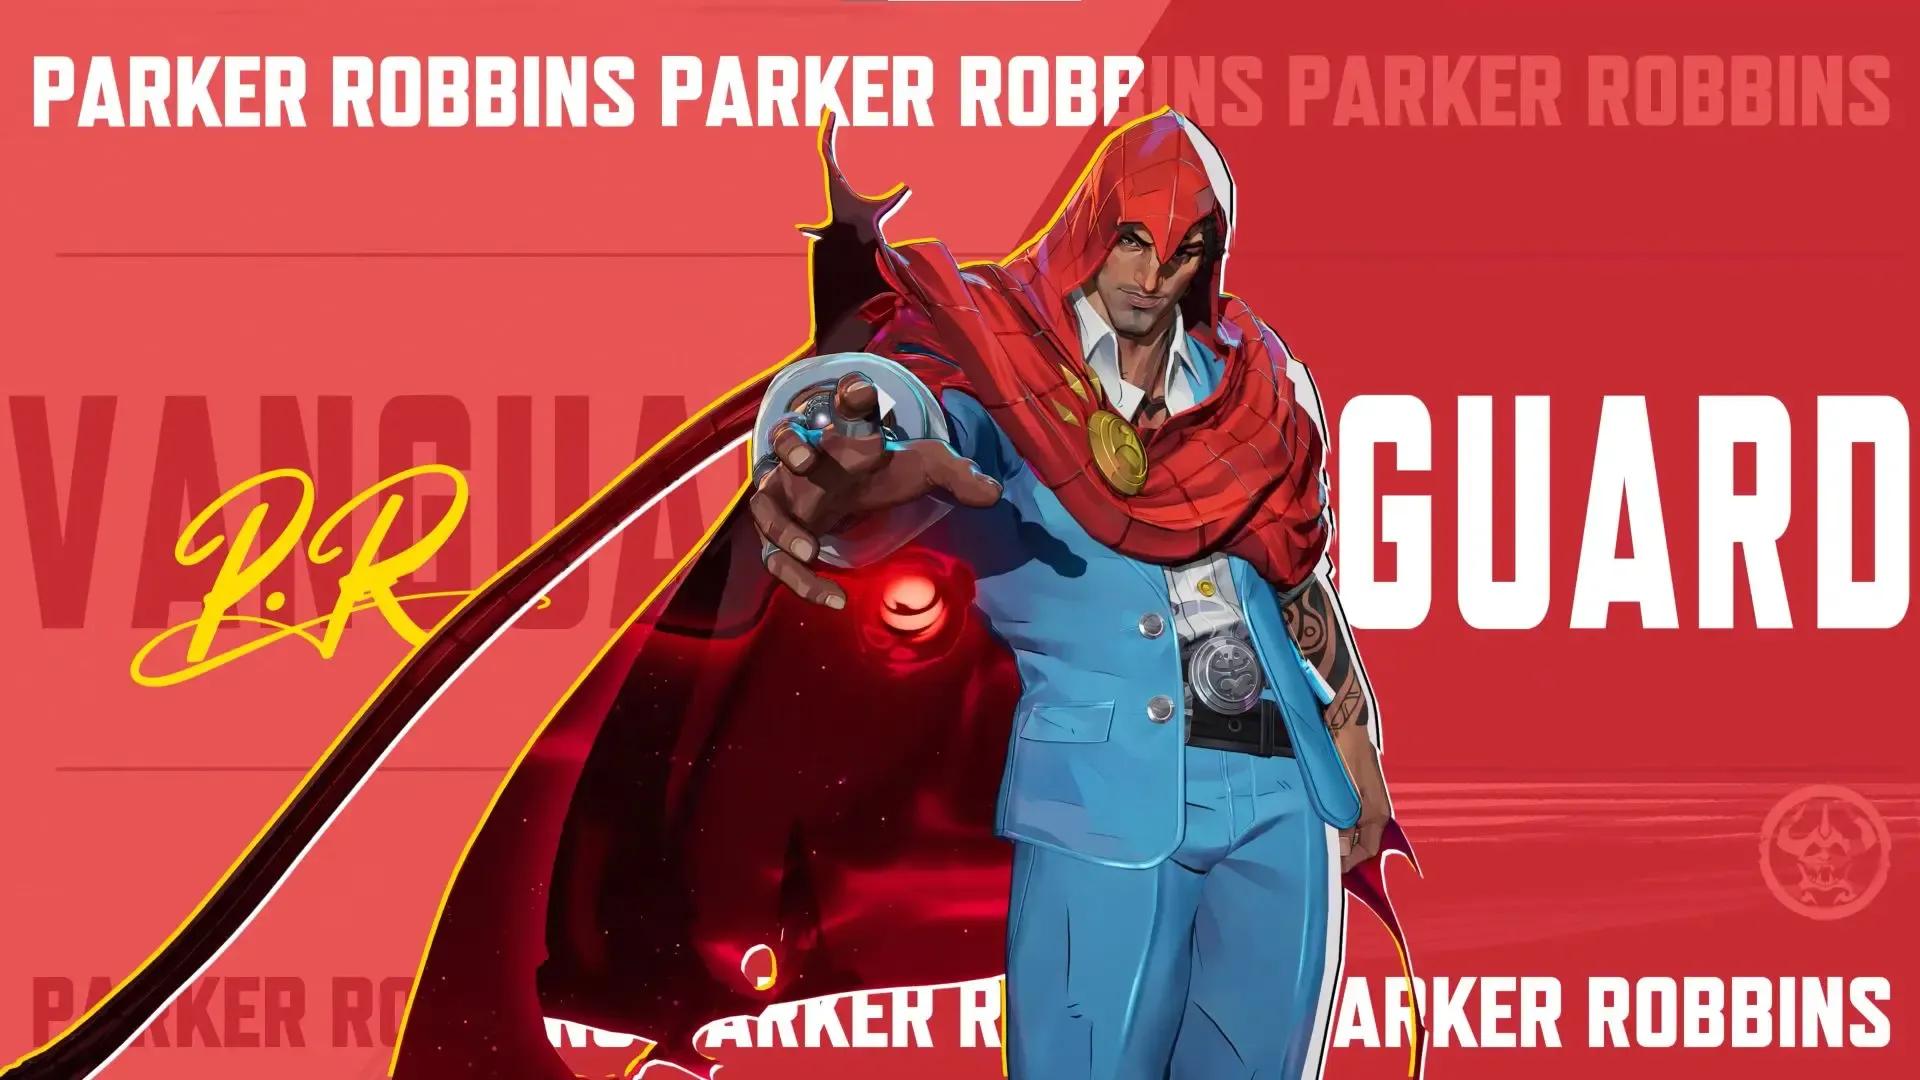
Dual pistols, a cloak barrier, free-flight, and a full demon transformation that fires six piercing rounds through barriers and enemies alike. The core loop is straightforward once you understand it, but getting real value out of The Hood requires knowing exactly when to commit to his Half-Demon State and when to hang back. This guide covers every ability, the stat numbers behind them, the best team compositions, and the matchups you need to watch out for.
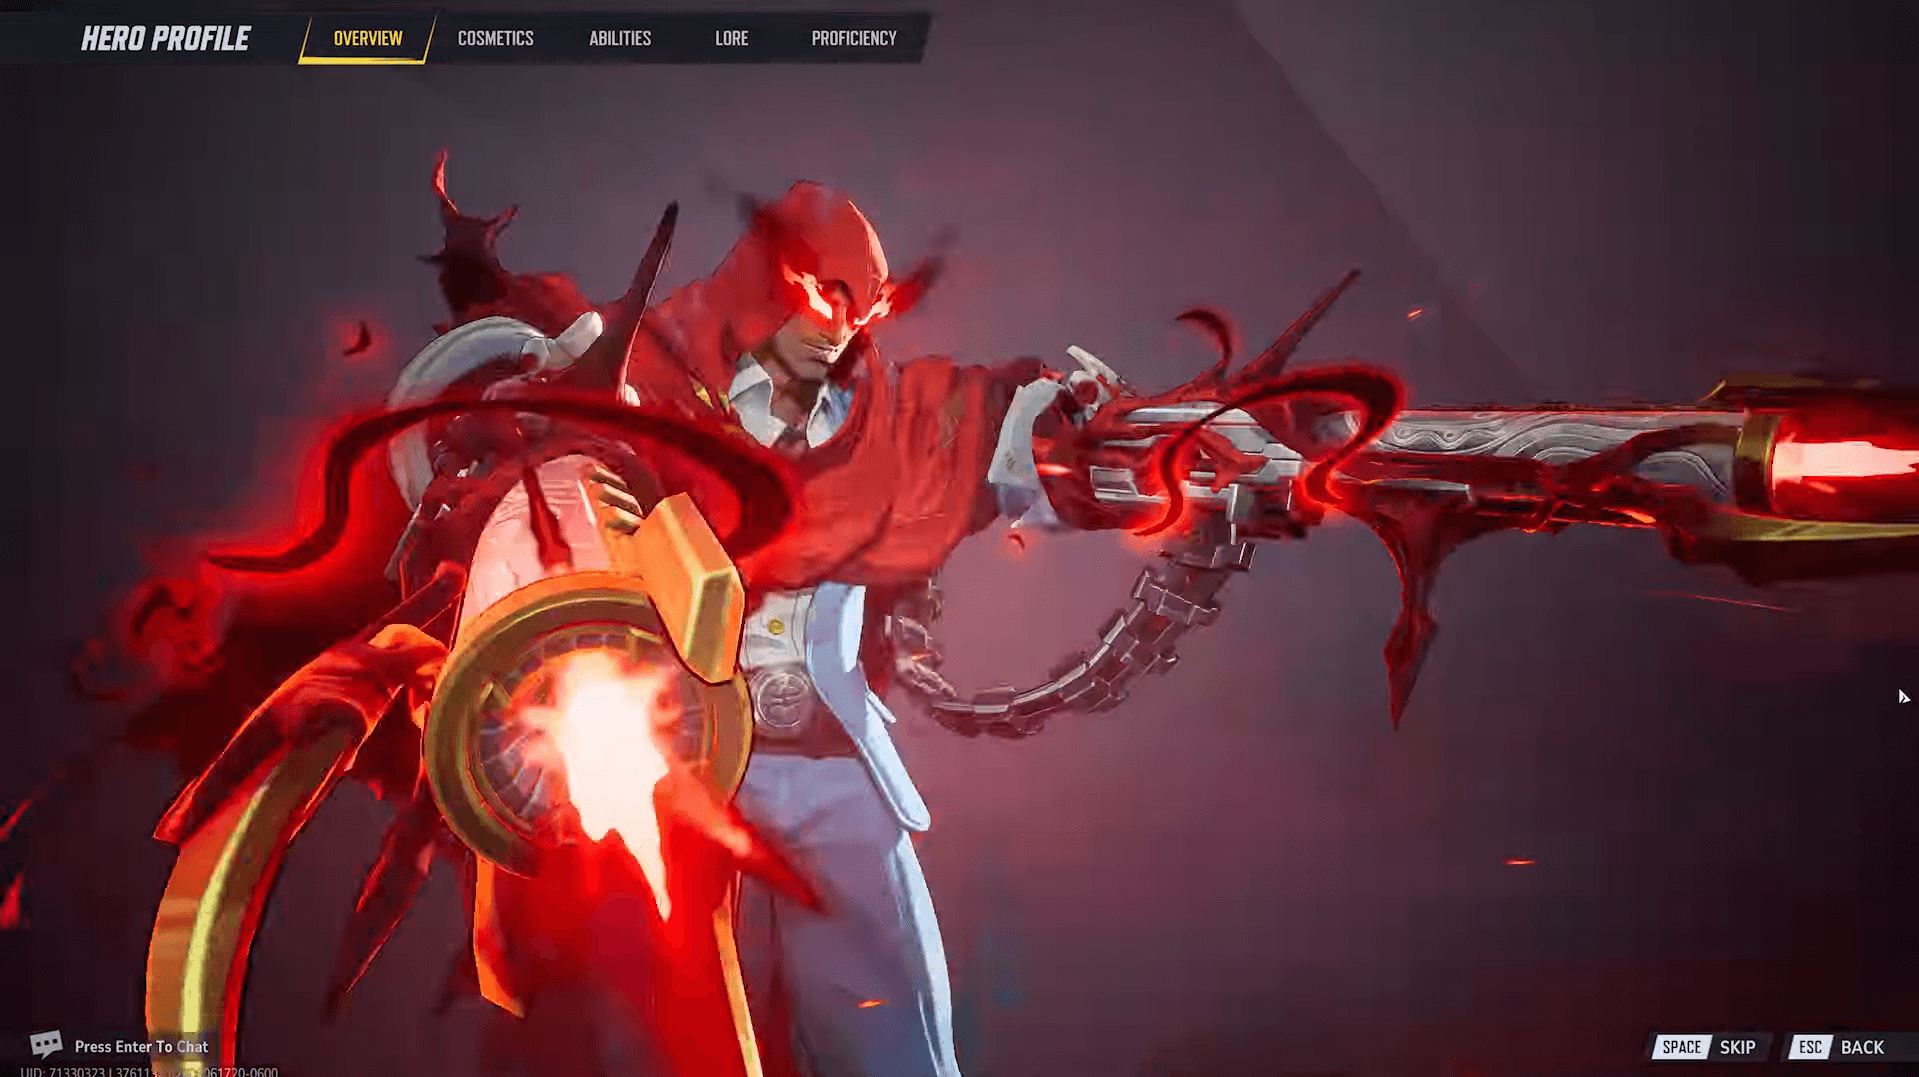
The Hood (Parker Robbins) is a ranged Vanguard with 550 health who deals hitscan damage at medium range. His entire kit revolves around one resource: Demonic Energy. Build it by shooting enemies, blocking damage with Mantle of Oblivion, or using Void Walk. Once the meter hits 100, he automatically enters Half-Demon State, swapping his pistols for rapid-fire demonic rifles with infinite ammo and lifesteal on every hit.
He is not a traditional shield tank who plants himself on the objective. He needs open firing lanes, nearby cover, and a clear target to generate energy efficiently. His large character model makes him easy to hit at range, so playing him like a poke tank will get you killed fast.
The Hood Marvel Rivals Guide: Abilities, Tips & Best Team Comps
| Ability | Input | Key Stats |
|---|---|---|
| Accursed Pistols | Left-click | 26 damage per round, 0.2s interval; drops to 21 damage at 0.15s interval above 50% energy; falloff starts at 8m |
| Leaded Transformation | Left-click (Half-Demon) | 4 damage per round at 0.05s interval; 10% lifesteal; spread radius reaches 0.5m after 10 consecutive shots at 10m |
| Mantle of Oblivion | Right-click | 10s cooldown; 1s duration; 2m sphere (expands to 3m above 50% energy); absorbs unlimited damage |
| Abyssal Veil | E | 10s cooldown; 6s duration; 8m wide, 3.5m tall; 35% damage reduction, 20% healing reduction on enemy projectiles; 1s blind on enemies who walk through |
| Void Walk | Shift | 15s cooldown; 1.2s duration; grants 20 Demonic Energy instantly; 40 AoE damage in a 4.5m radius on exit |
| Ruinous Pact | Passive | 2 energy per pistol hit; 3.75% energy per damage point blocked; 20 energy from Void Walk |
| Demon of the End | Q | 3400 energy cost; 12s duration; 1000 HP during ult; first 5 shots deal 90 + 10% of target's max HP; final shot deals 140 + 15% of target's max HP; 50 Bonus Health per hit in an 8m radius, max 200 |
| Chaos Collision | C (Team-Up) | 16s cooldown; 20m select range; 30m teleport range; 20 damage per hit, 2 hits/sec; stacks up to 40% damage and healing reduction |
| New Moon's Shadow | E (Team-Up) | 200 shield HP; 30 explosion damage; 35% damage and healing reduction on break; up to 3 bounces with Moon Knight enhanced |
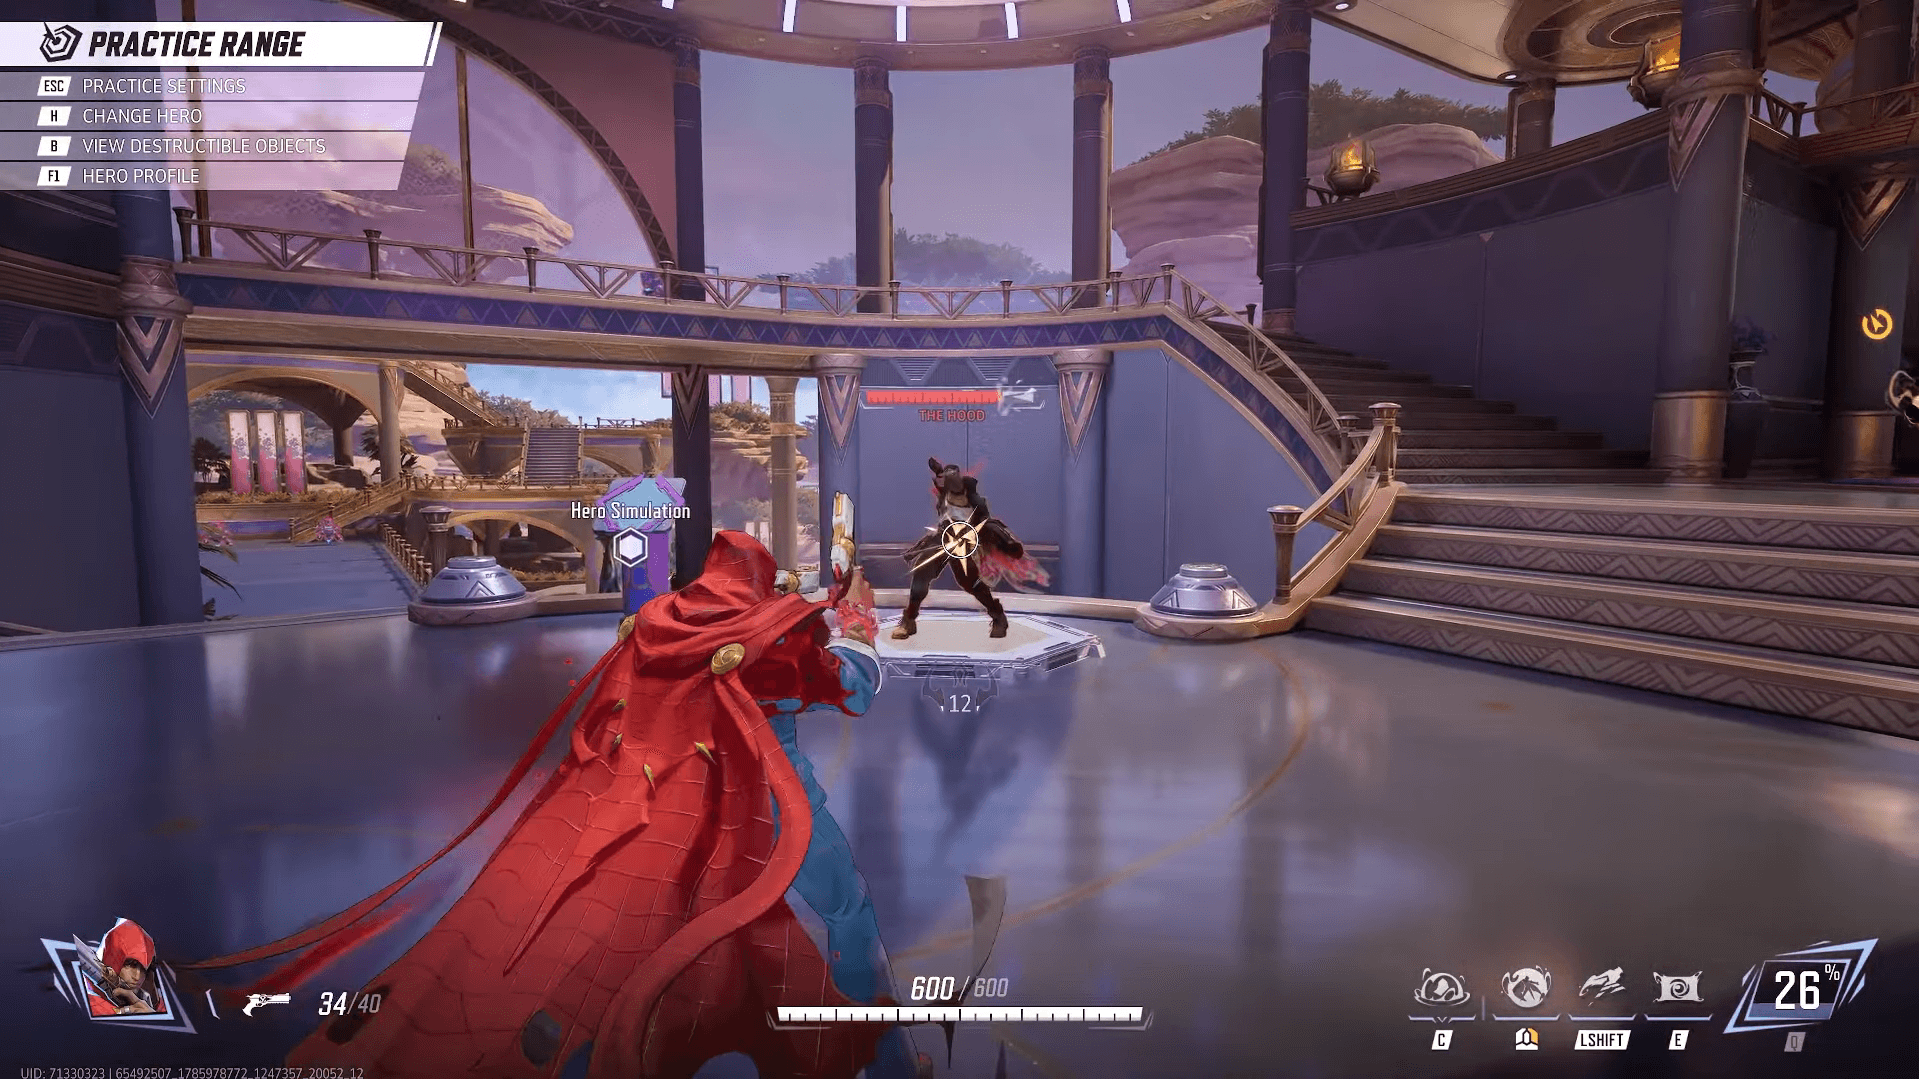
Every primary-fire hit gives 2 energy. Headshots do not grant bonus energy. Shooting through Abyssal Veil increases that to 3 energy per hit. Blocking damage with Mantle of Oblivion converts 3.75% of absorbed damage into energy. Using Void Walk instantly adds 20 energy regardless of what you hit.
The 50% threshold matters because it expands Mantle of Oblivion's radius from 2m to 3m and increases Accursed Pistols' attack speed. Full meter at 100 automatically triggers Half-Demon State, so position yourself before you get there.
The Hood Marvel Rivals Guide: Abilities, Tips & Best Team Comps
The Hood's damage is strong at close-to-medium range and nearly useless beyond 20m, where falloff reduces his pistol output to 55% of base. Outside of 10m, you are losing most trades against other ranged heroes. Build energy from a safe angle, then close the gap when Half-Demon State is ready.
Place Abyssal Veil between yourself and the enemy before engaging. Shooting through it increases energy gain per shot and adds lifesteal to your demonic rifles during Half-Demon State. Once transformed, focus exposed Strategists and Duelists first. They go down fast when you are in close range with infinite ammo and lifesteal running.
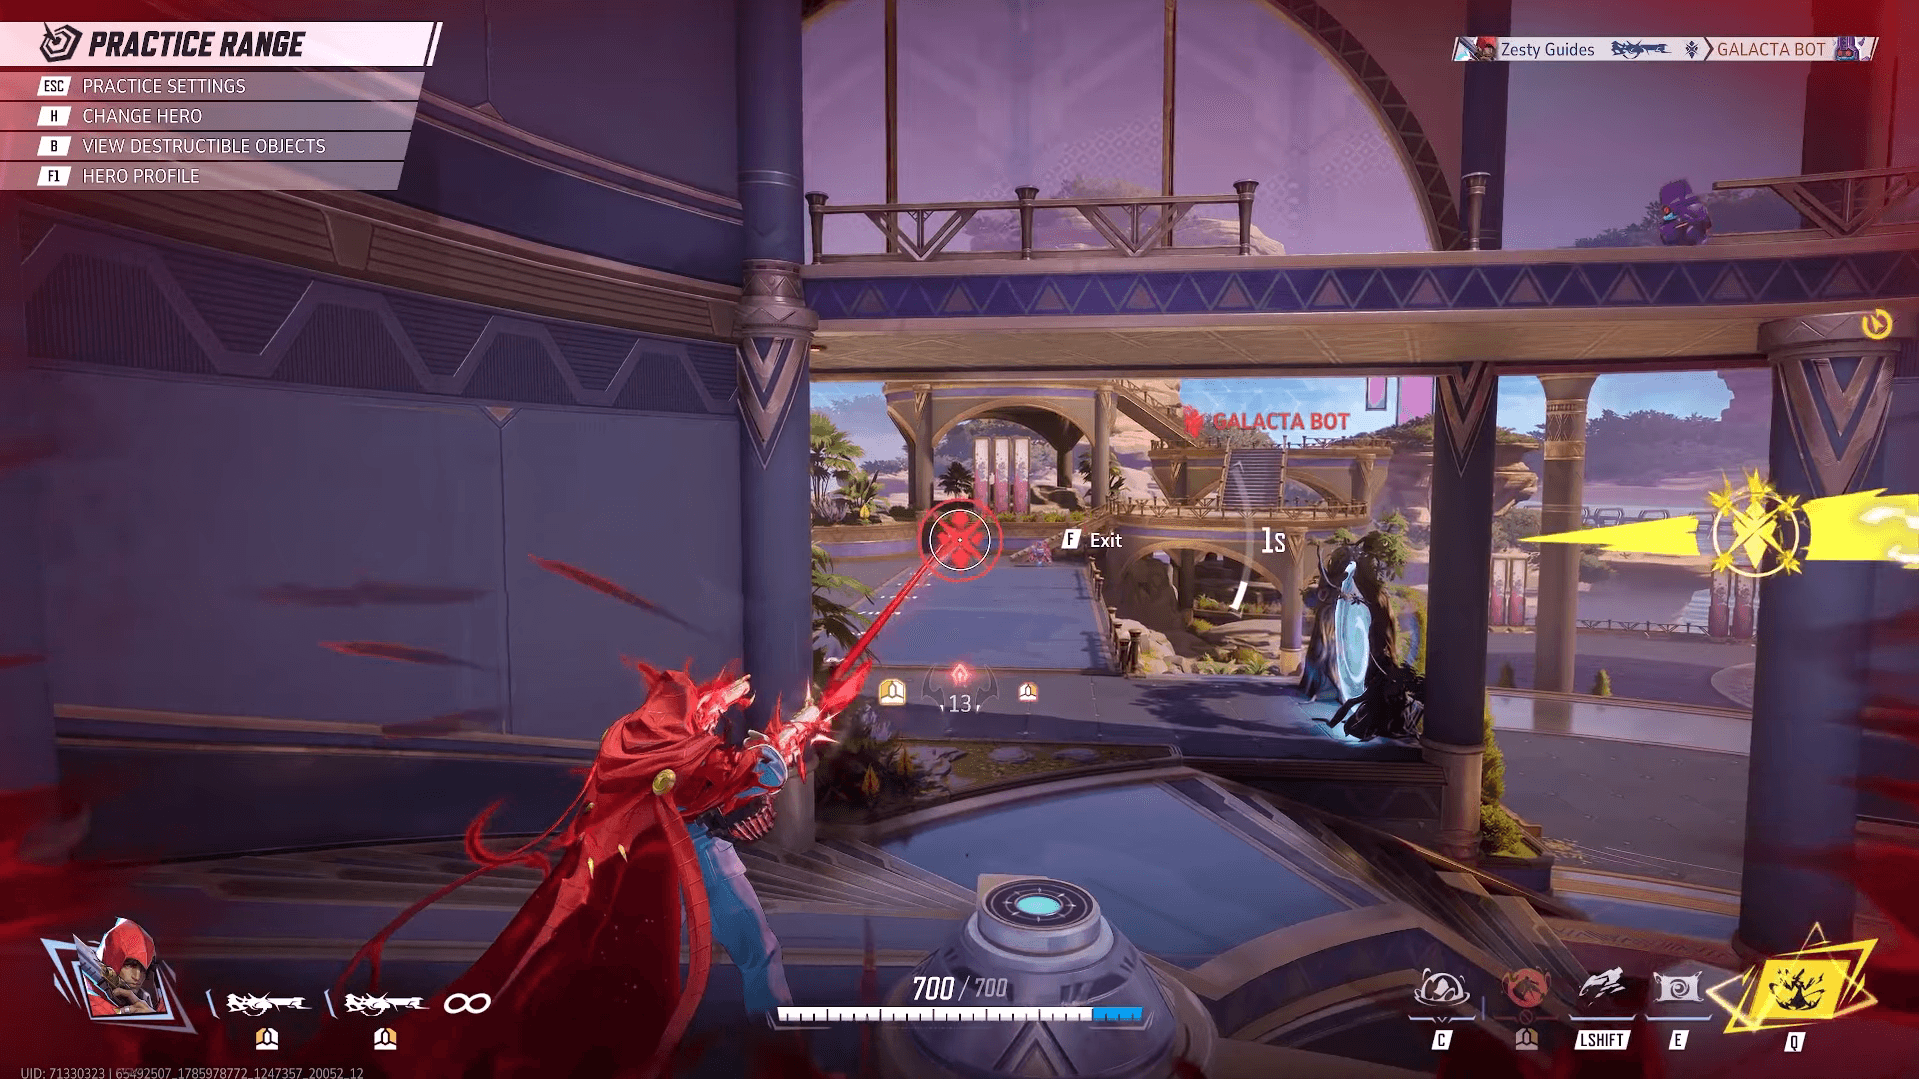
For Void Walk, the most aggressive use is triggering it at 80+ energy. The instant 20 energy pushes you to 100, the exit explosion damages nearby enemies, and you land directly in Half-Demon State with rifles ready. There is no escape tool left after this, so only do it when your team is with you or your target is isolated.
Demon of the End can be activated in mid-air after a Void Walk, which lets you float and catch enemies off guard from unexpected angles. The final shot deals 50 more base damage and 5% more max-HP scaling than the first five, so save it for a high-value target. You exit the ultimate with full base HP (600) if you cancel it early before dying.
The Hood Marvel Rivals Guide: Abilities, Tips & Best Team Comps
On defense, Abyssal Veil becomes a zone-control tool. Drop it in doorways or on narrow objective paths where enemies have only one route forward. The 35% damage reduction on enemy projectiles passing through it, combined with the blind on any enemy who physically walks through, makes it genuinely frustrating to push into.
If divers are targeting your backline, hold Half-Demon State for that moment rather than spending it on frontline pressure. The lifesteal and rapid fire can peel a Black Cat or Psylocke off your Strategists quickly. Mantle of Oblivion can also absorb powerful ultimates entirely, including Iron Man's and Scarlet Witch's ults, so positioning yourself in front of teammates during those windows has real impact.
The Hood has two selectable team-up abilities, and which one you run should depend entirely on your team's playstyle.
Chaos Collision (with Scarlet Witch) creates an arcane zone that deals 20 damage twice per second and stacks up to 40% damage and healing reduction. Reactivating it teleports The Hood into the zone's center. With Scarlet Witch present, the teleport also triggers a shockwave that pulls nearby enemies toward The Hood. This is the aggressive pick. Use Chaos Collision to set up a flank angle, then teleport in and immediately activate Leaded Transformation for a devastating all-in.
New Moon's Shadow (with Moon Knight) converts Abyssal Veil into a physical Lunar Barrier with 200 HP that fully blocks incoming projectiles. When it breaks, it detonates for 30 damage in an 8m radius and applies 35% damage and healing reduction. Moon Knight's enhancement increases the barrier's shield value and adds a bounce effect (up to 3 bounces) to The Hood's shots passing through it. This is the safer, defensive option that works well in standard frontline fights.
| Hero | Why they work |
|---|---|
| Moon Knight | Unlocks the stronger Lunar Barrier and bouncing shots |
| Scarlet Witch | Adds displacement and burst to Chaos Collision engages |
| Groot | Walls restrict enemy movement, lining targets up for Demon of the End |
| Mantis | Healing, damage boost, and single-target crowd control |
| Doctor Strange | Second barrier covers The Hood's cooldown gaps |
| Luna Snow | Sustained healing supports aggressive Half-Demon pushes |
| Magik | Forces close-range chaos while The Hood pressures from medium range |
The Hood works best as a secondary Vanguard alongside a more traditional frontline anchor like Doctor Strange or Magneto. They give him a safe line to fall back to after his transformation ends and his cooldowns are on recovery.
The Hood's biggest weakness is his large character model, his cooldown-dependent survival, and his poor performance at long range. Heroes who exploit any of those three things will make his life difficult.
Luna Snow also deserves a mention. She can freeze The Hood in the backline mid-transformation, and without Void Walk or Mantle of Oblivion available, the result is usually a trip back to spawn.
The Hood's basic loop is accessible. His primary fire is hitscan, the energy meter is visible, and his abilities are clearly purposeful. New players can contribute by shooting frontliners, protecting nearby allies with Mantle, and using Void Walk to recover from positioning mistakes.
The difficulty comes from Half-Demon State triggering automatically. If you are out of position when the meter fills, the transformation locks you into rifles with no barrier access at the worst possible moment. Watching the energy bar before moving into open areas is the single most important habit to build. For a deeper look at how hero progression works in the game, the Marvel Rivals hero proficiency guide explains what each level unlocks and how long reaching Lord rank actually takes.
Season 9.5 brought a lot of new content alongside The Hood. If you want to know exactly when the update went live and what else arrived with it, the Season 9.5 release date and start times guide has the full breakdown. For everything else The Hood's season has to offer, including new modes and events, the full Marvel Rivals guide collection covers it all.